It’s been relatively hot in the East Bay of San Francisco Bay Area. In July, we had more than a week of heat waves. Since then, hot days with peak temperature of 86F (30° C) or more have been plenty. With no air conditioner, sometimes it feels like we’re slowly baking in a confectionary oven. I’m concerned that when our actual summer comes in October, we’ll be having a lot more hot, sweaty days. But there’s a silver lining. The hot days motivated me to finally tick off one of my sewing wishlist items: a floral sundress. So yay, I get to make a summer staple! Stay hydrated and cool, readers!
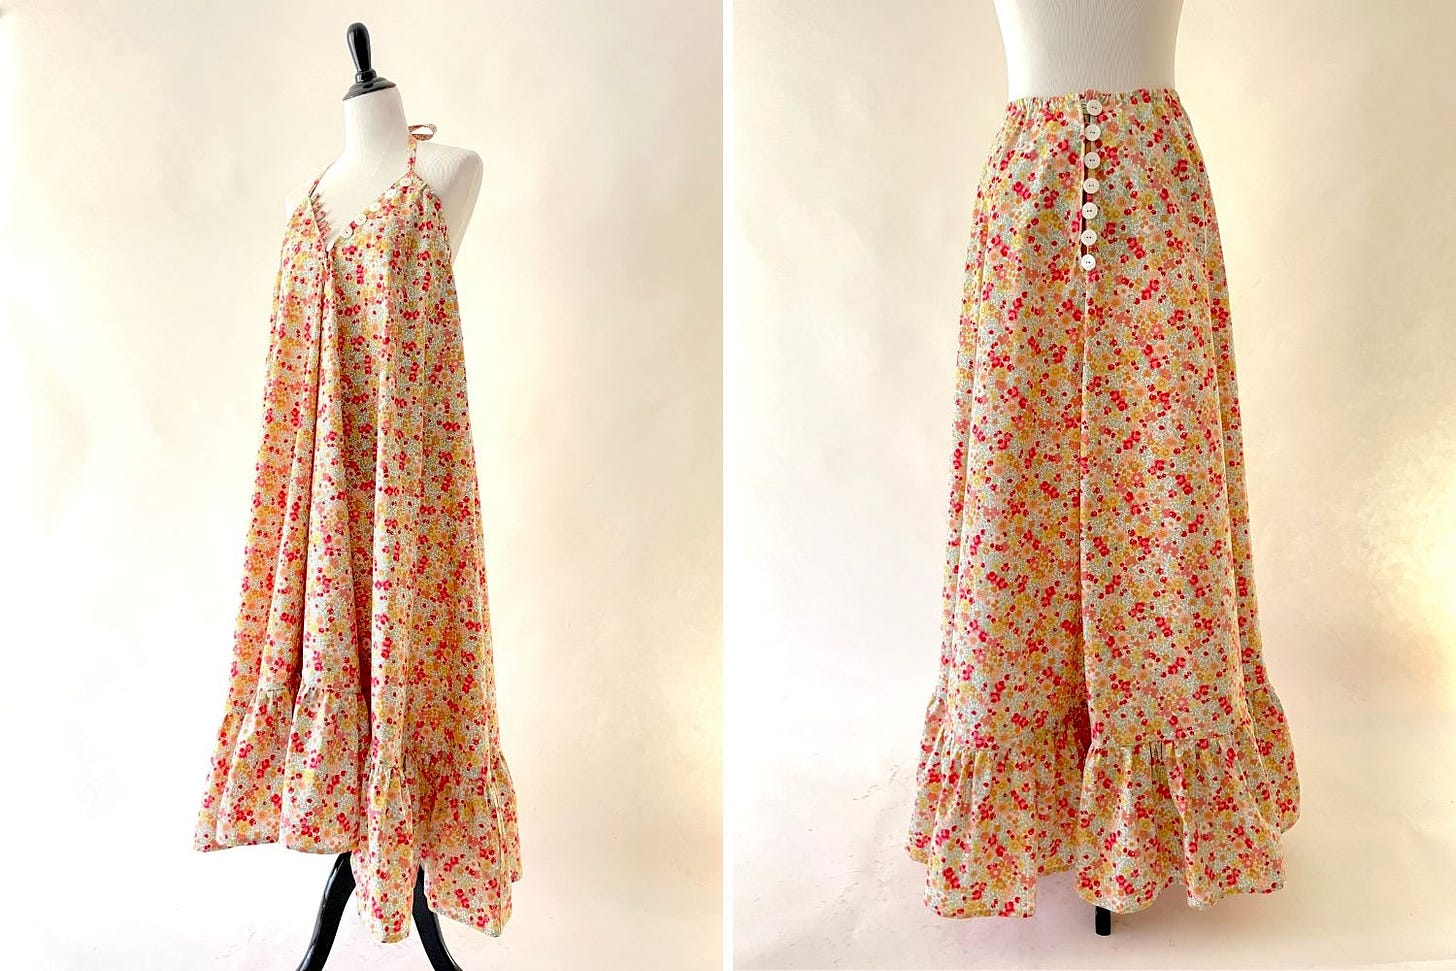
Every summer since at least two years ago (ok fine, three), a recurring thought appears without fail, “Make yourself a sundress!”
I used to convince myself I didn’t need another dress. I have enough clothes I can rock during the hot days of summer. I don’t want to expose my arms to the sun for too long and get permanent sun spots. All the reasons.
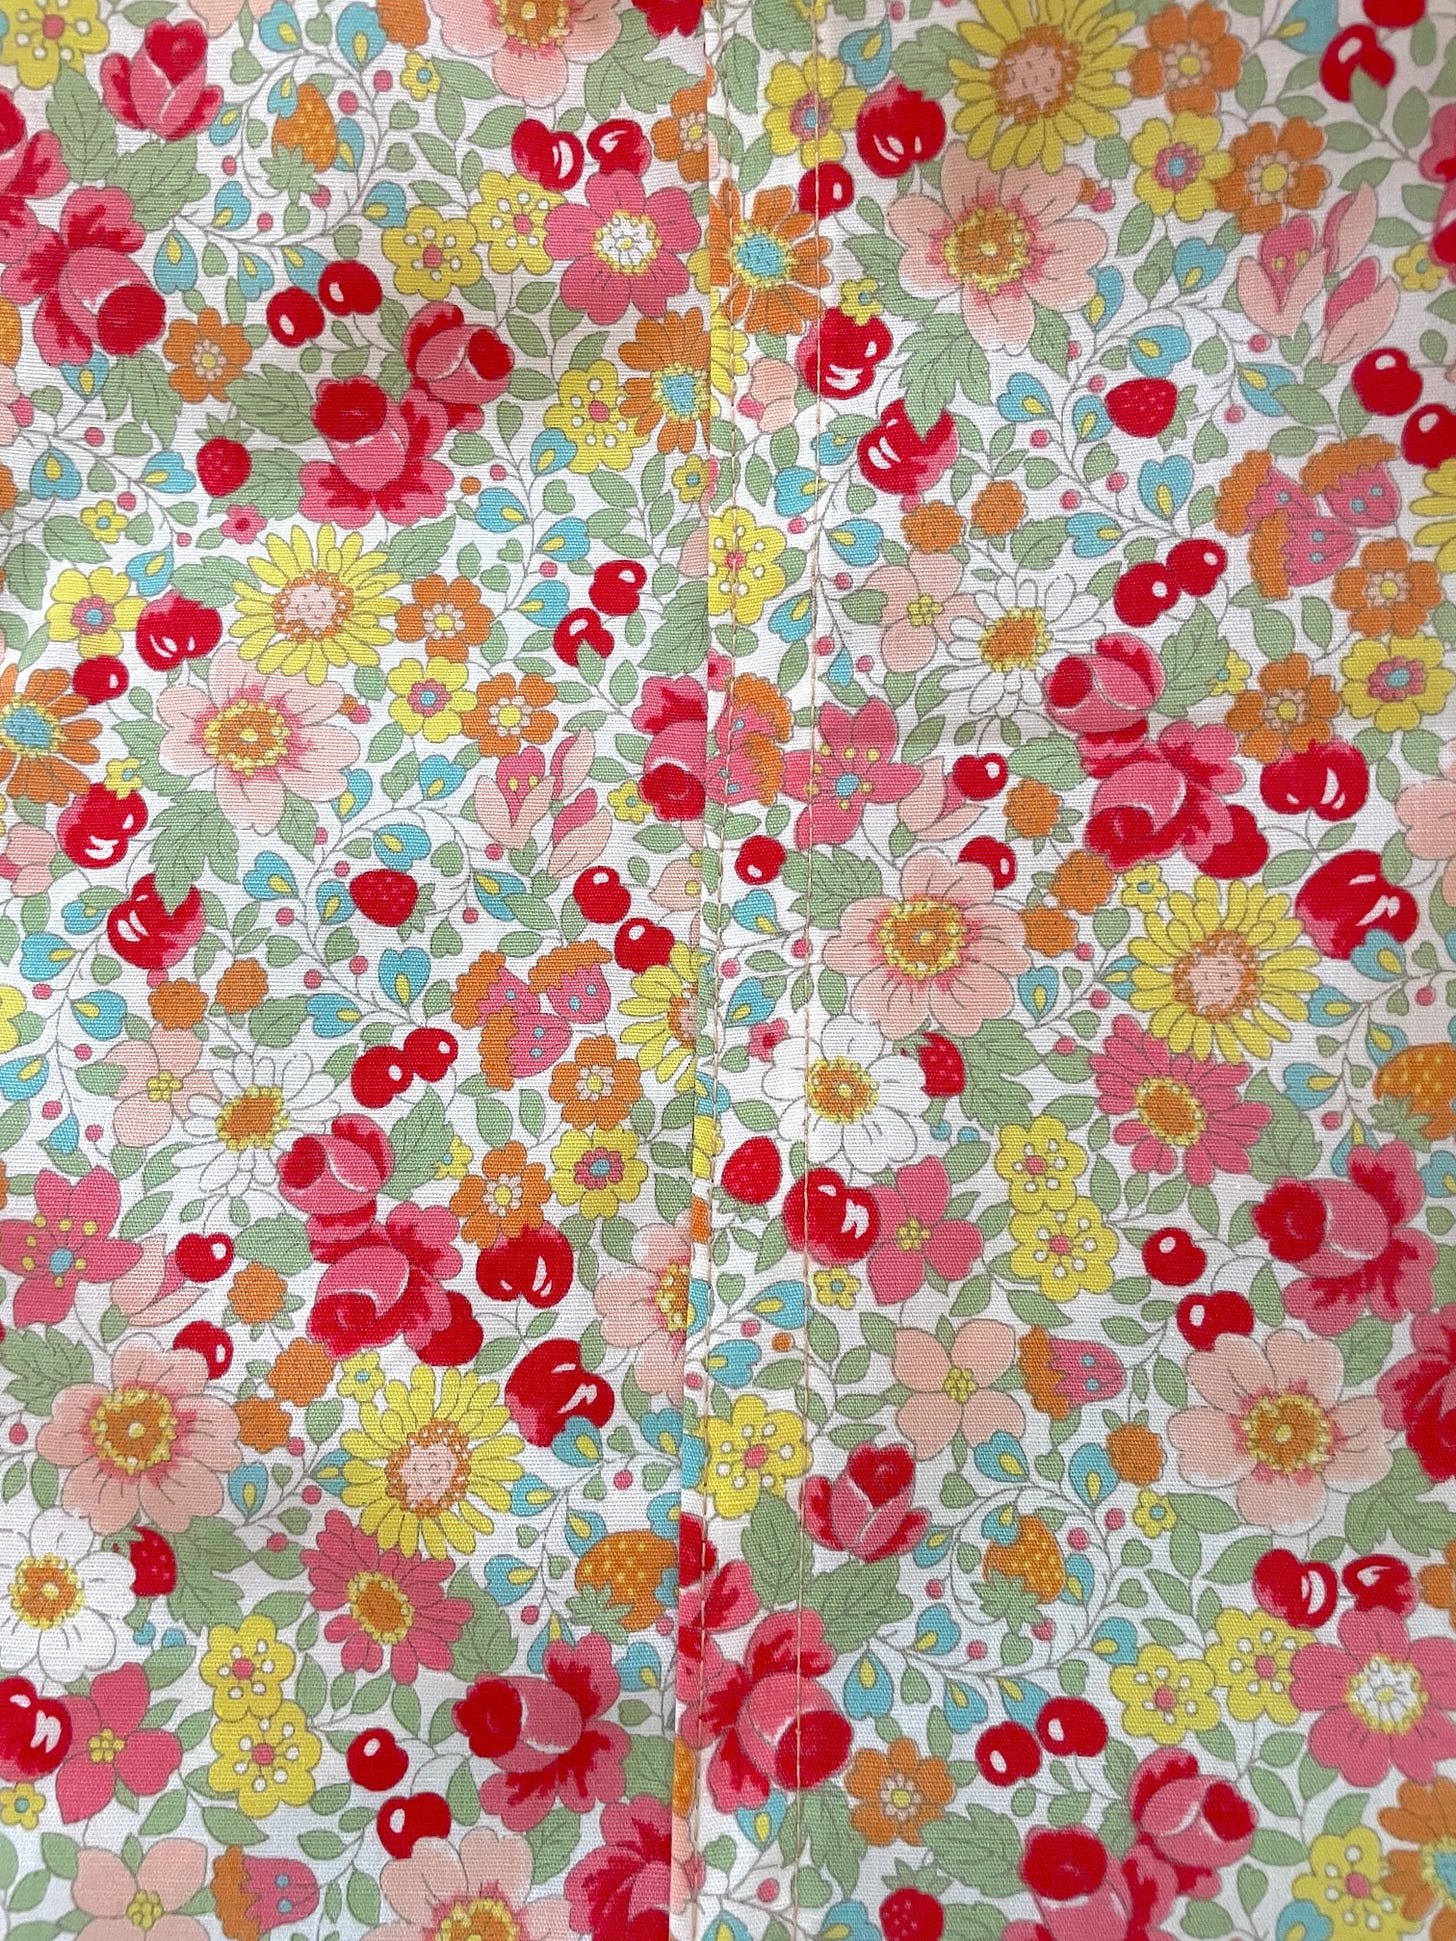
But this year, I finally relented. Things somehow got into alignment. I was helping EleStory redistribute dead stock fabrics and got three yards of 45” wide pretty floral cotton print fabric made in Japan. That fabric woke up my latent motivation to create a sundress. I just needed to decide on the design, right?
There are many cute sundress designs out there. Approaching the end of spring, summer styles came out, and I saw many models / influencers twirling in their pretty sundresses like butterflies on Instagram.
At first I was ready to create this Lanai dress by Mood, until I saw this reel by Caramiya, a fashion designer based in Maui, Hawaii. Oh my gosh, this is IT. The sundress of my dreams.
The Sundress / Skirt Pattern
To create this sundress / skirt, I used 1.5 yards for the main piece, and another yard for adding ruffle to the hemline. Moreover, I used Sally Fox’s Tex 29 cotton thread, shell buttons, and flexi lace seam bindings.
I followed Caramiya’s direction in creating this sundress - half circle pattern, buttons and button loops on the center front, encased tie, and ruffle addition along the bottom. The only thing I added is a pair of bra cup pockets.
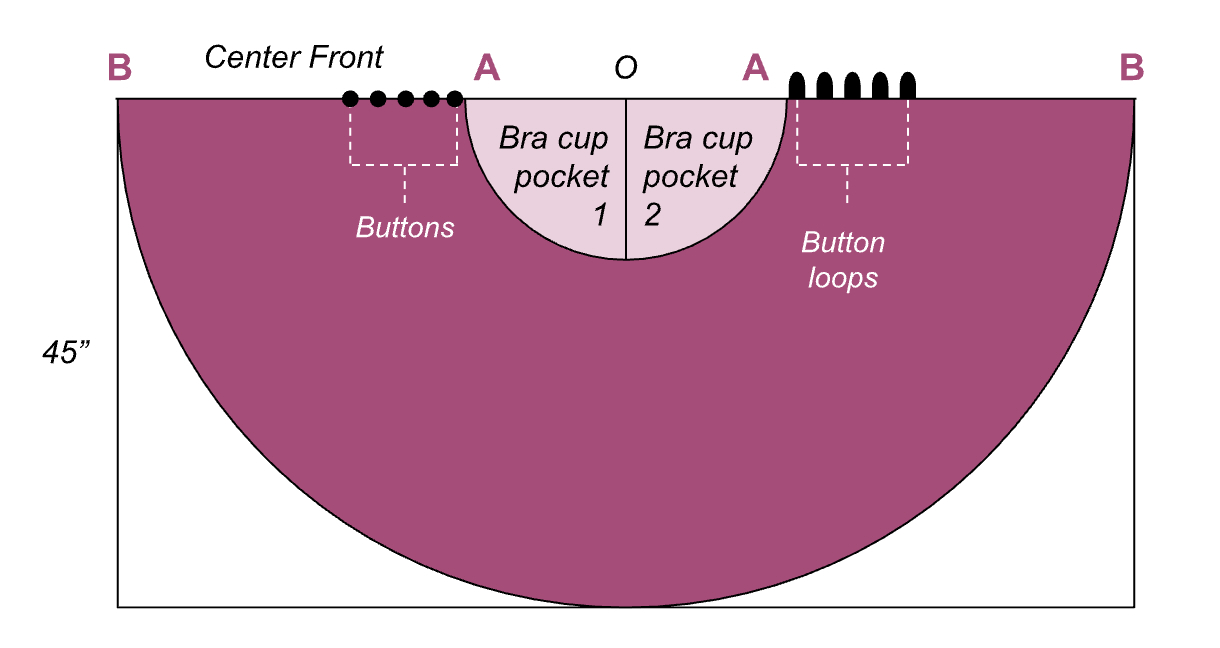
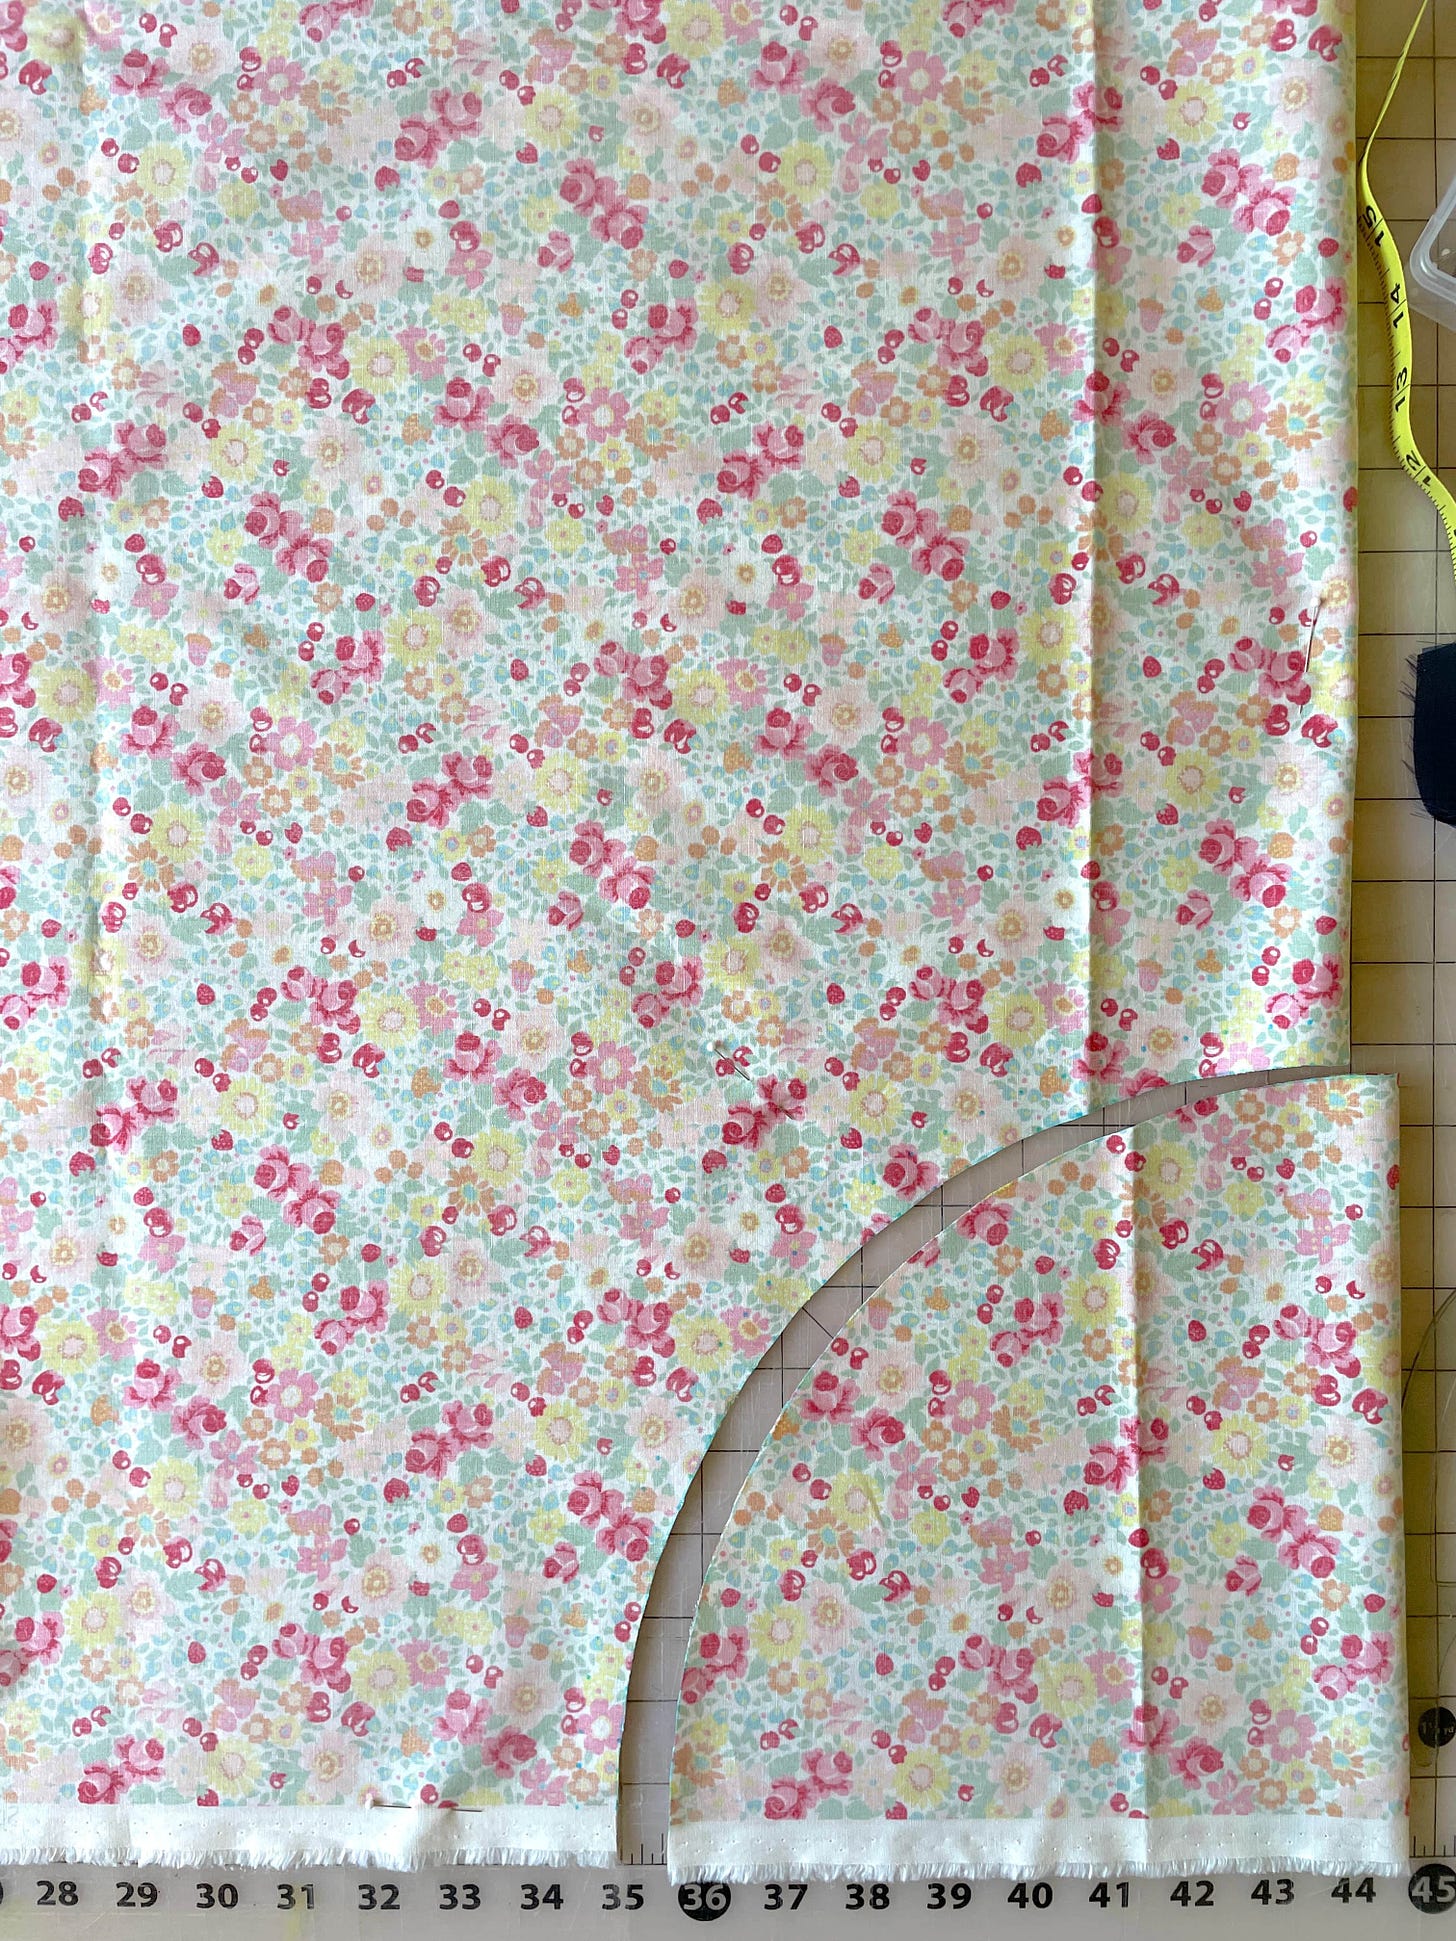
The diagram above shows what the main pattern piece looks like - a half circle. The inner circle radius (from O to A) is my waist measurement divided by 3.14. I cut and divided the inner half circle in half to create 2 bra insert pockets. And because I’m using the full width of the fabric, the outer radius is 45 inches.
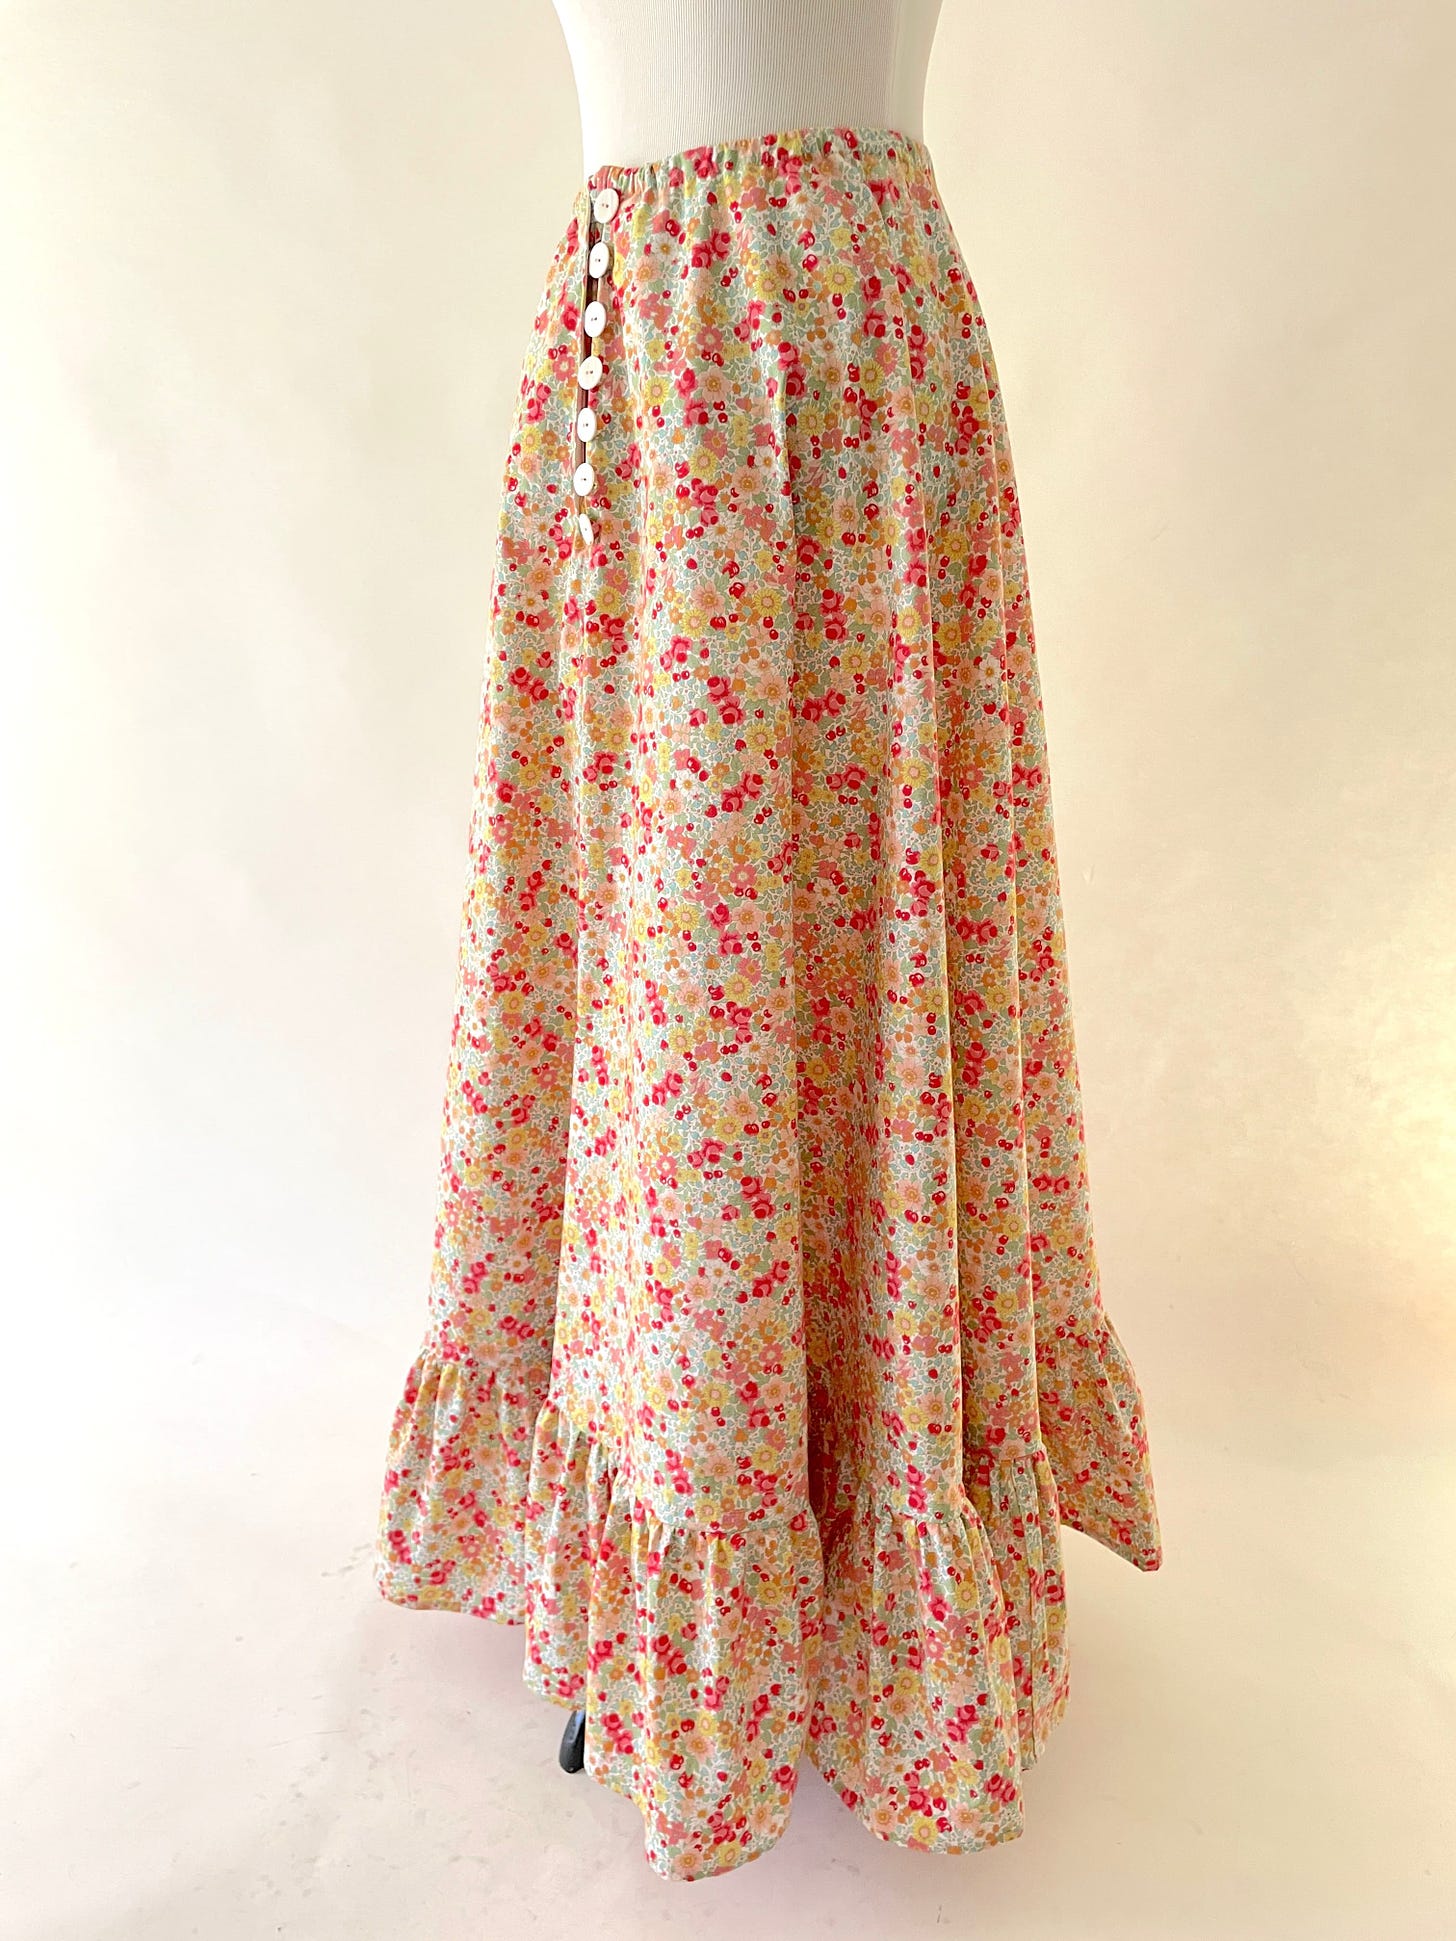
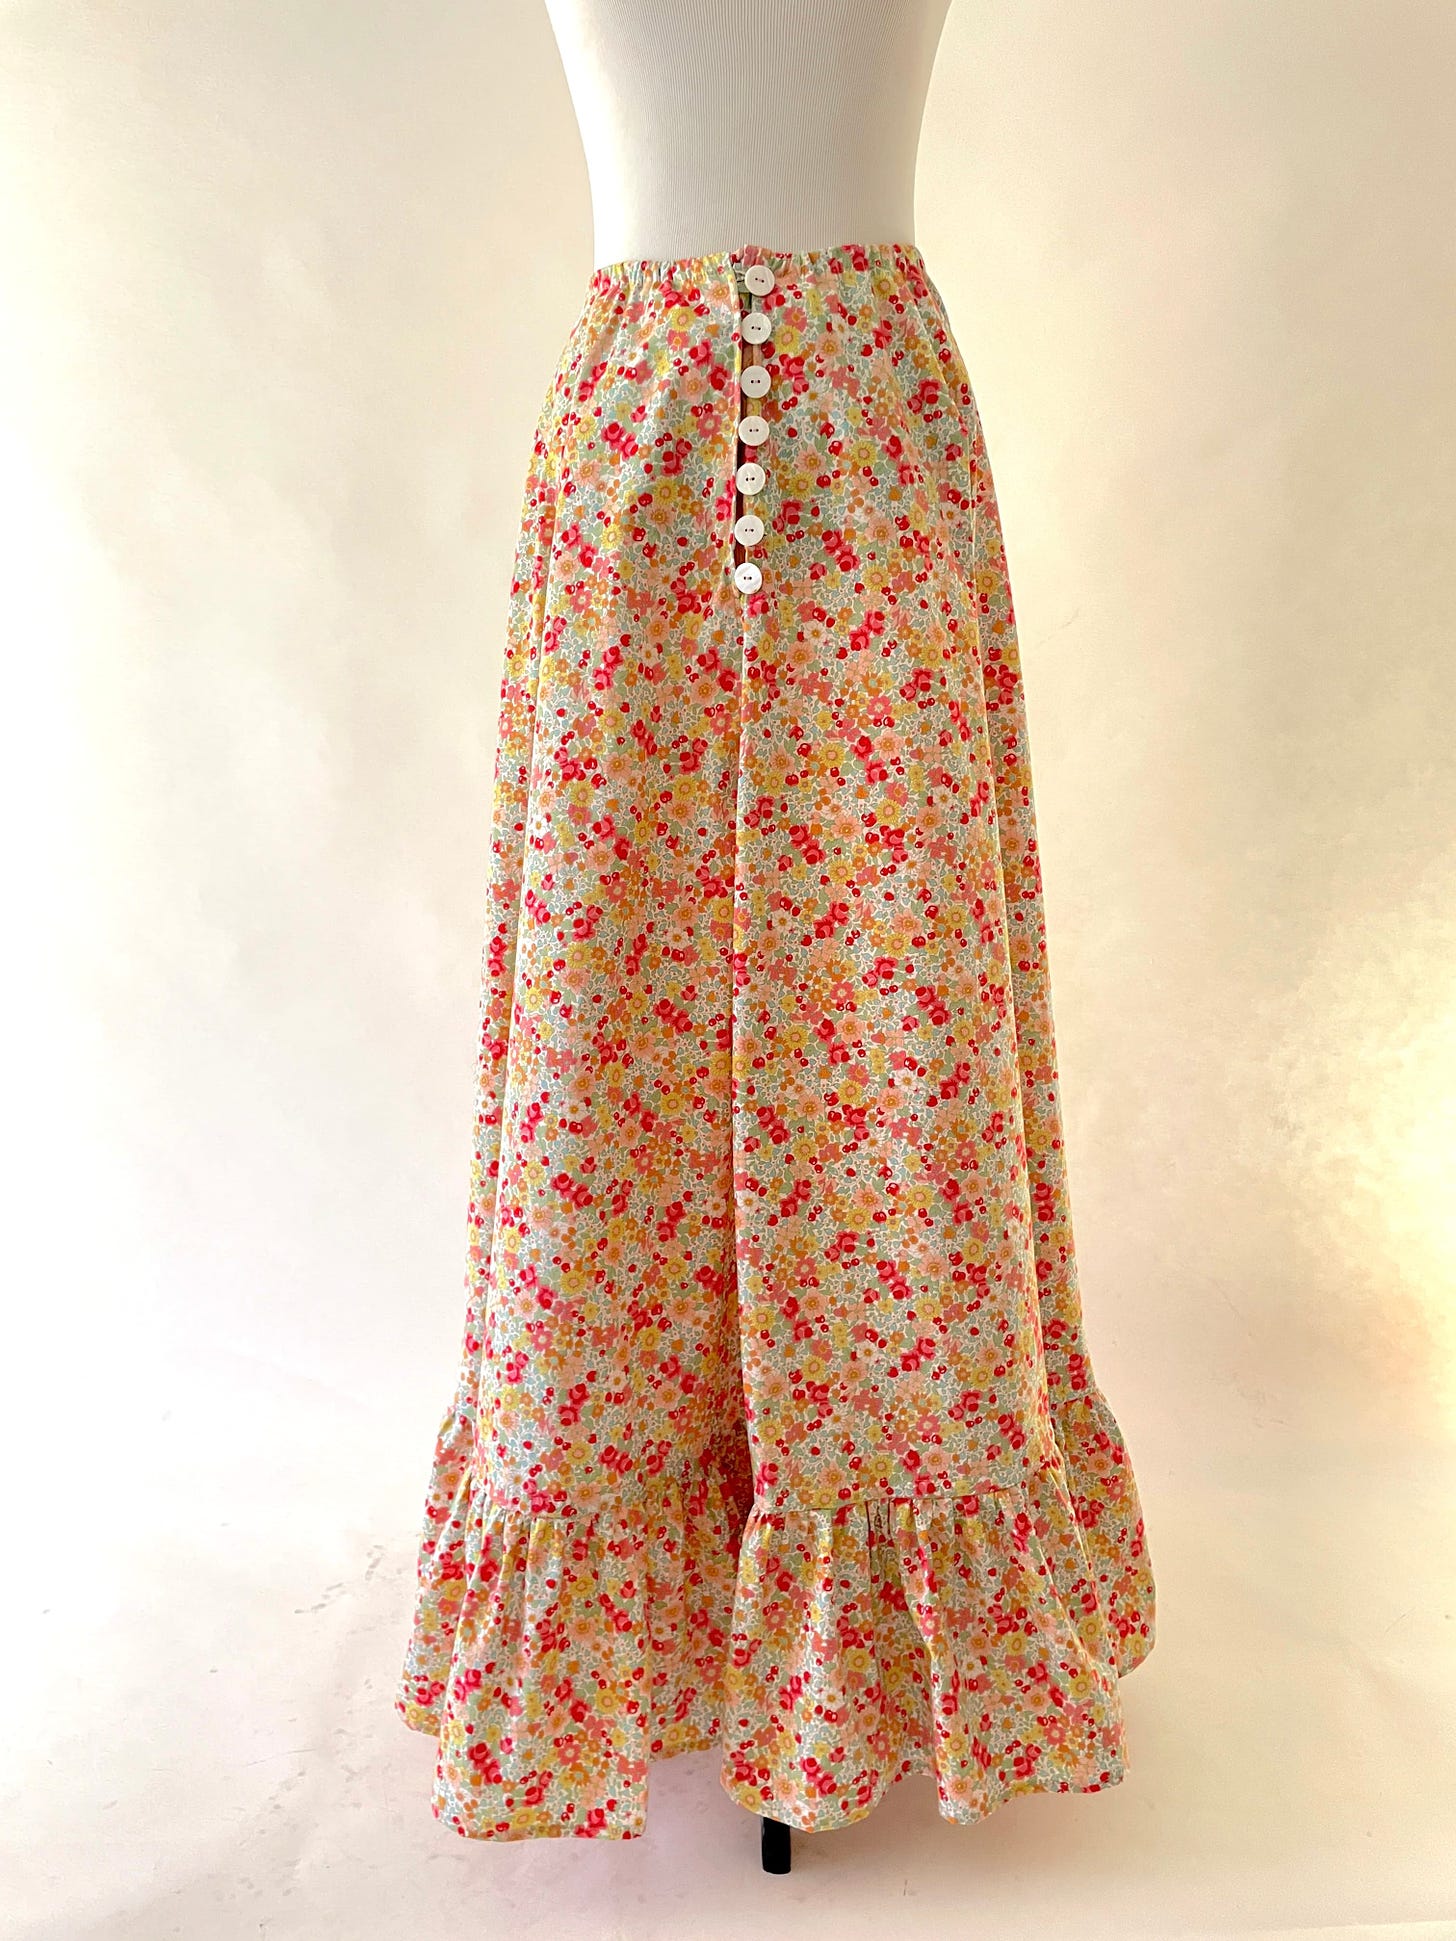
You can see that while the pattern is simple, there is quite a bit of work on the center front. The top 9 inches has buttons on the left side, and button loops on the right side.
Moreover, there are additional pieces I cut from the cutoffs that I don’t include in the diagram above. Please note that I had to piece together two pieces of fabric cutoffs to create some of these:
a facing along the top edge to make a tie casing
a long tie, 2 yards long and 0.5” wide (2” wide fabric strip, double folded like a bias tape, edge stitched)
7 button loops, each 2.5” long and 0.25” wide (1” wide fabric strip, double folded like bias tape, edge stitched)
edge finishing strips for the bra cup pockets, 0.25” wide (1” wide fabric strip, double folded like bias tape)
Last but not least, I cut six 10” long fabric strips along the grain. They would be stitched together to form the bottom ruffle.
Alright, those are the pattern pieces. Let’s move on to the sewing process.
Making Bra Cup Pockets
This feature is the only addition I made to Caramiya’s design. I like having the option to add bra cups when I wear it as a sundress. At the same time, I’d like them to be fairly invisible when I wear it as a skirt.
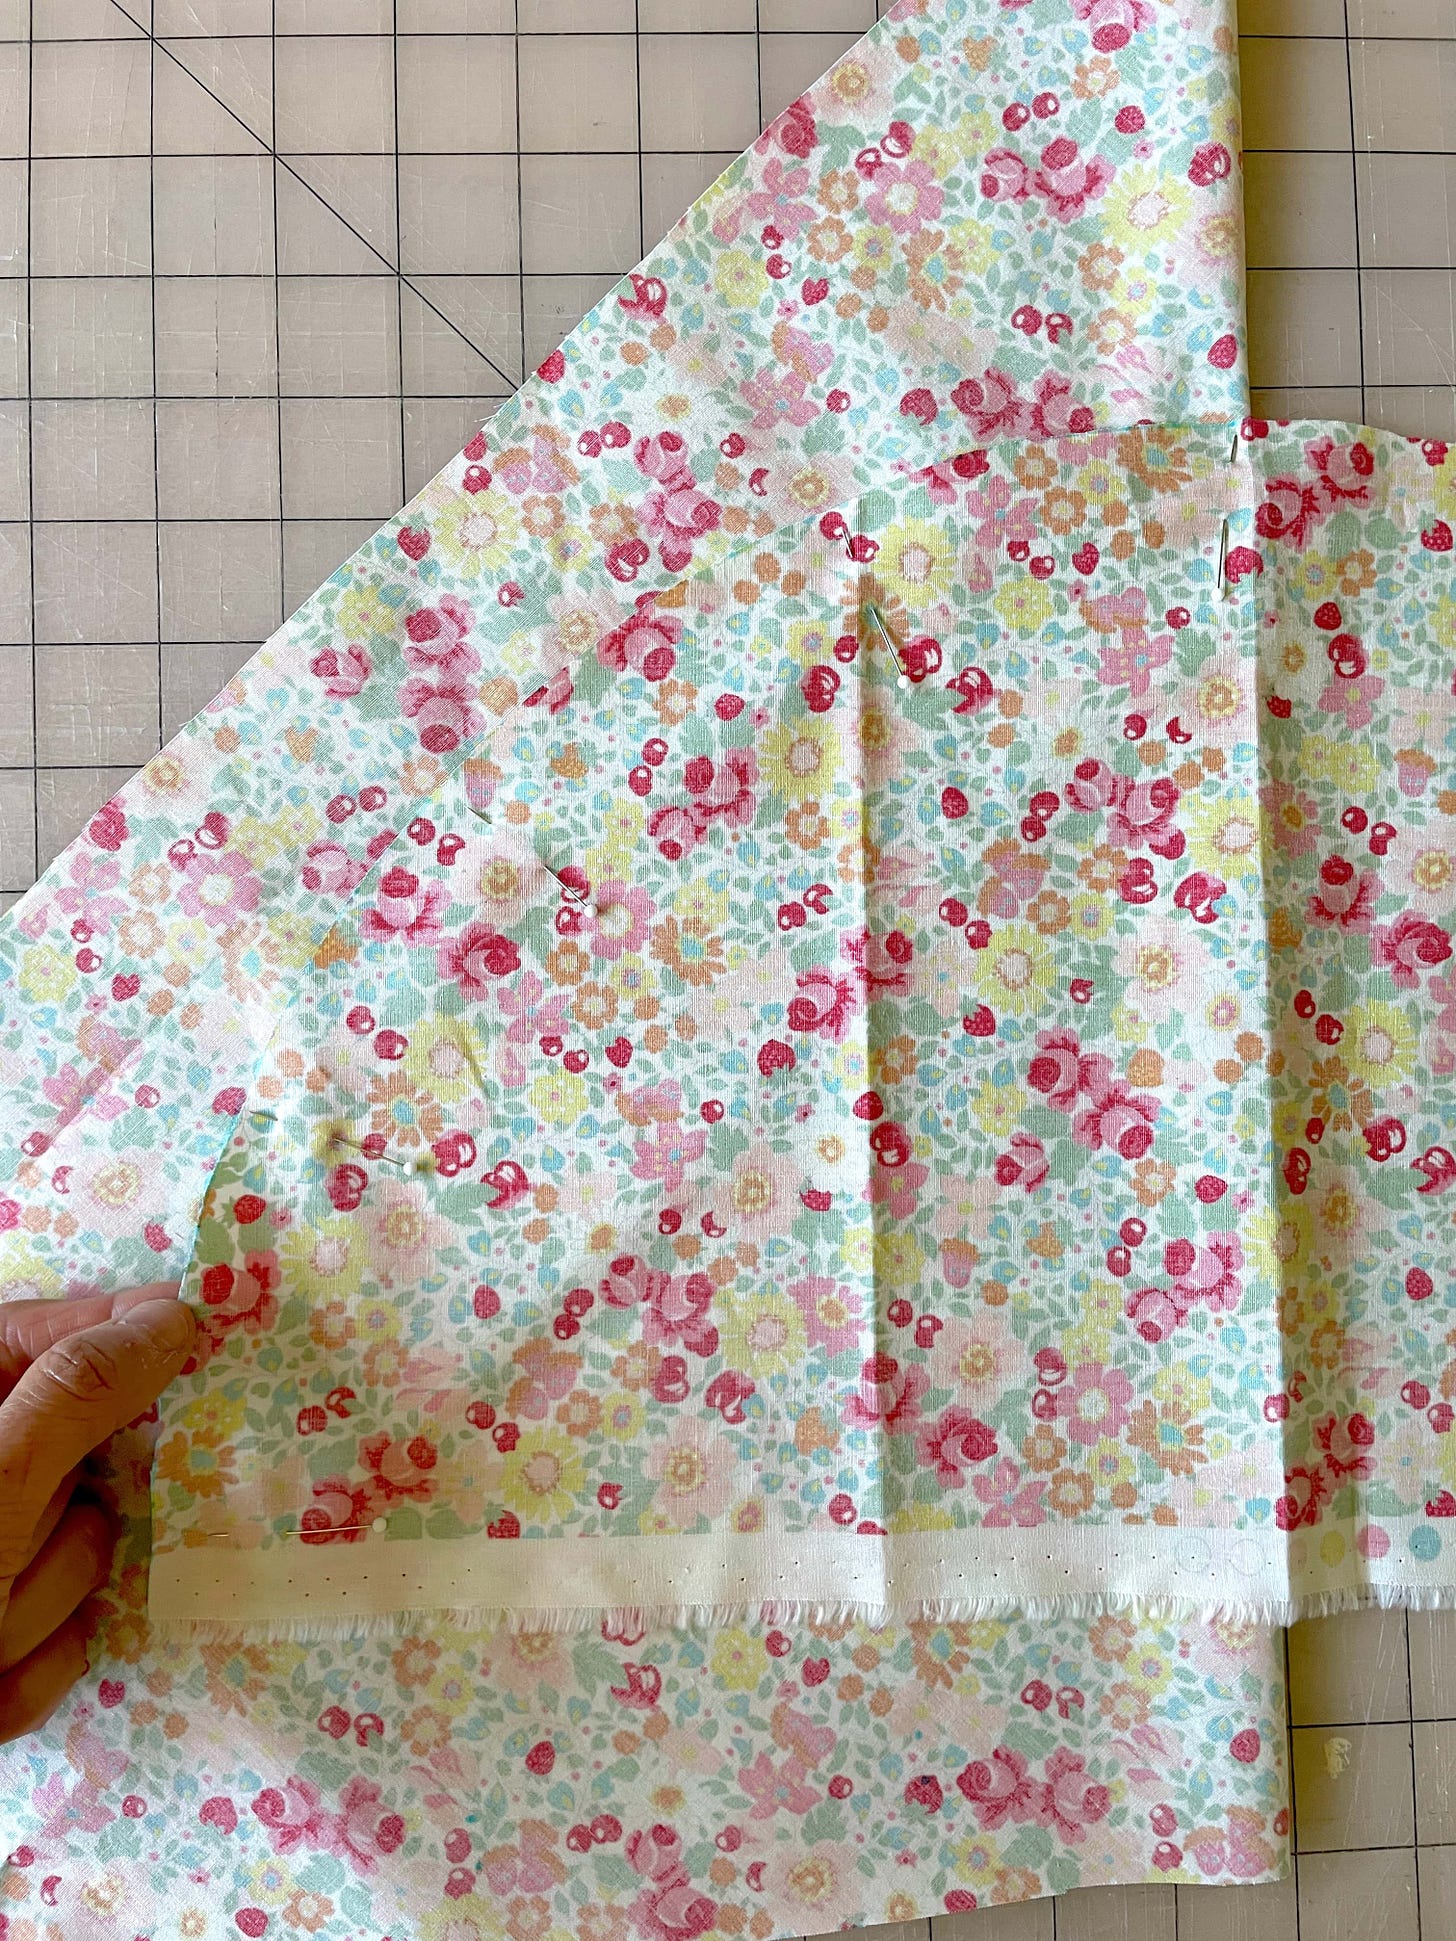
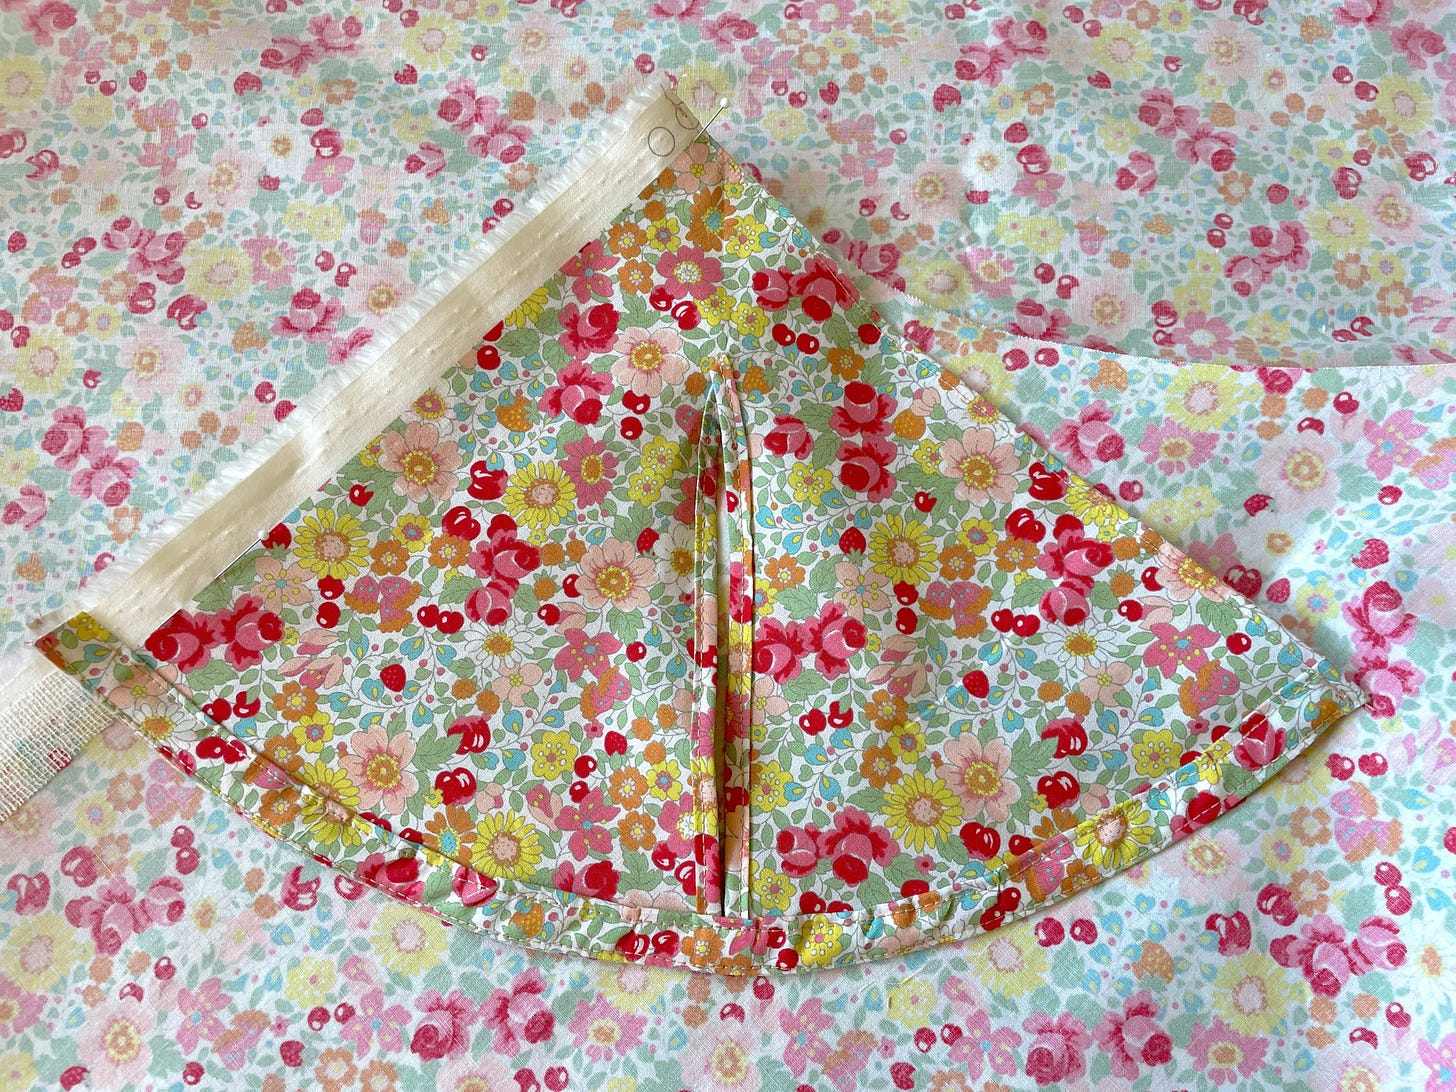
So I used the half circle cutout to create two bra cup pockets. For each quarter circle, I made a slit in the middle, about 2” away from the pointy edge. I added small pieces of weft interfacing around the slit to prevent fraying before encasing it with 0.25” bias tape I prepared earlier.
I also enclosed the bottom edge of the bra cup pocket using some remnant strips. I used a 1.5” wide fabric strip and folded it into three equal parts lengthwise. The pocket encasement is 0.5” wide when I finished.
After I was done with both bra cup pockets, I basted them onto the dress before blind hemming the underbust curve to the dress. I opted to do hand stitching so the lines are not as visible as machine stitches.
Closing the Center Front
After the bra cup pockets are done, it’s time to take care of the front closures. This is the highlight of Caramiya’s design, and the key of the garment’s versatility. If I’m making this in denim or a more structured fabric, I may opt for a zipper instead. But for this easy breezy sundress, the buttons add the perfect dose of charm.
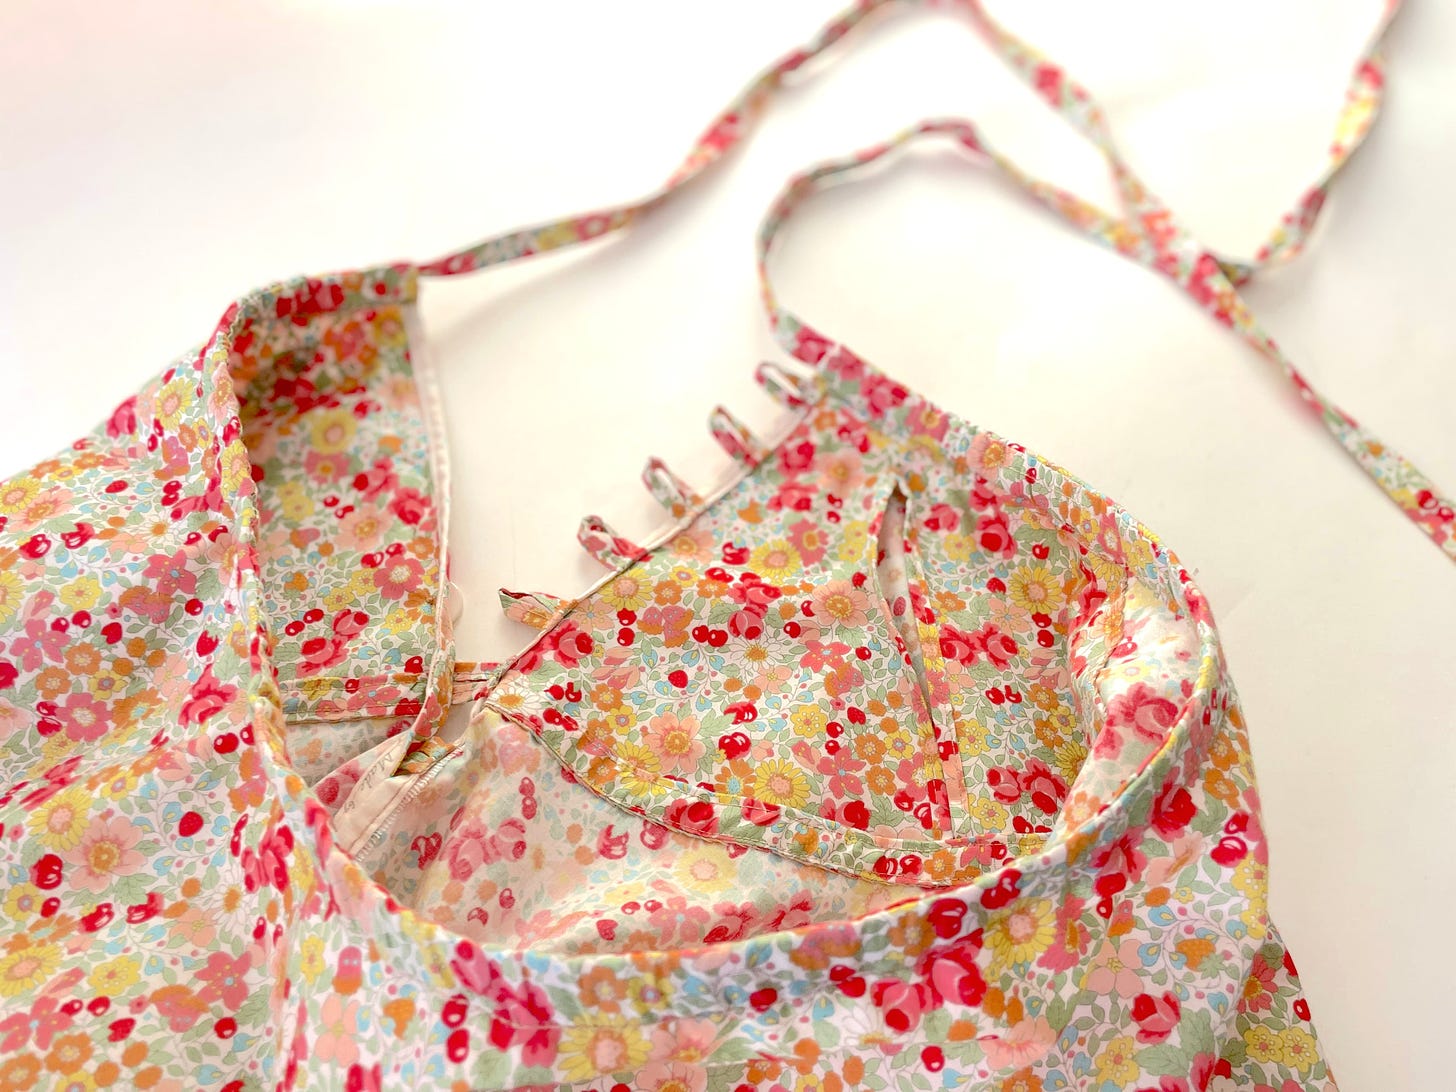
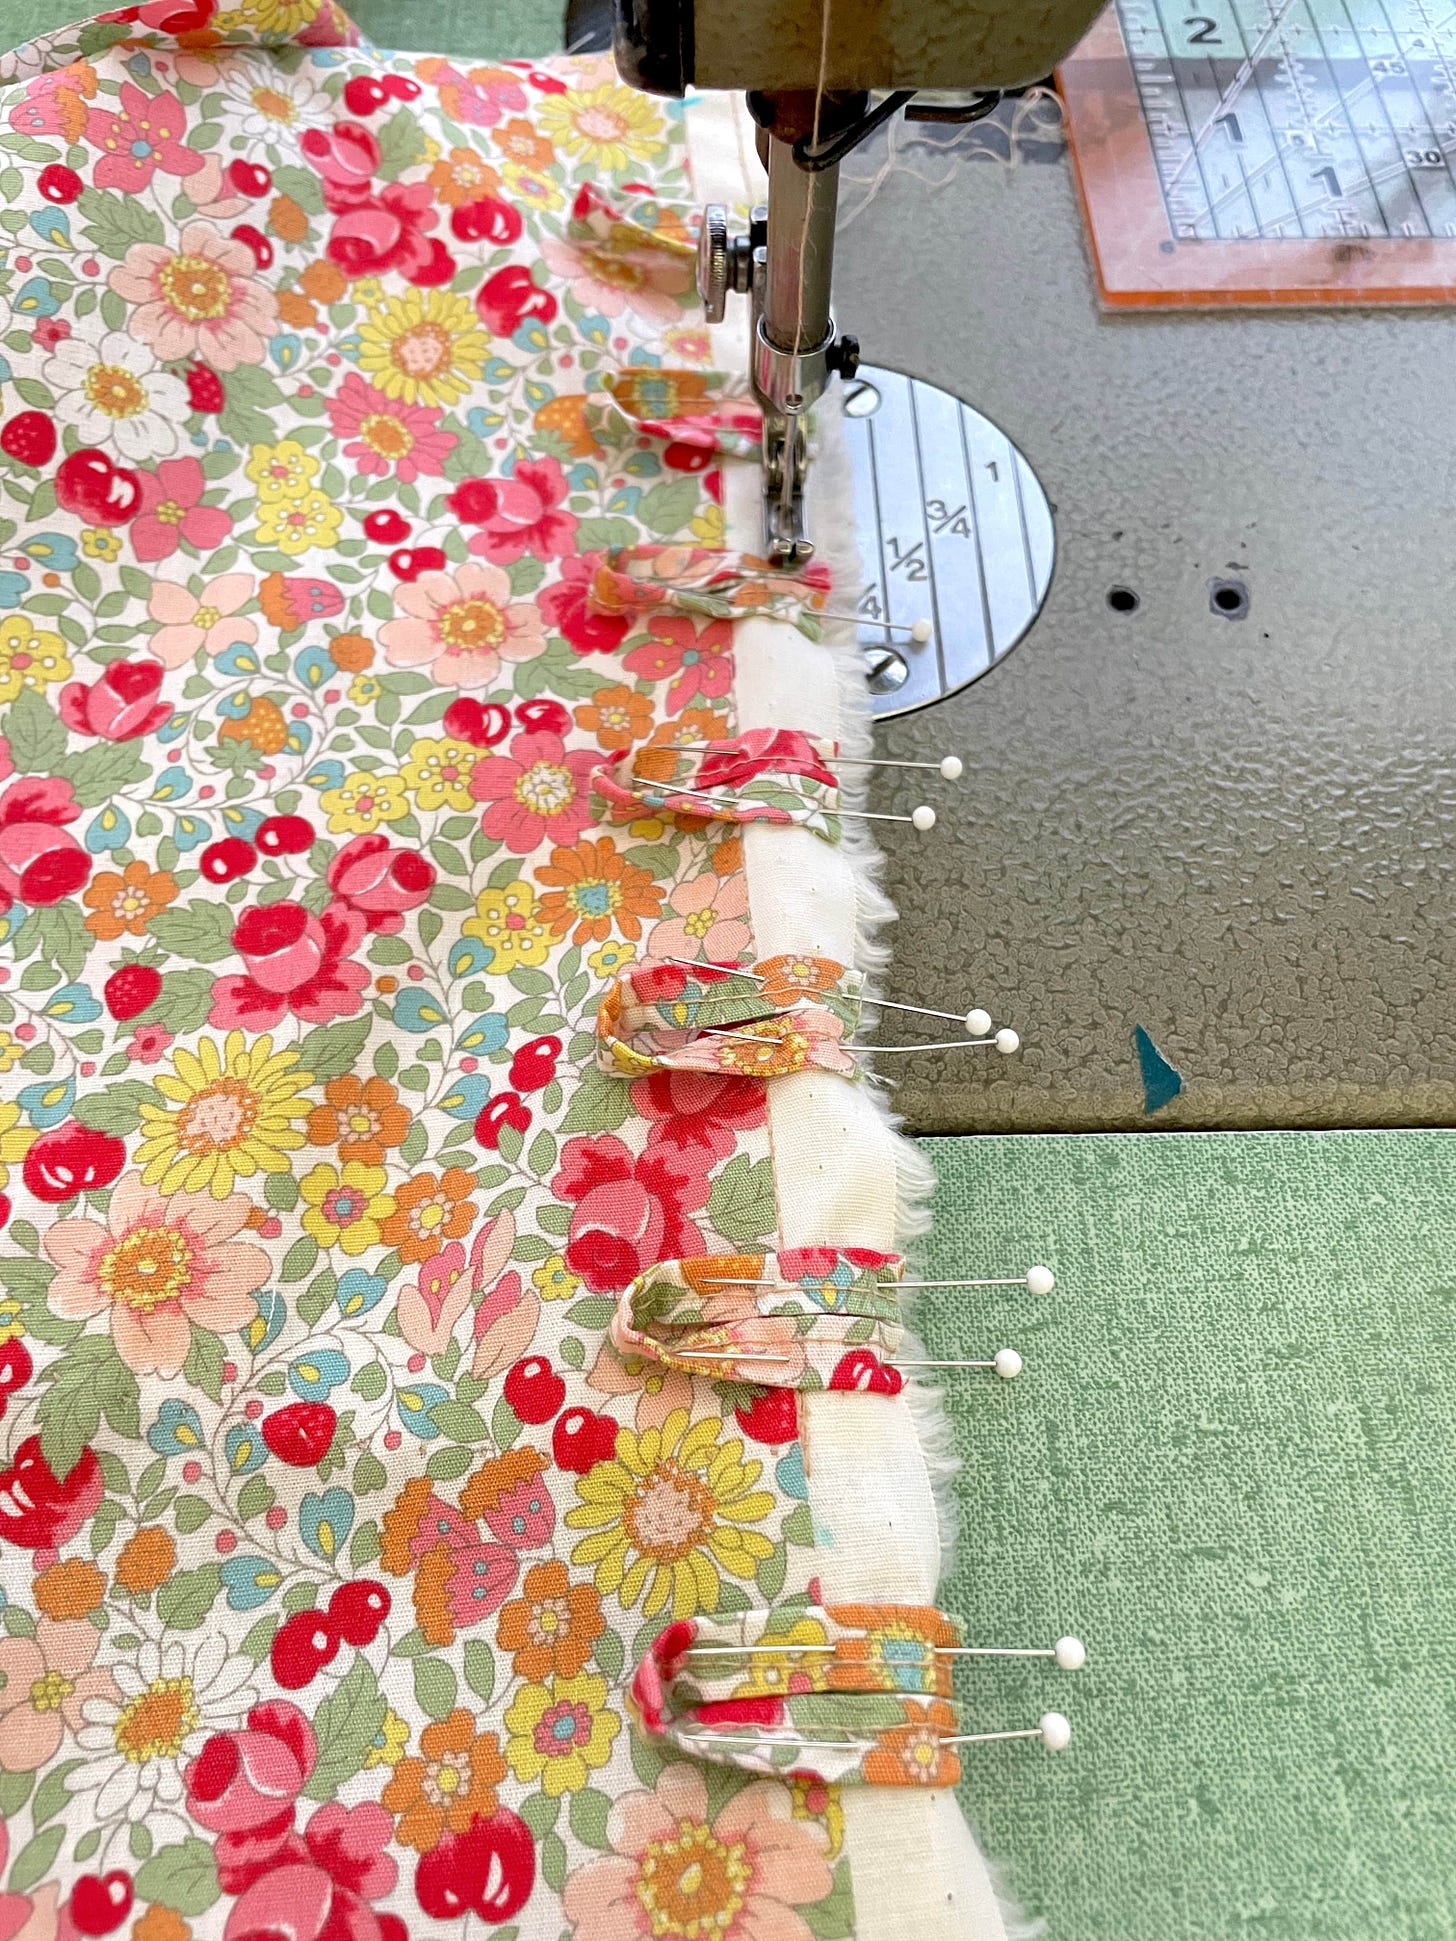
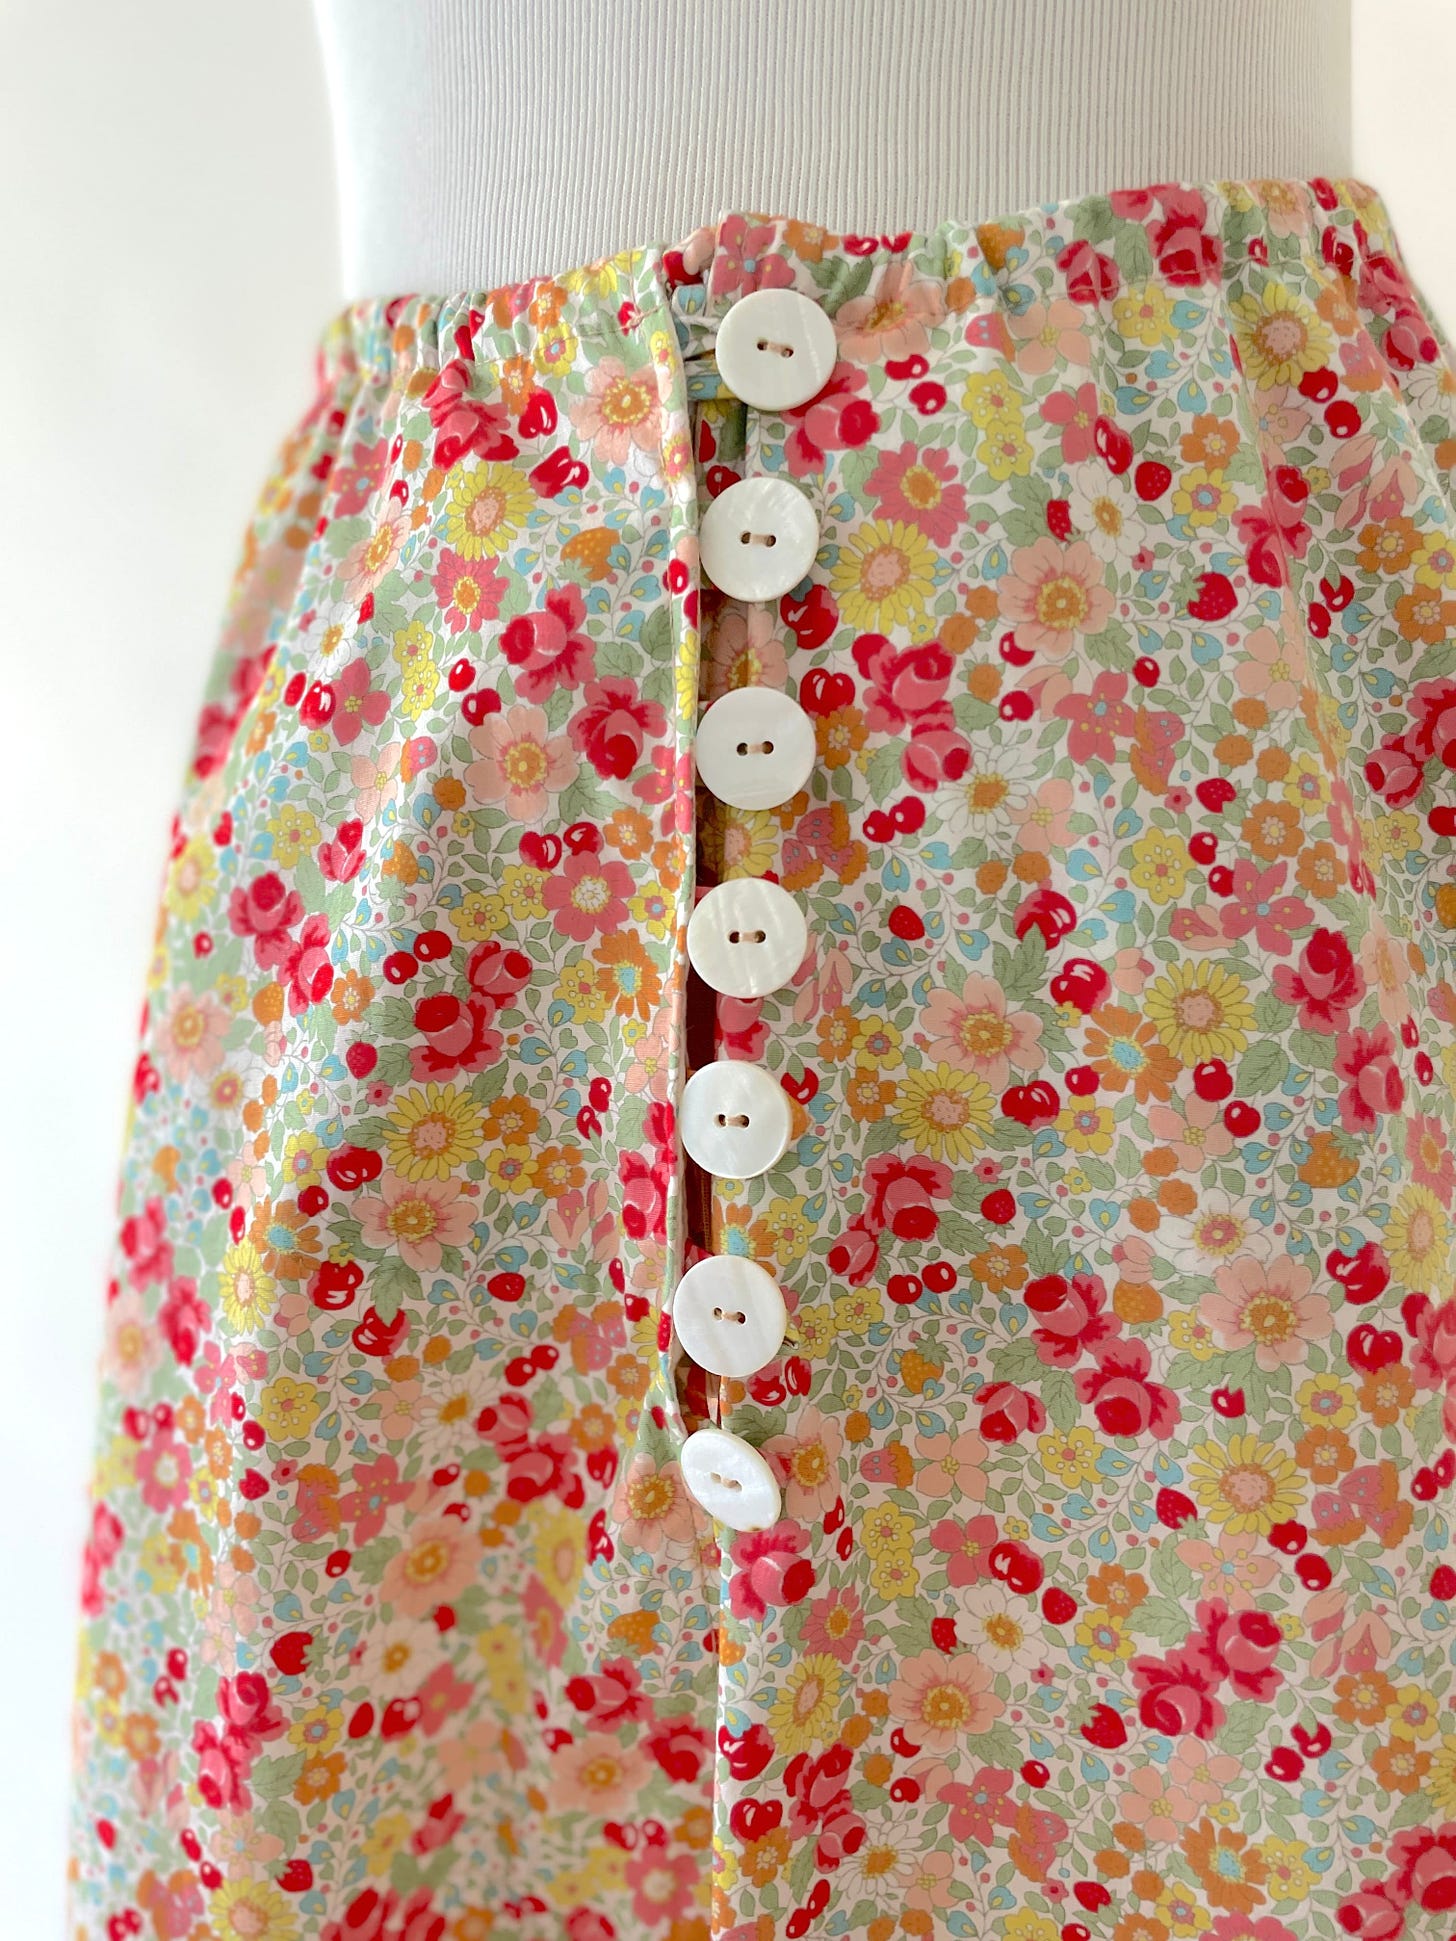
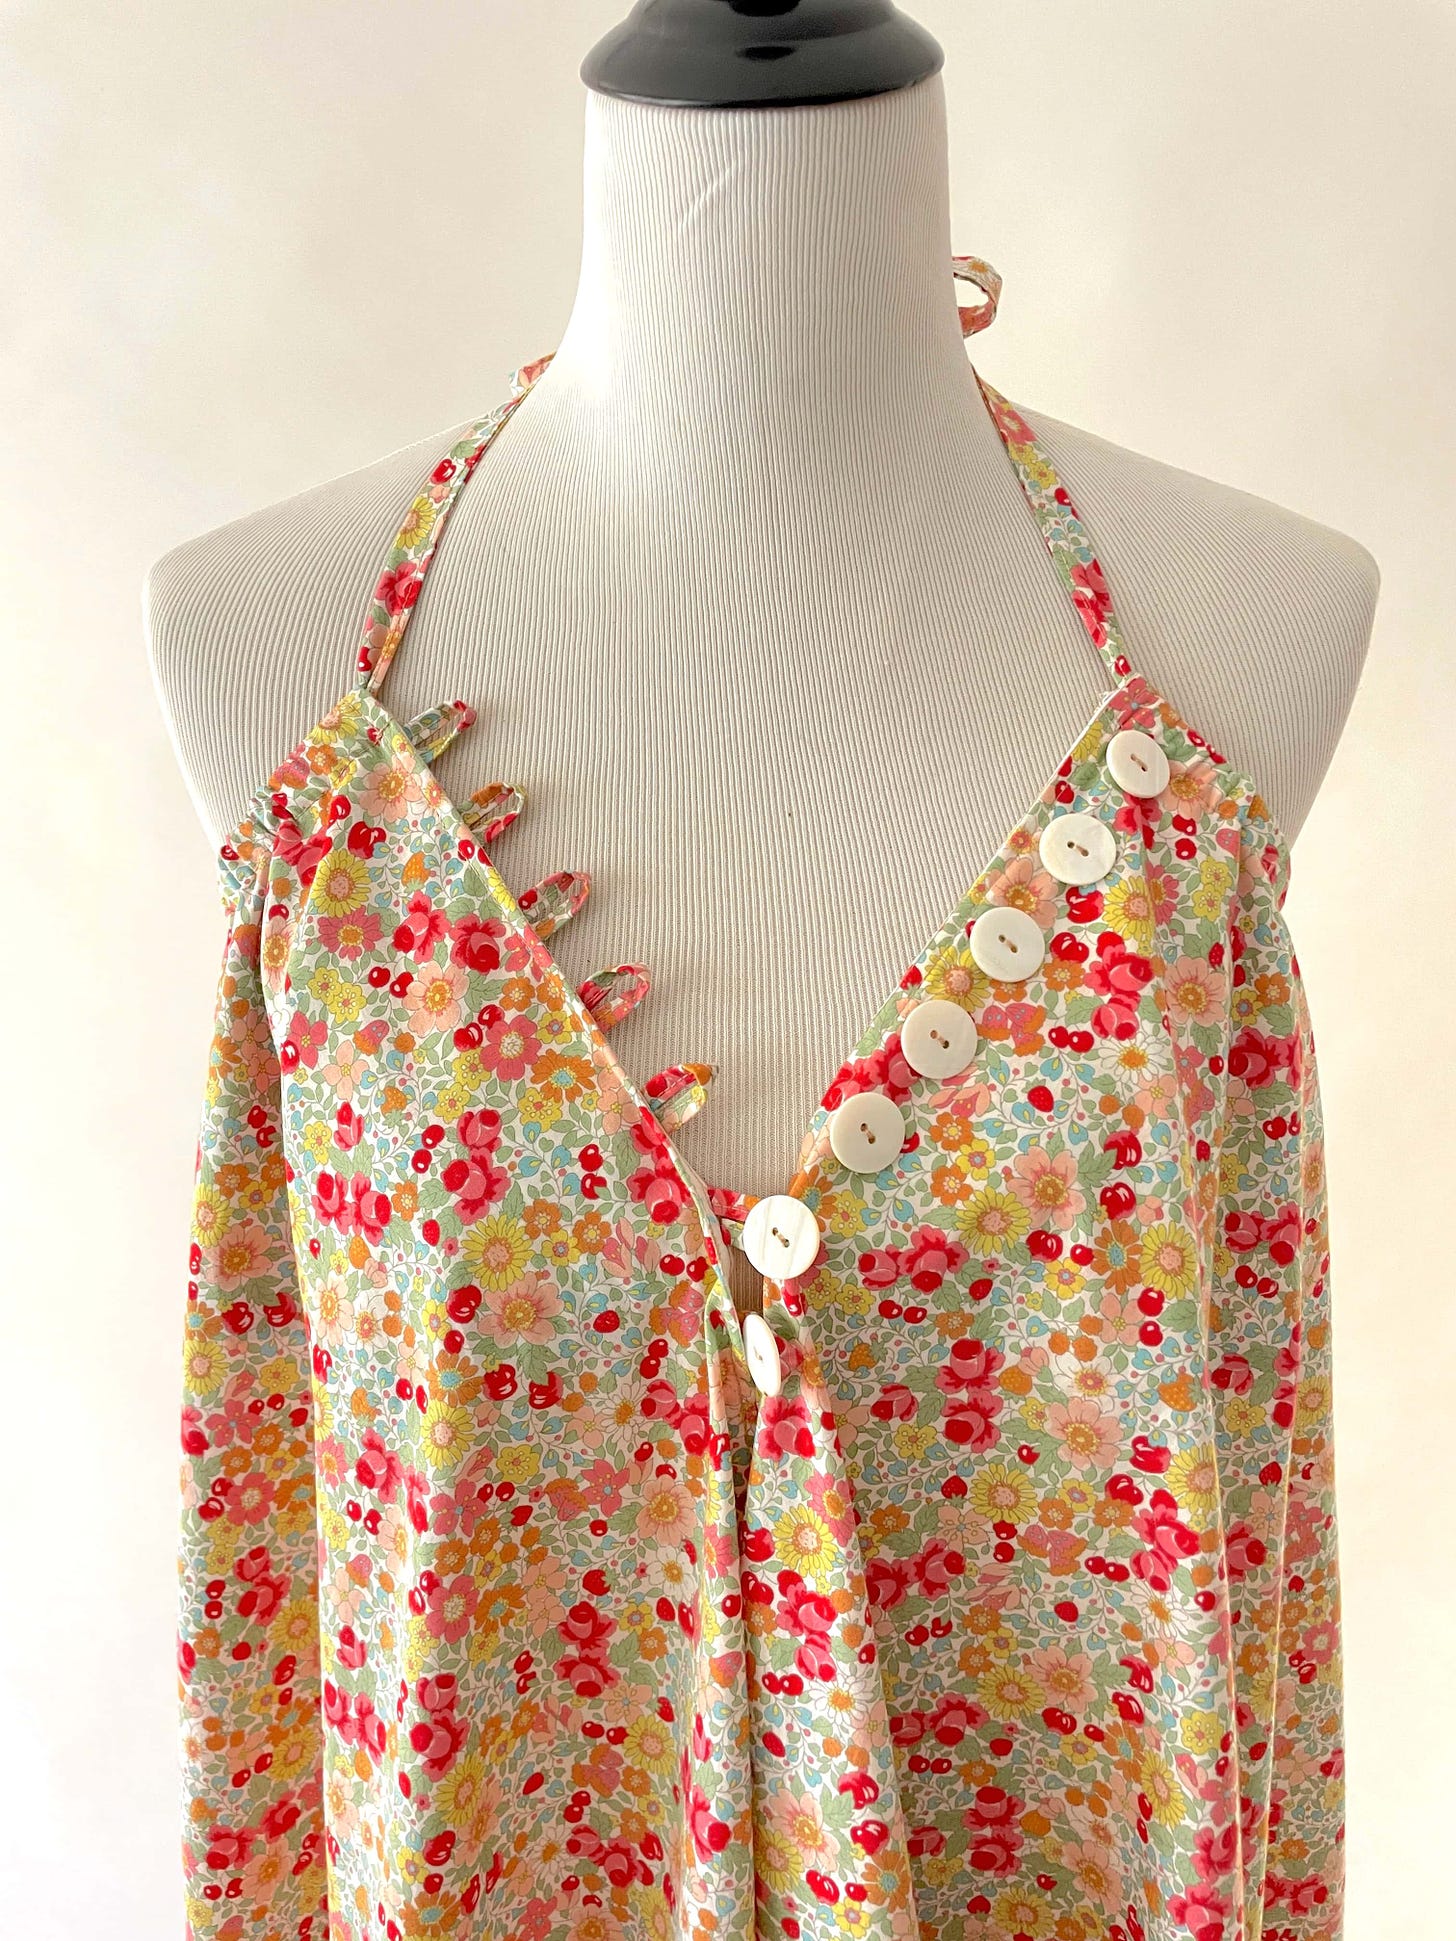
I ended up making 7 button loops for the right side. Each is 2.5” long (1.25” when folded) and 0.25” wide. The first loop is 1” from the top edge, and there’s a 1.25” distance between them.
Before stitching the buttons on the opposite side, I closed the center front 9” from the top edge, adding a bit of interfacing around the area where the stitches stop near the lowest button loop. I folded the raw edges inward and finished the center front with top stitching.
Afterwards, I hand stitched 7 shell buttons (⅝” diameter) on the left side, 1.25” away from the edge.
Encasing the Tie
Now that the bulk of the hard work around the center front is done, it’s time to add tie encasement along the neckline (or waistline).
The tie itself is made from two strips of 2” wide fabric, double folded and edge stitched to be 0.5” wide. Making the tie encasement was rather straightforward, it’s similar to creating a neckline facing. The only additional step is to fold the raw edge inward and edge stitch, so it forms a tunnel for the tie.
Ruffling the Drama
Technically, the sundress / skirt is done. But like Caramiya, I want some drama. Ruffles for the win, always. See Exhibit A: my Gathered Cloths project, in which I endlessly sew ruffle strips on top of base cloth pieces.
So I cut 10” long fabric strips, approximately until the circumference is approximately double the hem circumference. I connected and finished the would-be ruffle strips using the flat felled seam finish.
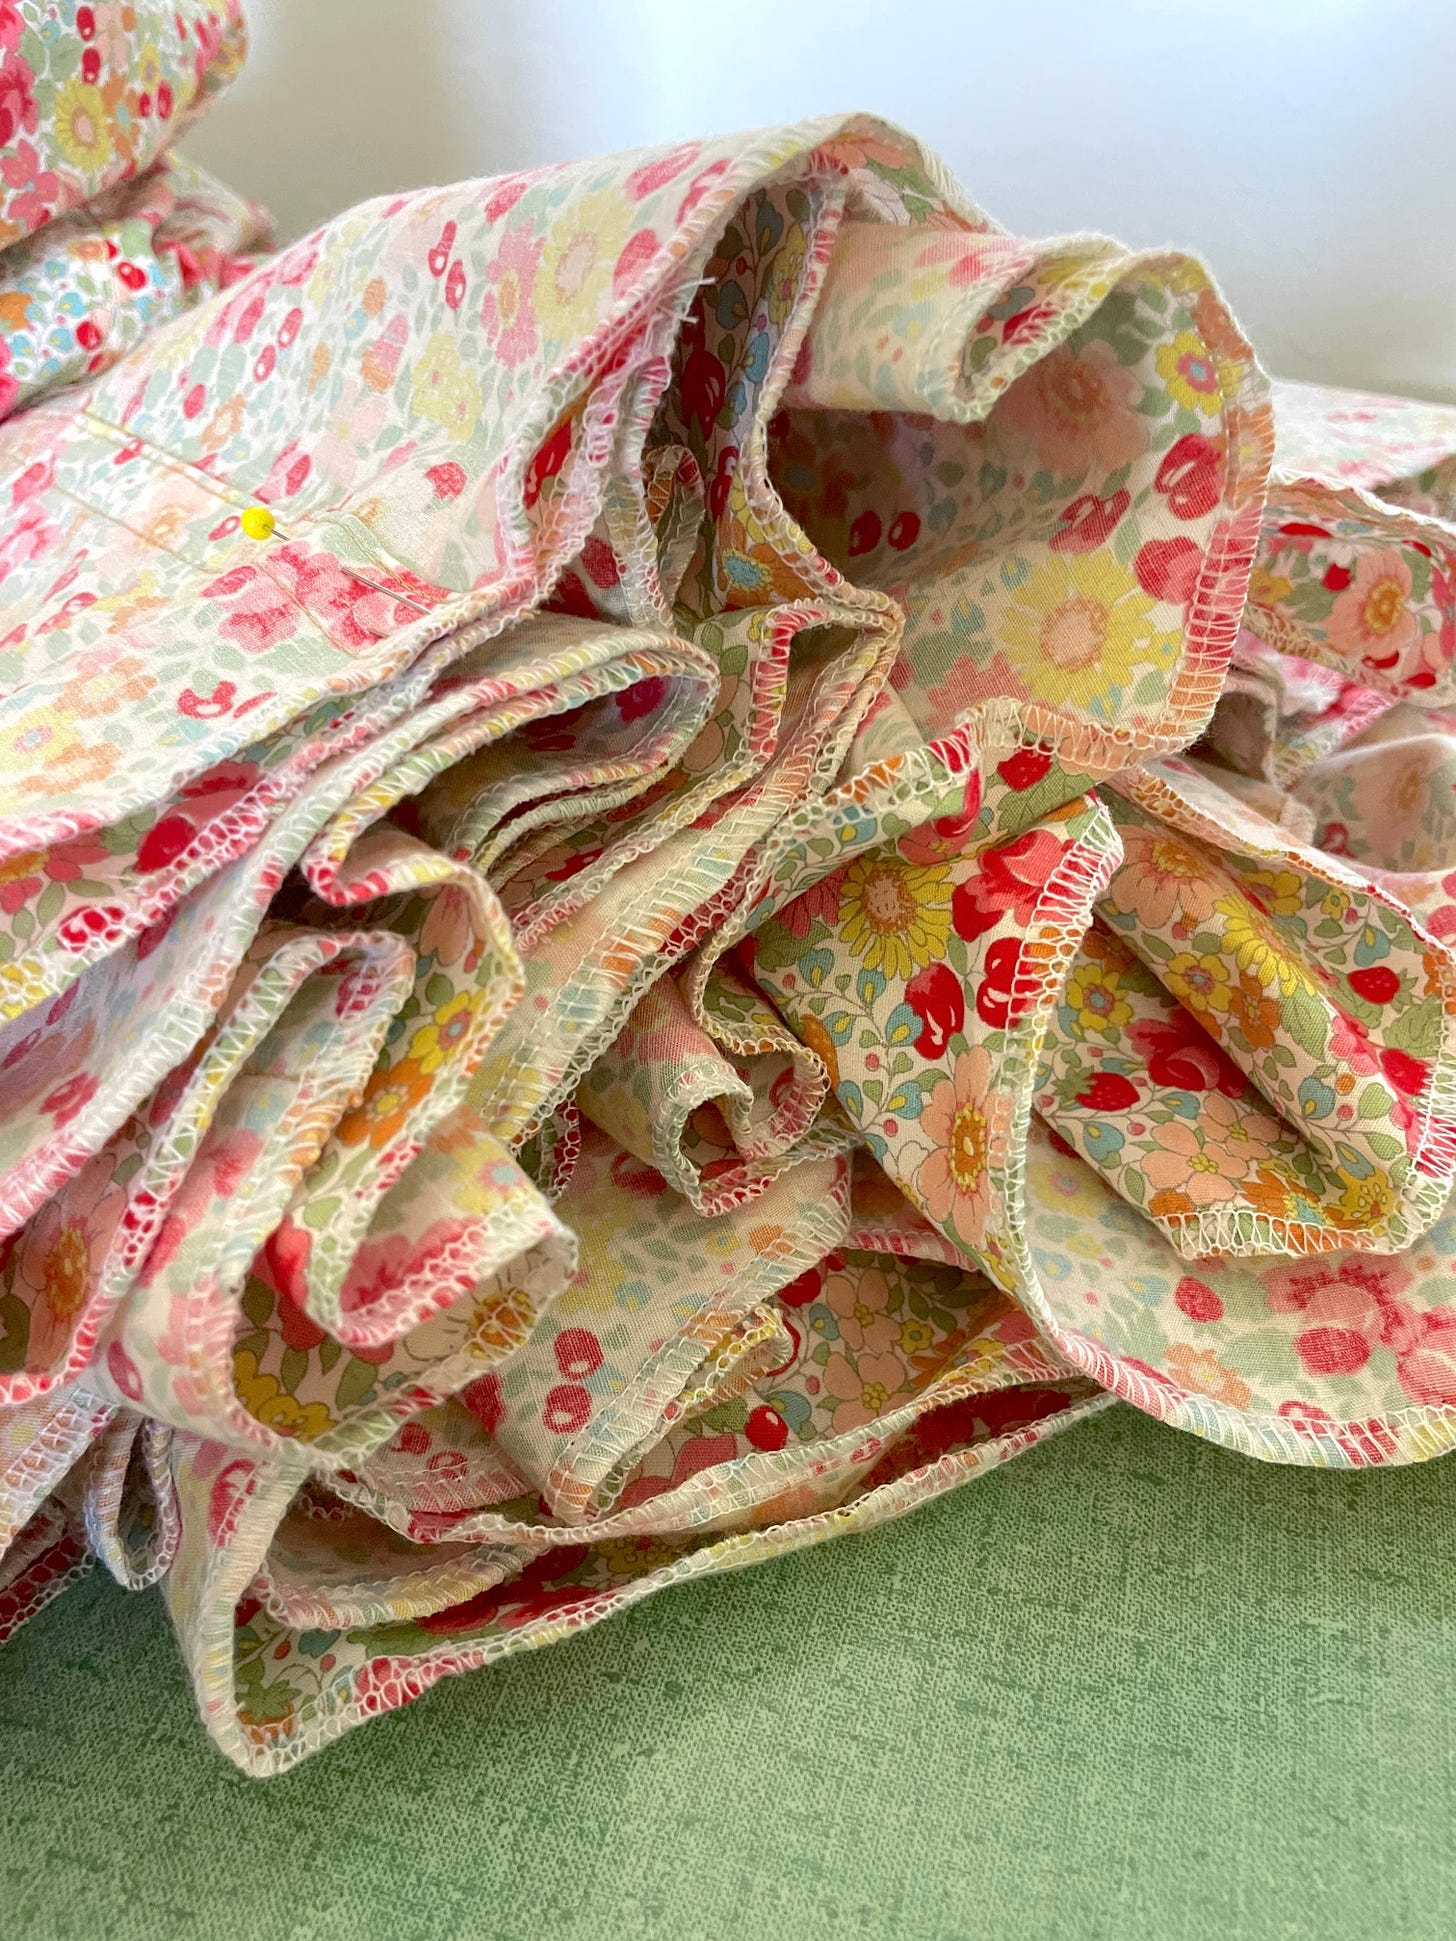
After I hemmed the ruffles, I pinned the super long ruffle strip to the bottom of the sundress / skirt. I had to pin the fabric strip in 16 points to make sure I don’t run out of fabric when I ruffle them. On the sewing machine table, the fabric folds created a pile that made me dizzy for a moment.
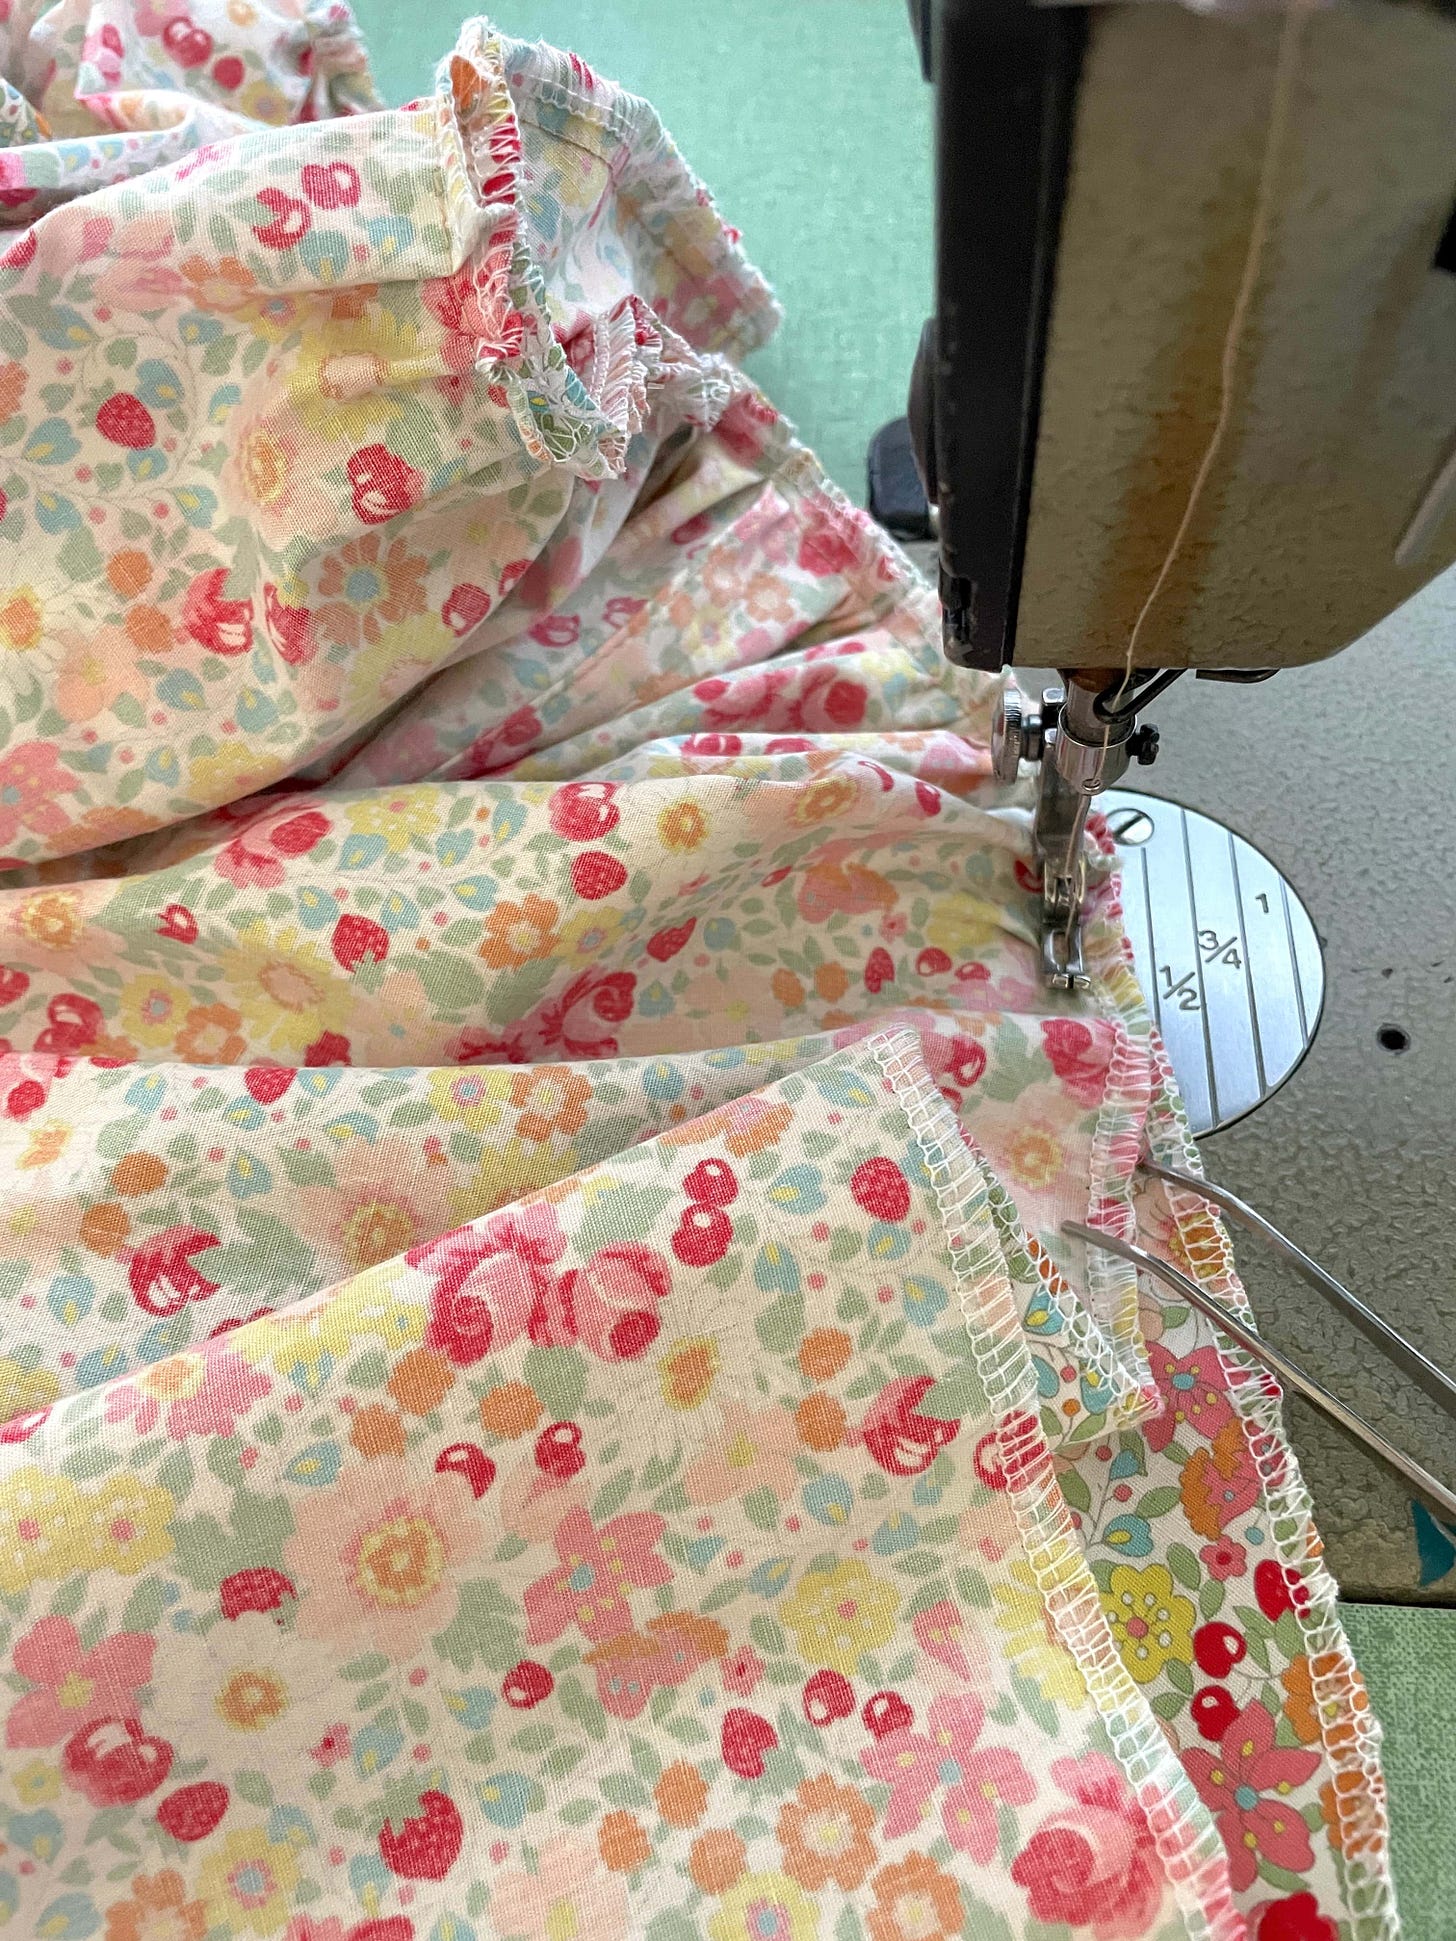
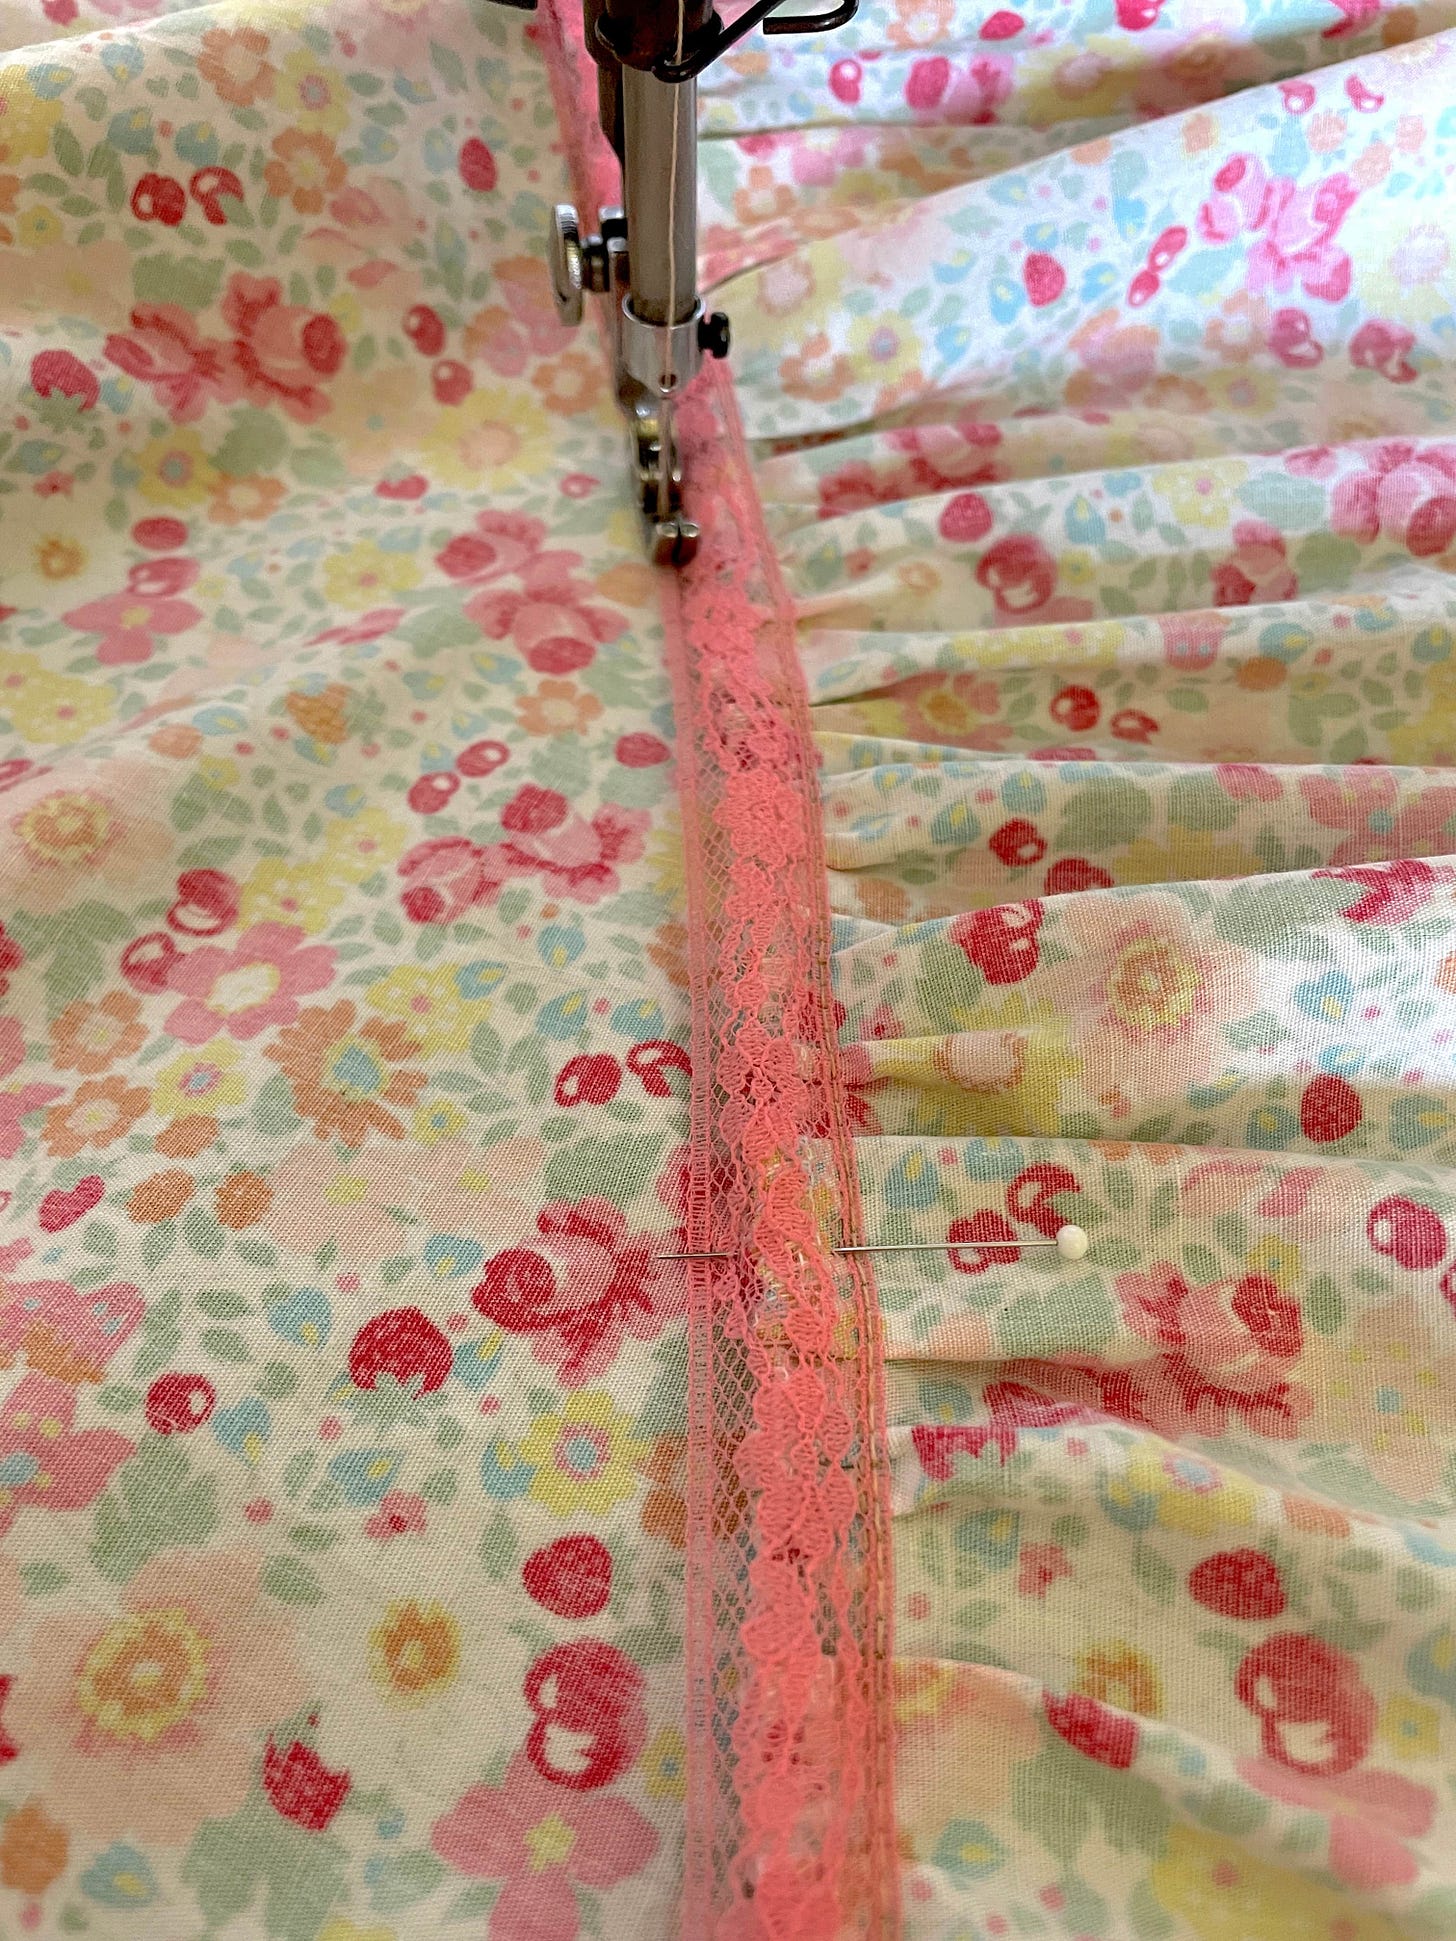
Sewing the ruffle strip took a little longer because I went slowly, but the ruffle looked great. Was I finished? Nope. I added a flex lace bind to encase the exposed ruffle seams on the inside.
Showcasing the Sundress
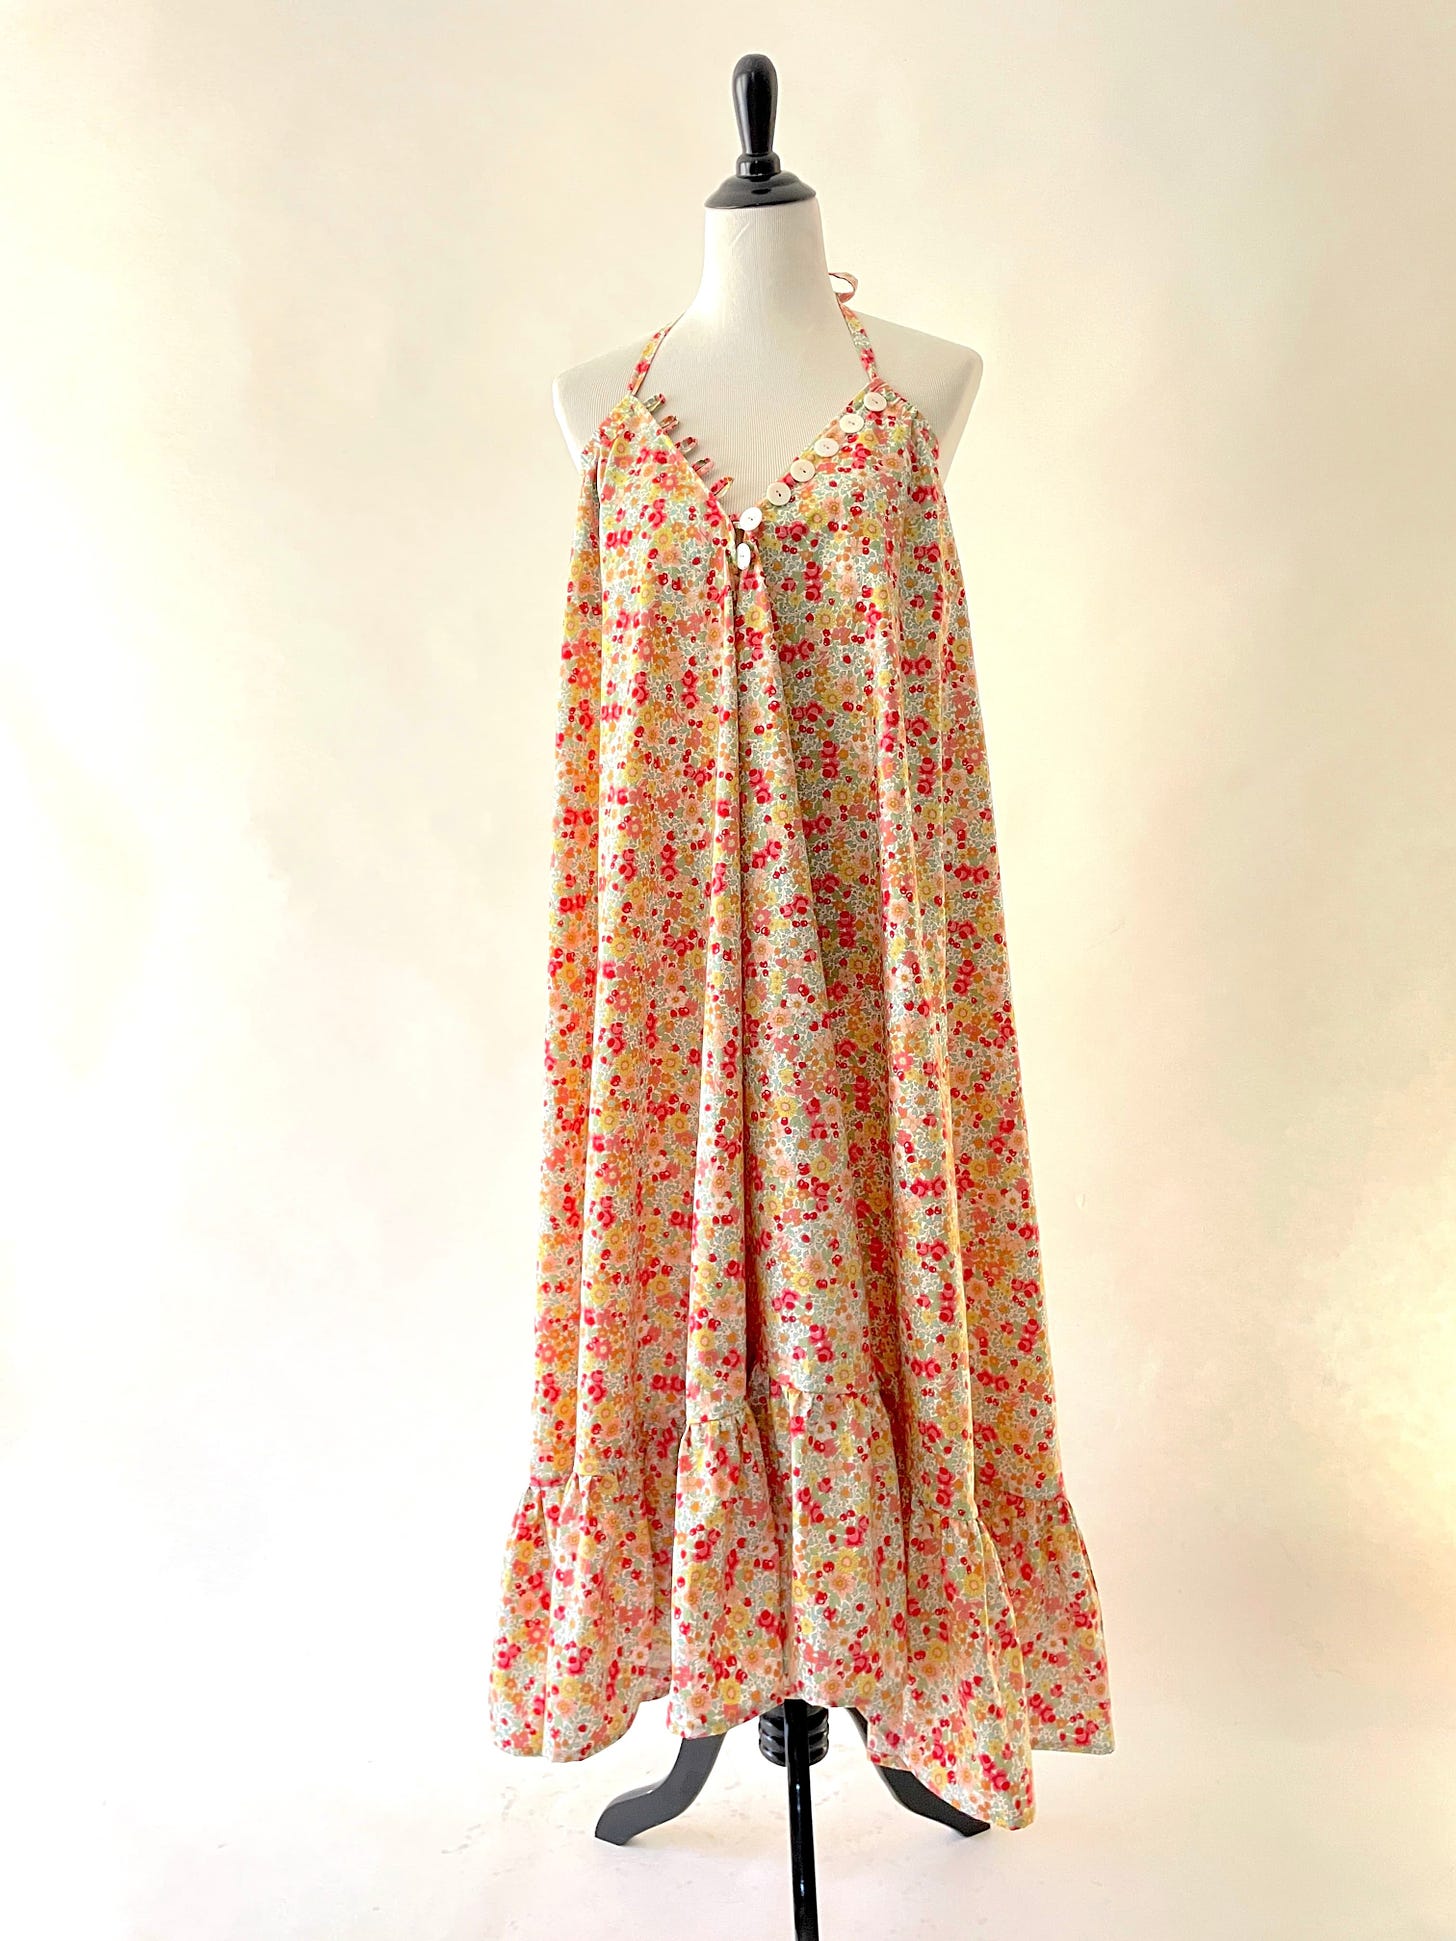
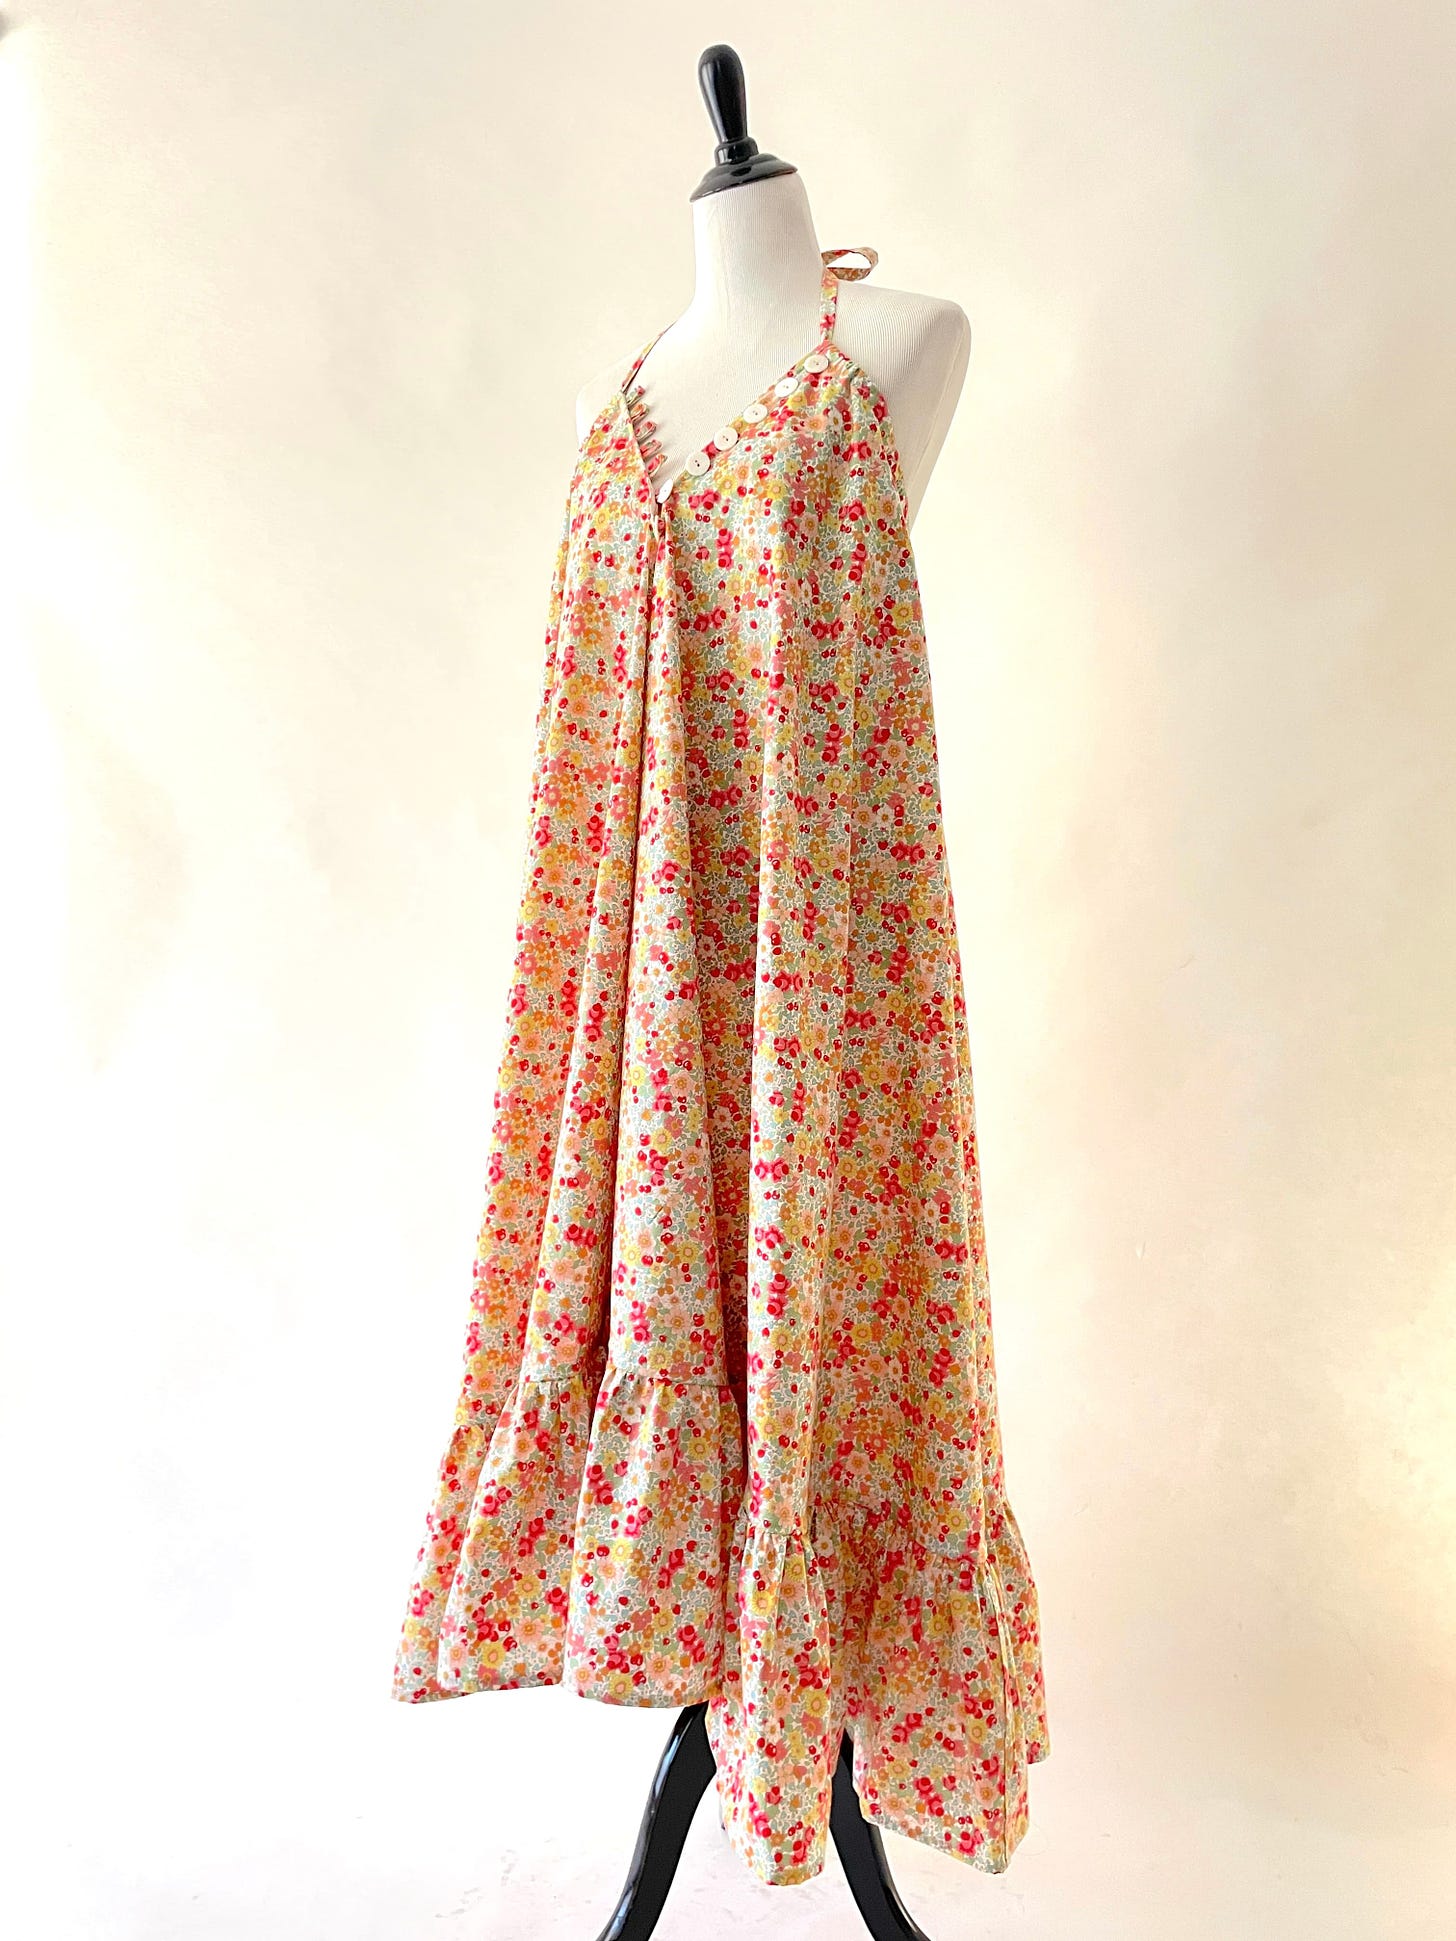
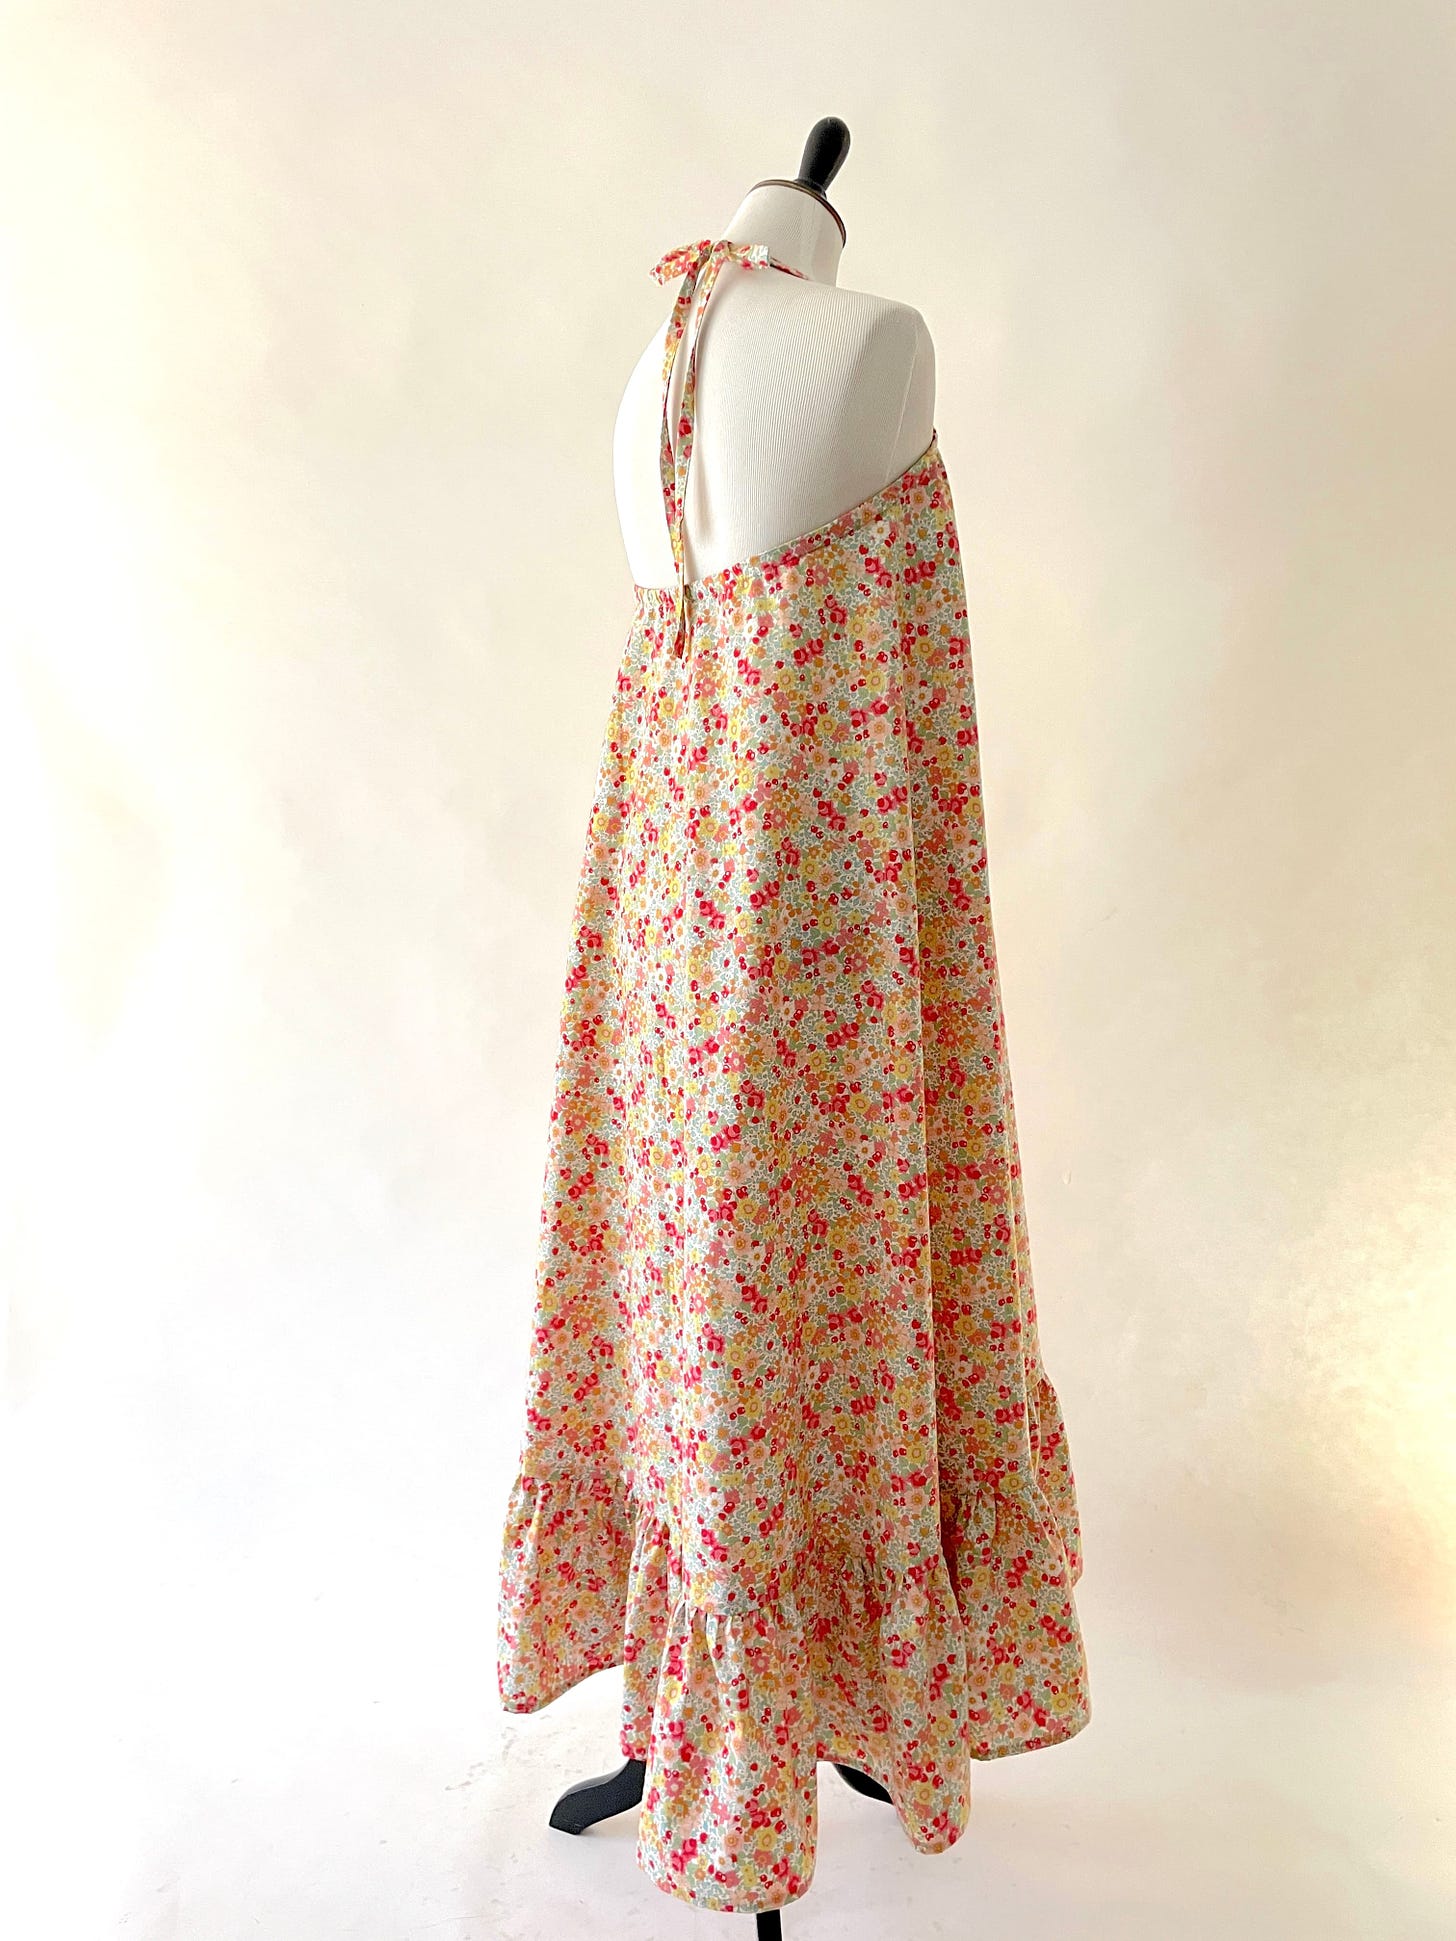
With the flexi lace in place, I was finally satisfied. Check out the floral sundress. Isn’t it lovely?
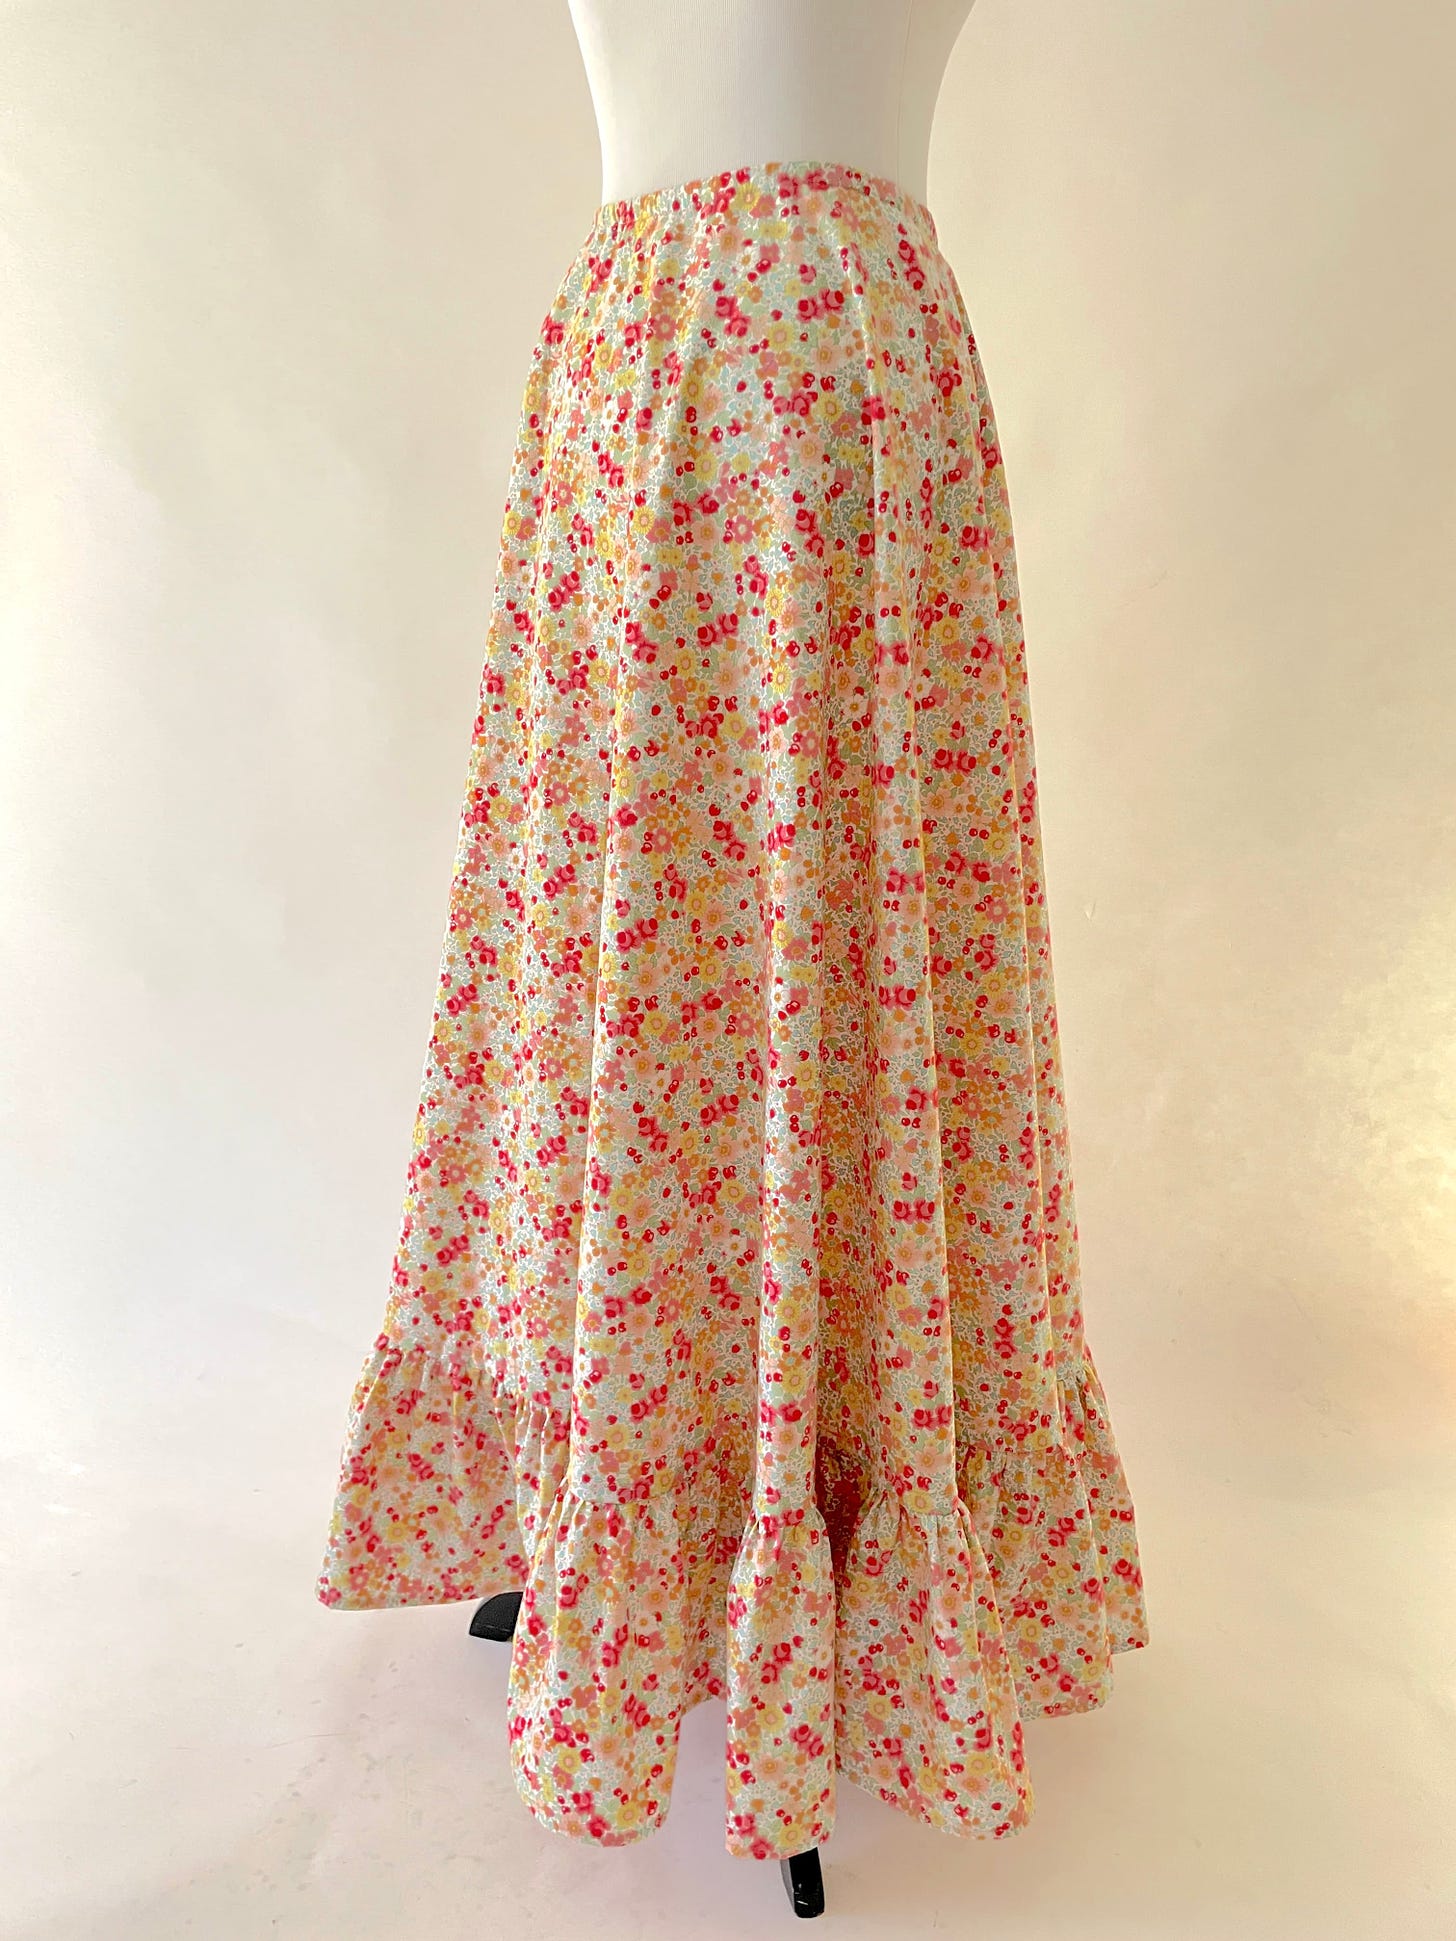
And this is how it looks as a skirt! It’s giving prairie vibes, to be honest.
I think I’m going to wear this garment often, either as a sundress or a skirt. It’s a versatile summer staple that’s also travel-ready. I can also see myself styling it as a transition piece, either from spring to summer or from summer to fall.
Imagine combining it with white tee and denim jacket, layering it with a cozy cardigan sweater, cinching the waist with a contrasting scarf, the options are endless. When you see me wearing it on Instagram in the future, please give a shout out!
So what do you think? Would you make one for yourself? What’s your summer staple favorite this year? Leave me a comment! Feel free to ask me questions about specific how-to step(s) and I’ll be happy to point you to the right direction.
Thanks for reading; until next time,
Mira Musank


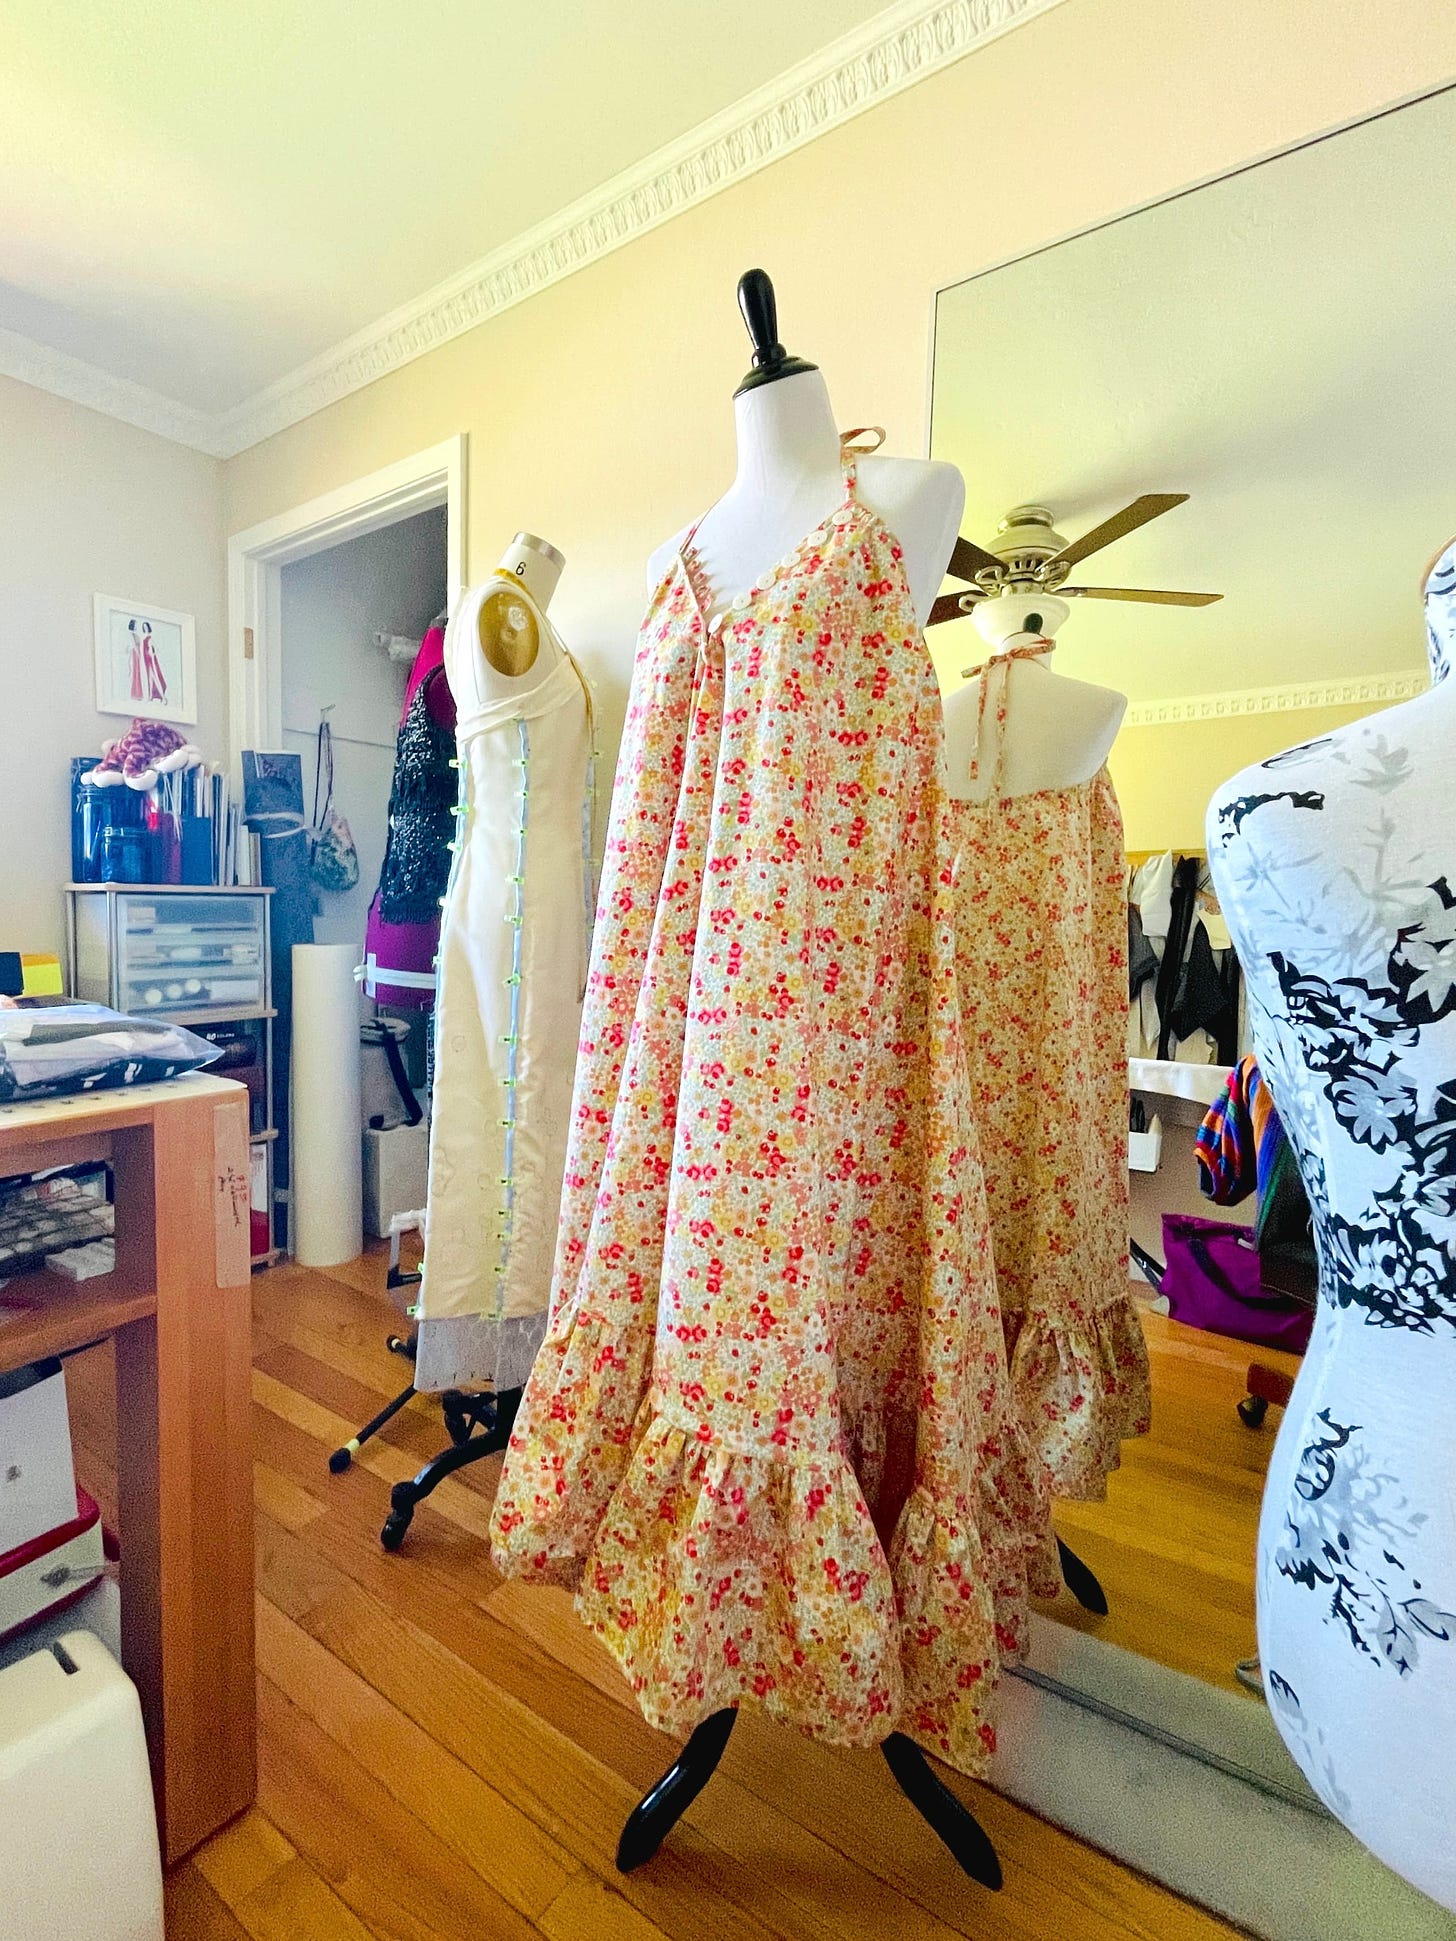
It’s amazing how adaptable a relatively simple pattern piece can be. Looking at this and considering how to mod it myself!