


Deconstructing McQueen: My Journey Through the Scanners Jacket
Inside the construction of arguably fashion's most challenging DIY project

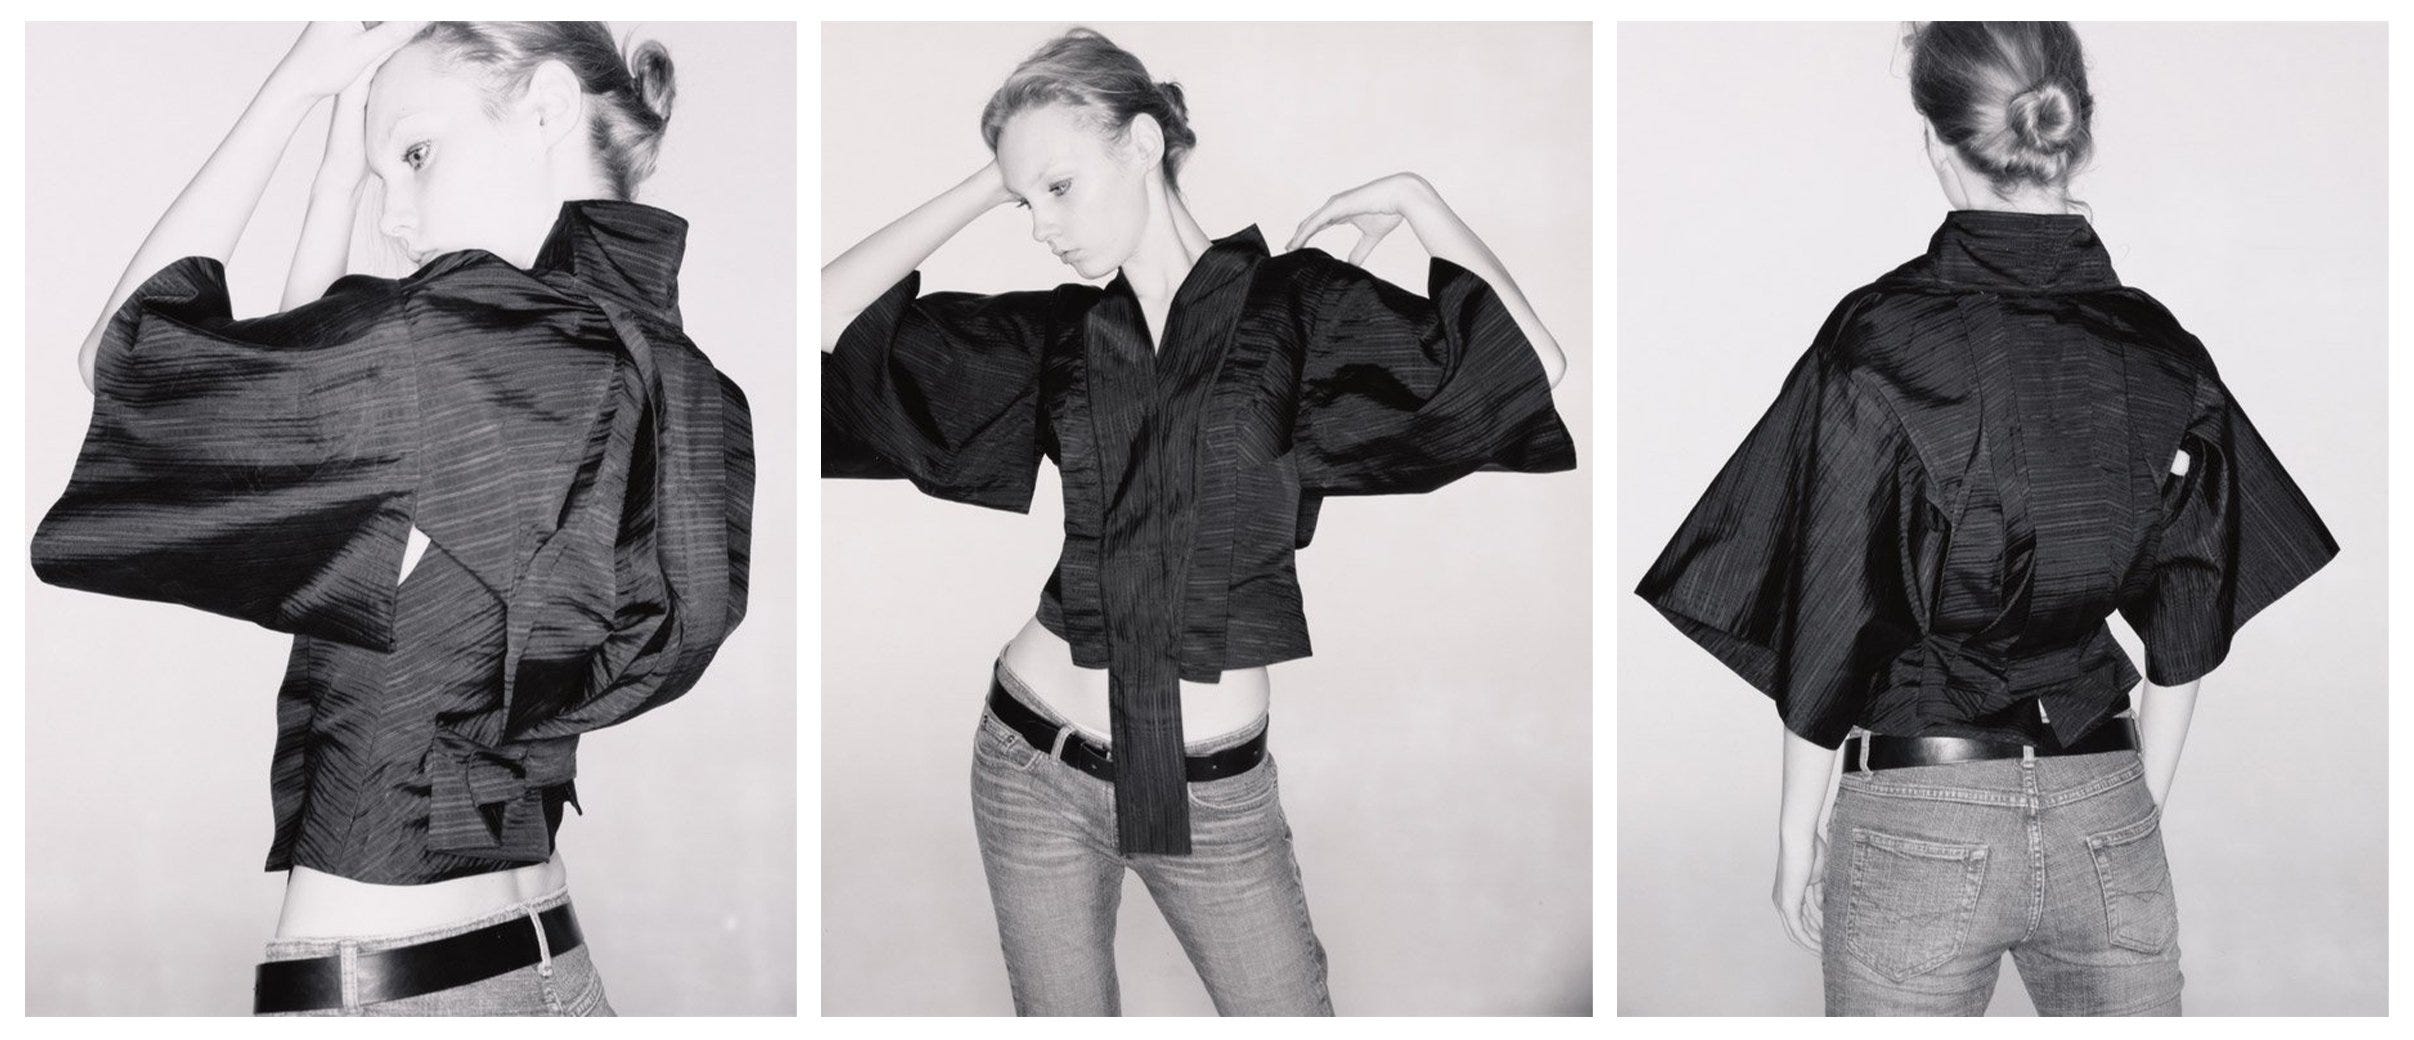
Hi Fafafoom Studio Newsletter readers, here is the second part of the 3-part AAPI Heritage Month special series. This is partly a revisit of an upcycling project I did a couple of years ago, but with more details. Alexander McQueen's Scanners A/W 2003 collection featured a jacket that transformed traditional kimono silhouettes into a timeless avant-garde garment.
Two years ago, I attempted to create my own version of this masterpiece. Read the article to see how I did it. It’s going to be a long scroll - go to Substack to read it in one go! All photos are my own unless stated otherwise.
The Design
Let’s go straight to the point - yes, the kimono-inspired jacket is an Alexander McQueen design. It was part of the McQueen’s A/W 2003 Scanners collection. During the runway show, the model wearing it starts walking at the 6:10 mark.
Now, how do you get the pattern? SHOW Studio has a treasure trove of famous fashion designers’ designs free to download. If you like creating high-fashion designs with free patterns, SHOW Studio is going to be one of your best resources. A San Francisco boutique sales manager told me this many years ago, and that’s how I came across the McQueen jacket’s pattern.
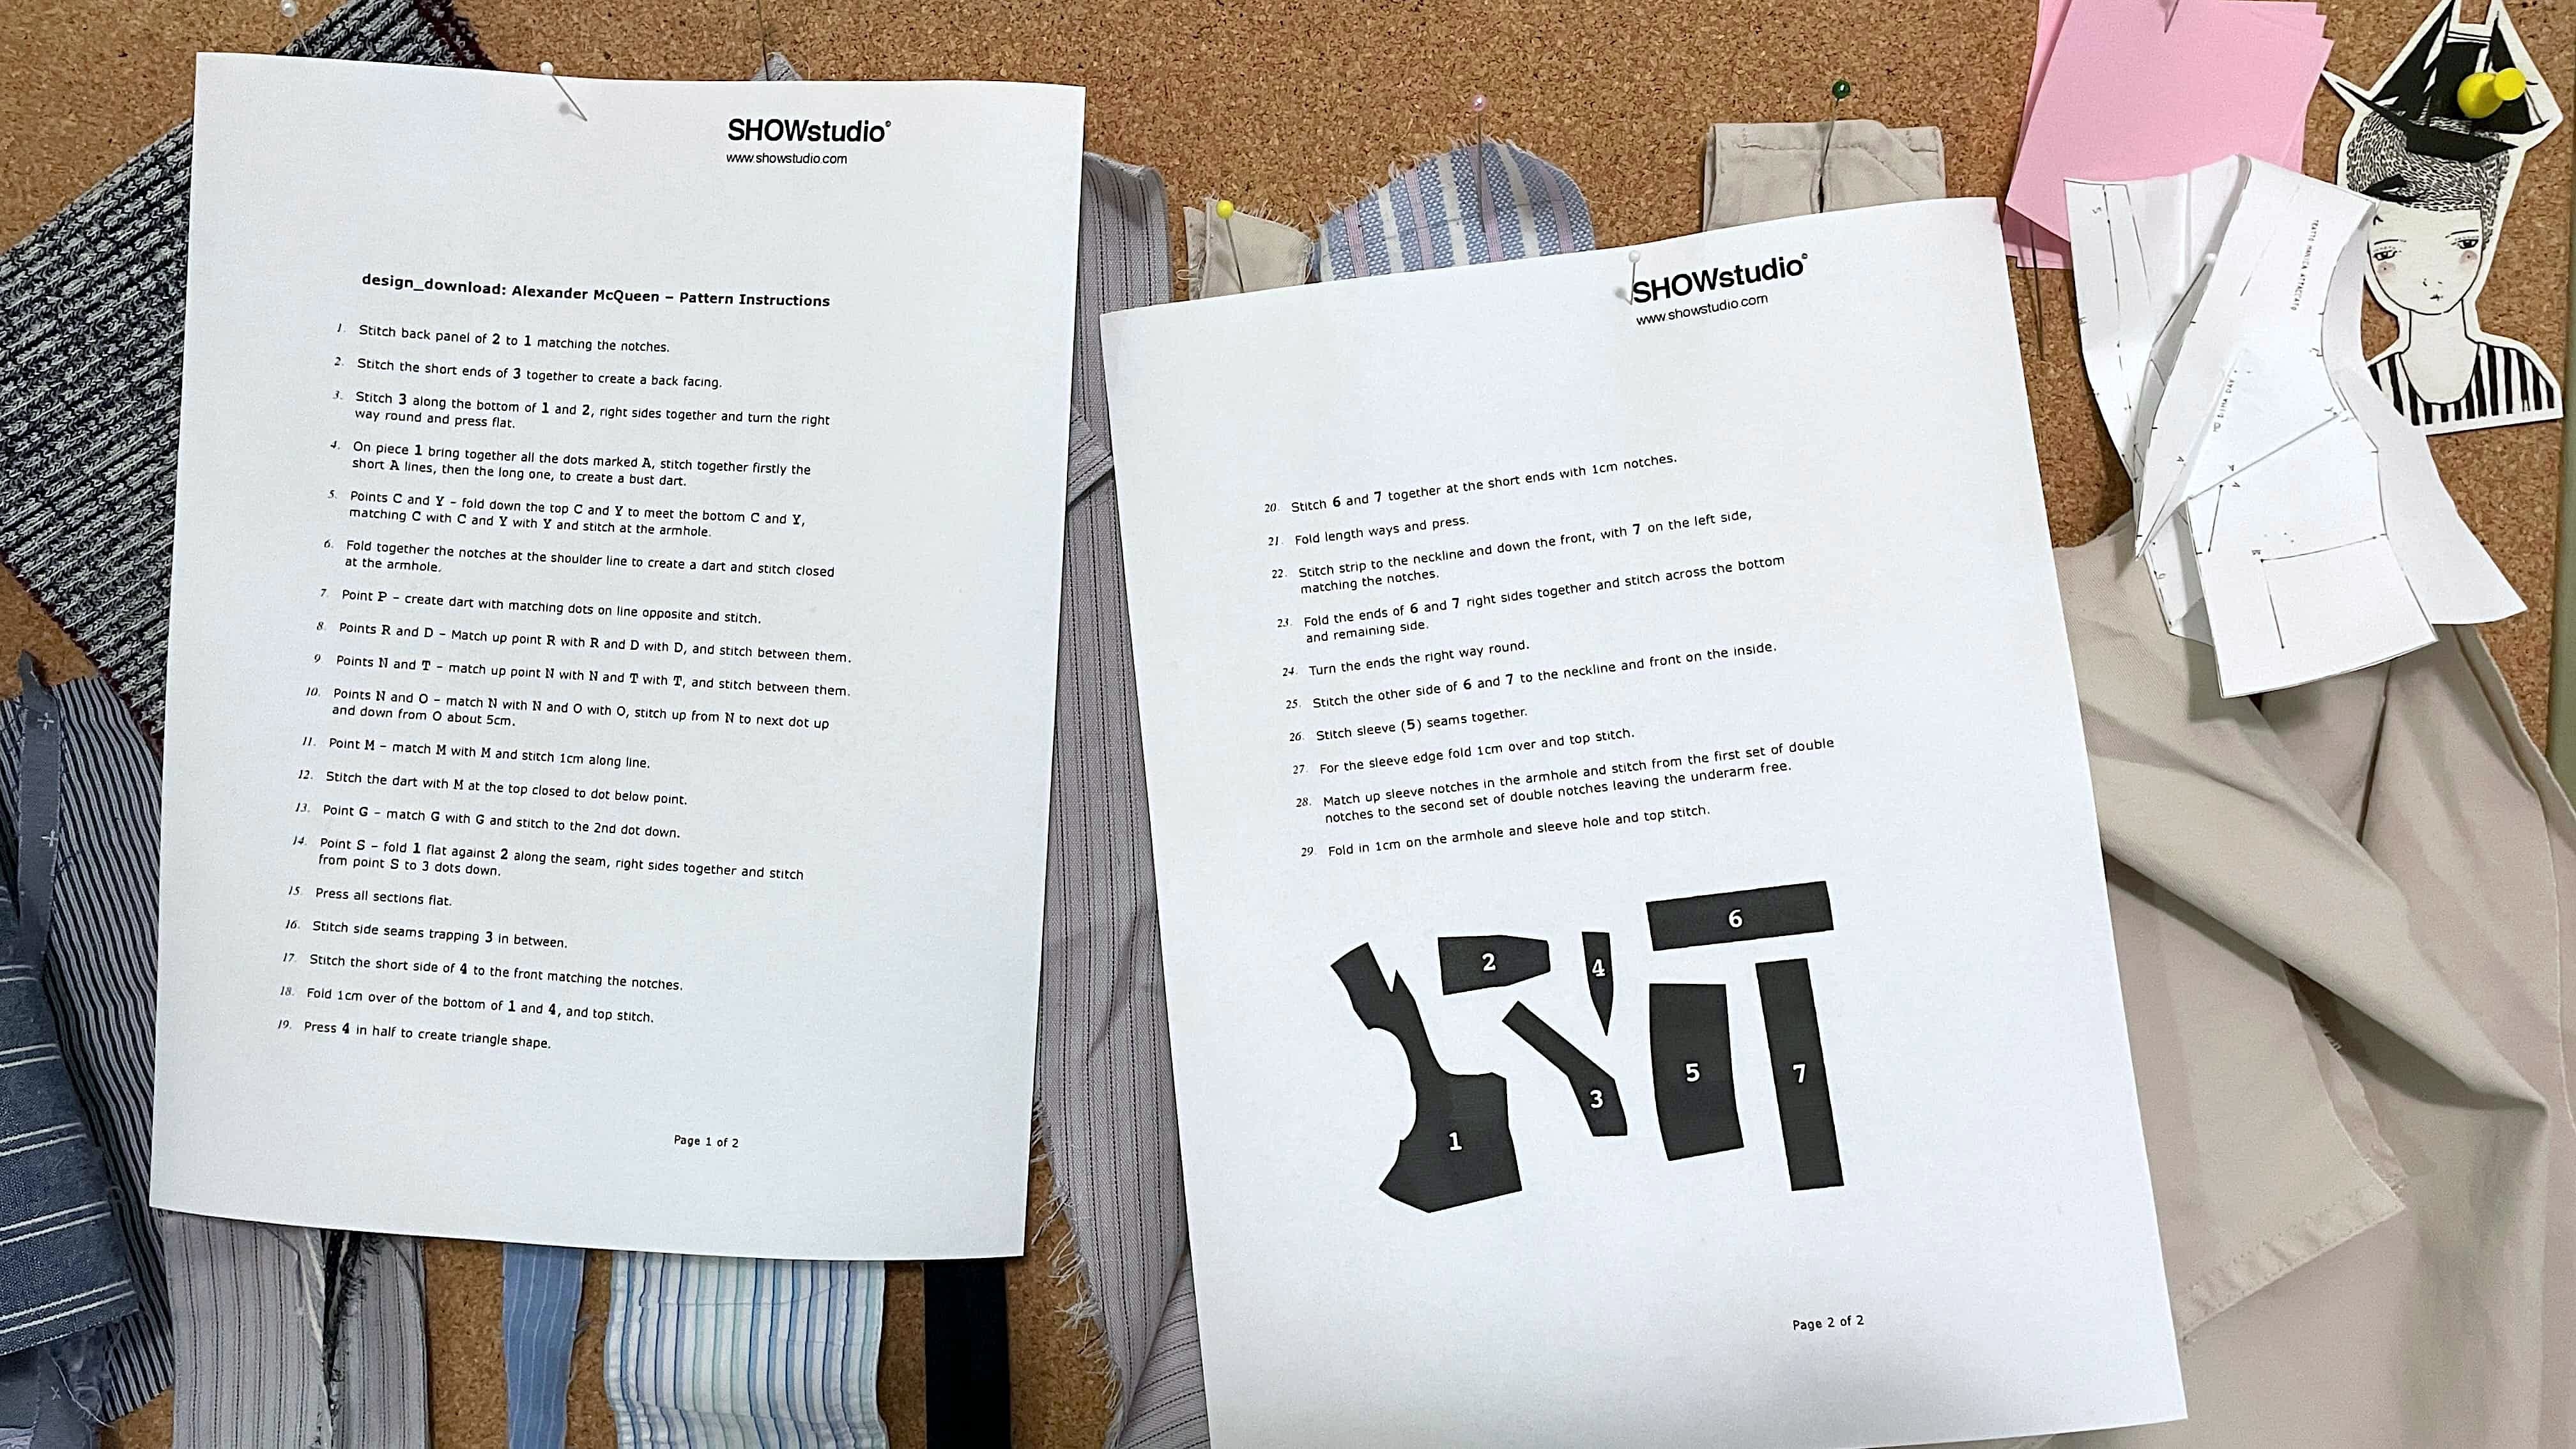
While the pattern has been available for free download since 2004, I haven’t seen many finished projects (or attempts). The instructions are sparse, the garment is highly technical and not beginner-friendly. It’s quite intimidating, for sure. When I finally convinced myself that it’s the right time to make the garment, I started by printing out the instructions and creating a paper model for a test run.
Fortunately, Grace Alexander has created a full video tutorial of how she made her jacket version, which follows the original design more faithfully. My version eliminates the asymmetrical lapel and adds haori jacket-style cording closure. I’ll explain more when we get to that section.
OK, ready to dive in? Here we go!
Pro Tips:
For all the experienced sewists out there, if you are interested in creating this McQueen kimono-inspired jacket for yourself, I highly recommend doing the paper model first for a warmup. Make sure you print out not just the pattern, but also the 3-page instructions.
On a broader note, bookmark and download things from SHOW Studio. It is such a gem, freely sharing original patterns and projects in an effort to demystify fashion. I cannot recommend it highly enough!
My Version
After years of leaving this McQueen jacket in my wishlist, something happened in late 2022 that pushed this line item from my backlog to my in-progress (and later on, finished) list. Someone dear to the family passed away, and I wanted to capture the occasion and the state of heaviness I experienced that time in a memorable way.
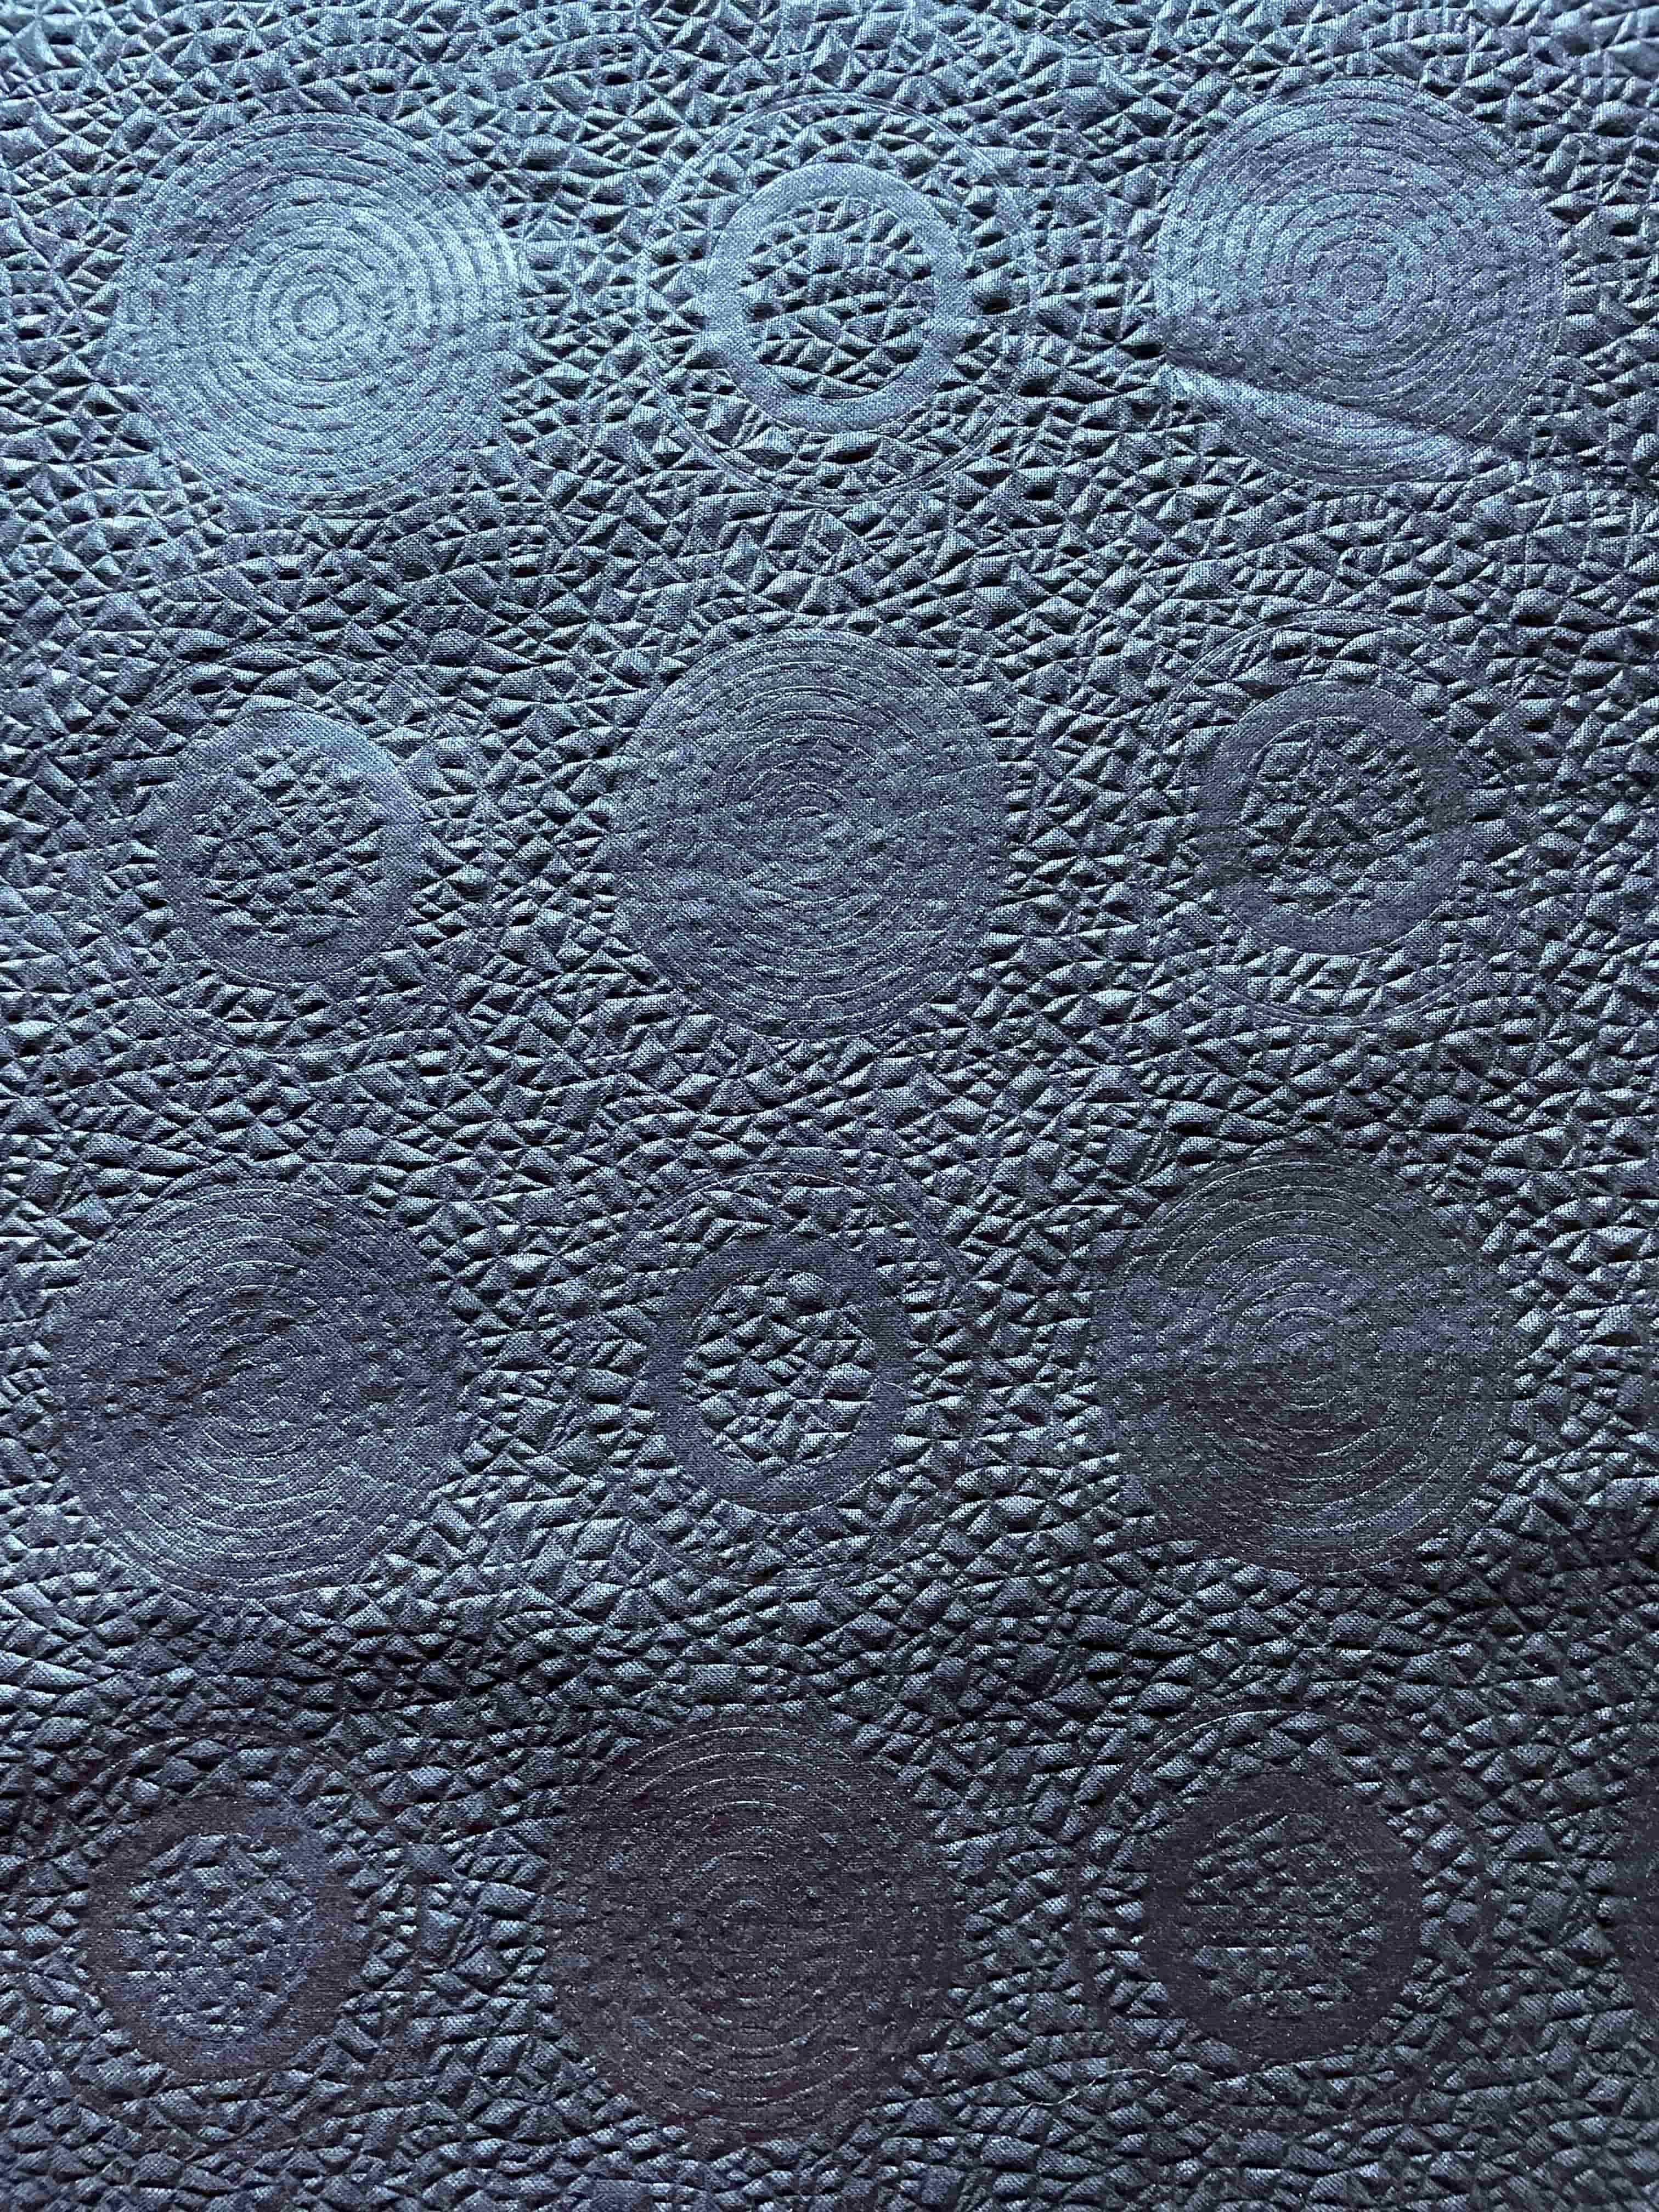
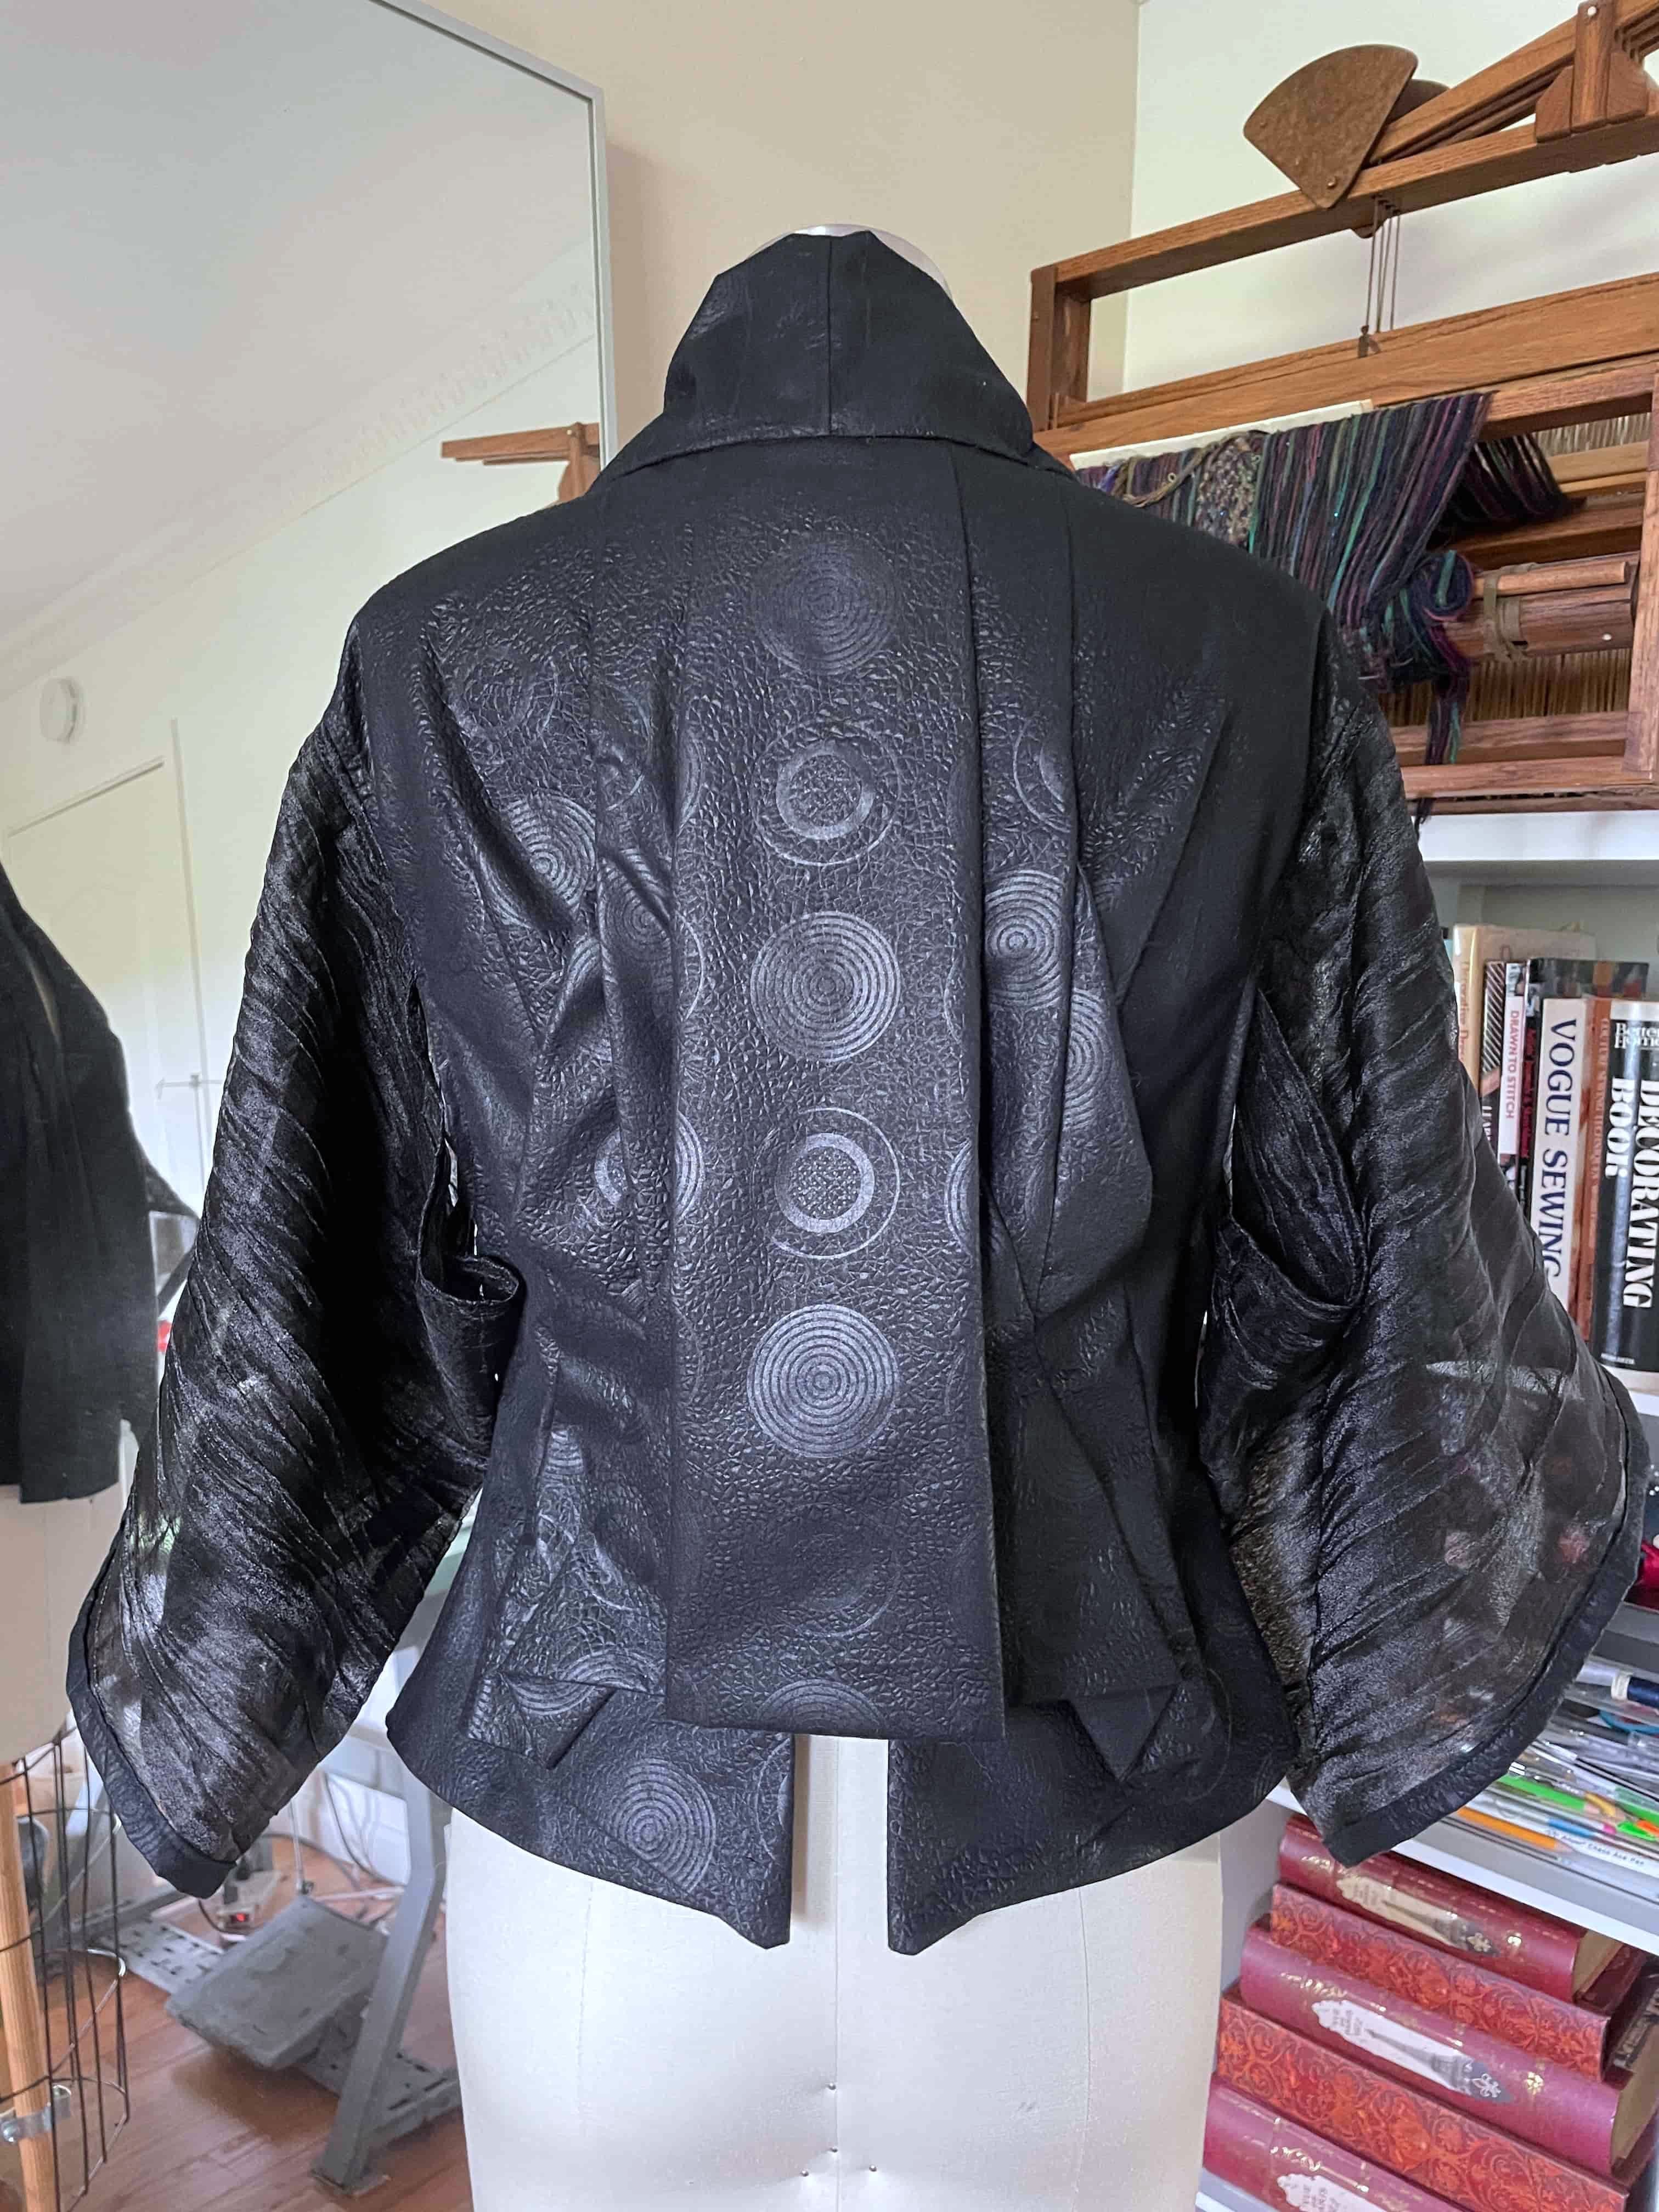
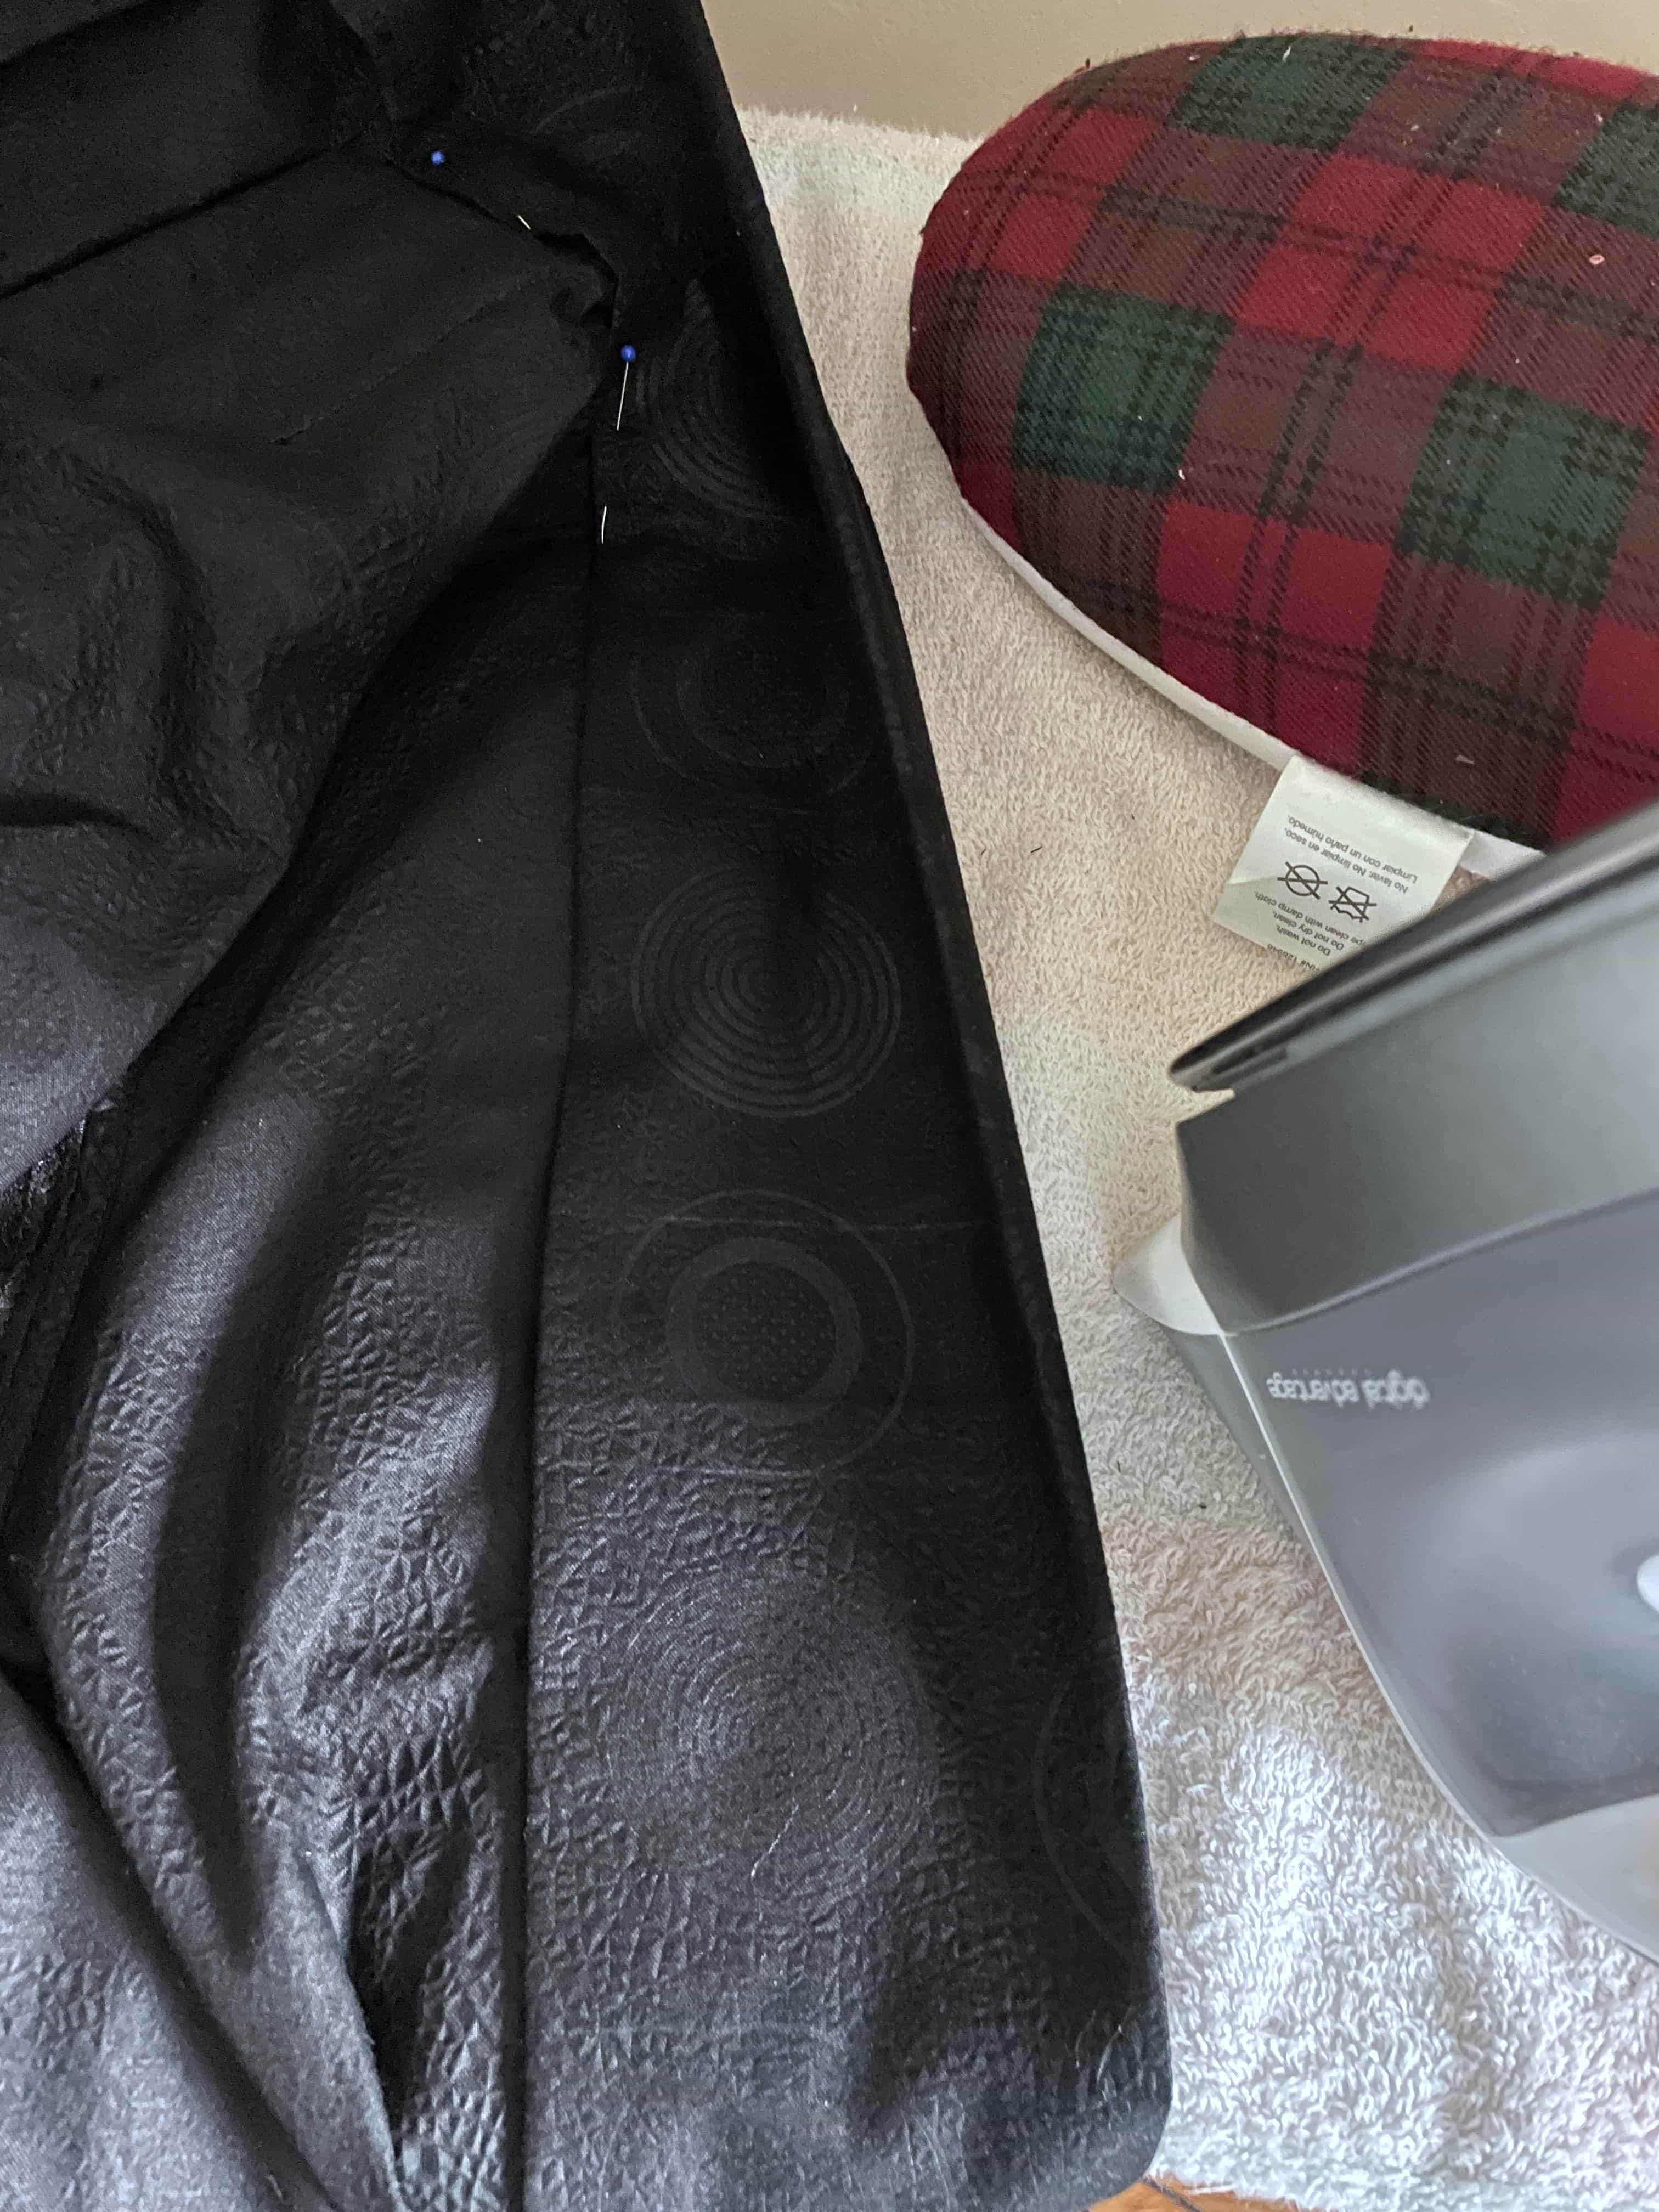
So I decided to make this jacket using a large cutoff / remnant of a traditional Ghanaian fabric that’s usually reserved for funeral or formal wear. It’s called Brissi (which means black in Ghanaian Twi language), made with 100% cotton, and embossed with African patterns. It feels like a combination of paper and leather - lightweight, relatively strong and pliable.
The link I shared above lists the exact same Brissi fabric design I used for this project, and here’s a closeup look of the fabric below. It reminds me of the Javanese Batik Cap design, which has a combination of featured designs (in this case circles) surrounded by filler motifs (the embossed triangles).
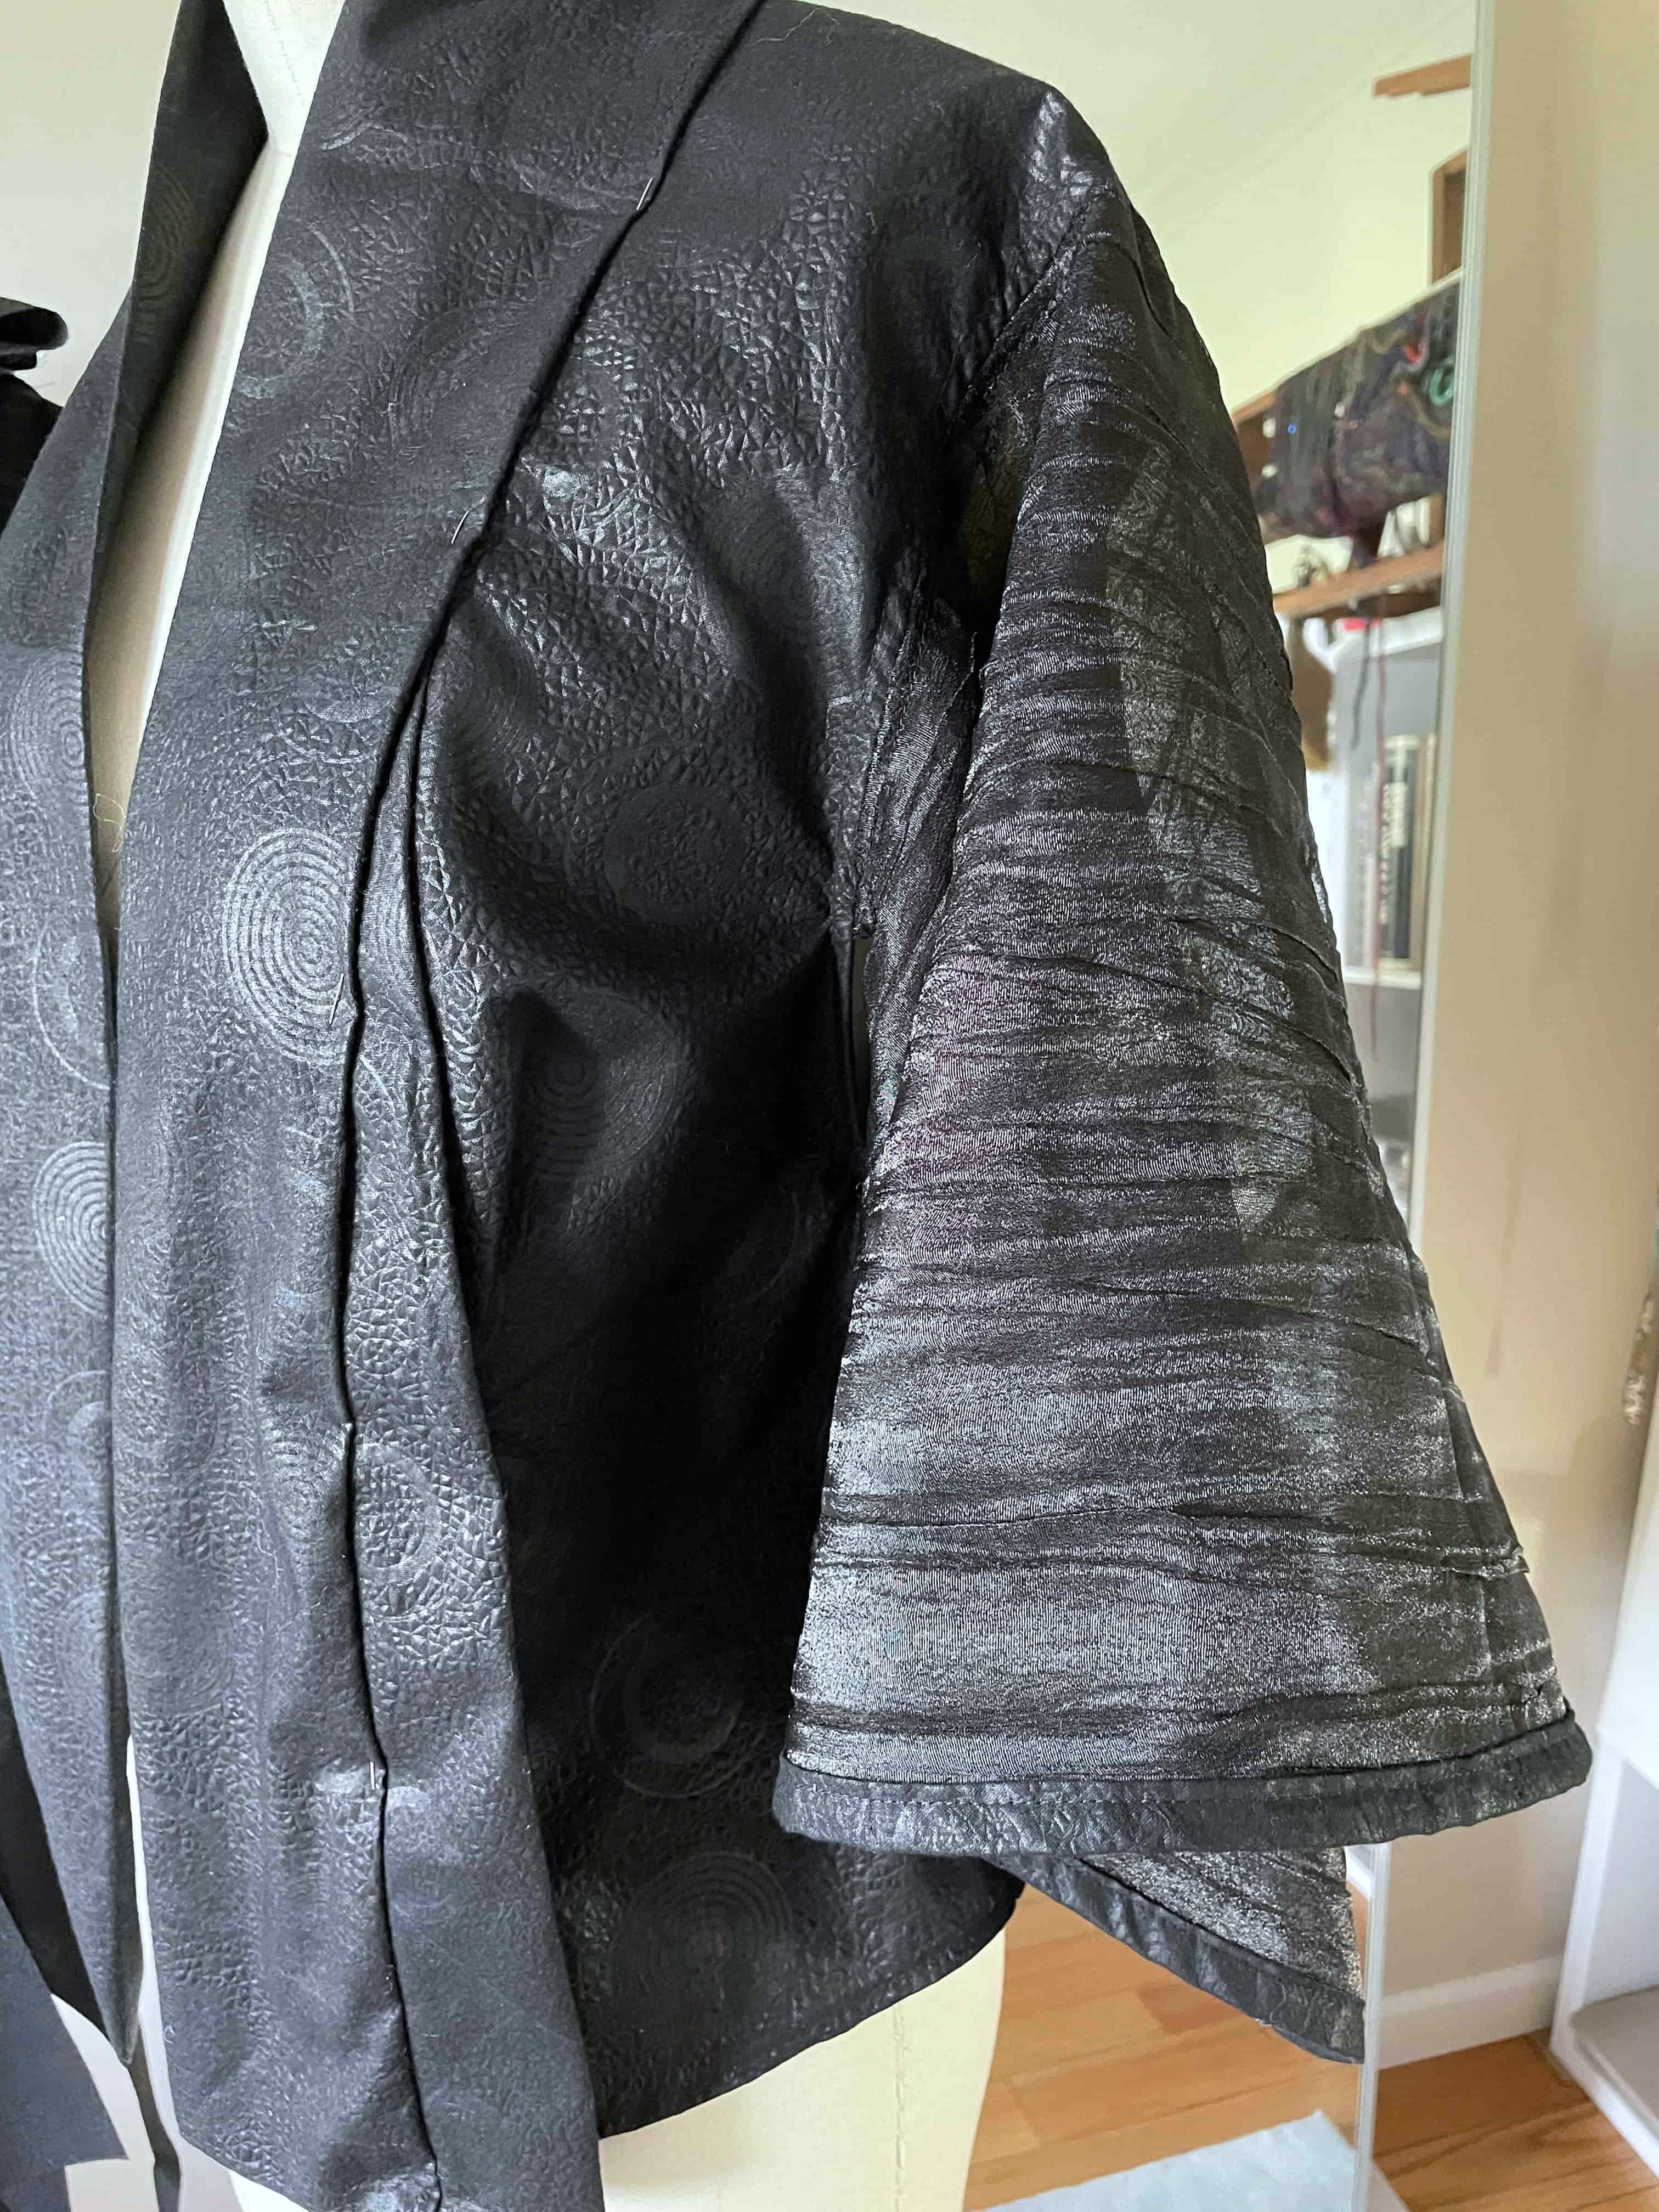
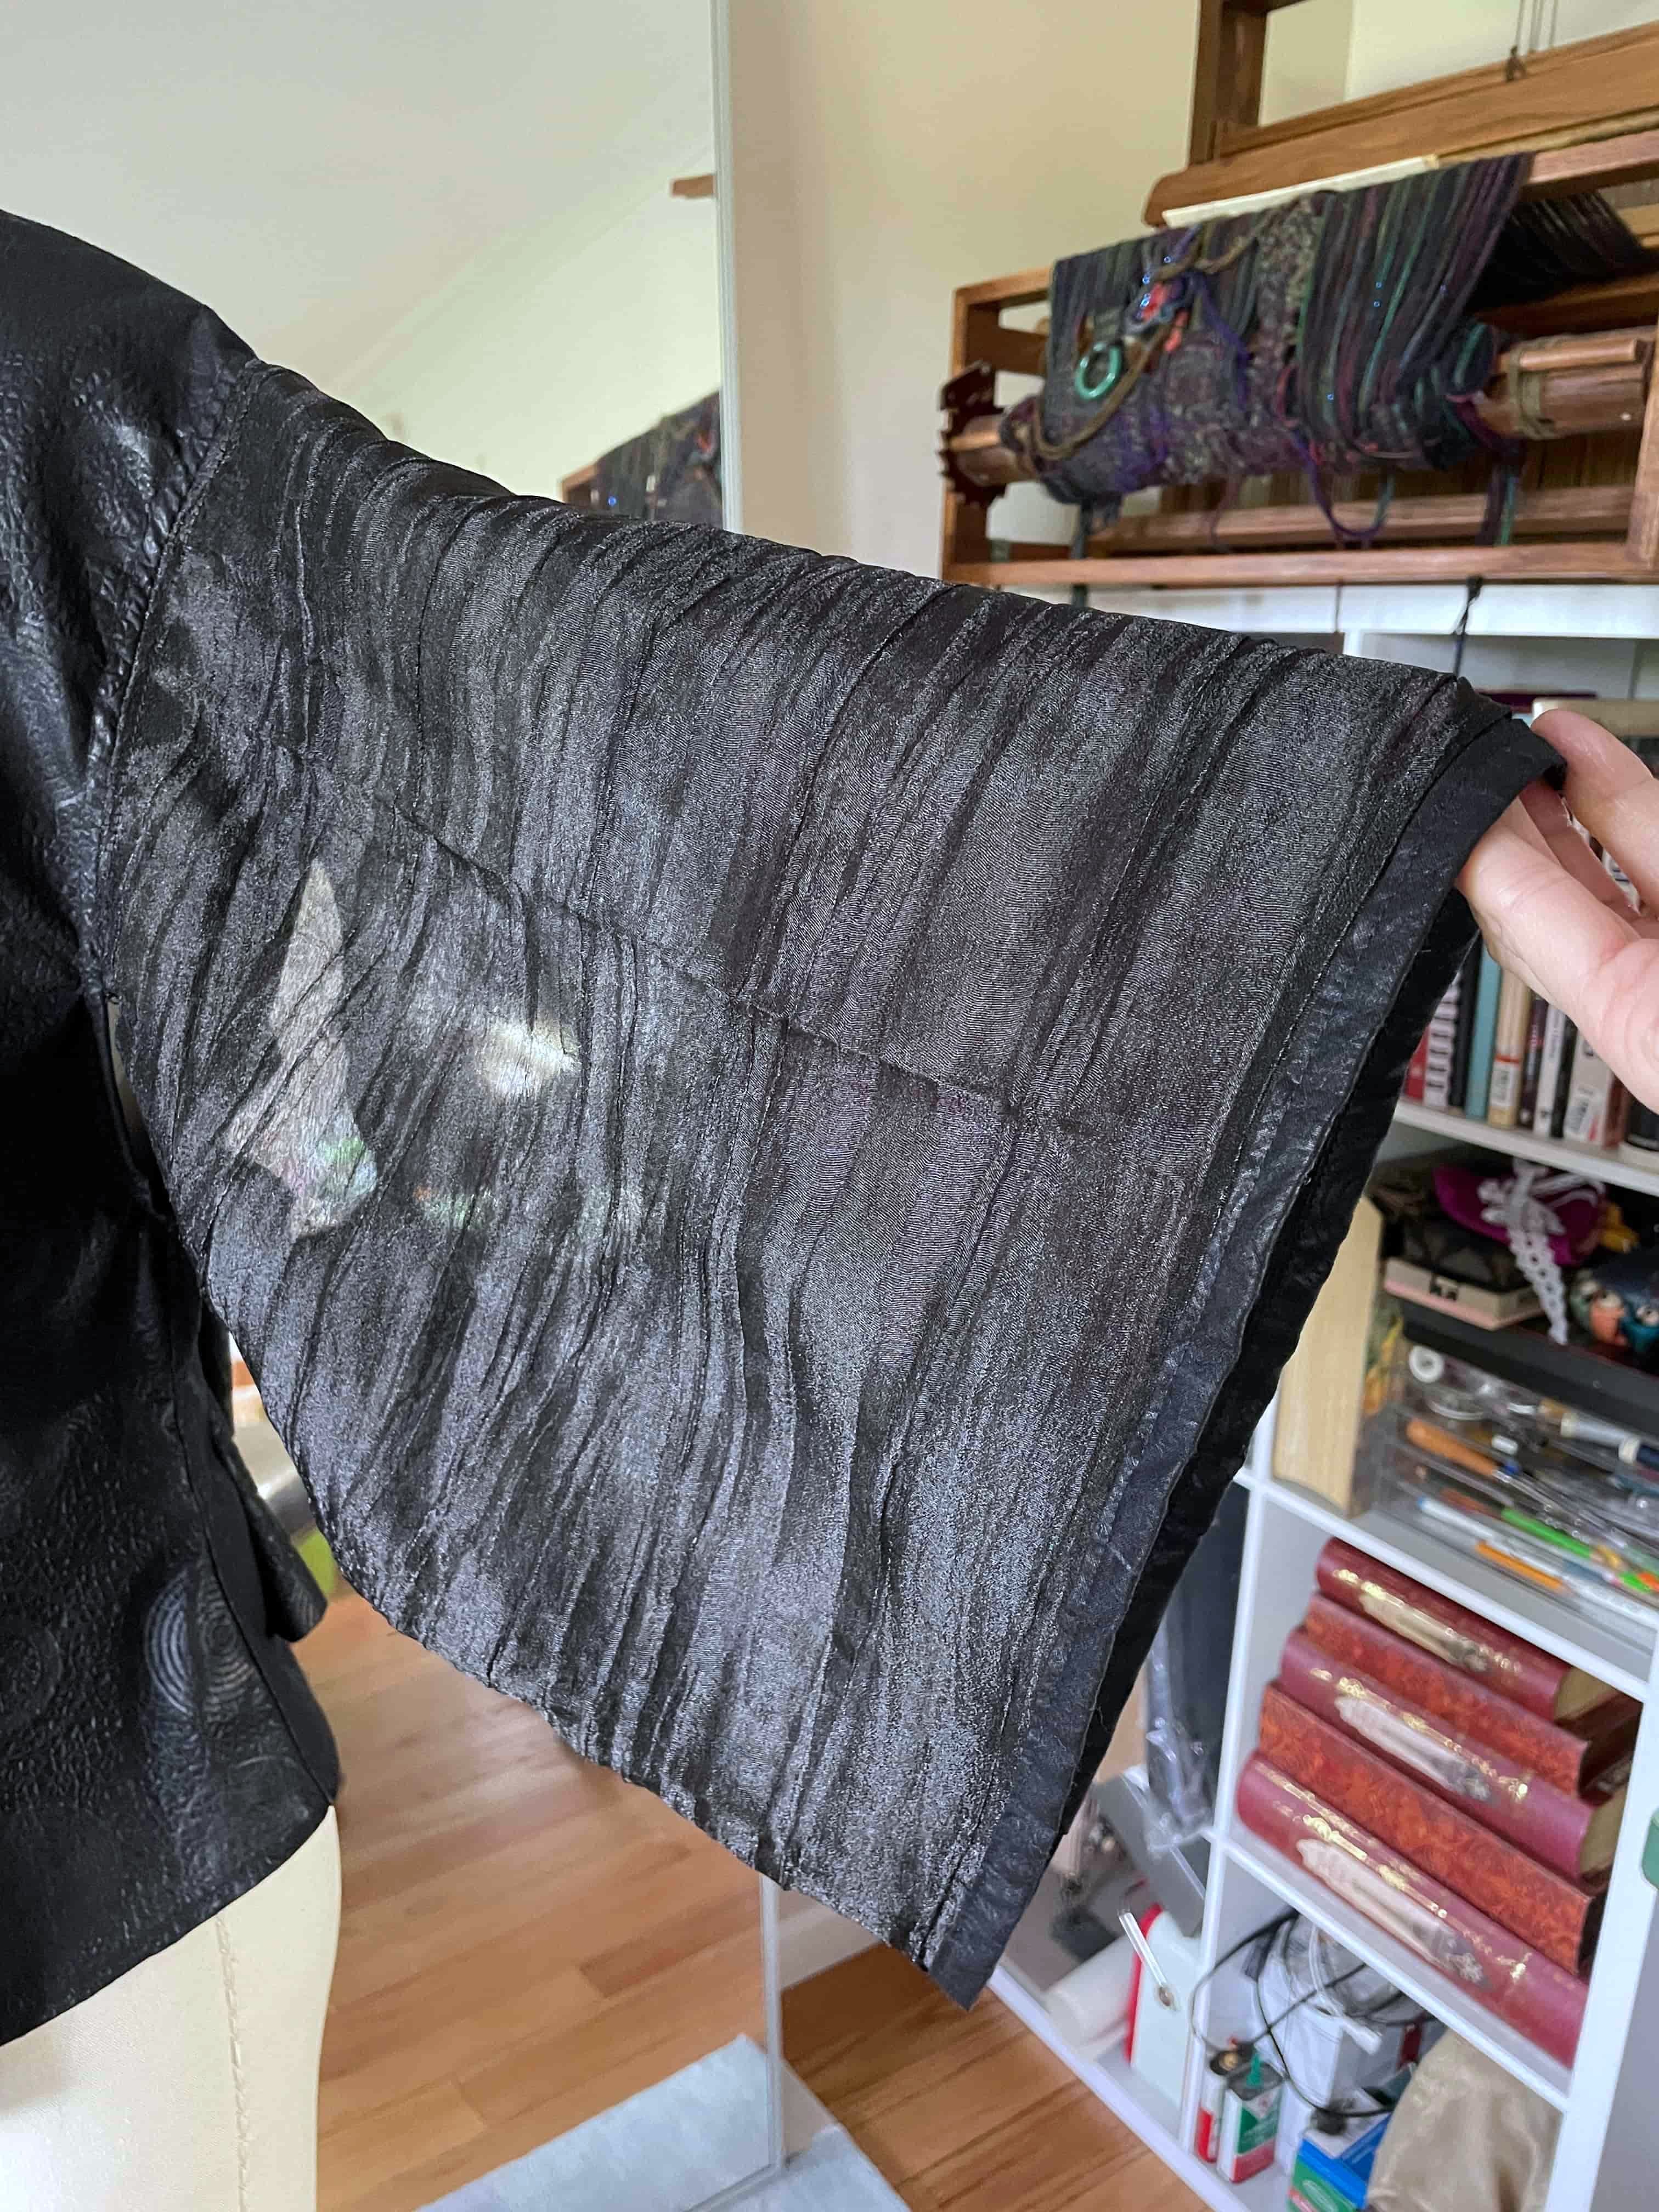
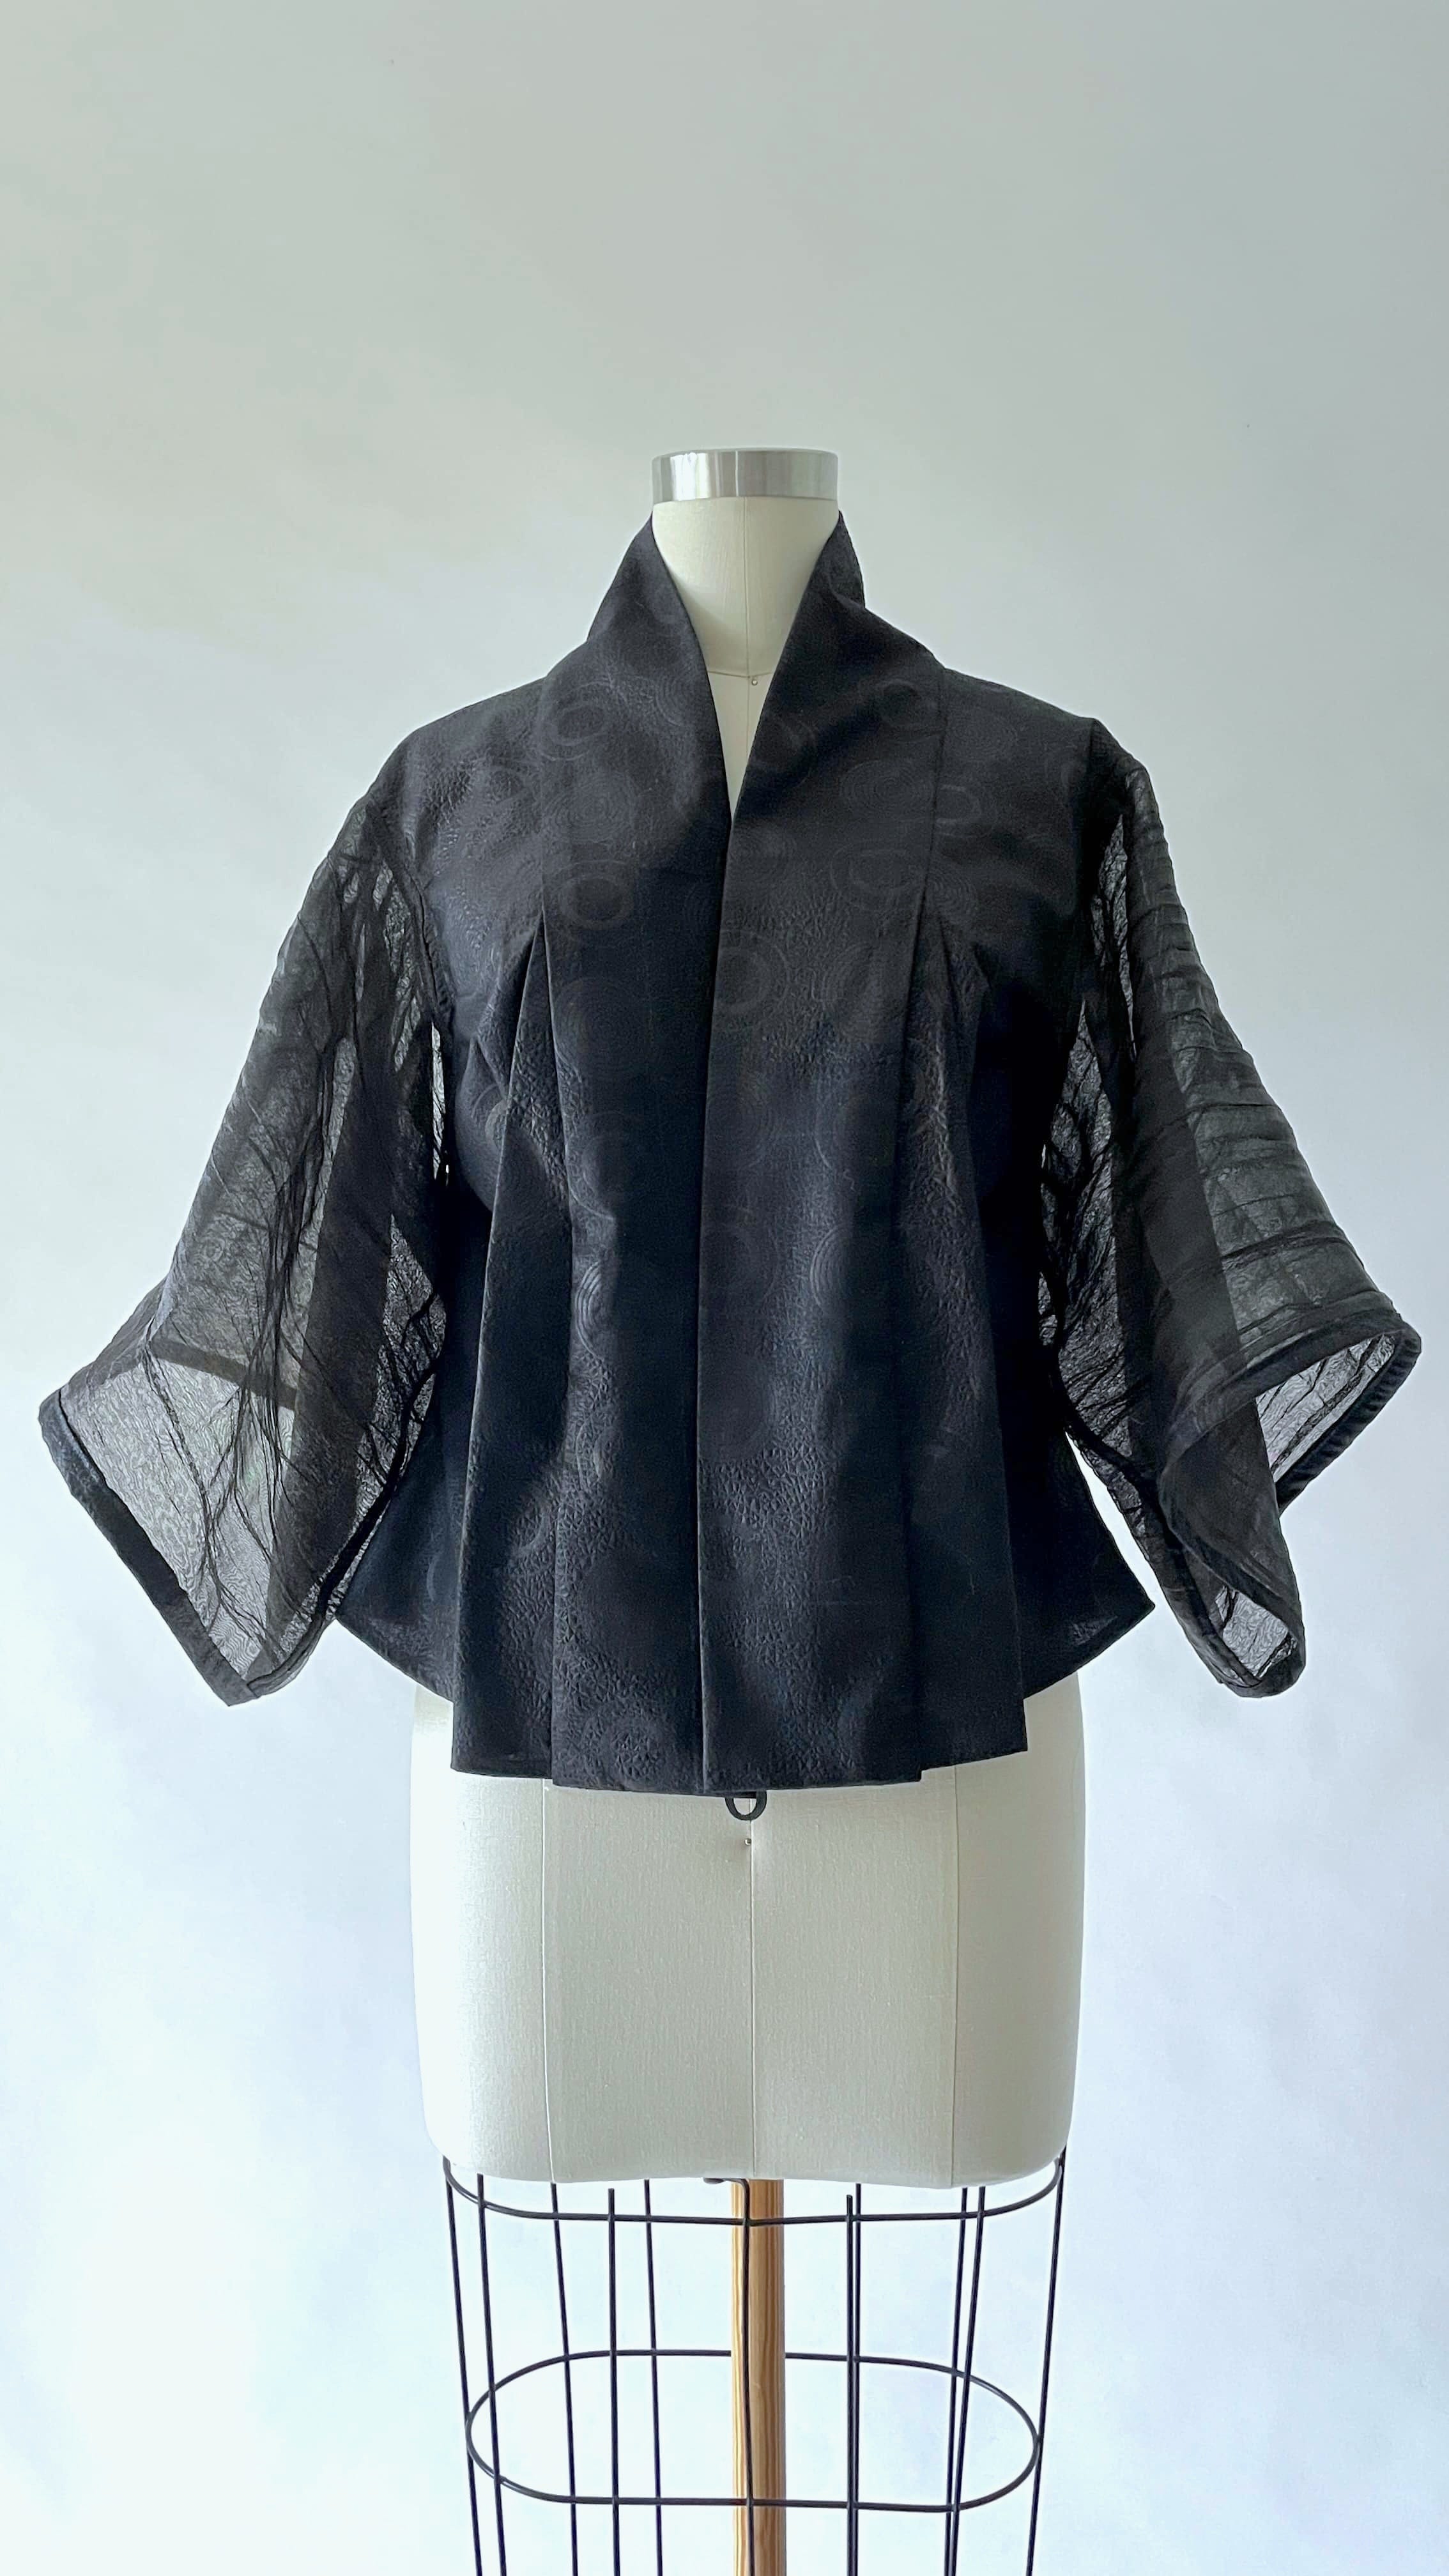
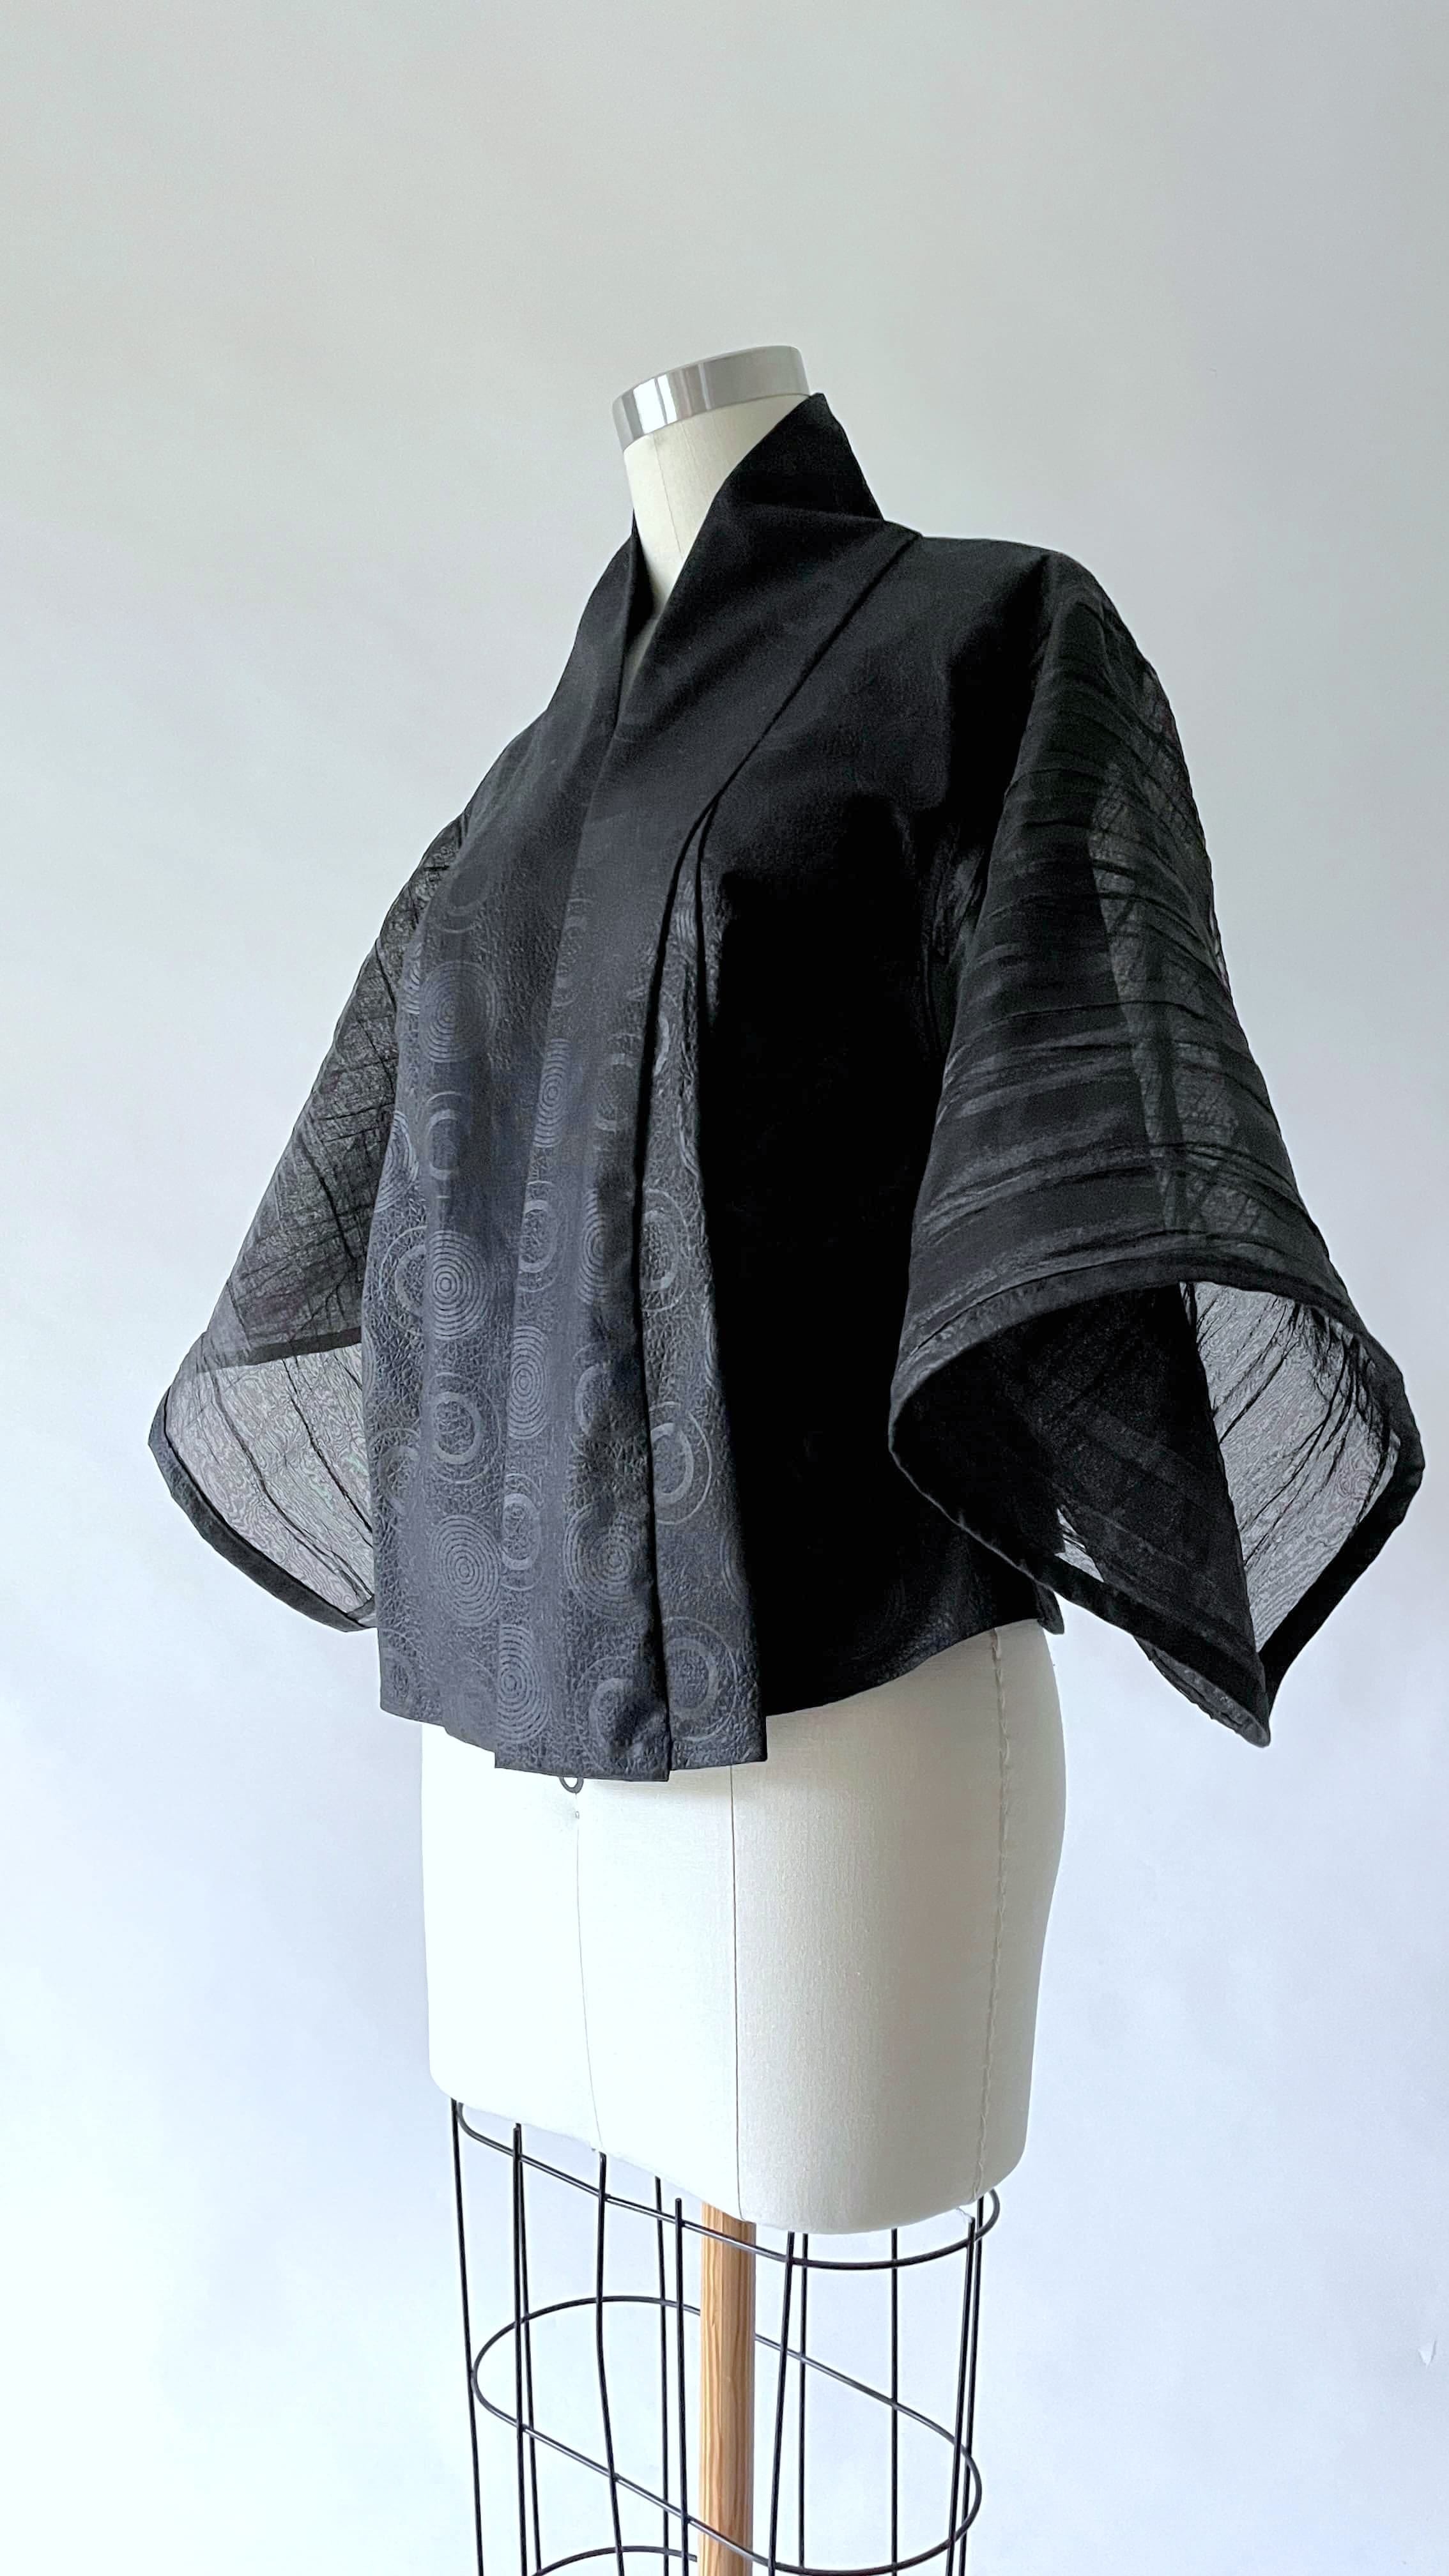
The Brissi fabric usually comes in 6 yards roll, but I only have some ~2 yards leftover. The jacket calls for 3 yards of fabric. It wouldn’t be enough to cover all necessary pieces for this garment, so I made the sleeves with some remnants of crinkled polyester organza. It took me about 2 weeks (at least 2 hours each day) to finish the jacket.
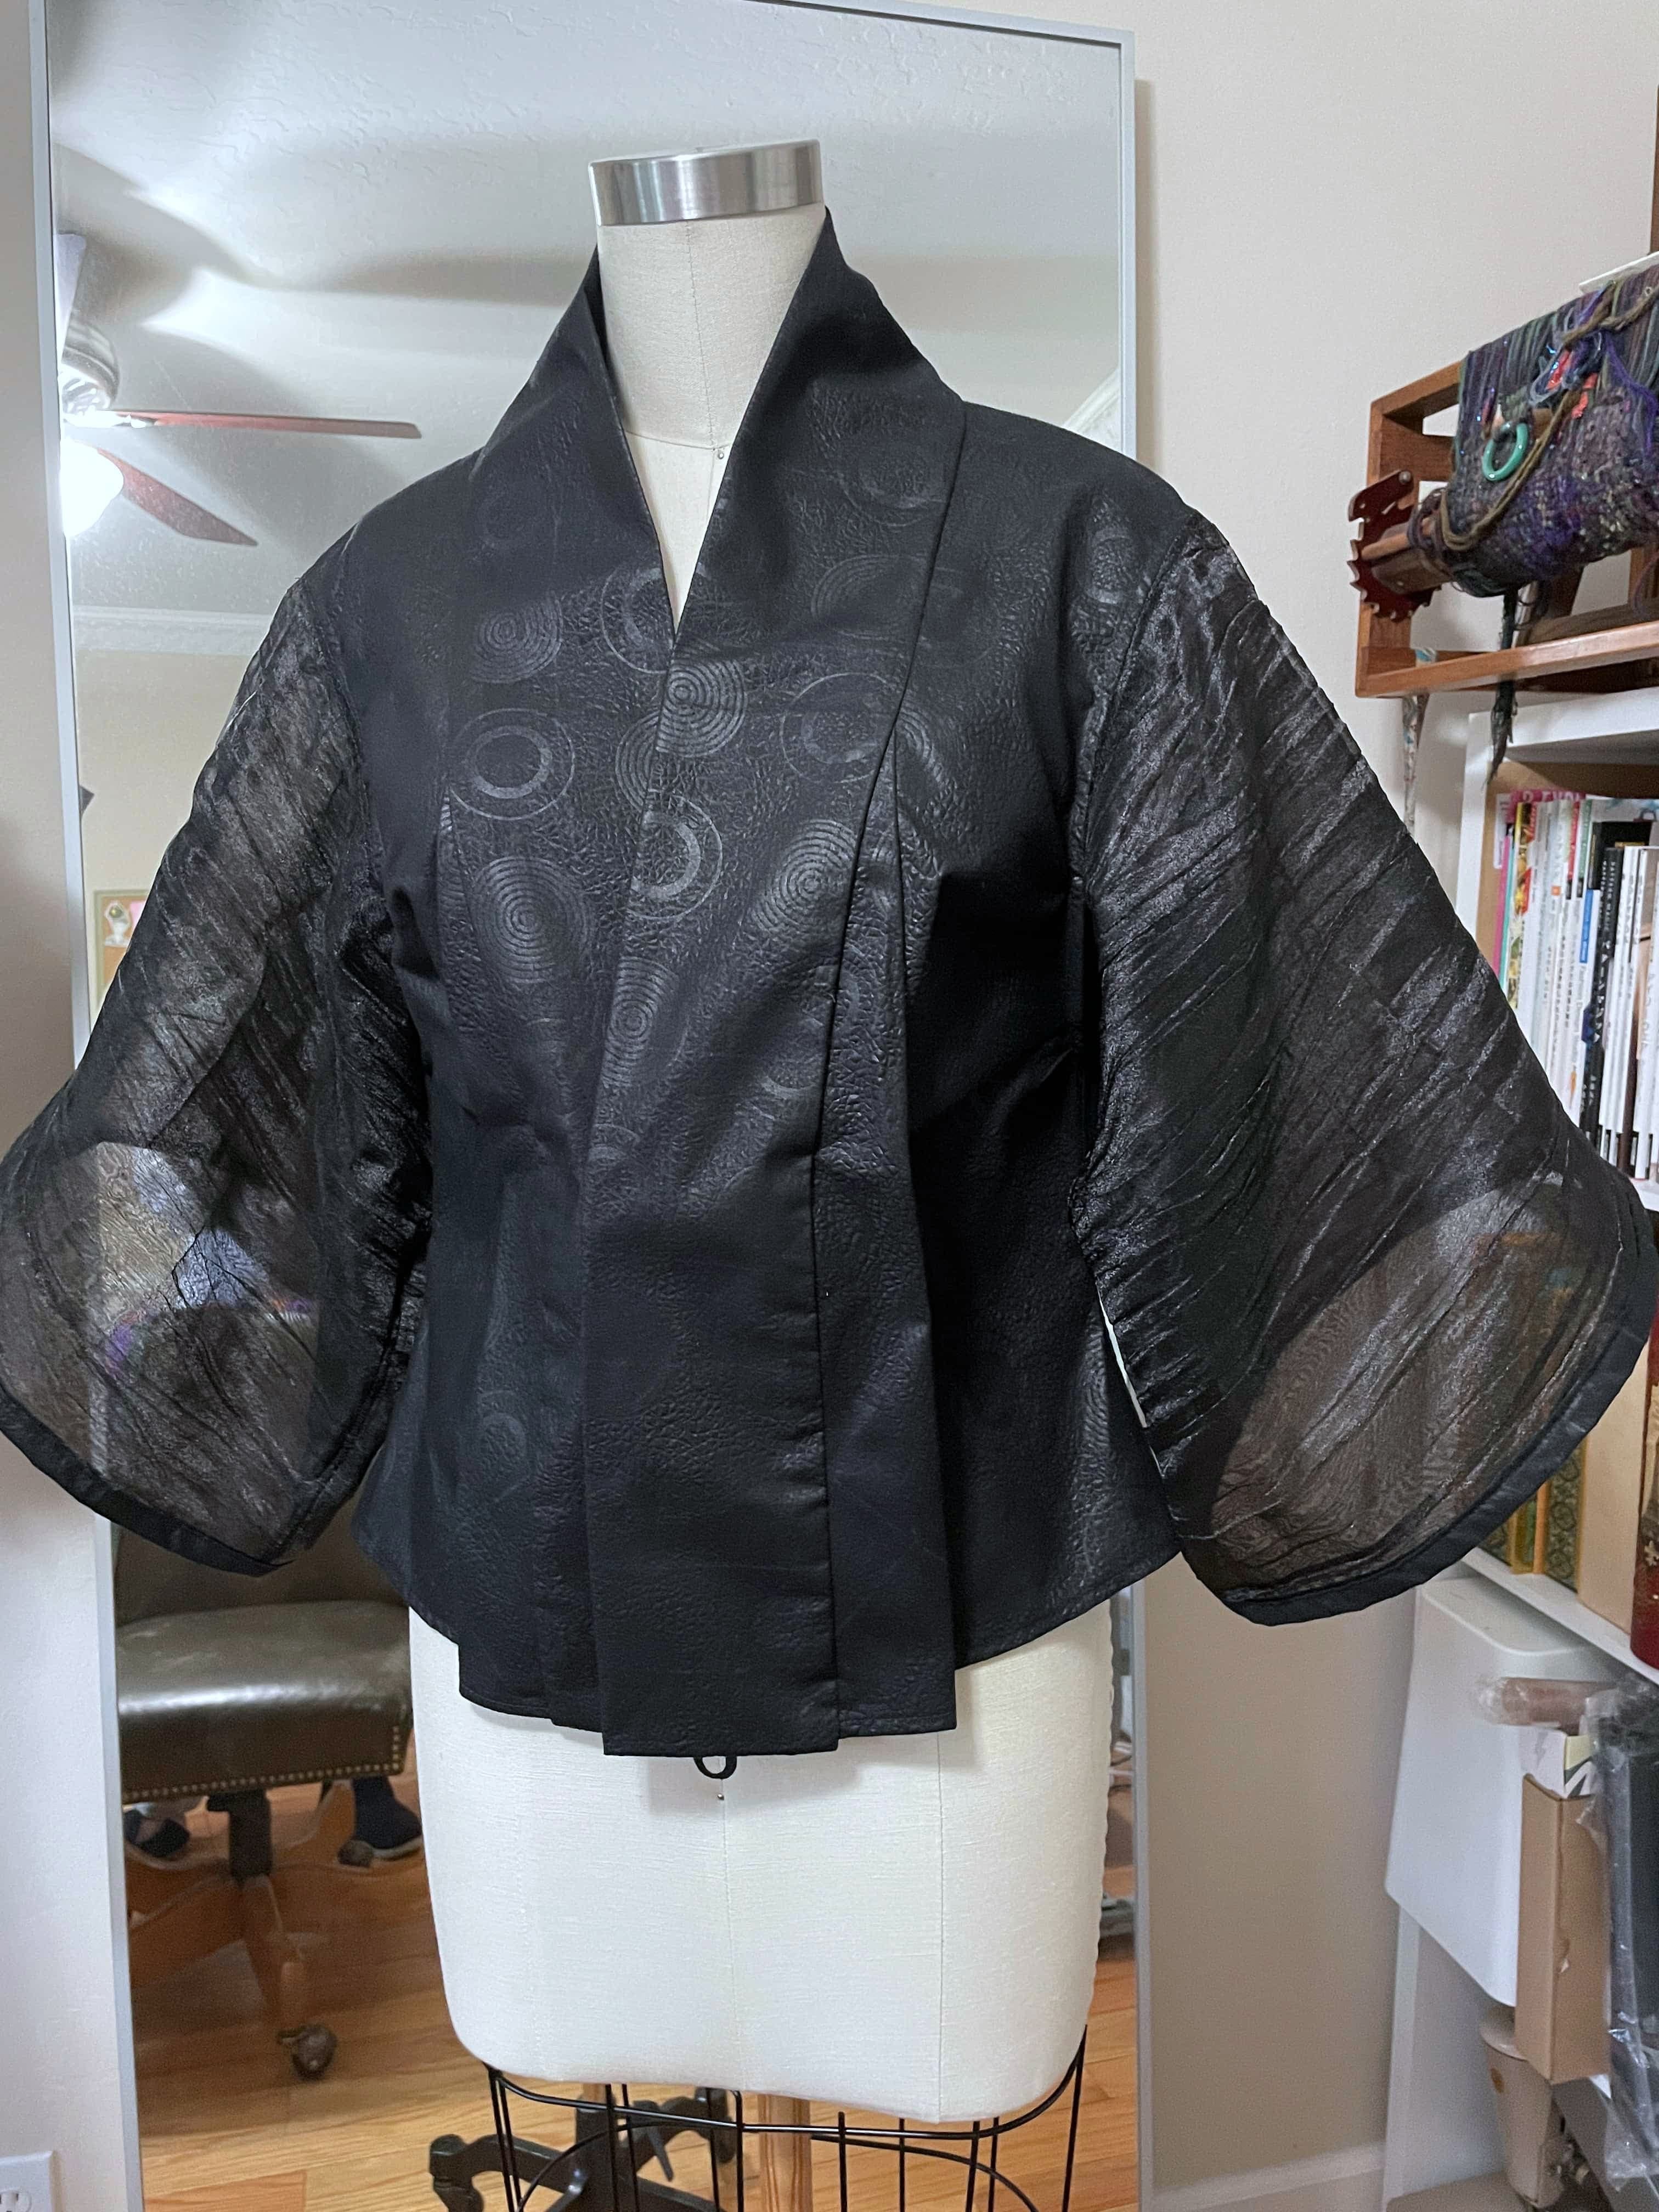
Making the sleeves out of lighter materials felt like a necessity during the making process because I didn’t have enough Brissi fabric. After everything was done, however, I realized that it was the perfect choice.
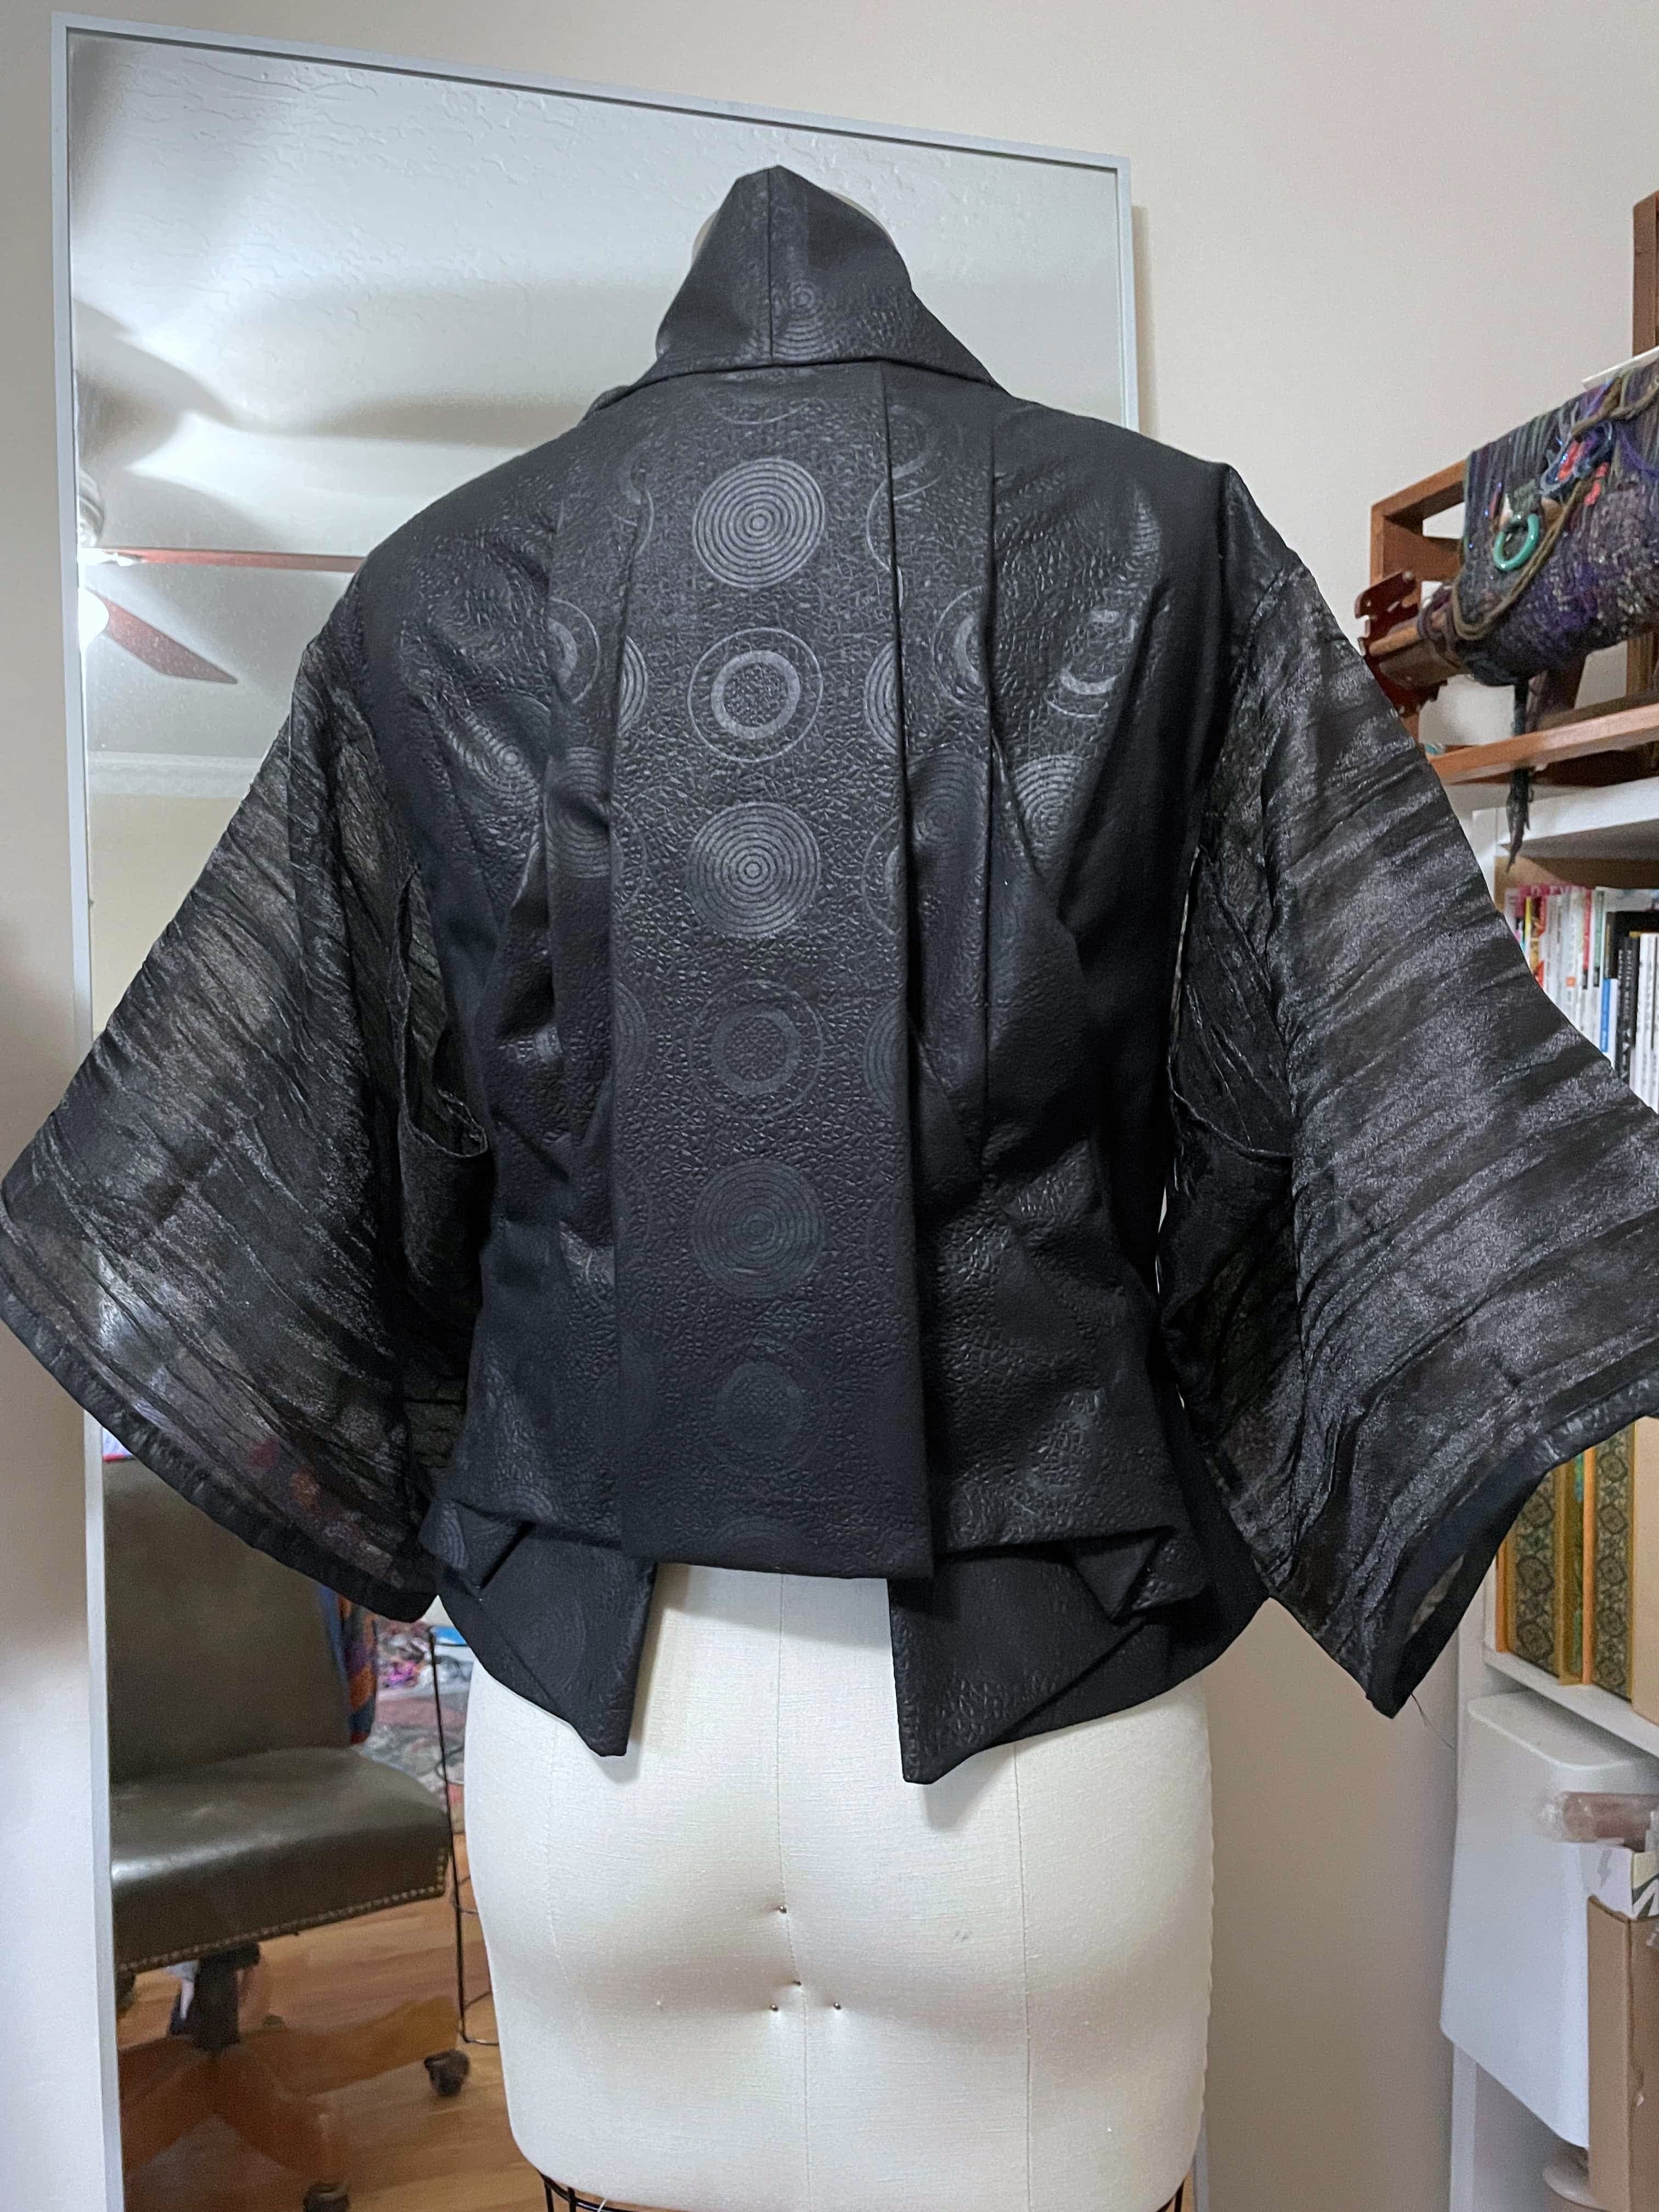
The torso feels like a folded light armor that signifies the complex relationships between people and the gravity of losing a loved one. Yet the lighter, semi-diaphanous sleeves support the one that’s left behind, alleviating grief, giving comfort and hope in navigating the challenges ahead. I genuinely feel this is a great jacket to wear whenever I need a reminder to be strong yet soft whenever life throws its challenges.
Getting Started: Preparing the Pattern Pieces
The first thing I did was printing the instructions and the first page of the pattern PDF file. Using the instructions, I figured out the overall concept of making the jacket. This involves matching points and folding sections. It may seem confusing at first, but once everything is done, it makes sense!
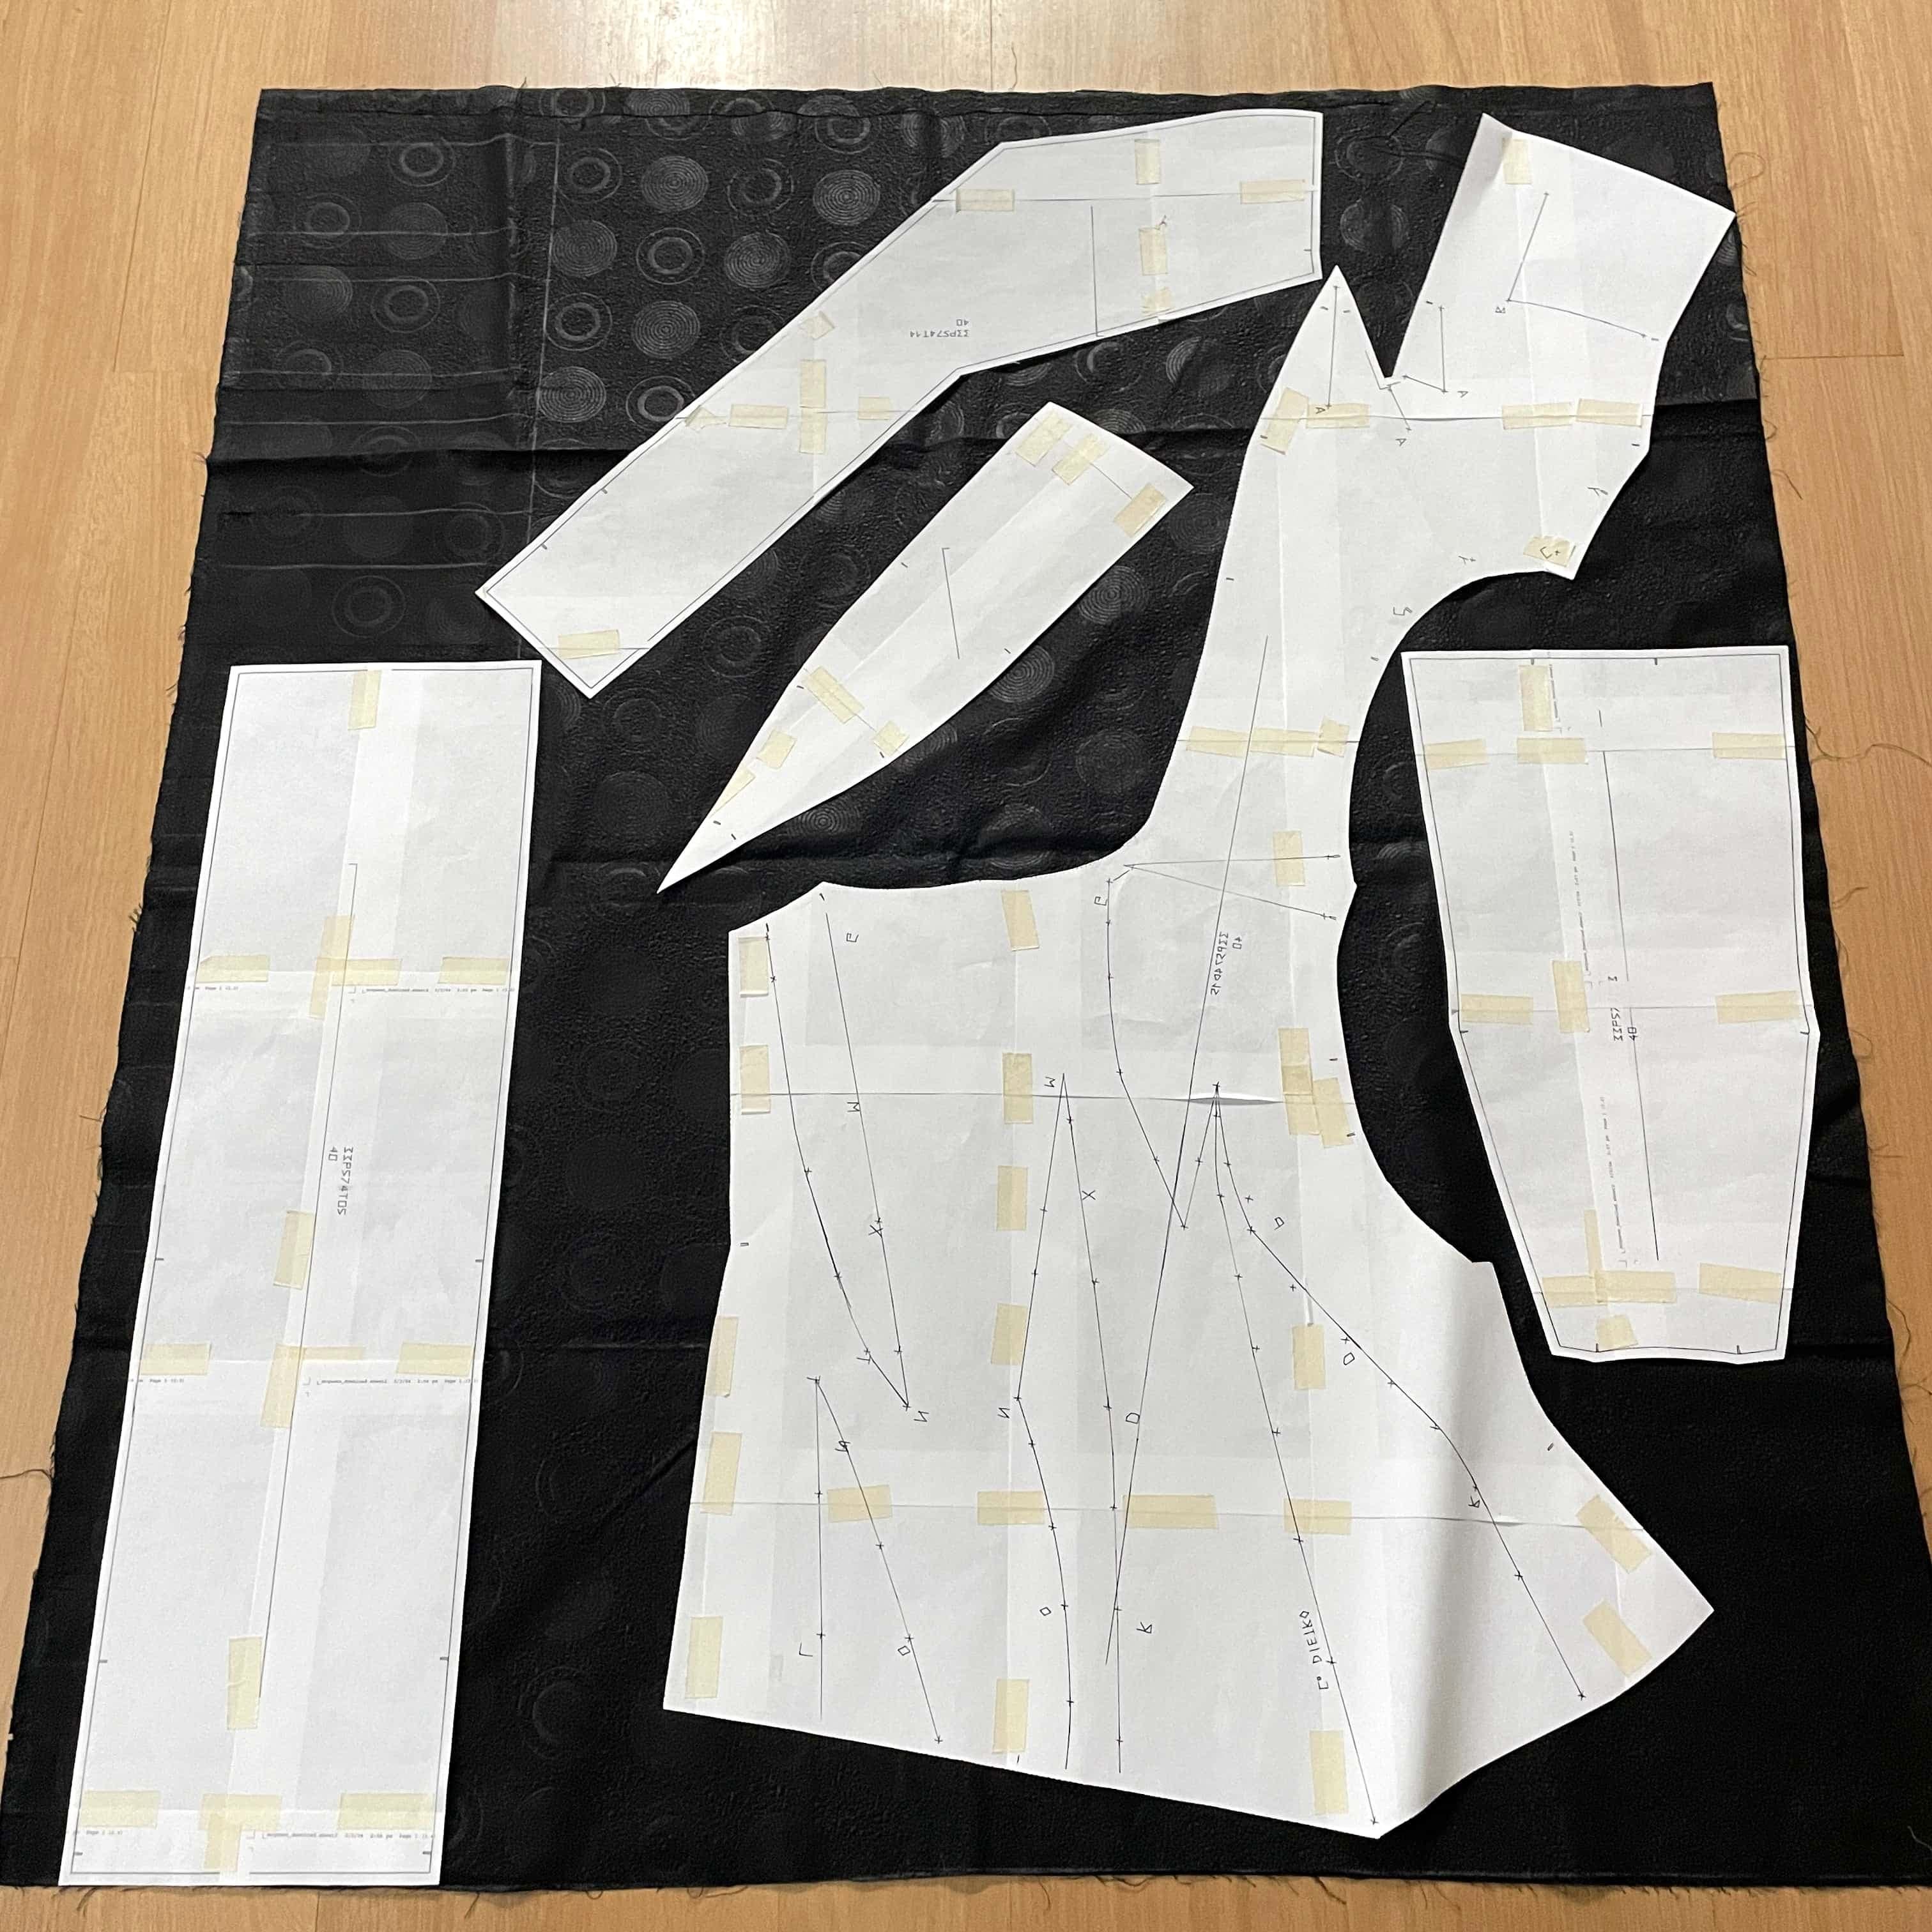
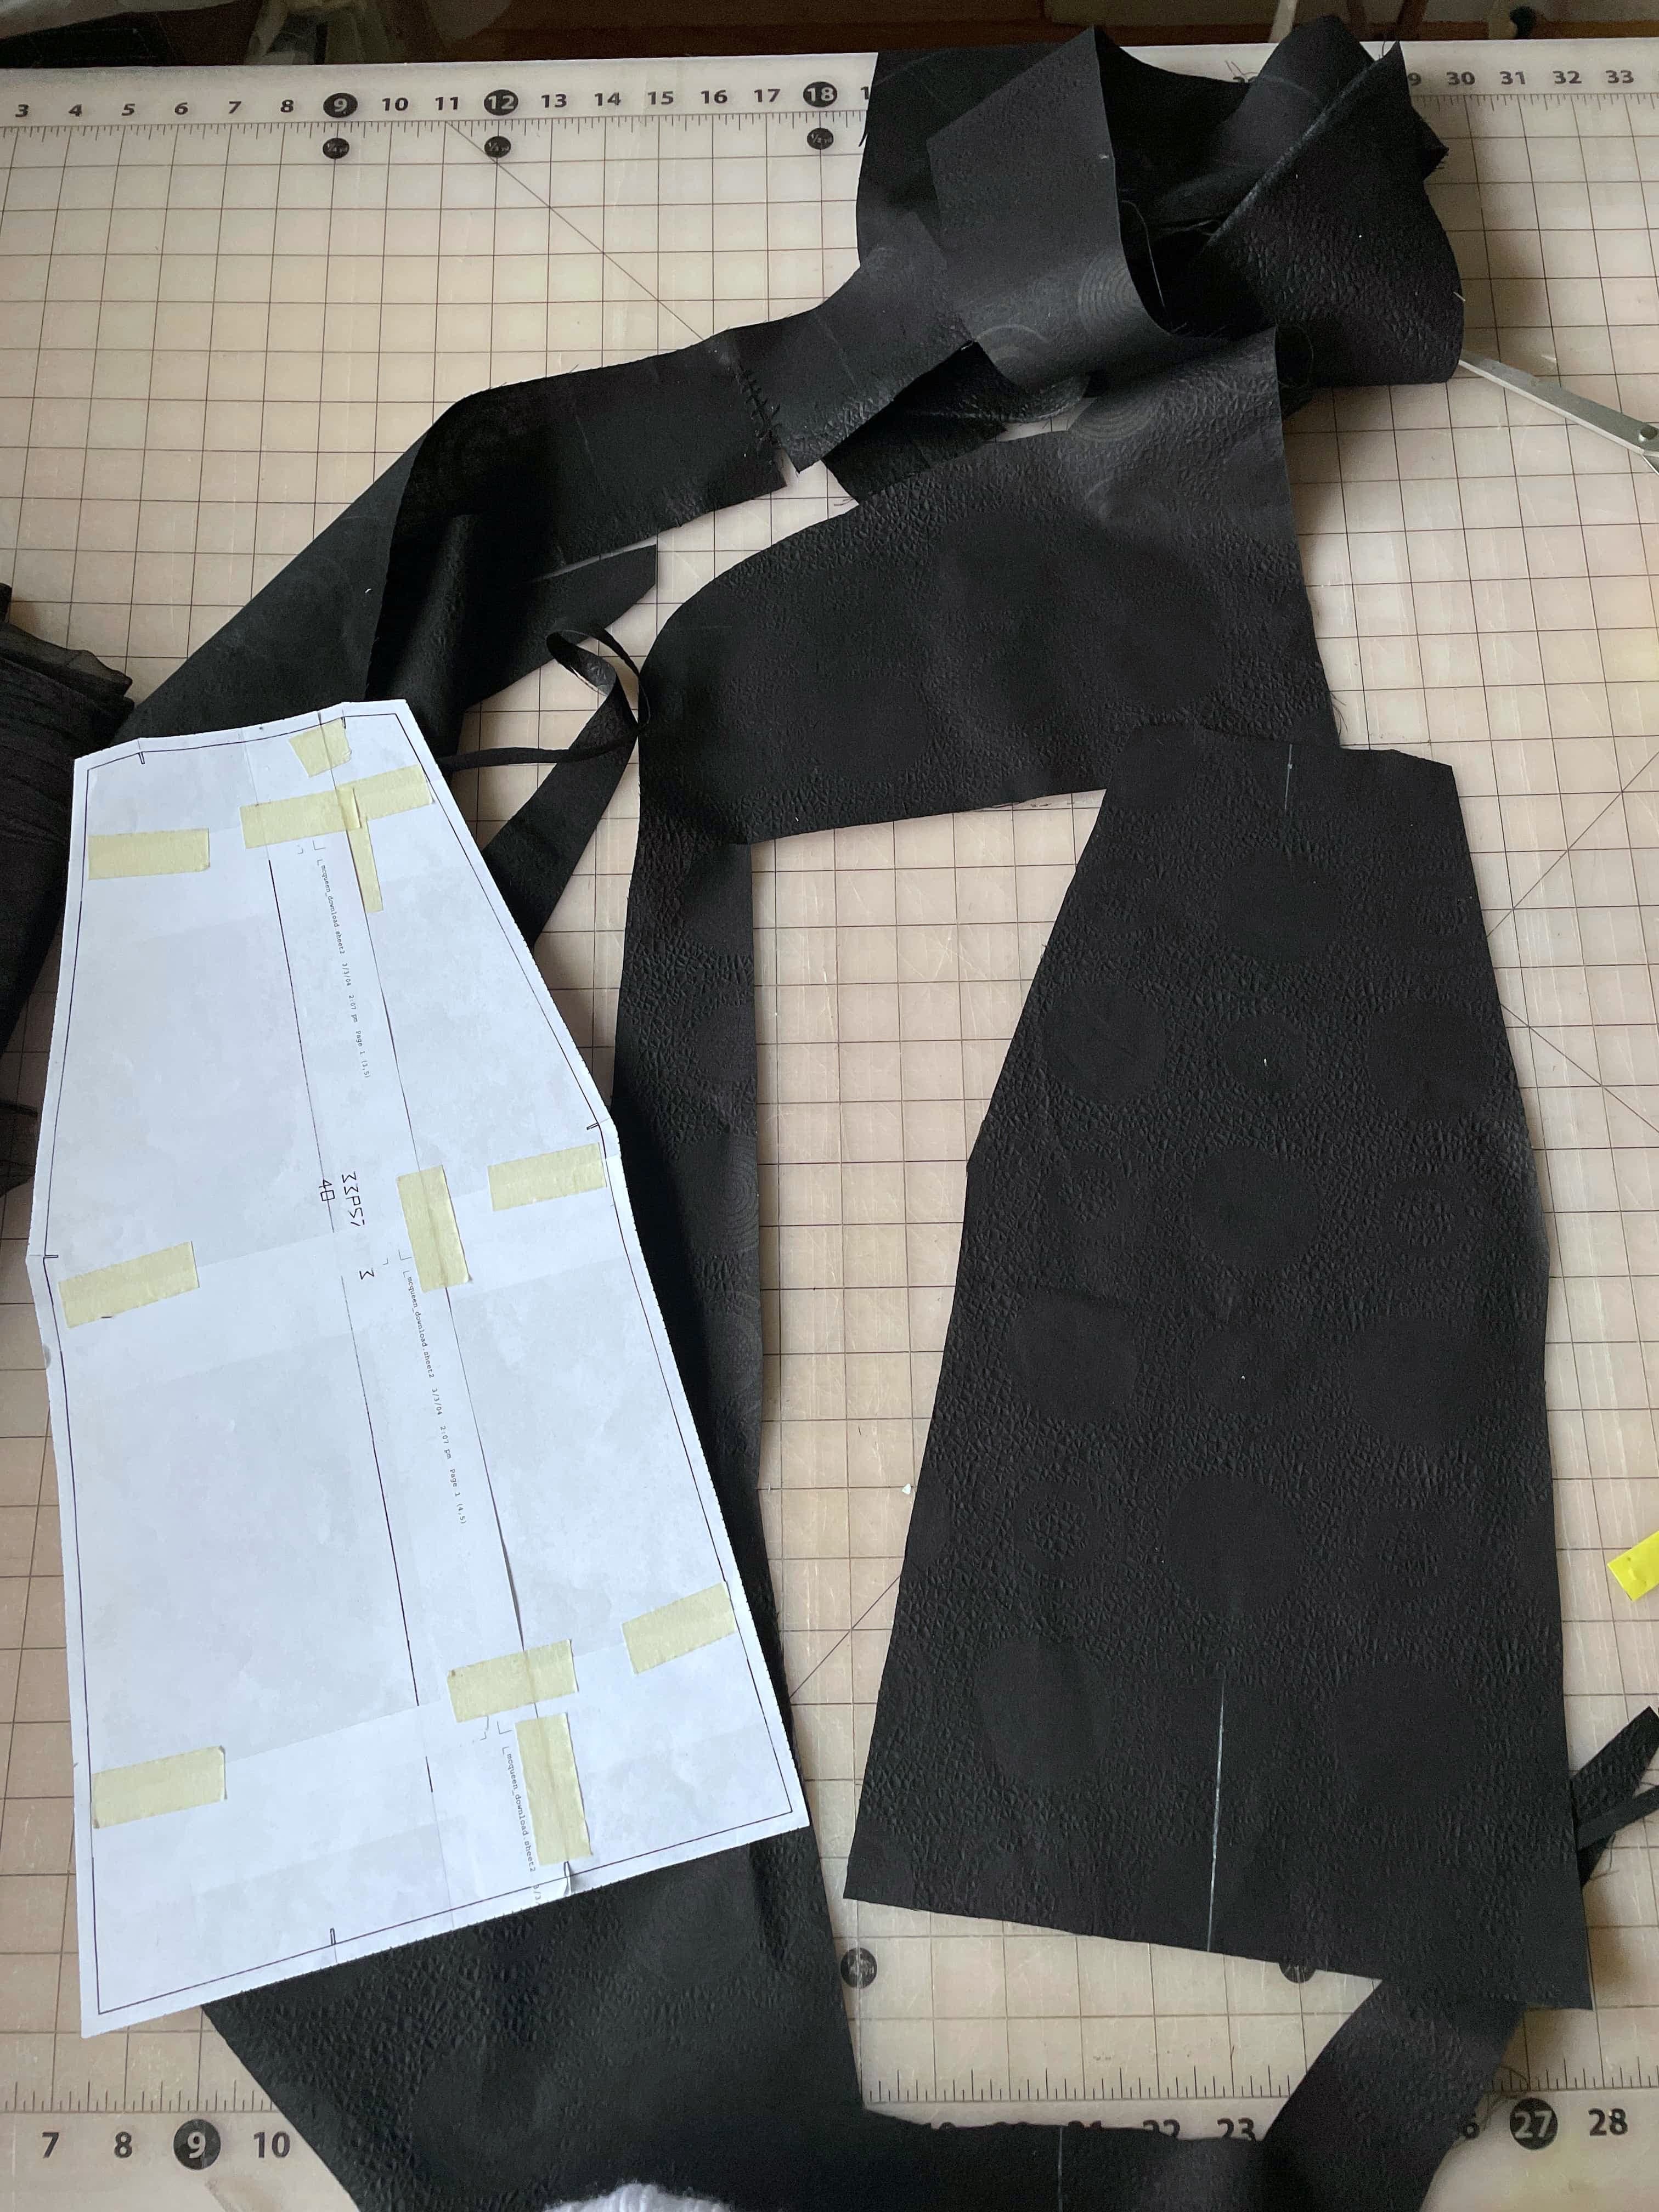
Once the small victory is accomplished, it’s time for the real deal: printing out all of the pattern pieces and tape them one by one.
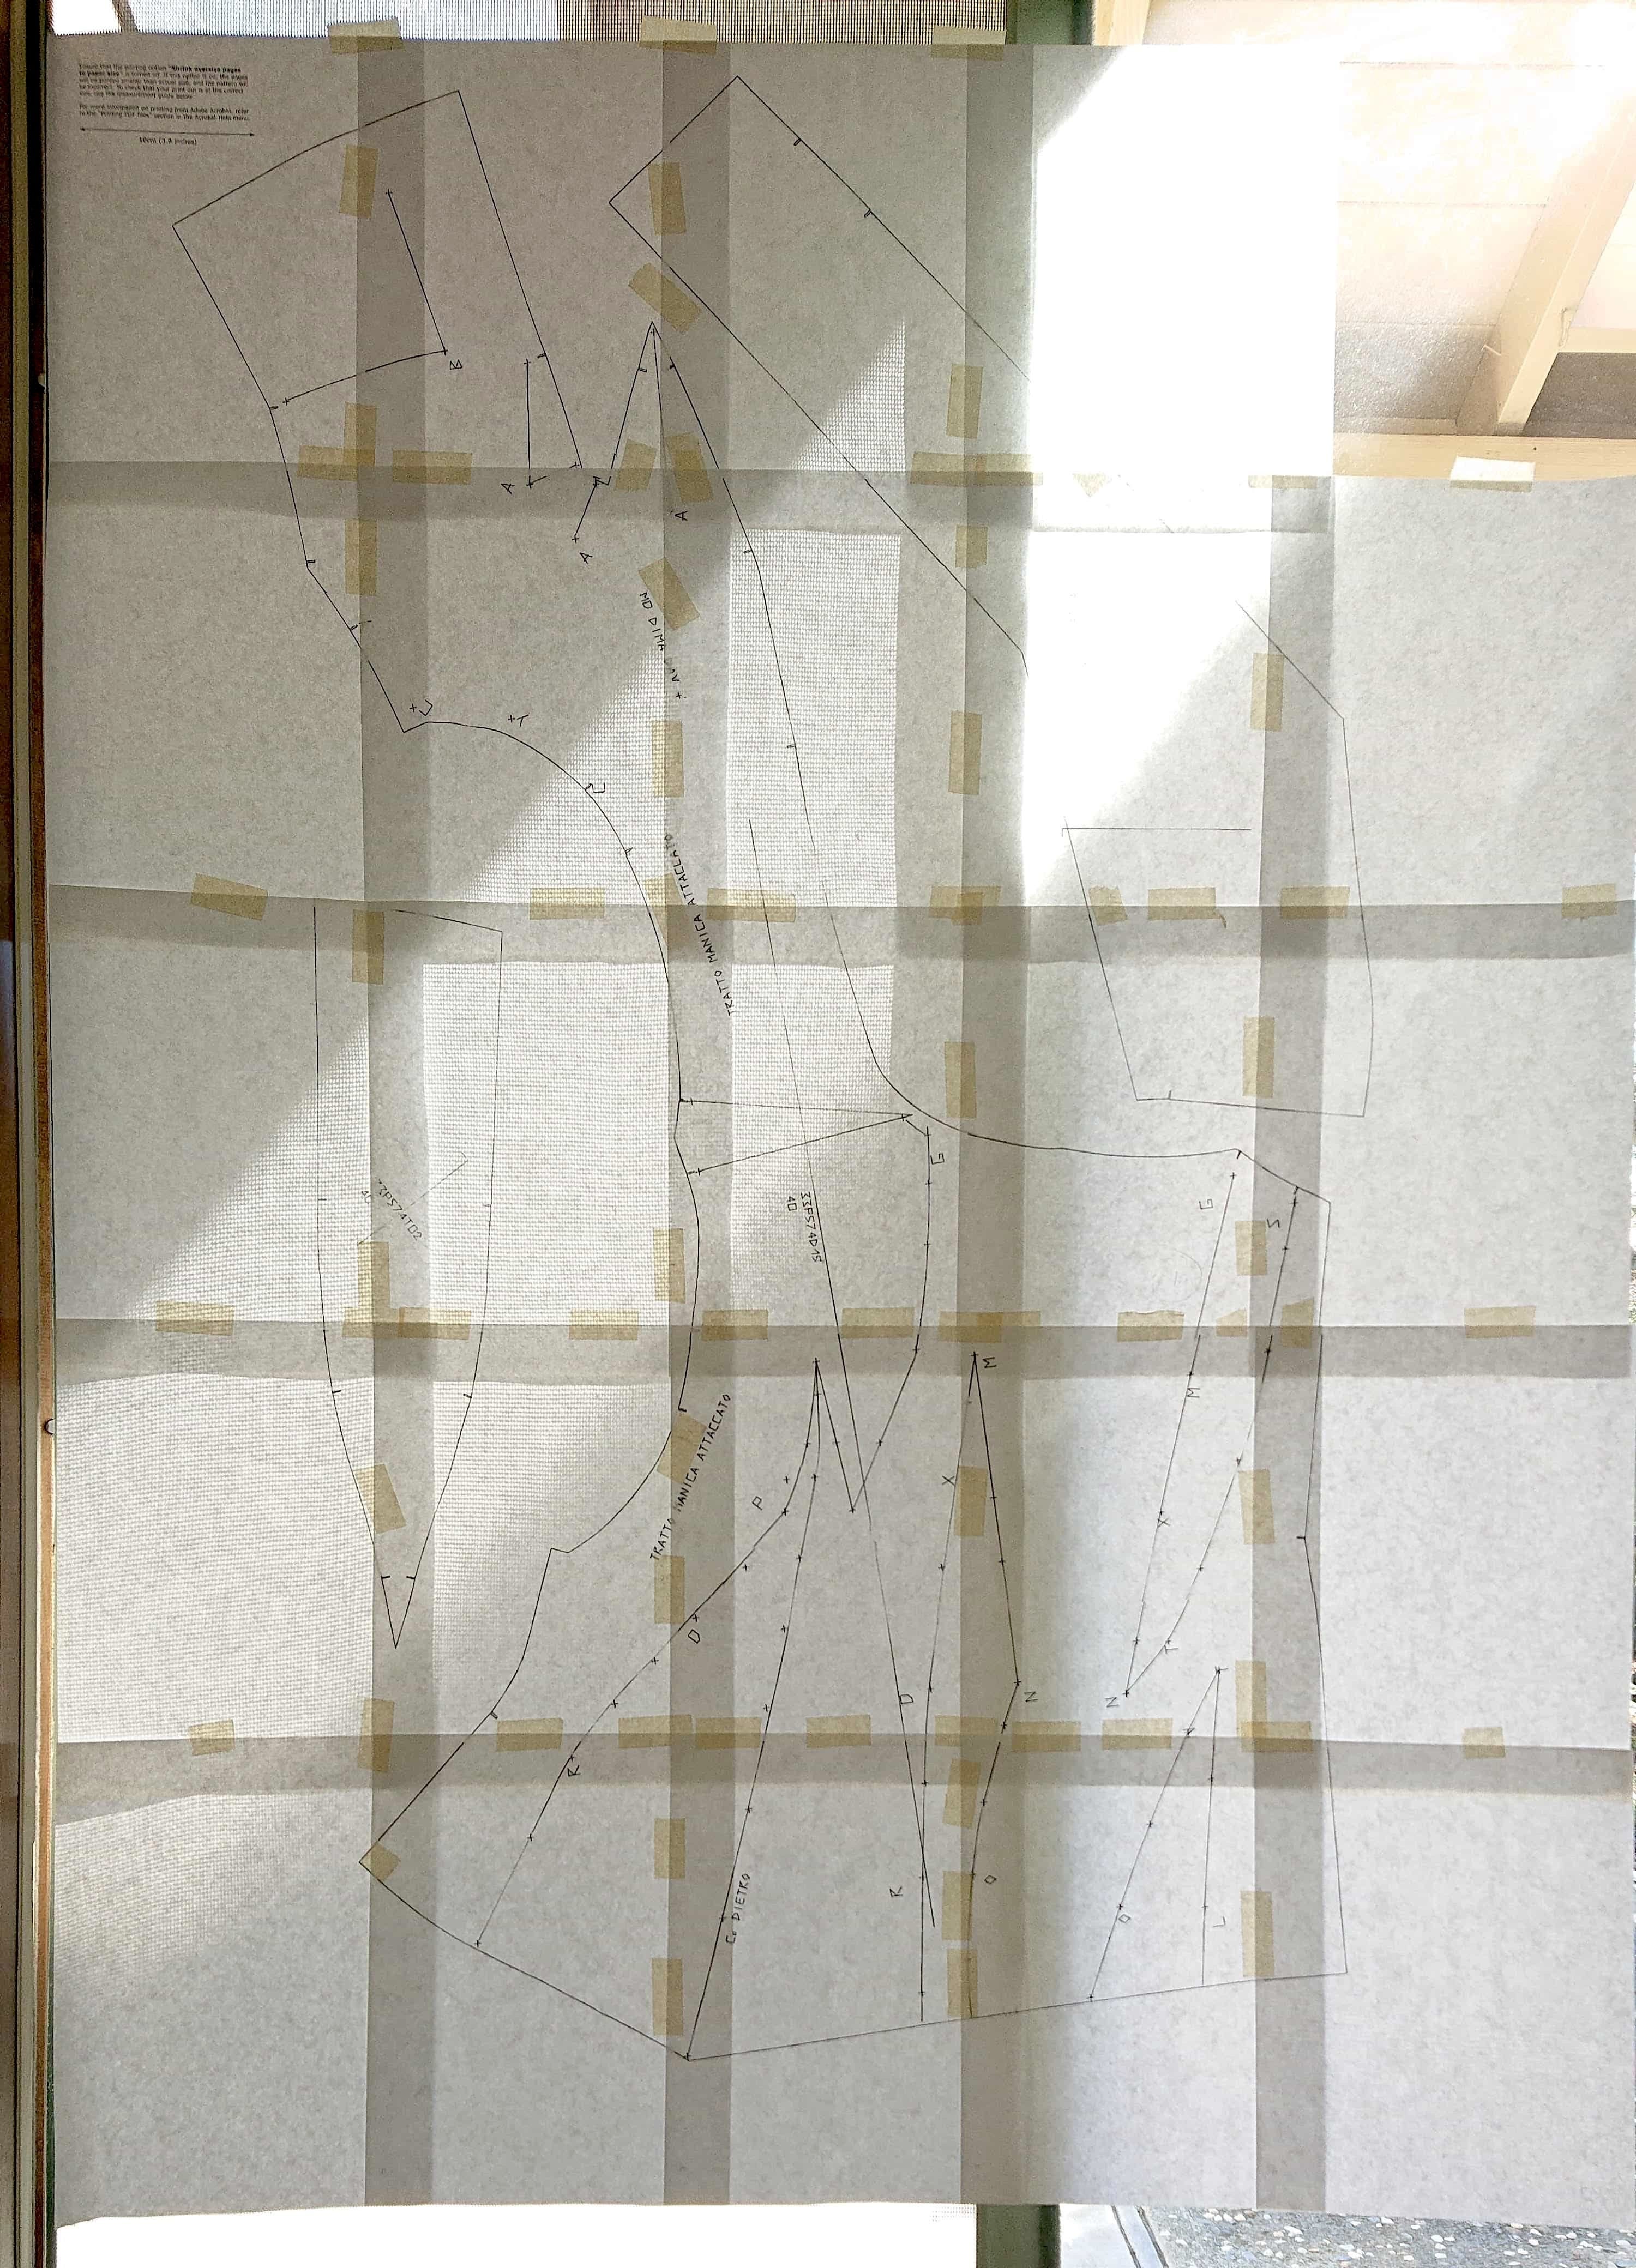
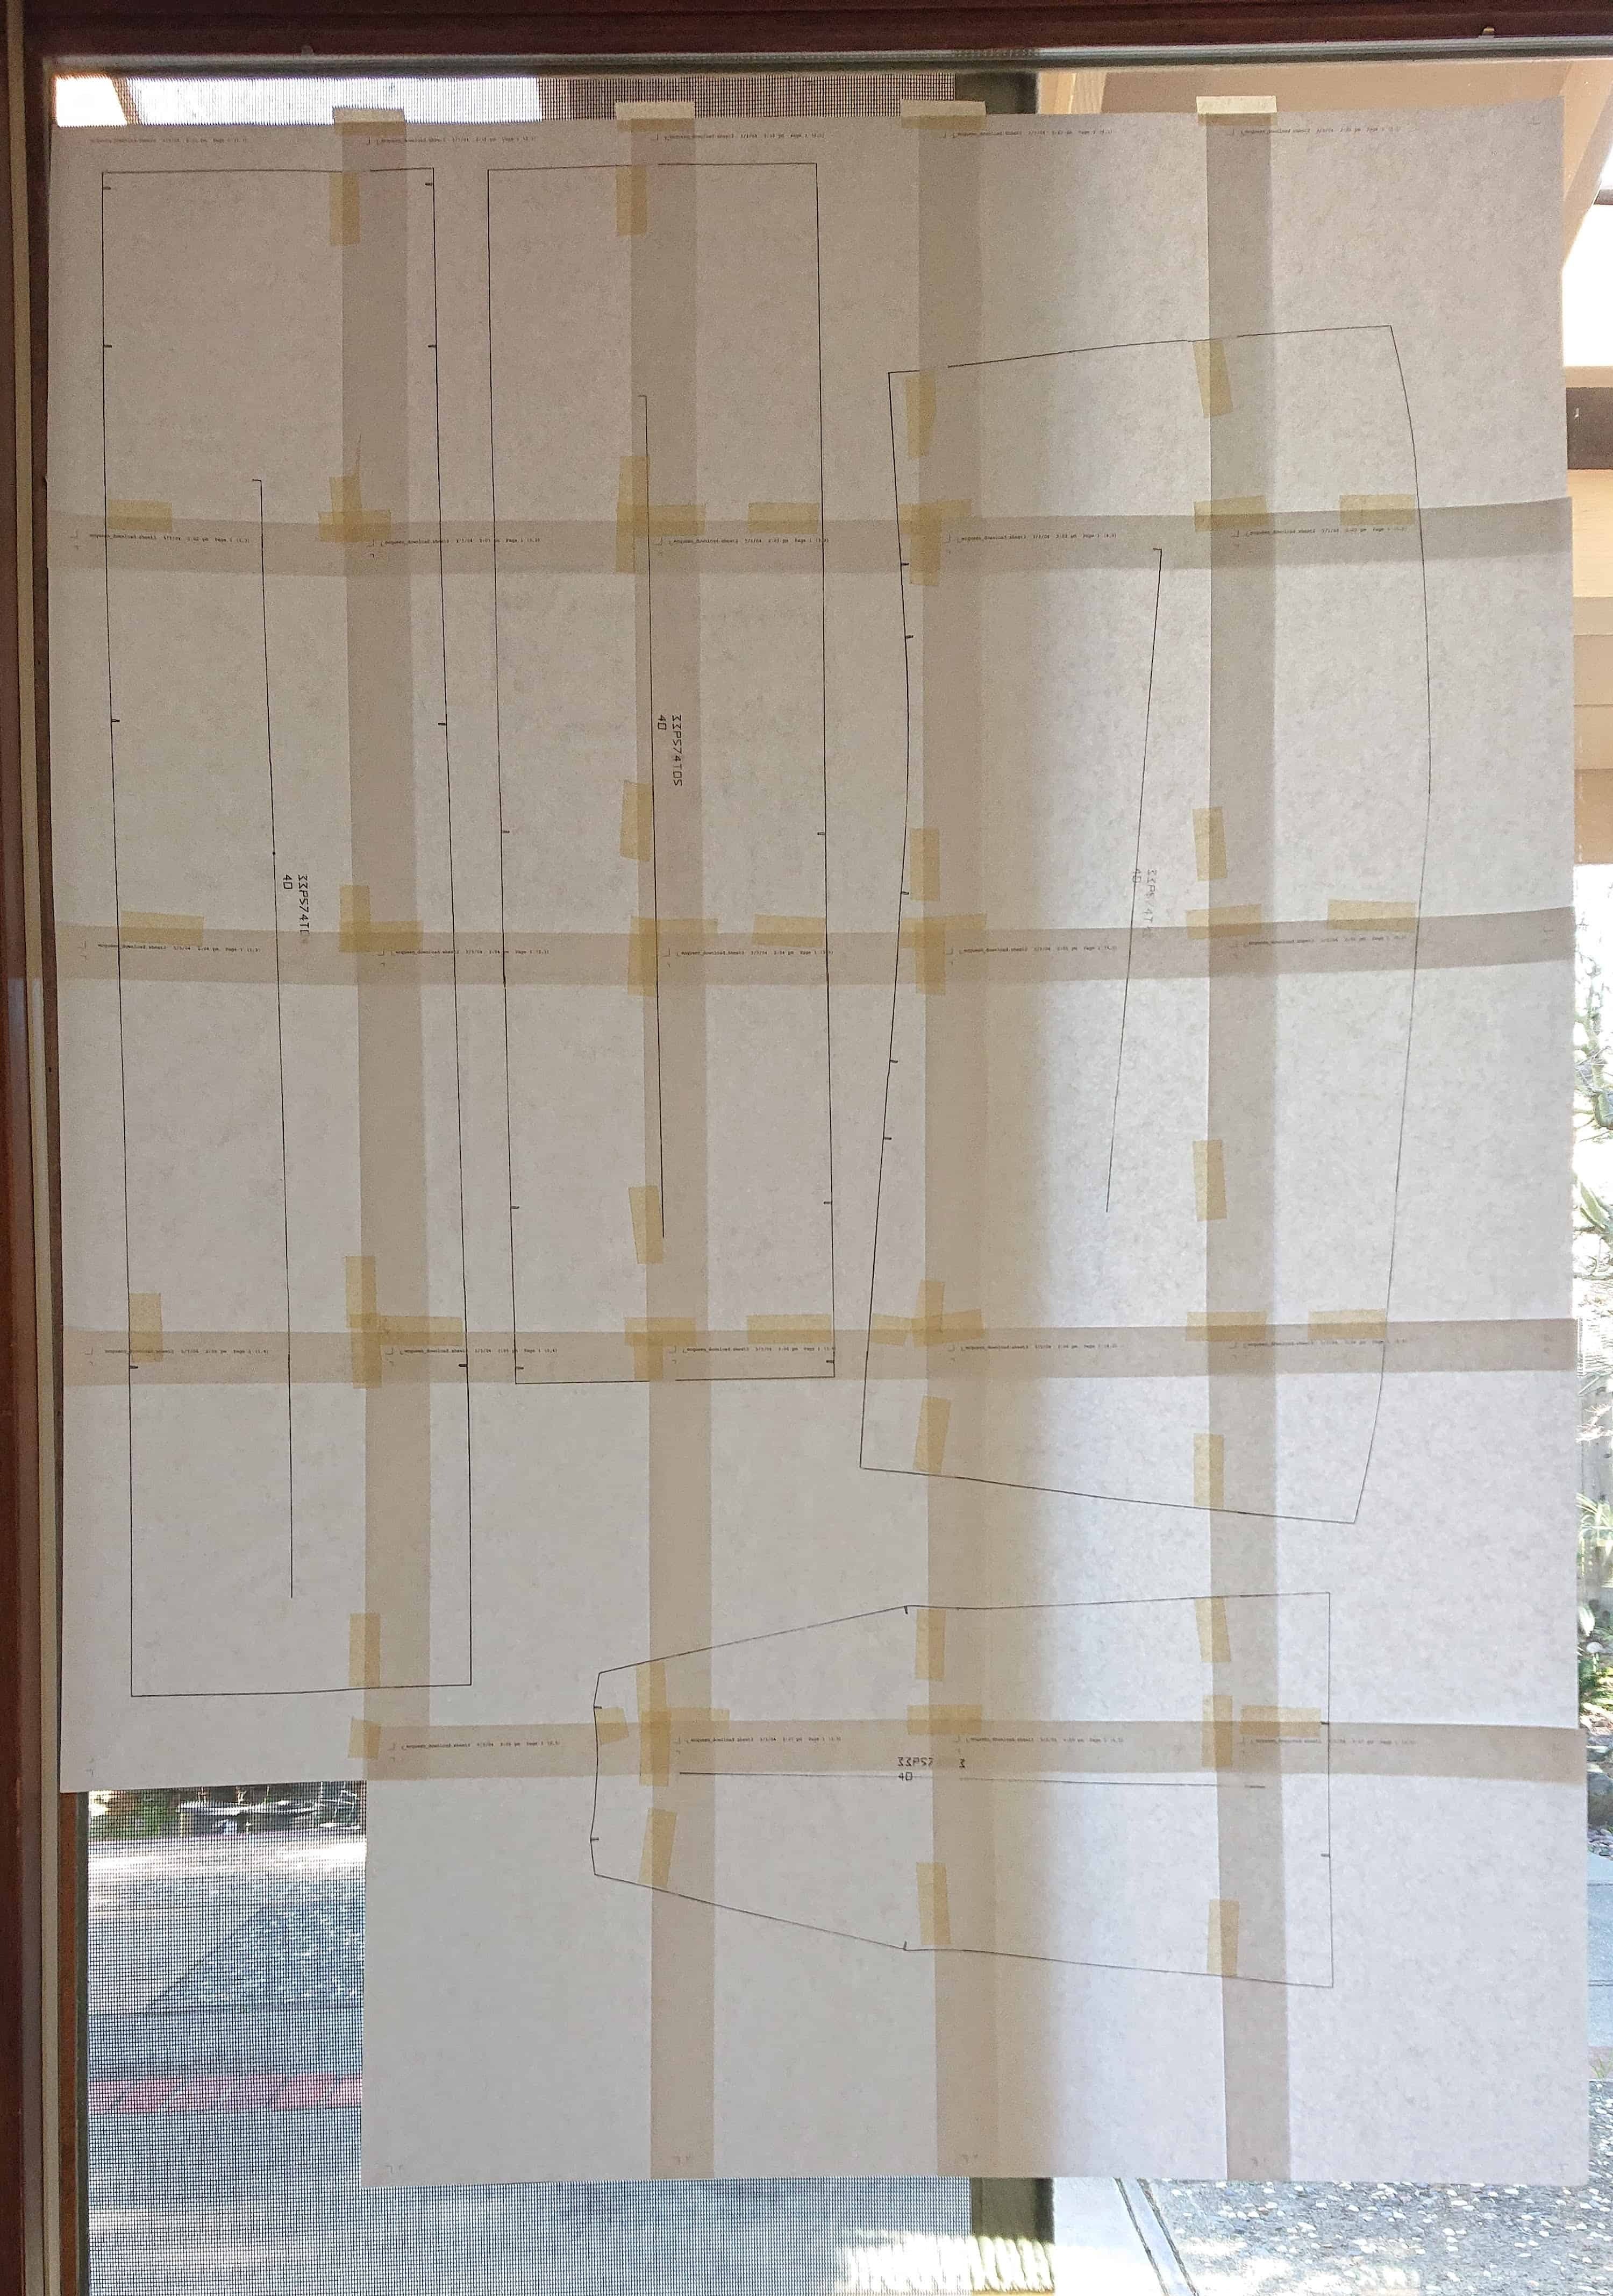
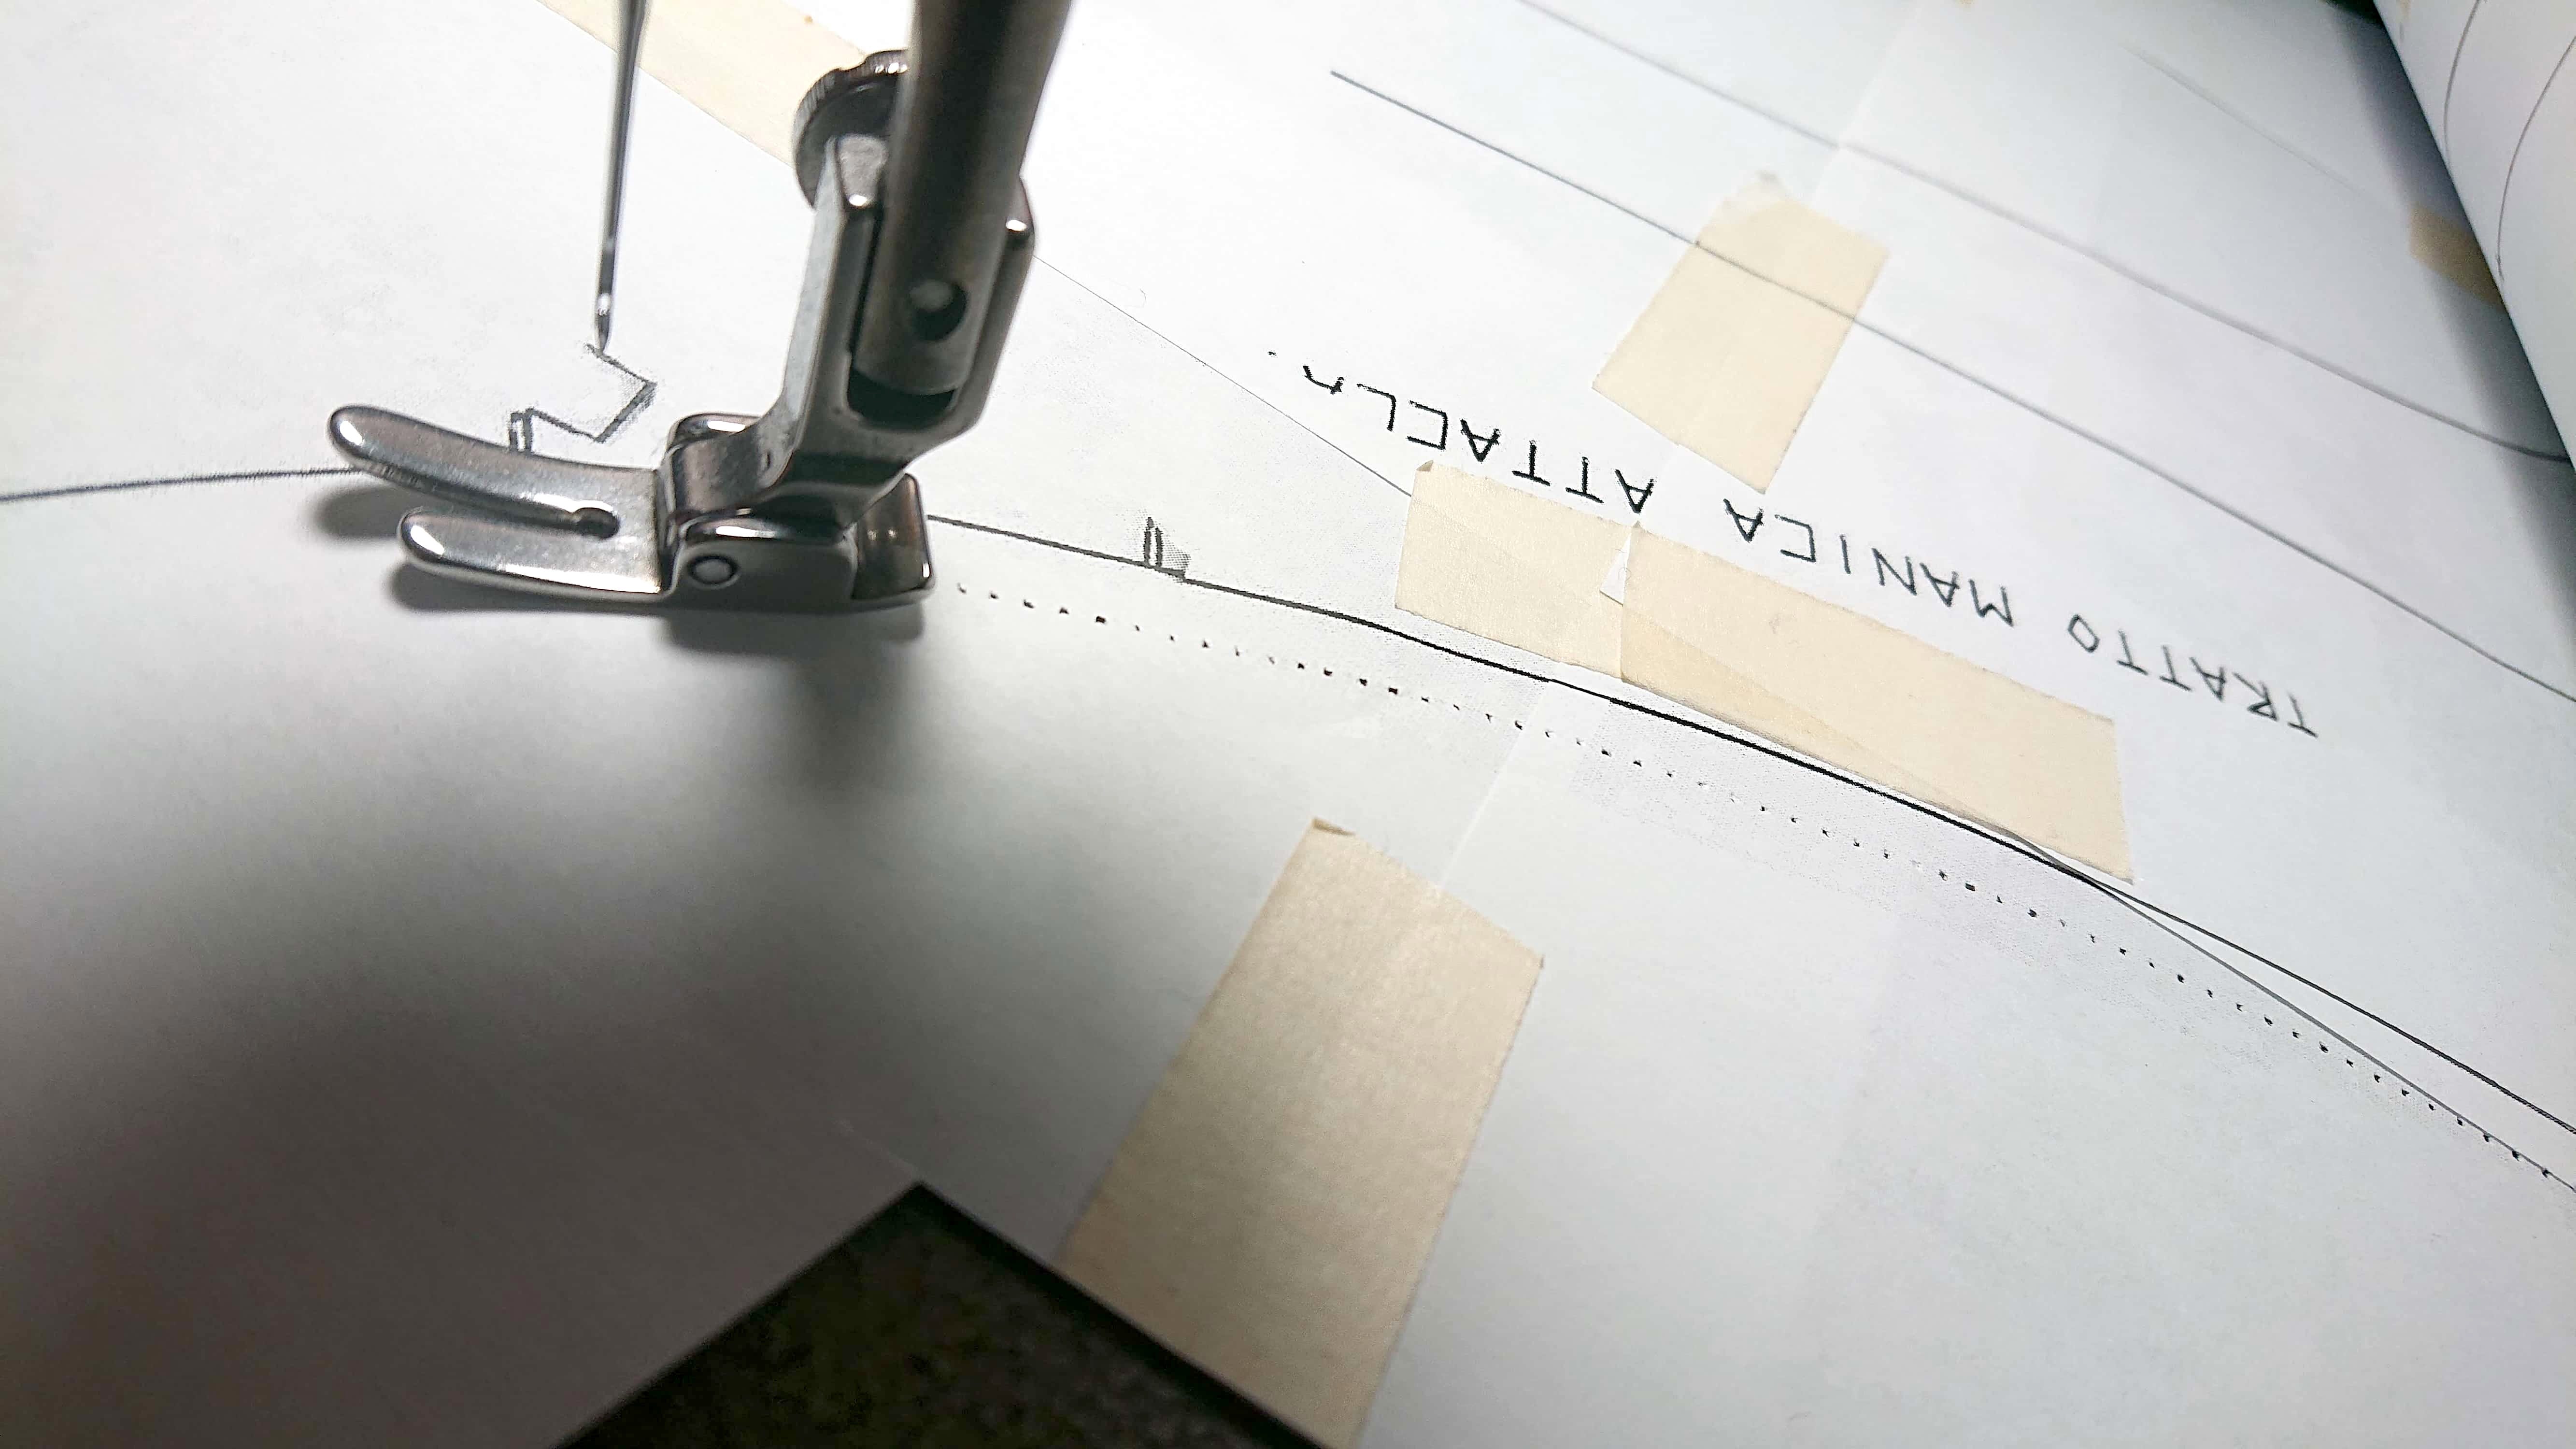
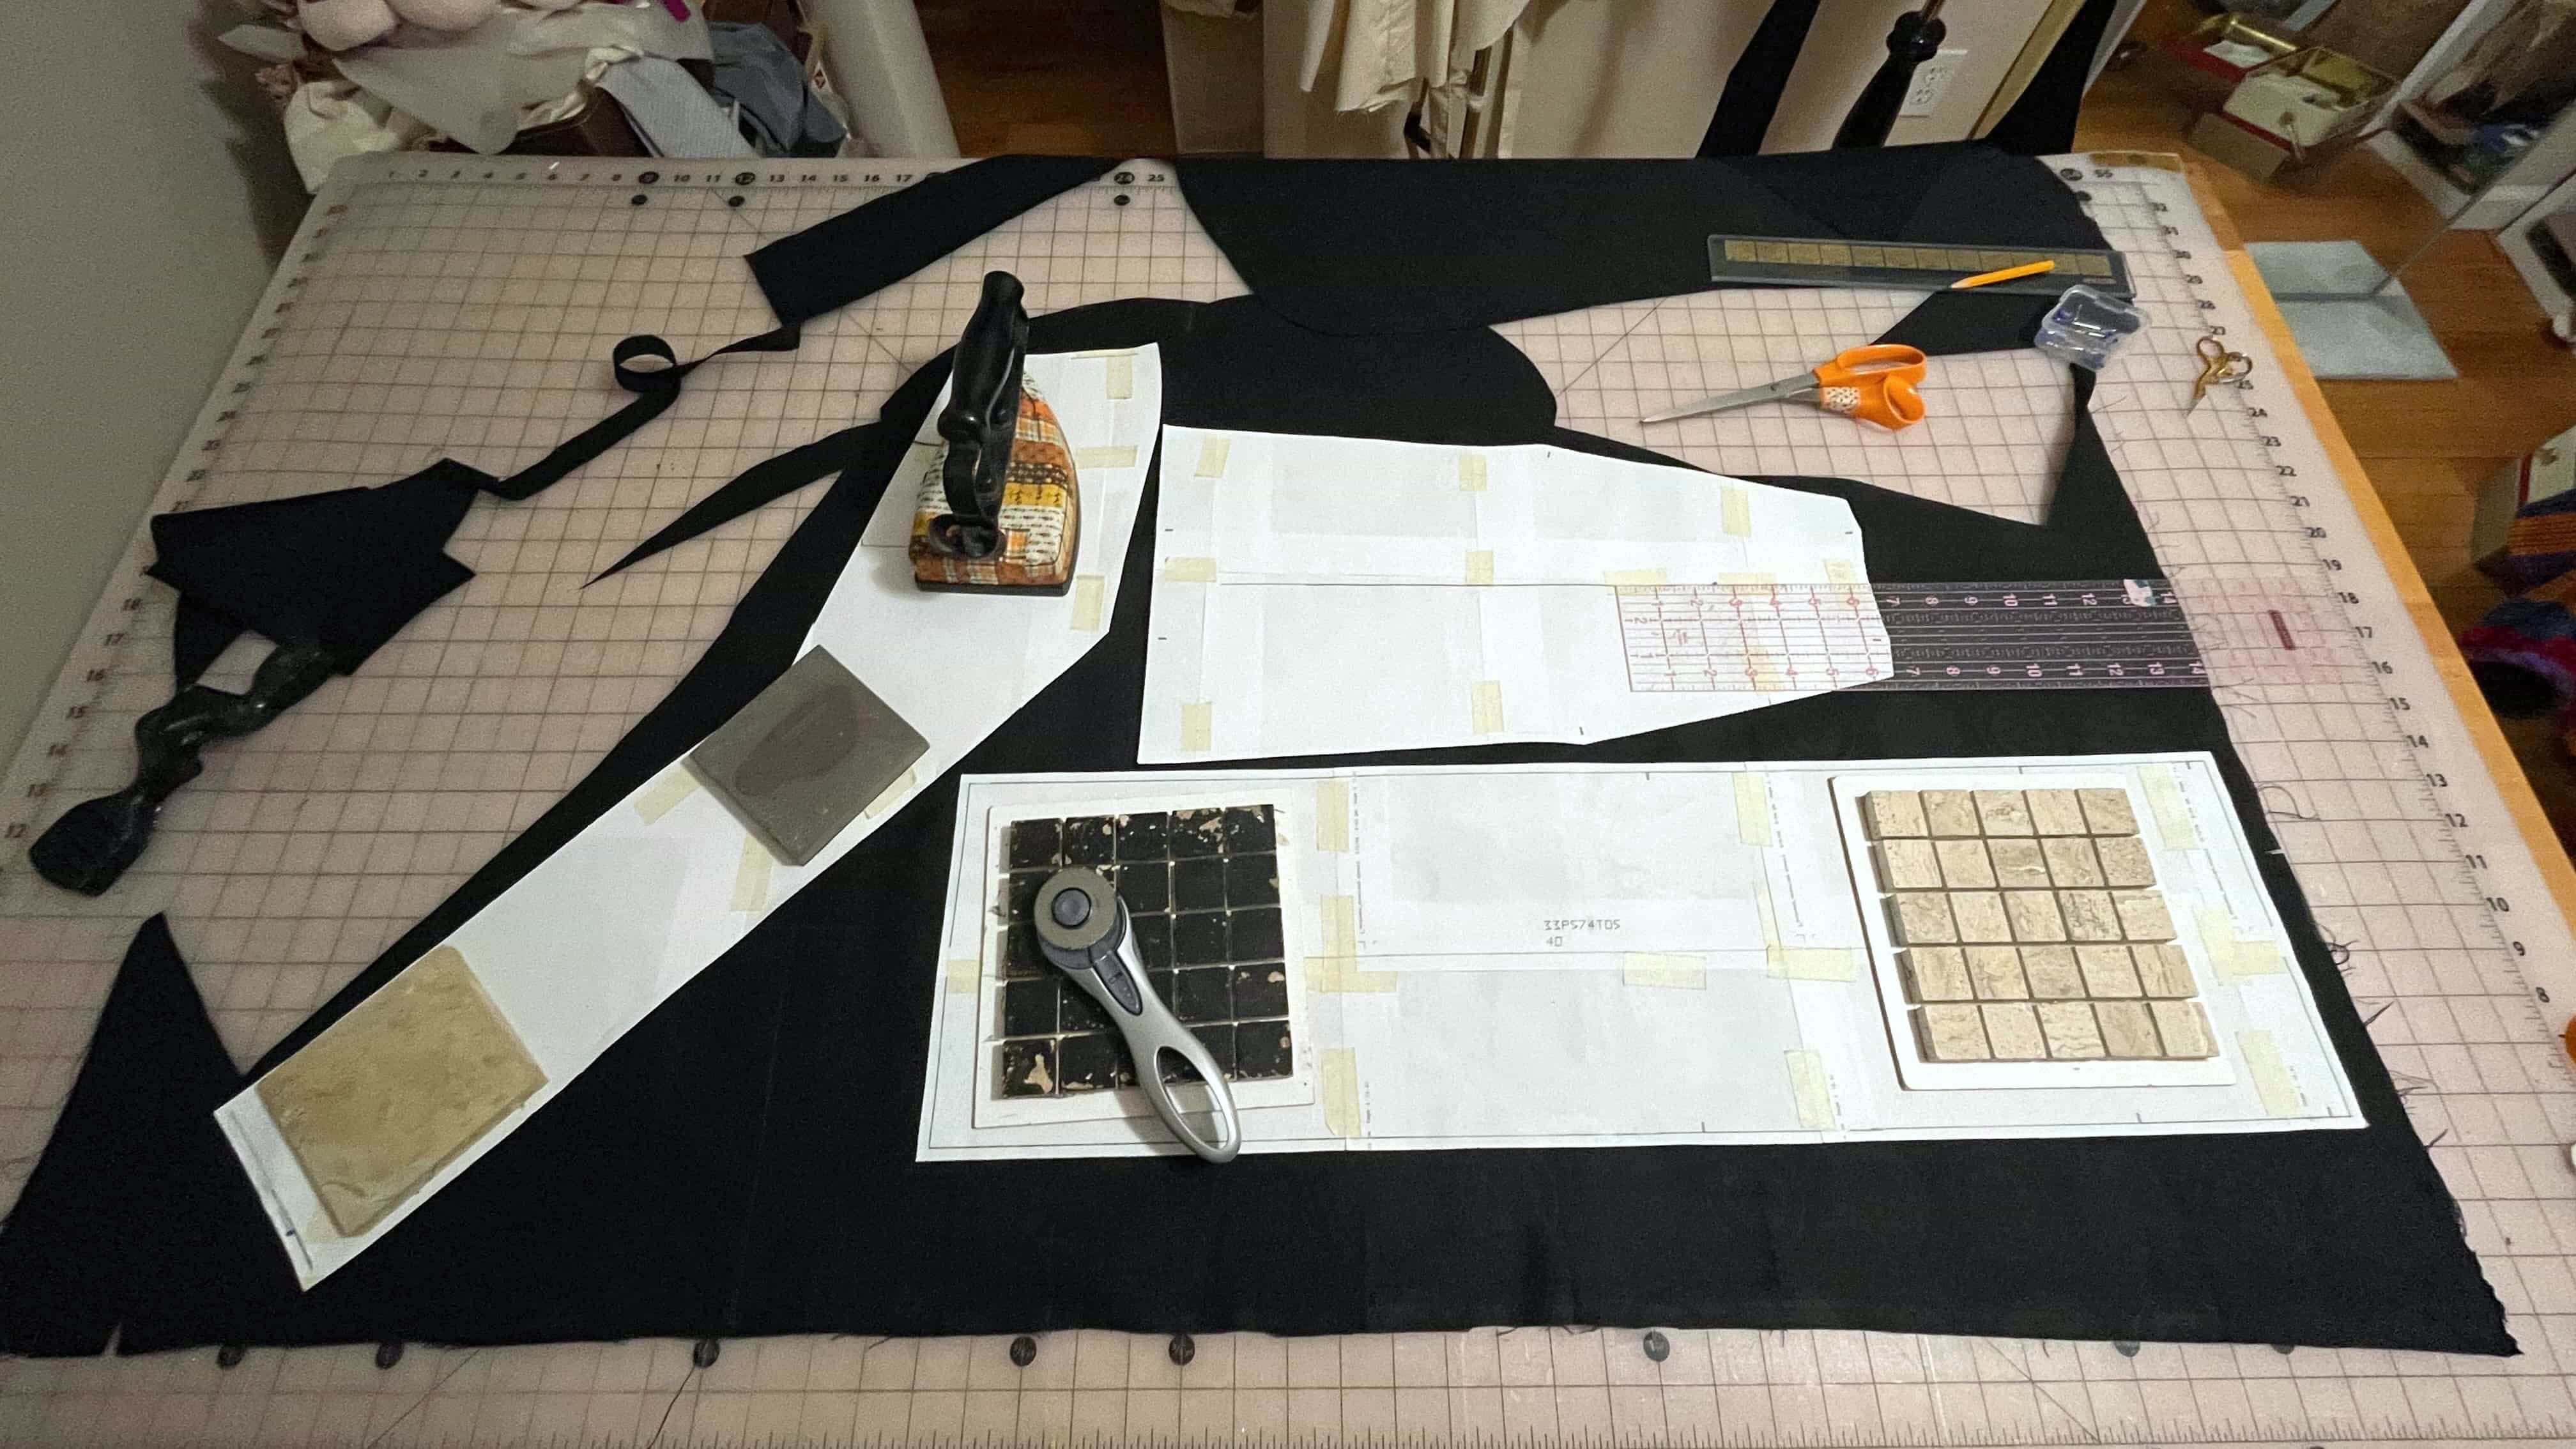
The seam allowance is 0.25 inch, so I used an old needle to trace the pattern to create dots 0.25 inch away from the pattern edges. I then cut all of the pattern pieces.
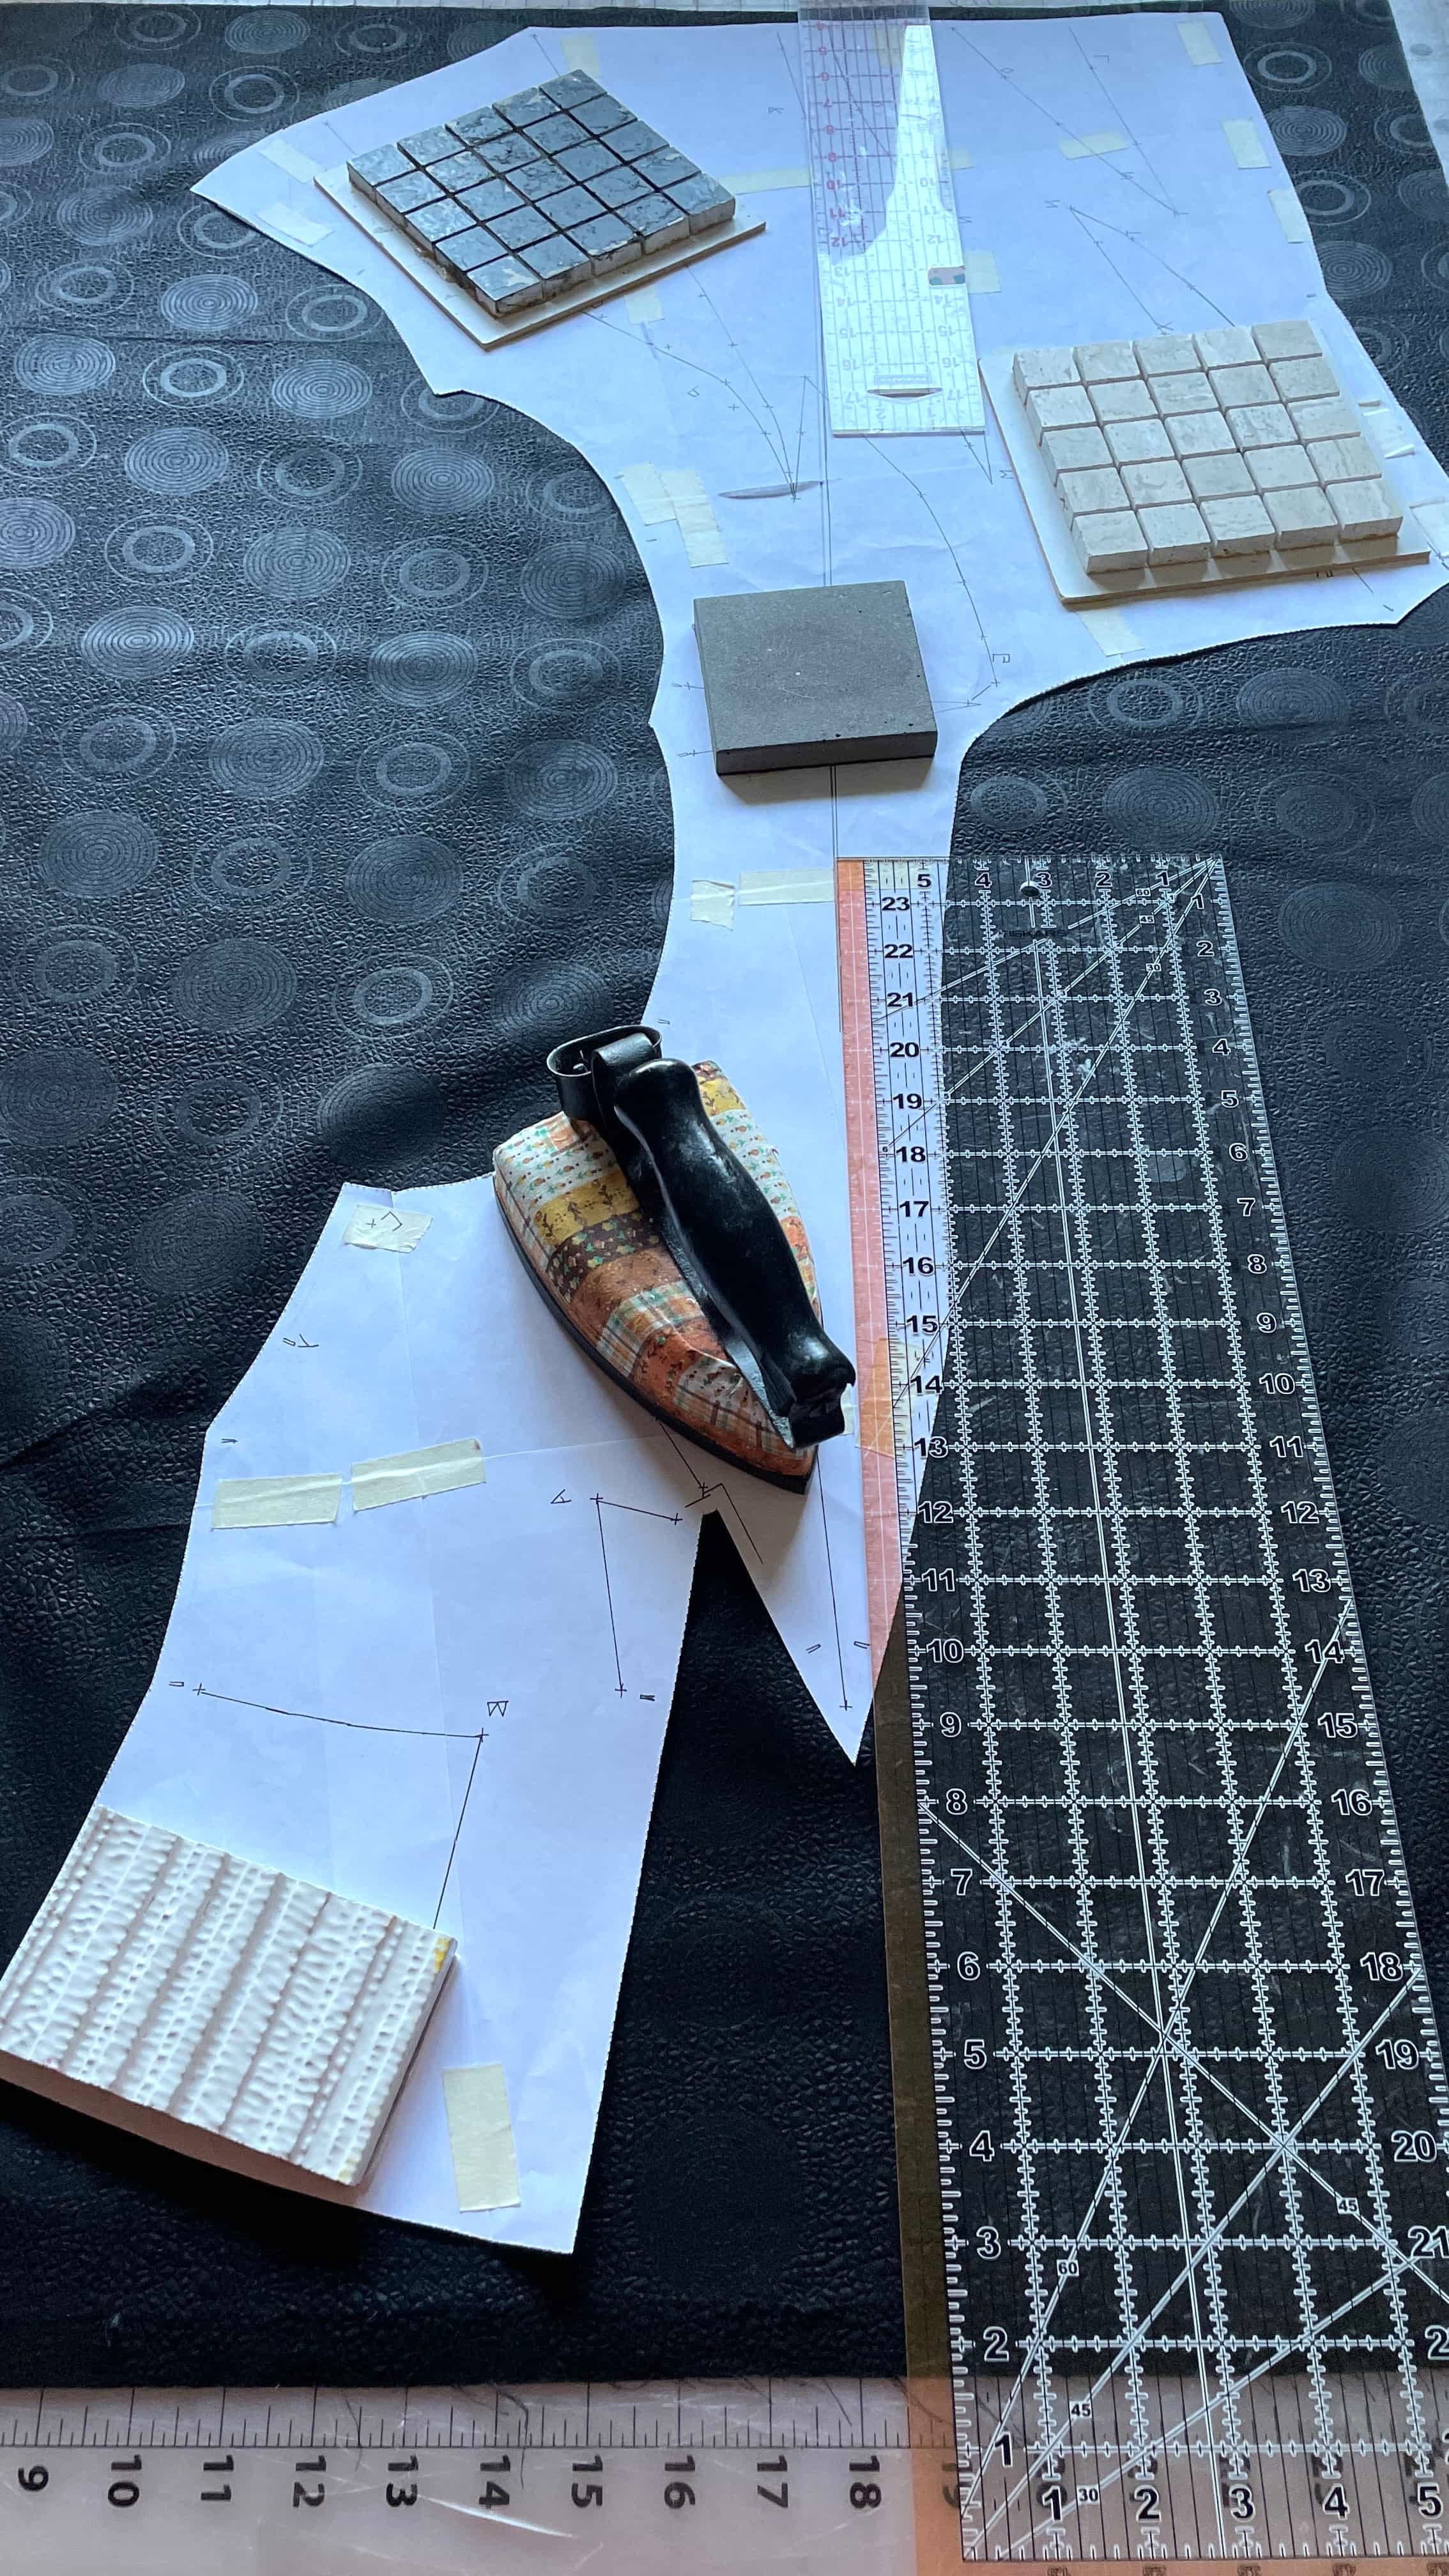
I took my time examining the Brissi fabric remnants I have. After ironing them, I placed the pattern pieces on them and leave them like this overnight.
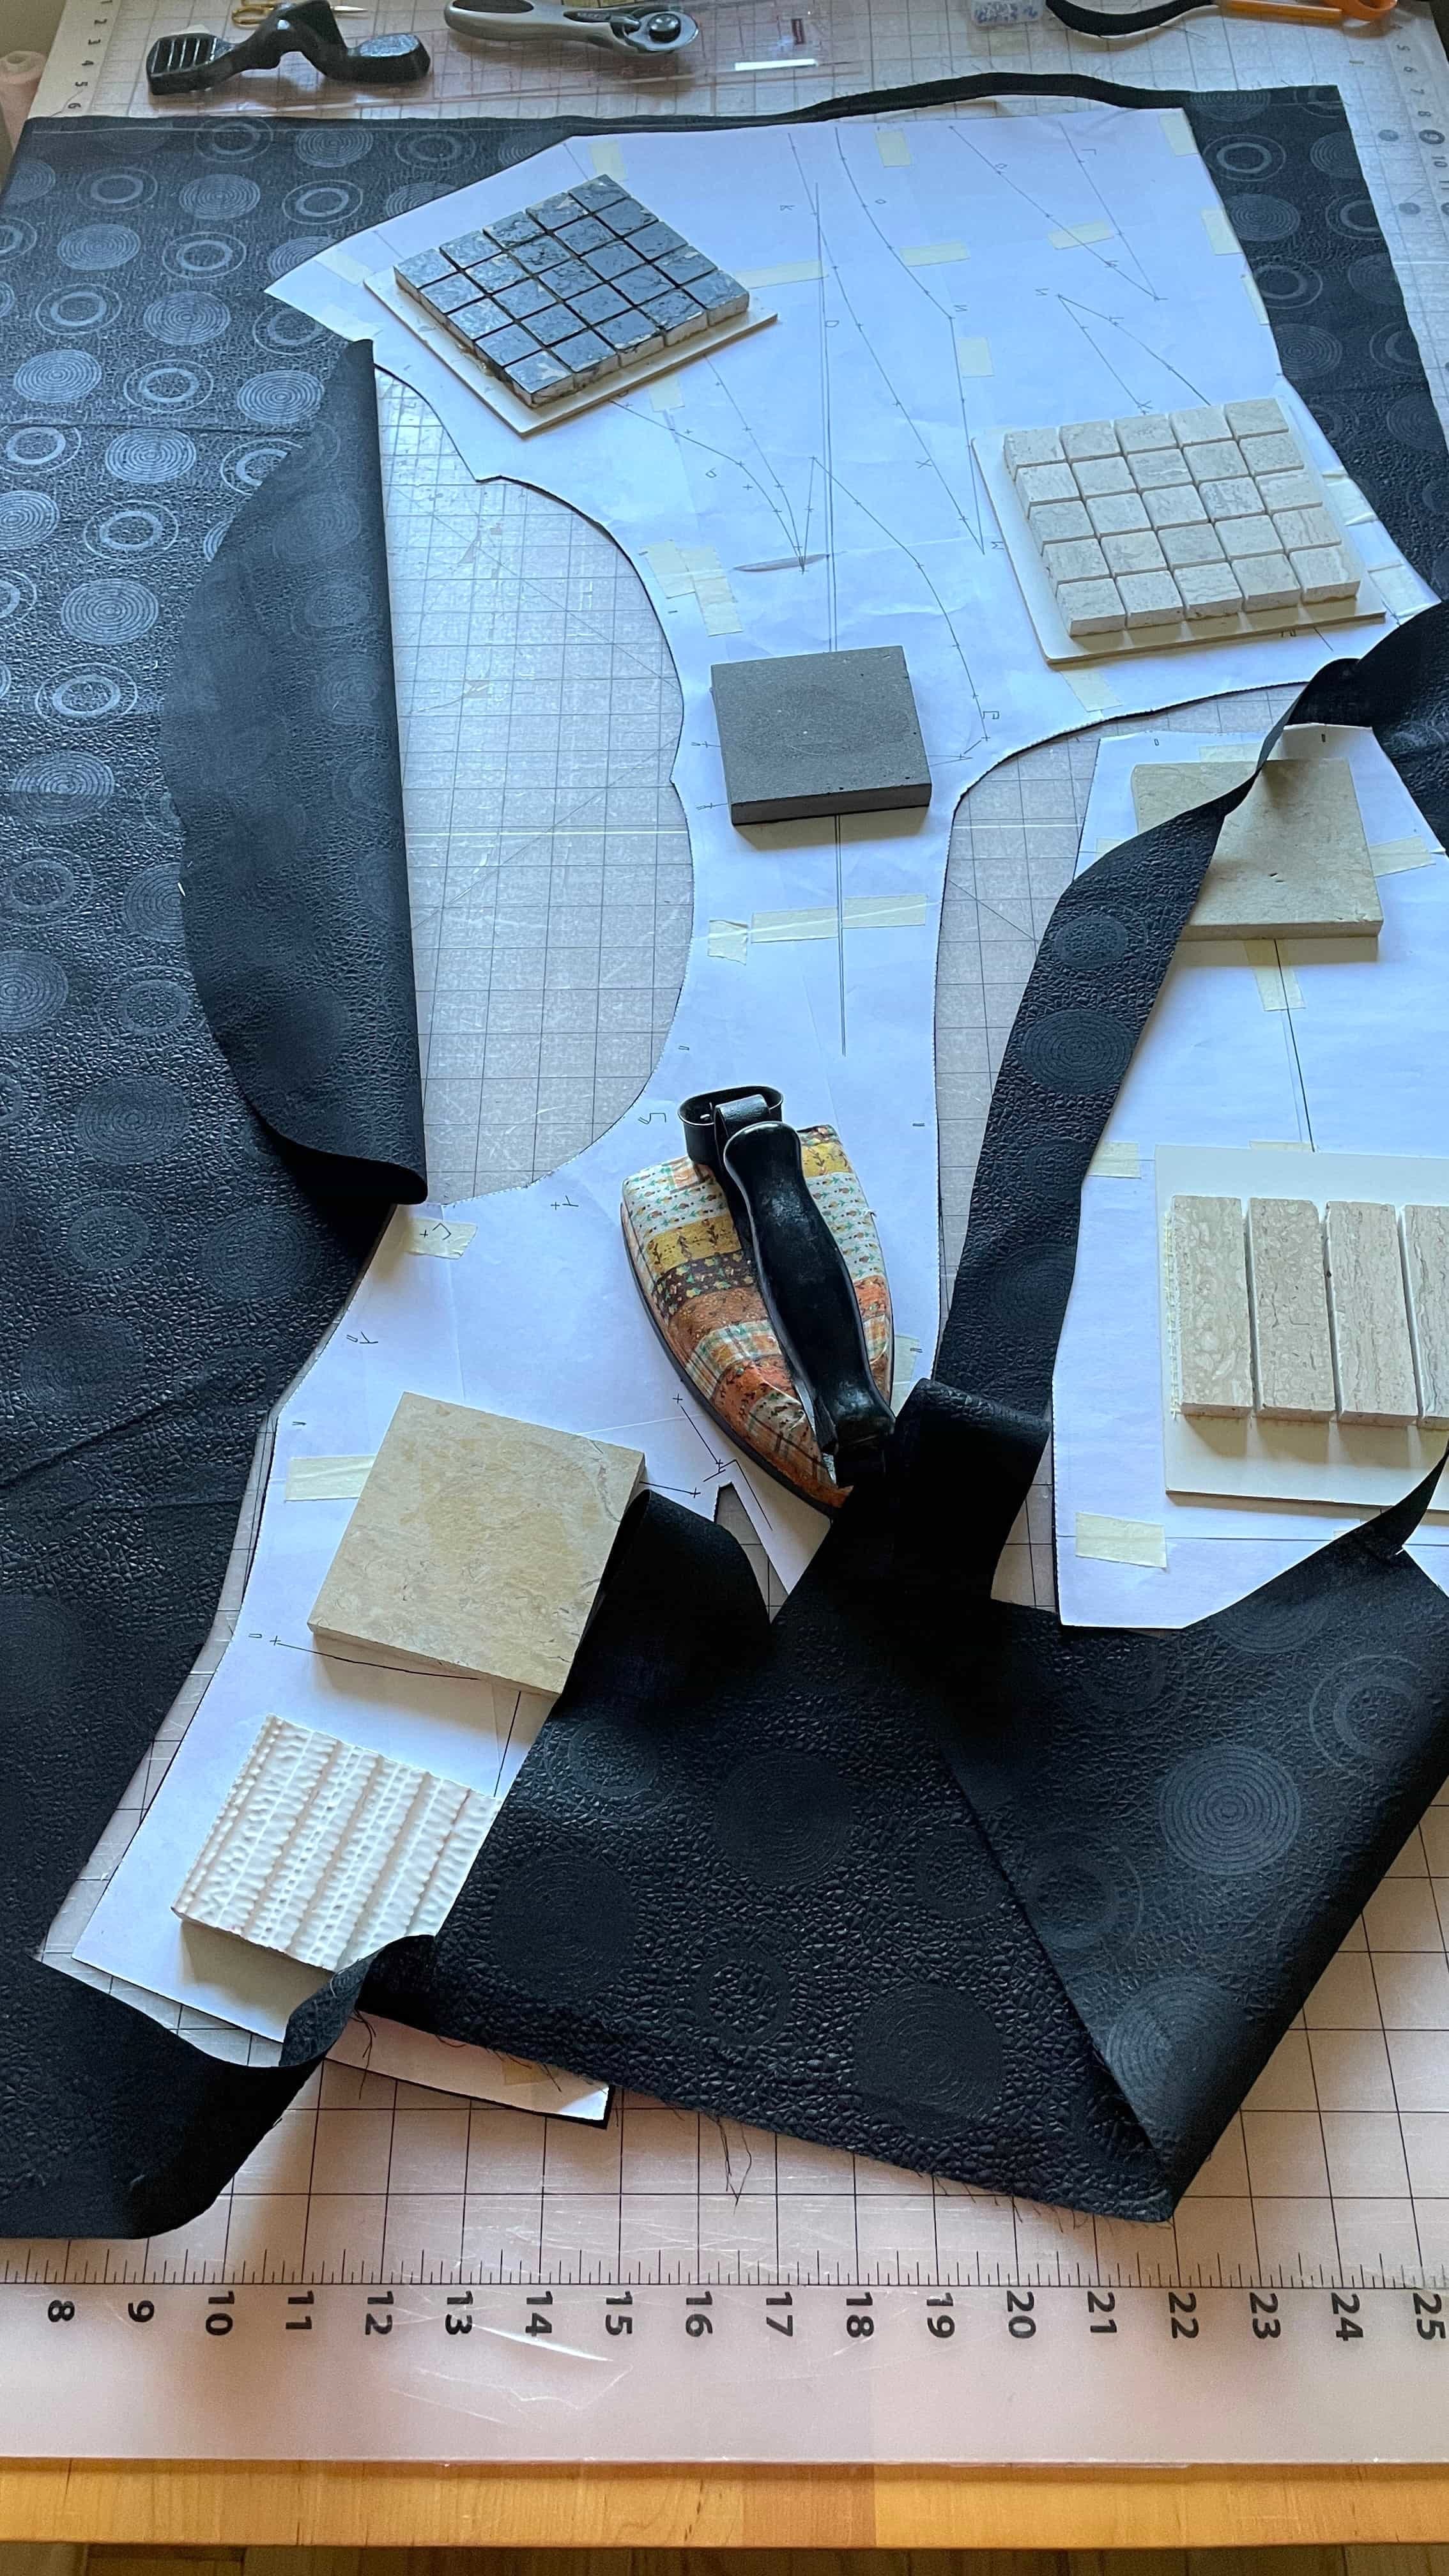
The next day, I hesitated to cut the fabric at first because there’s still some fabric warping / defect that made it really hard for me to match the patterns. However, I eventually stopped pondering and started cutting.
I considered this black kimono jacket a pattern study; I hope to make another version with a non-defective fabric. I’d like to make one using a summer fabric, like the blue-gray chambray fabric and put it up for sale. What do you think?
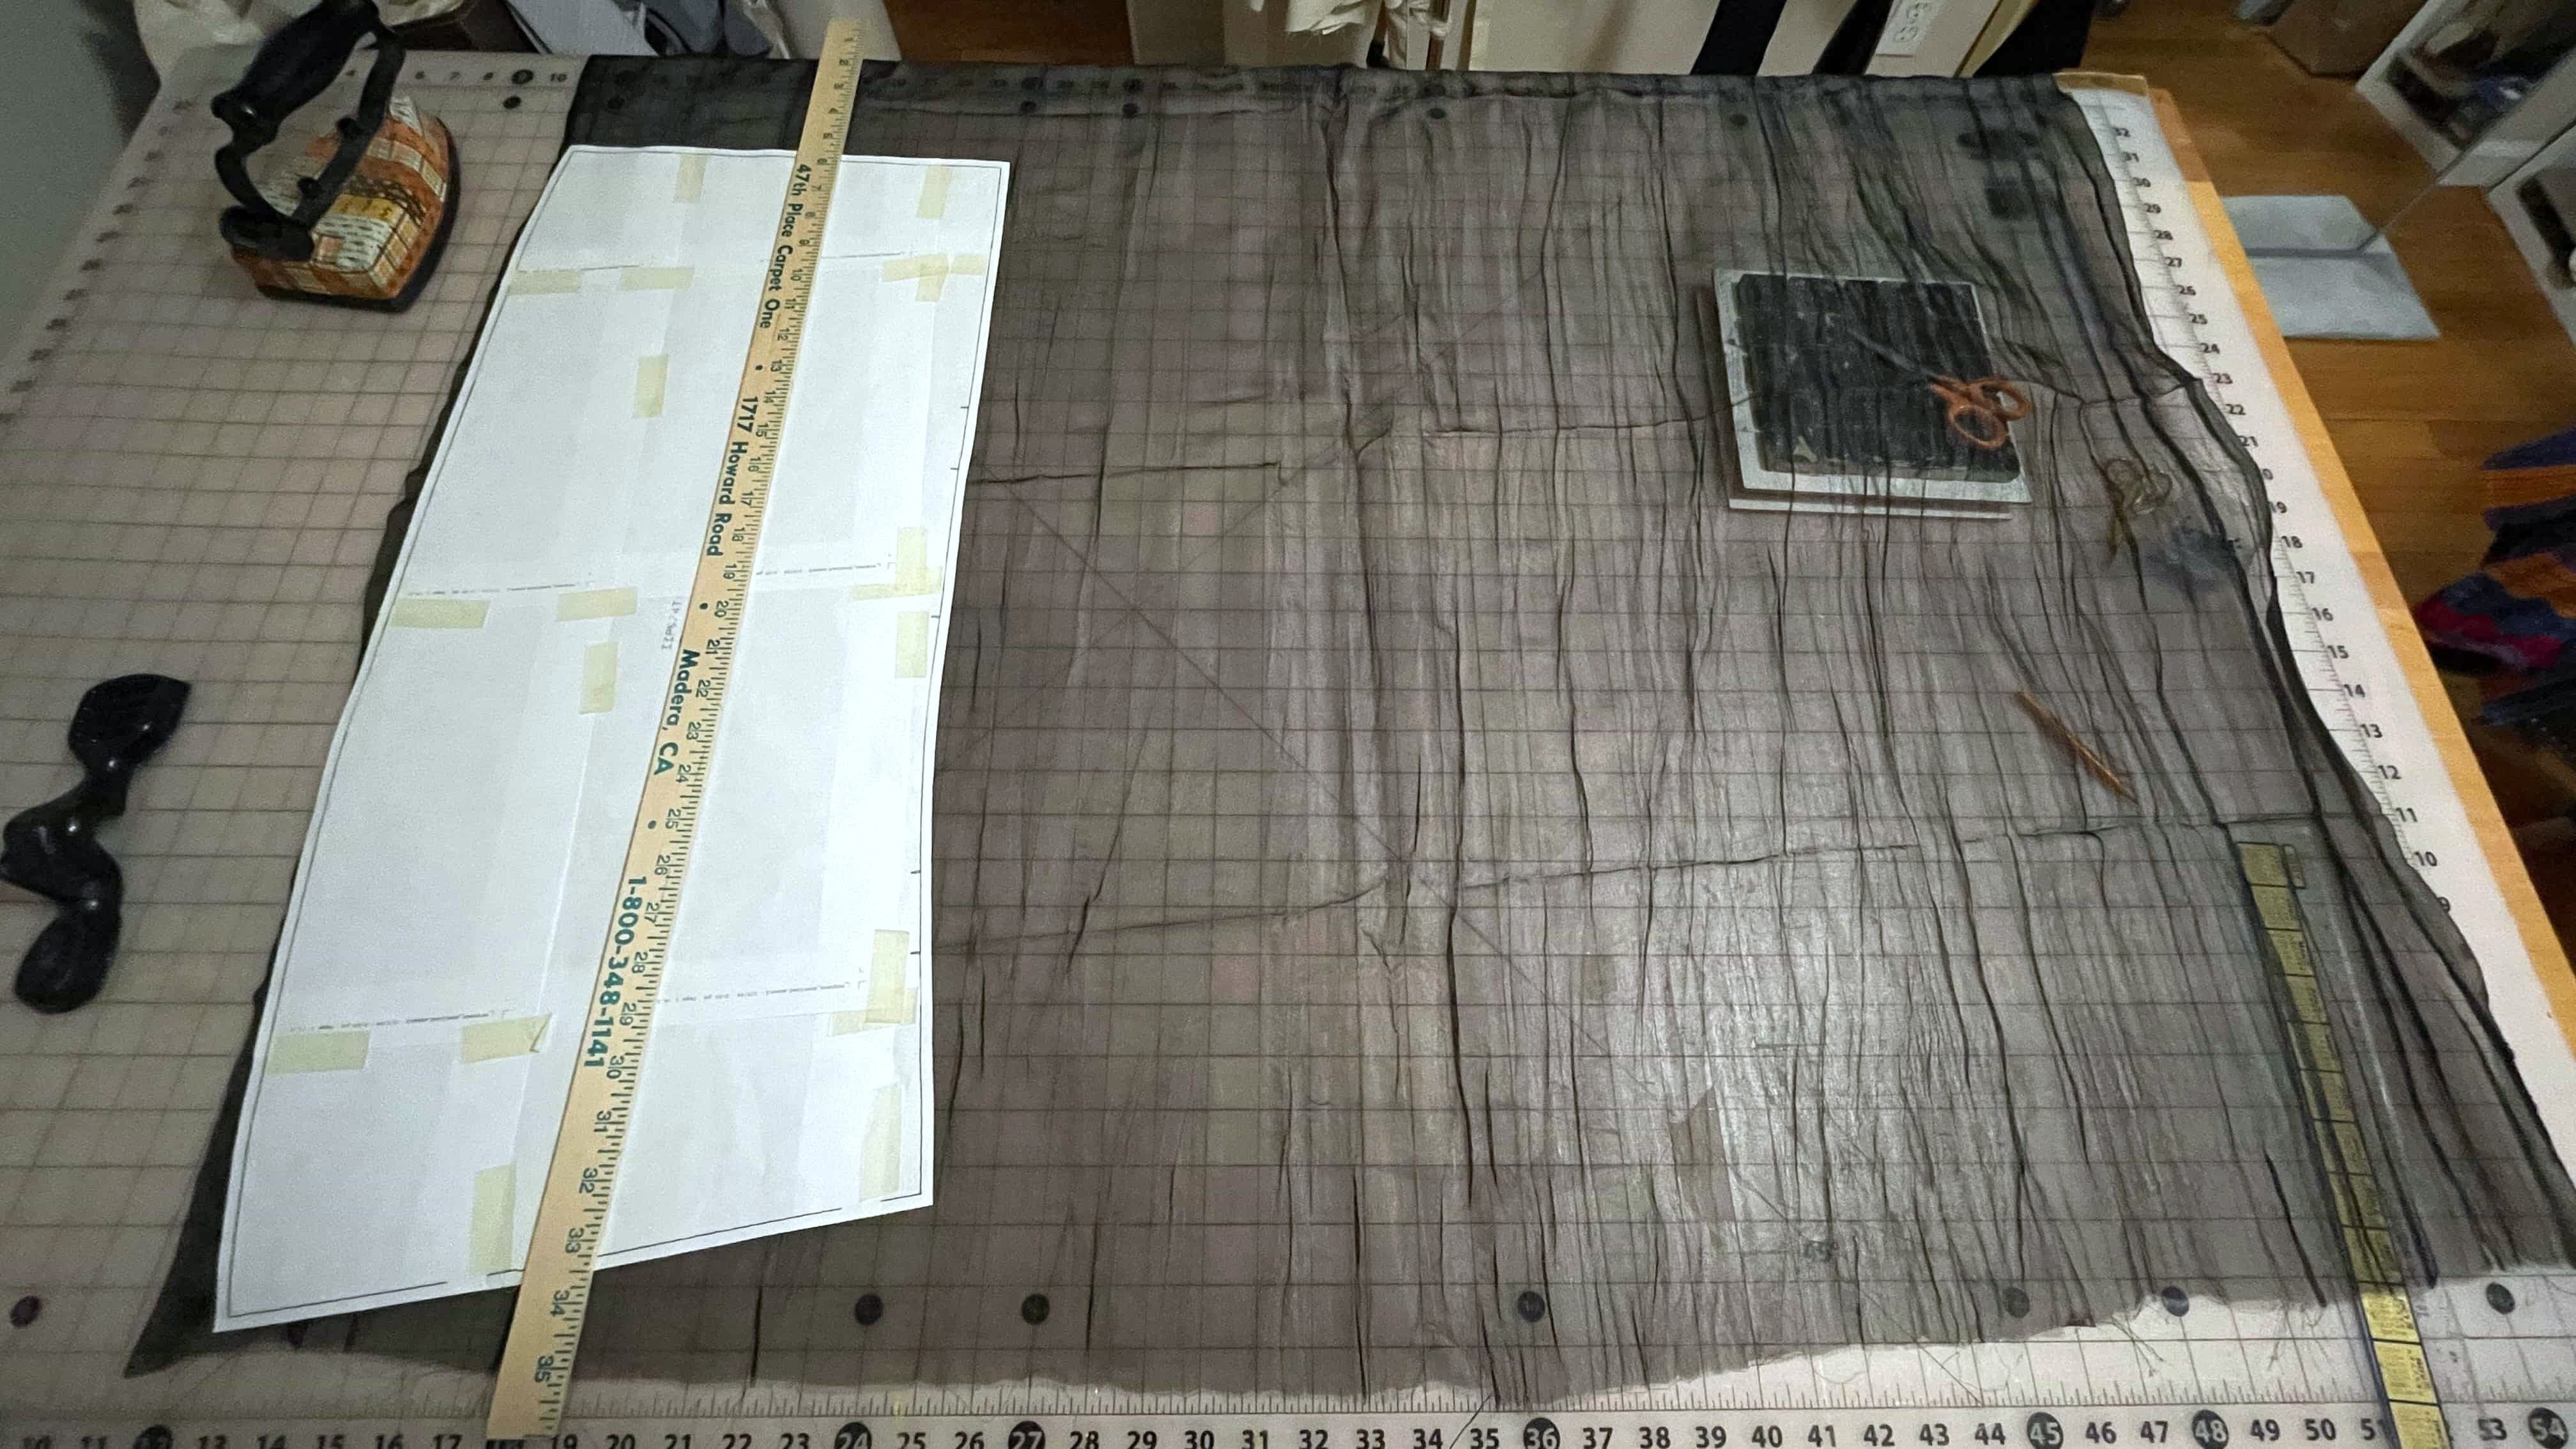
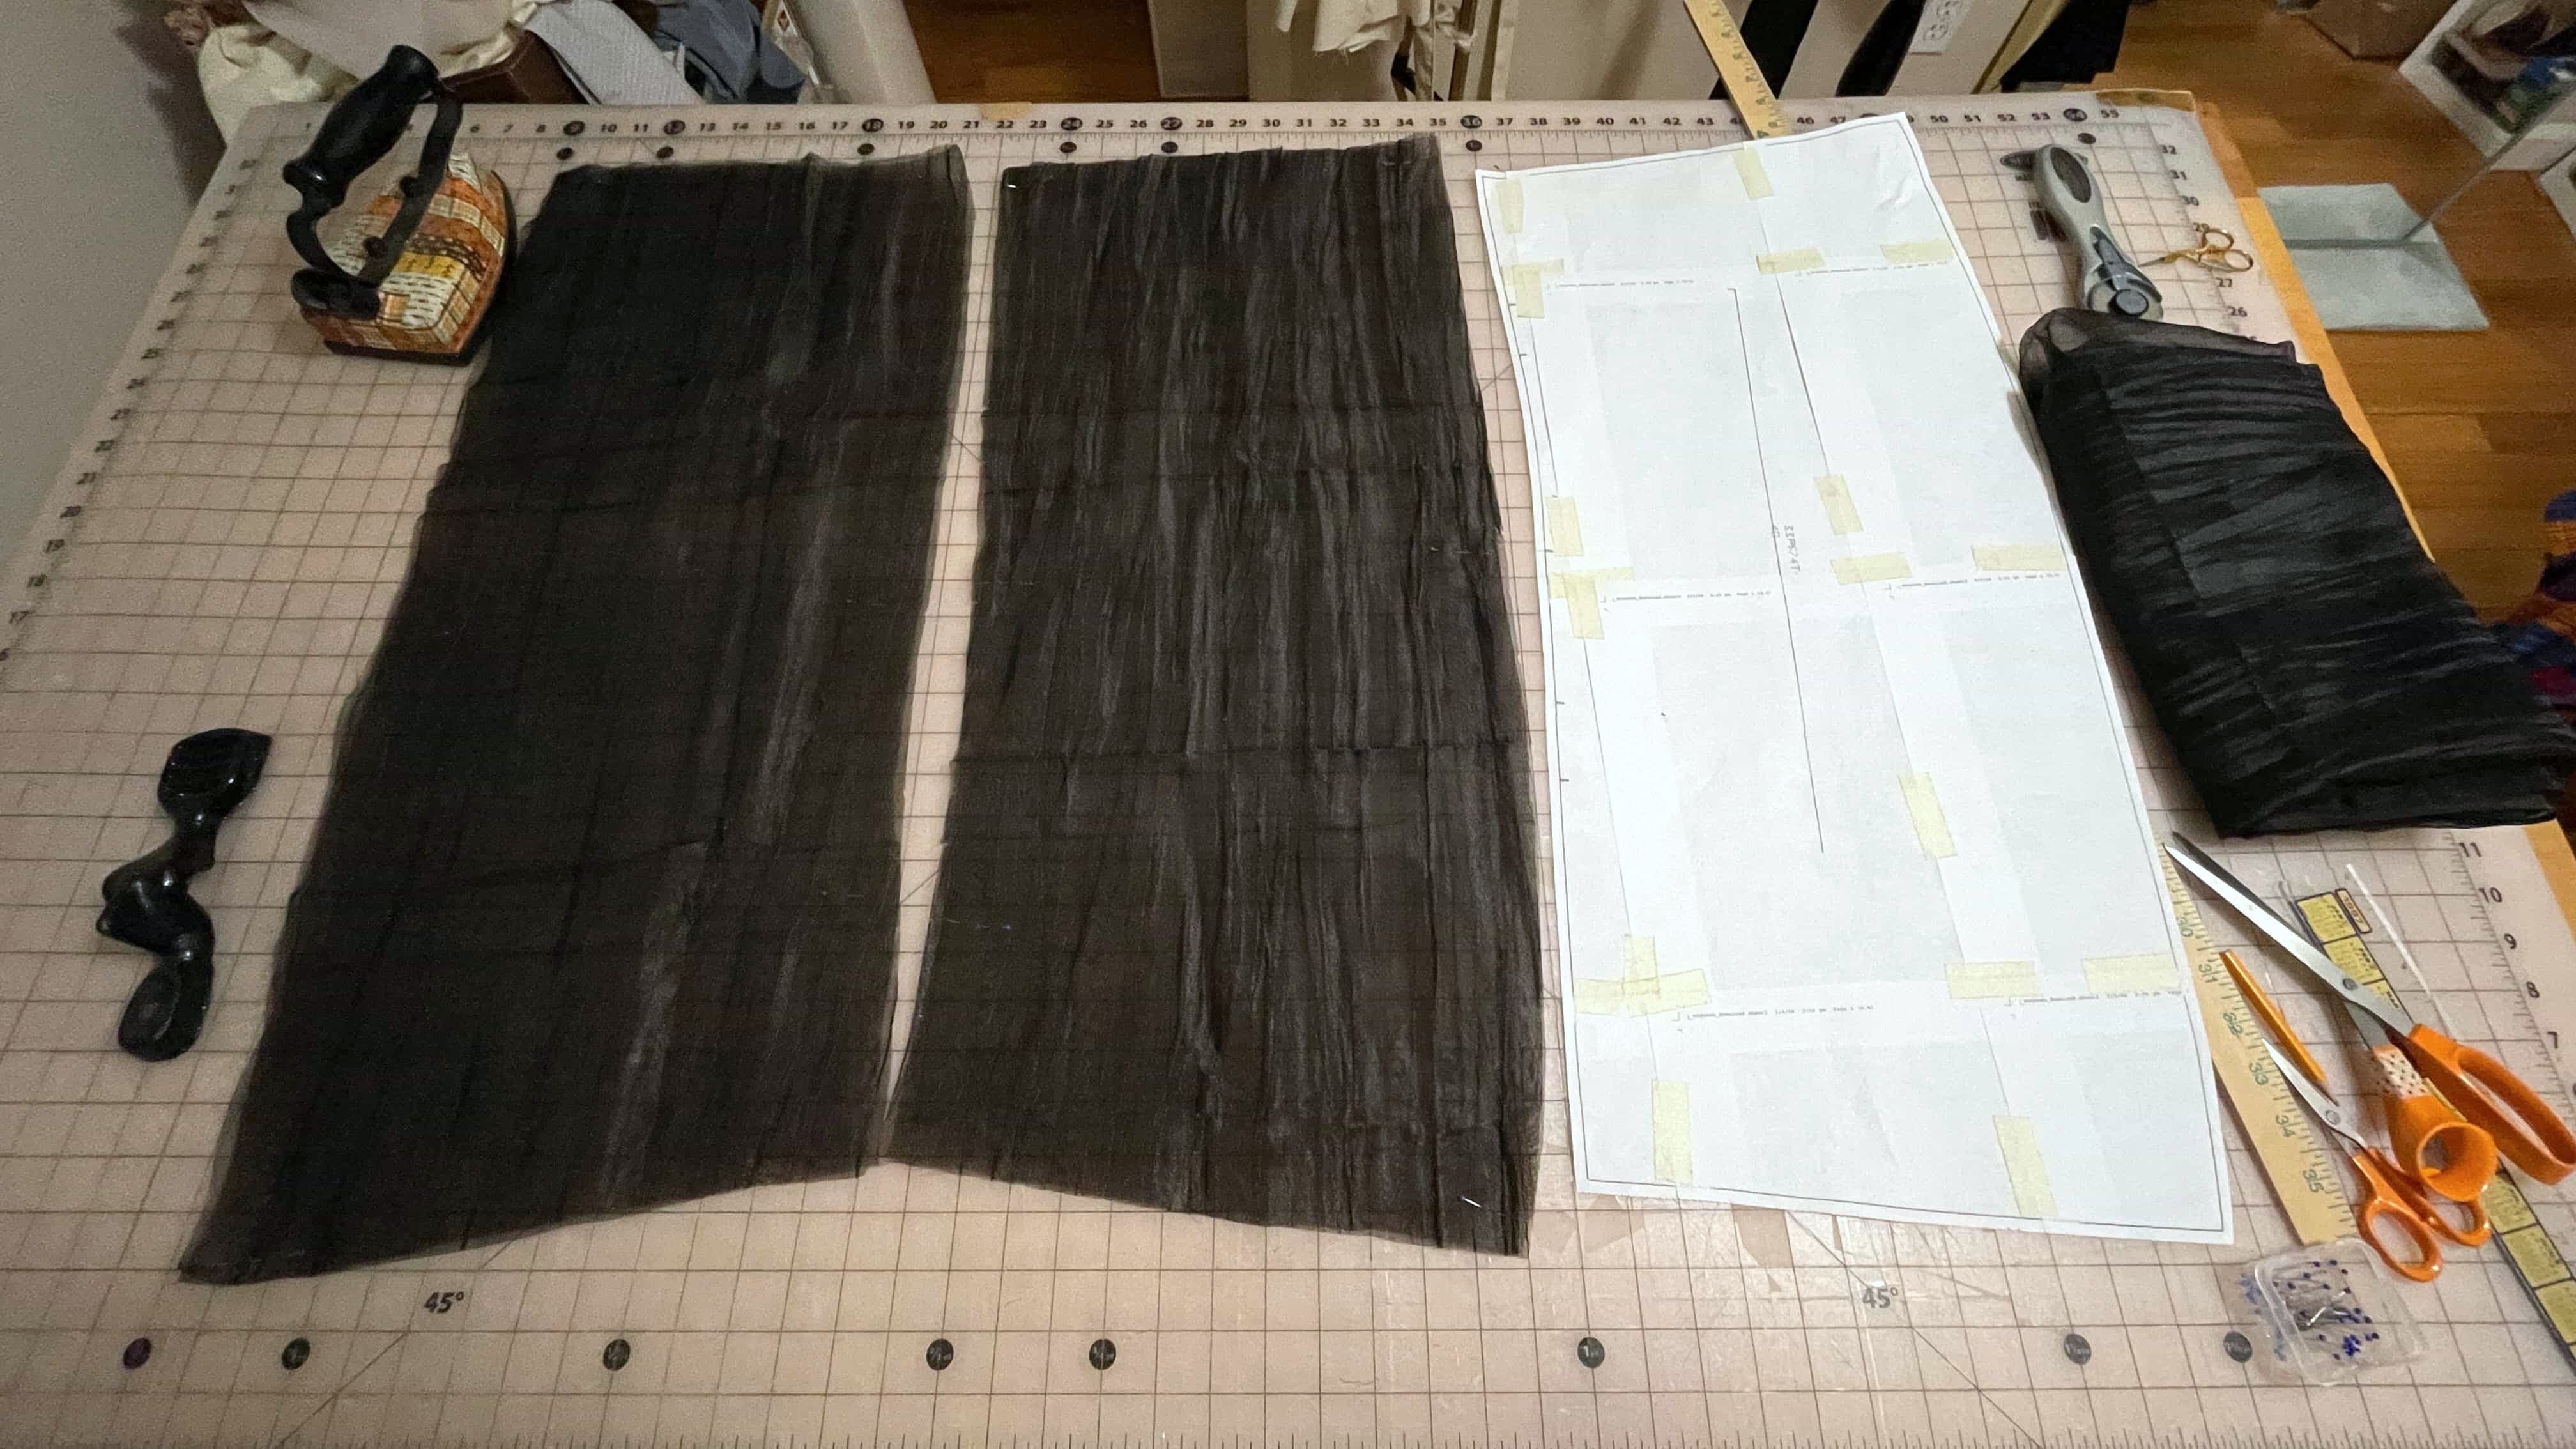
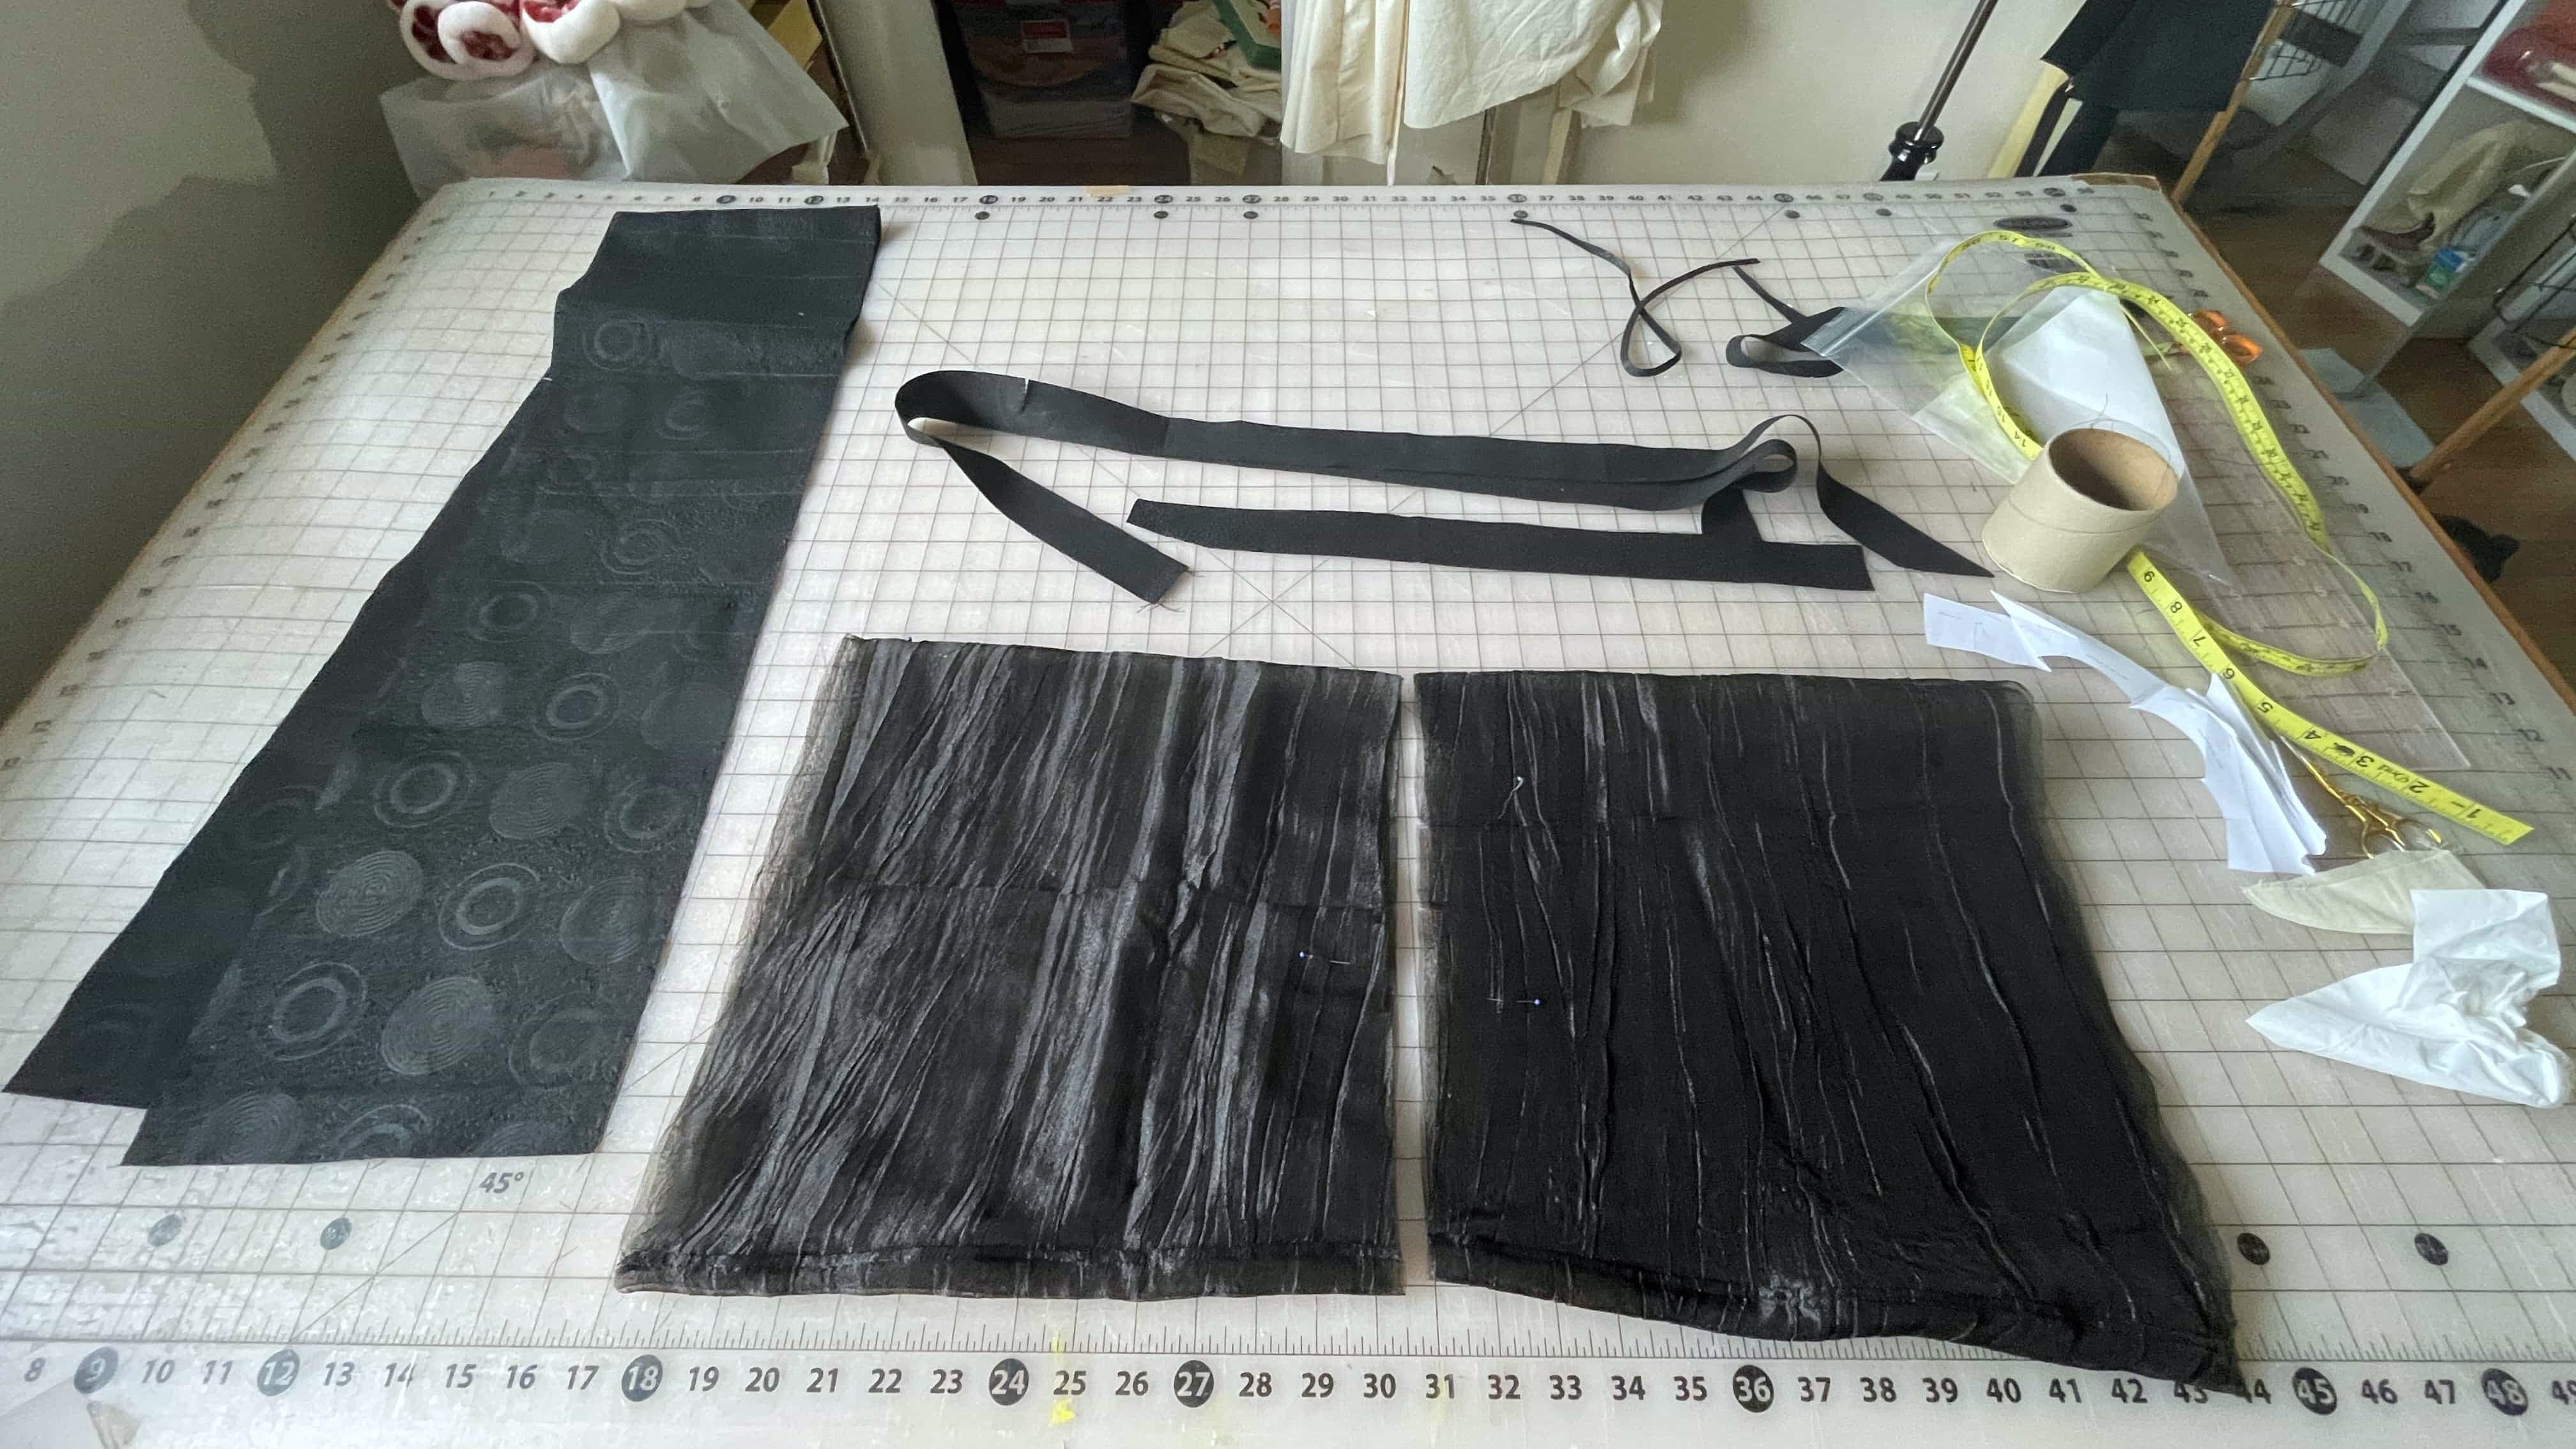
The large Brissi remnant wasn’t enough to cover all pattern pieces. The McQueen jacket pattern was not really designed to produce minimal waste after all. So for the sleeves, I use some crinkled polyester organza fabric remnant. I doubled up the layers to make the sleeves more opaque.
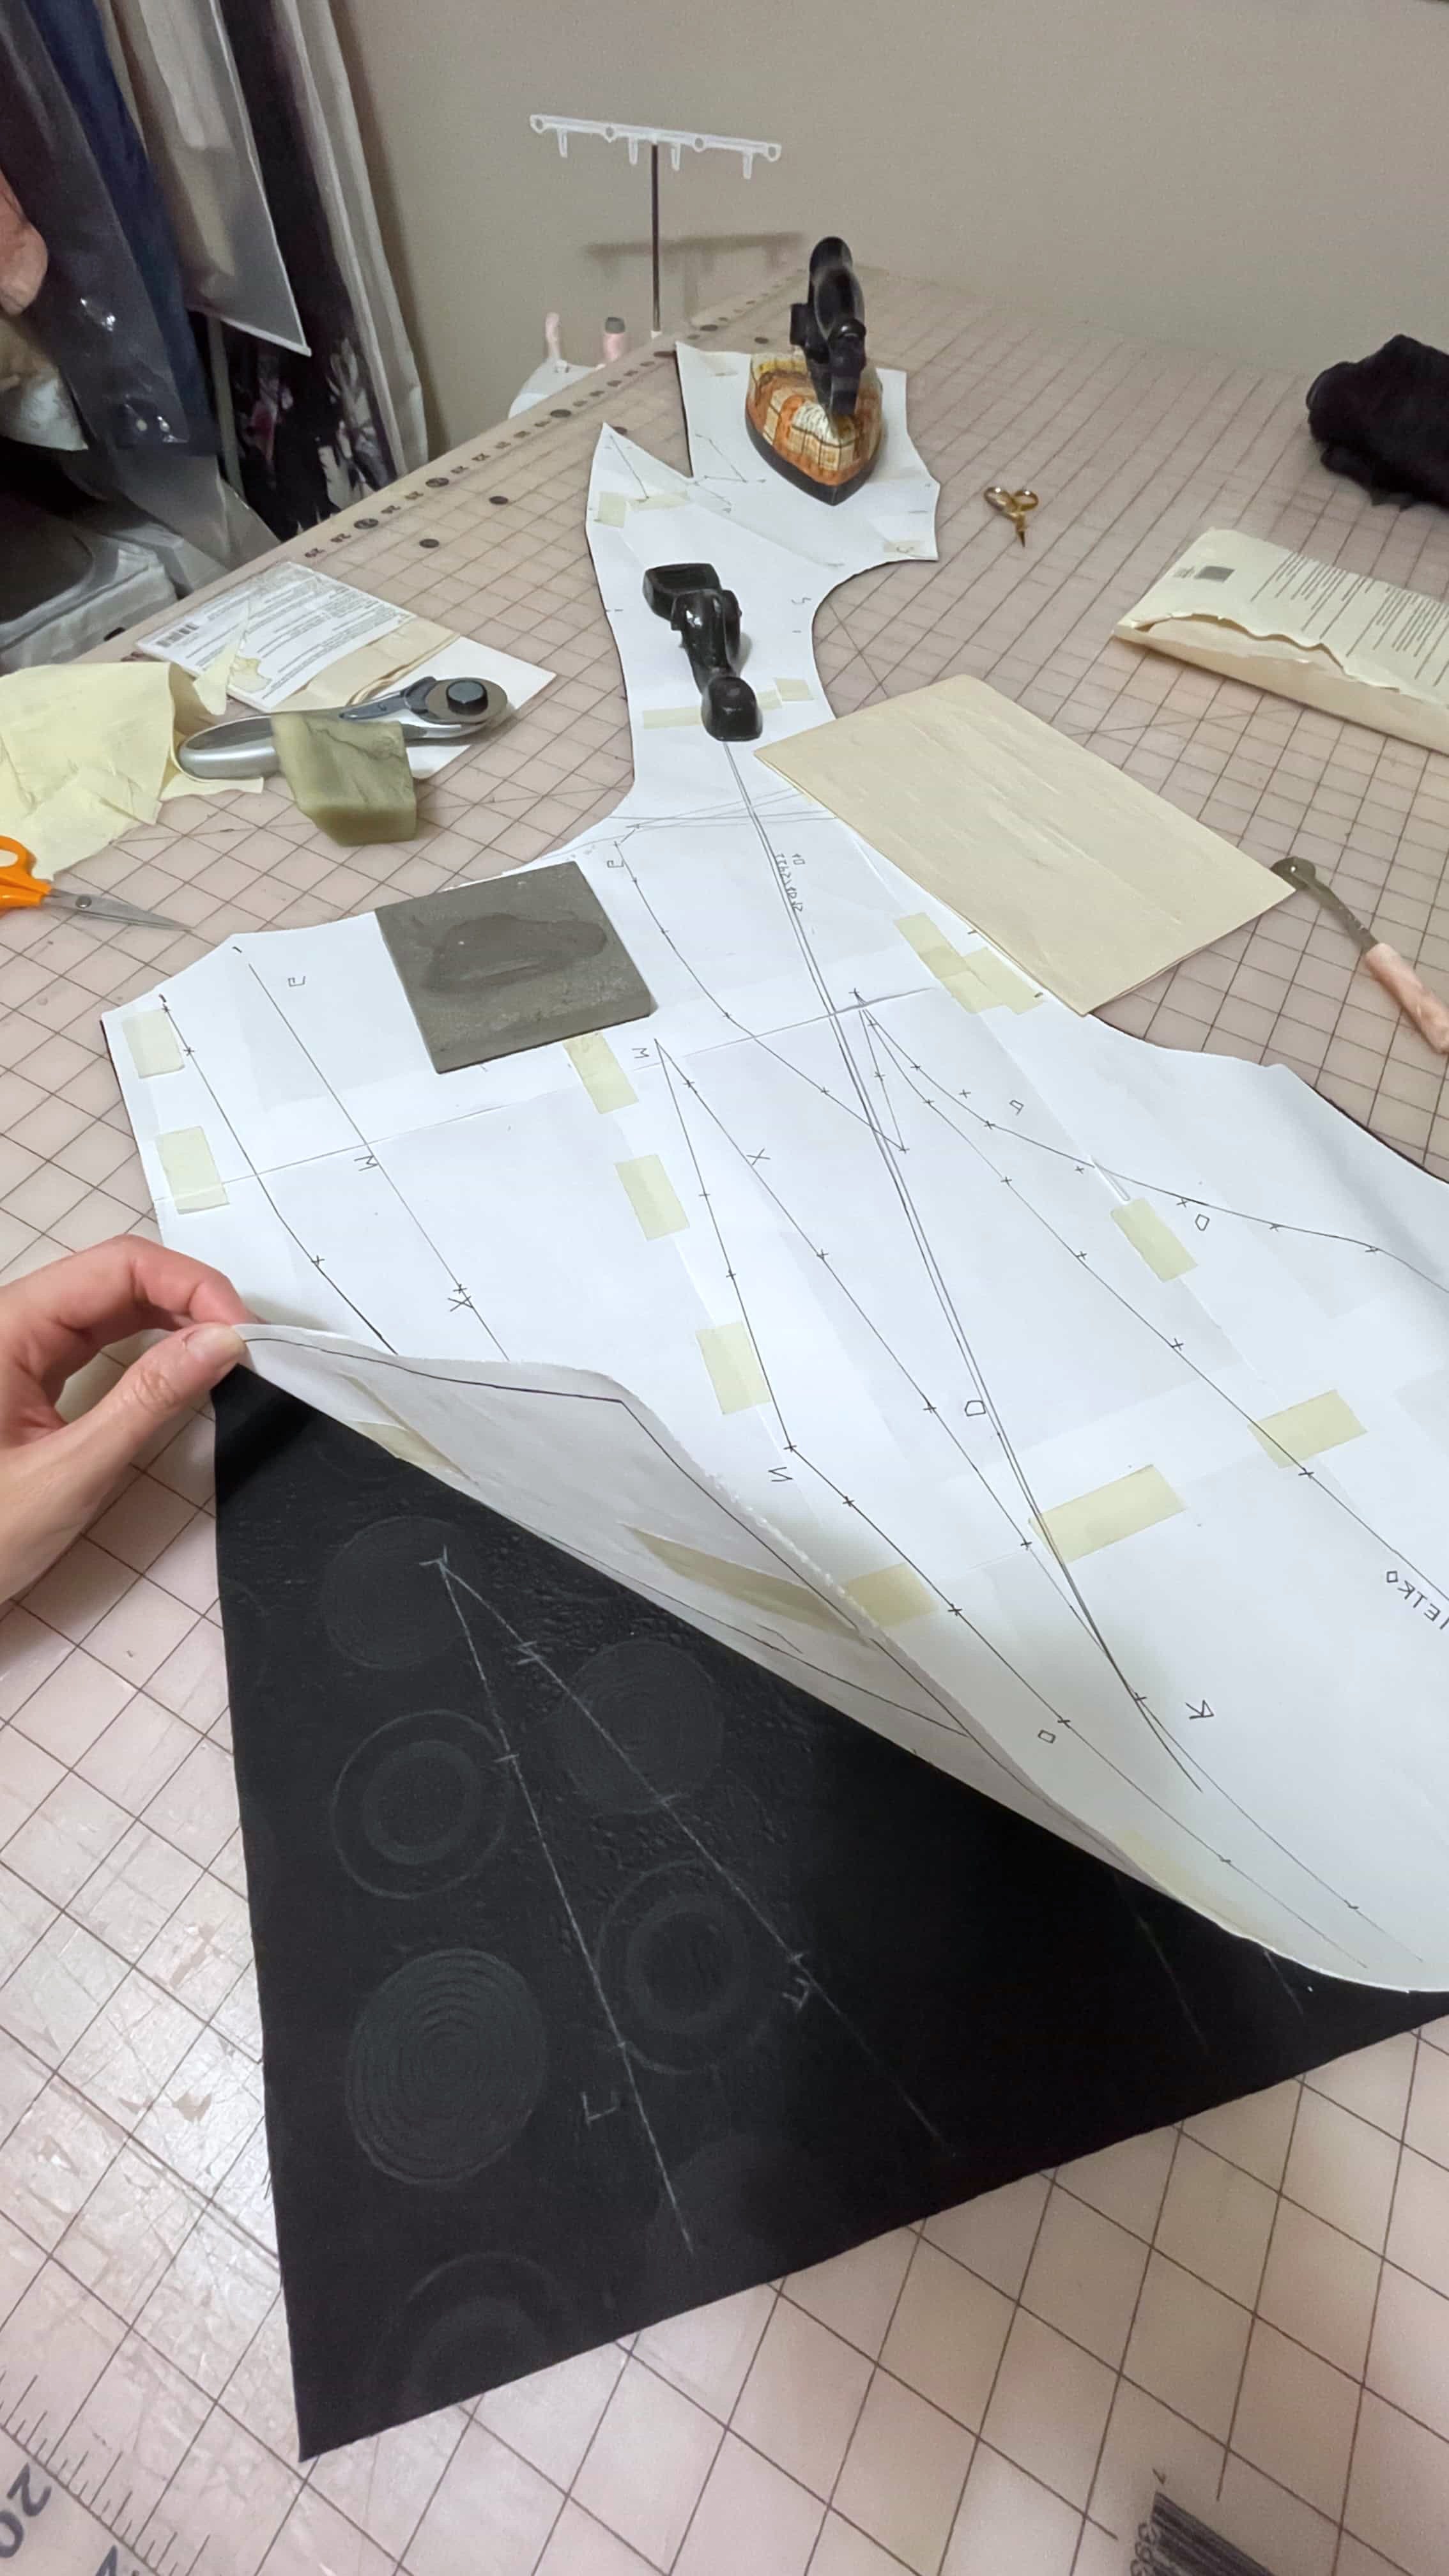
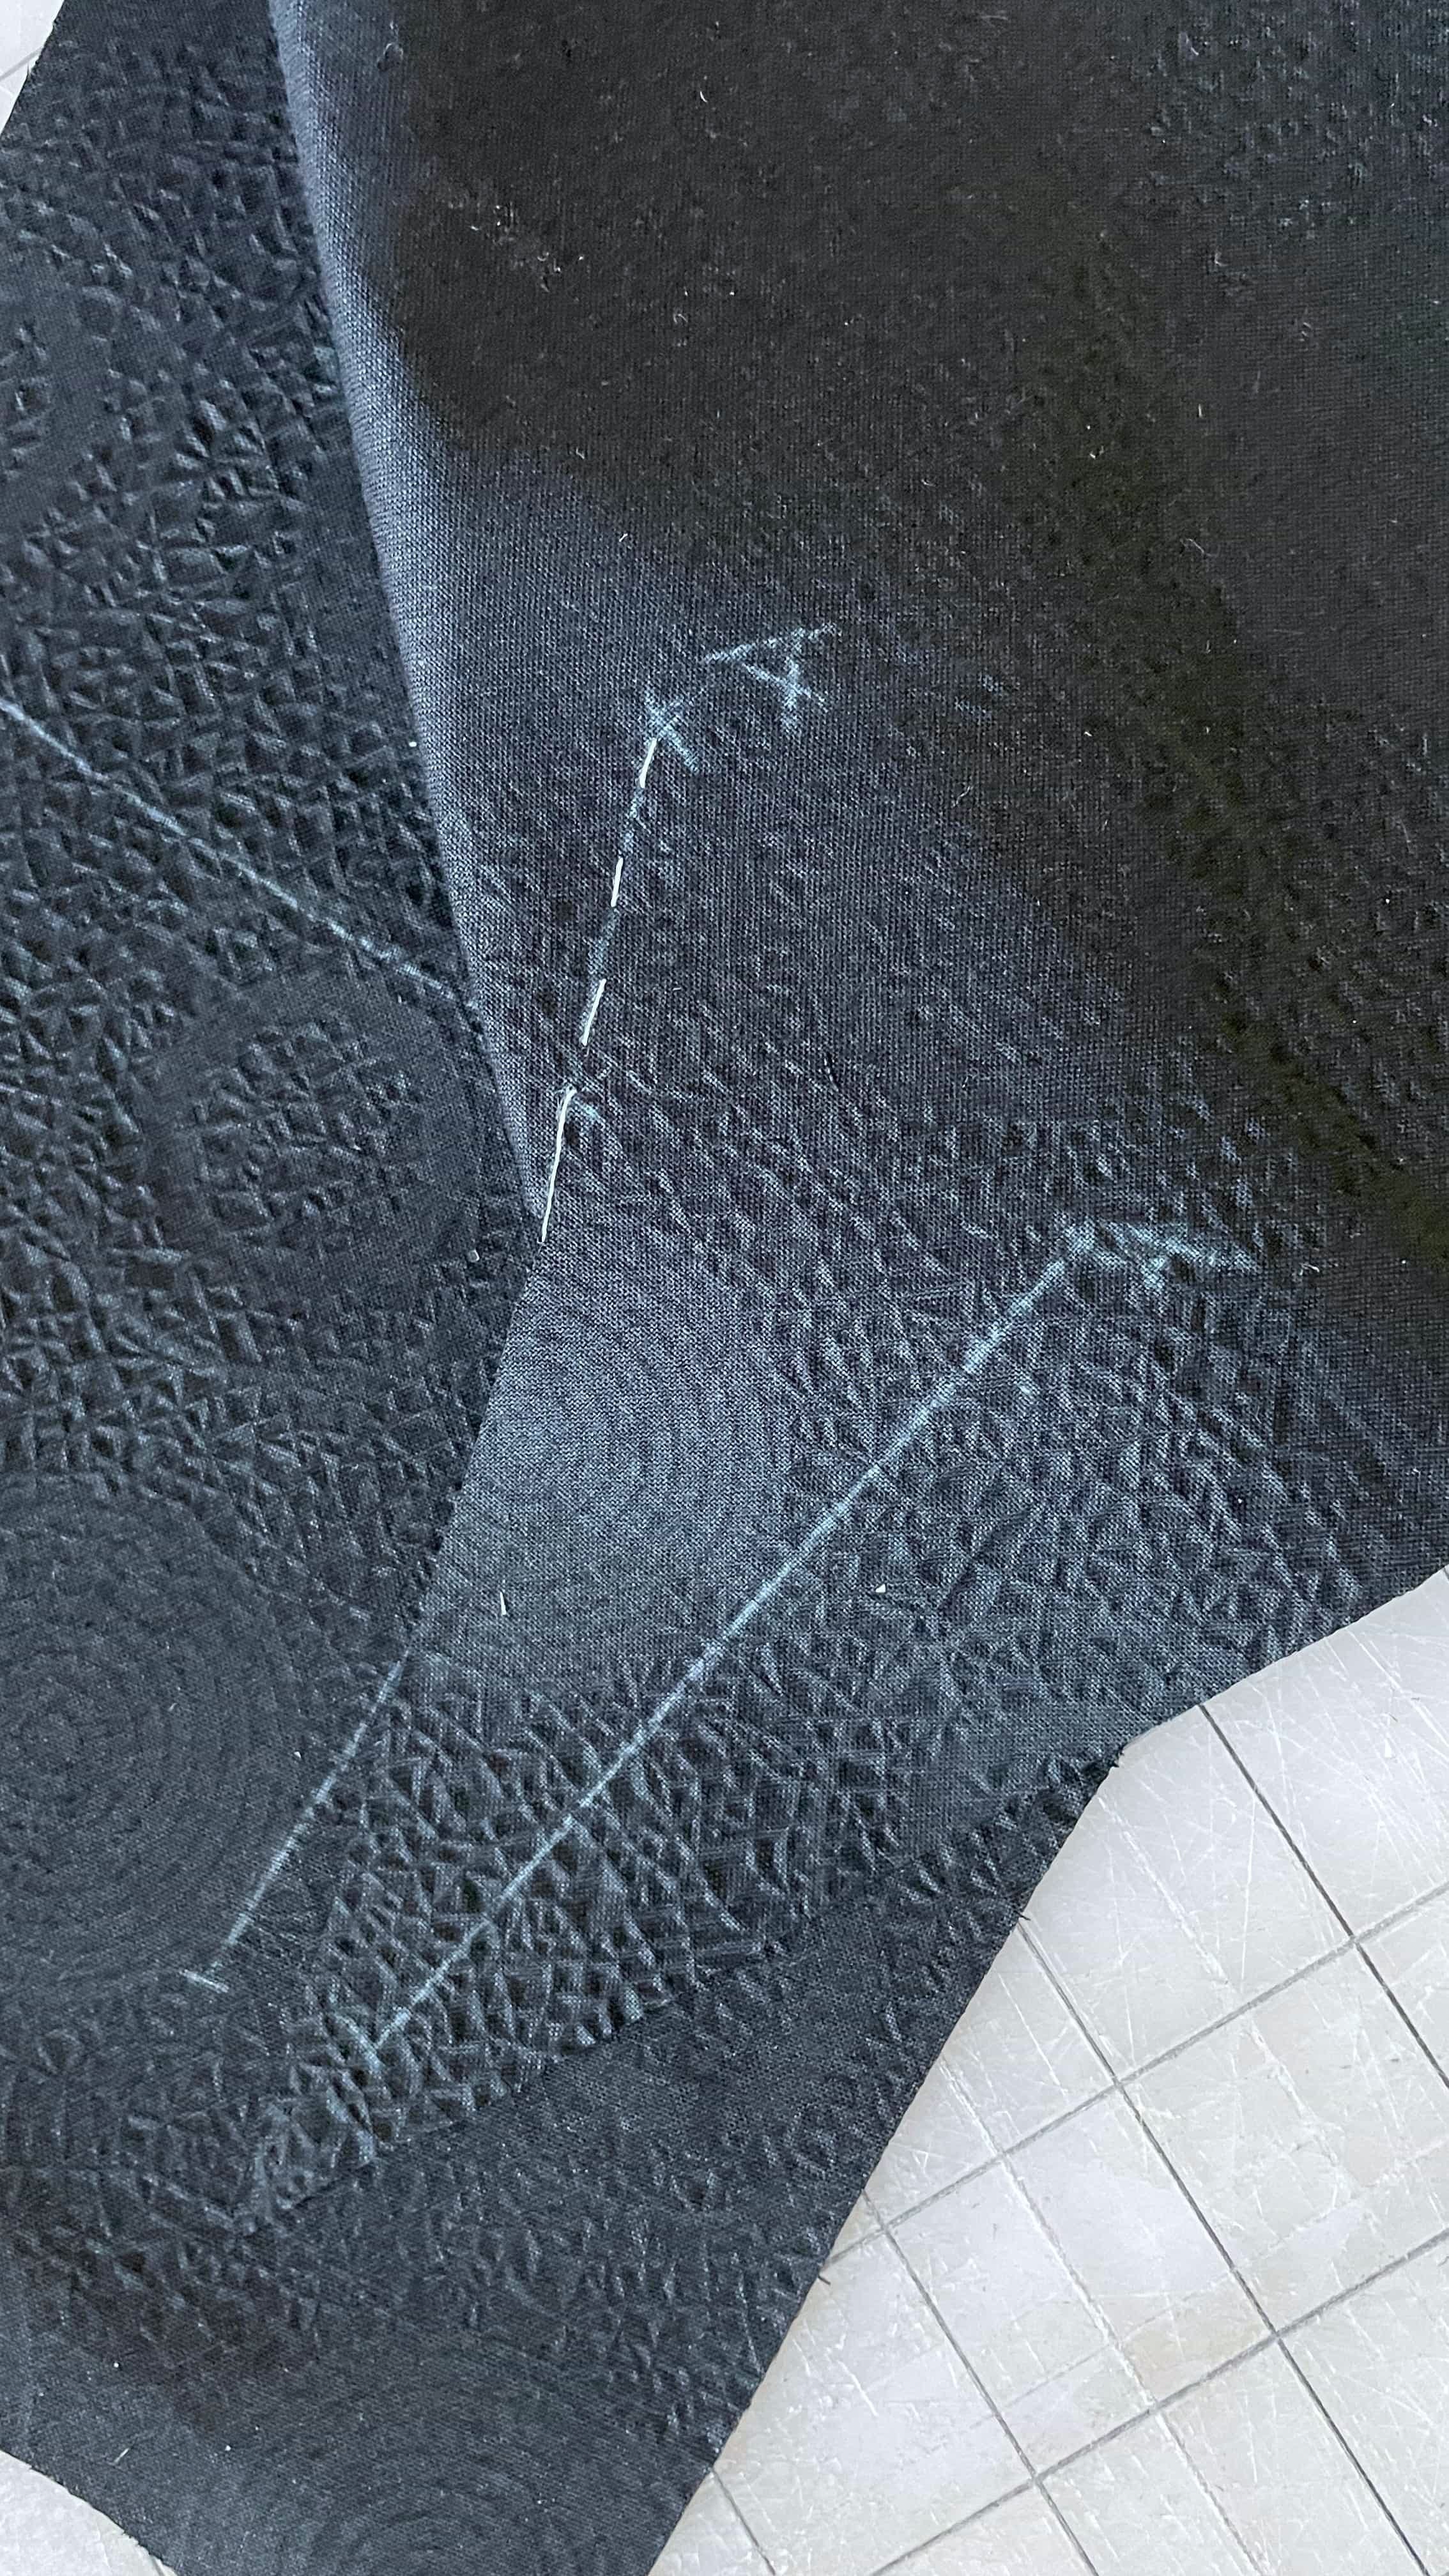
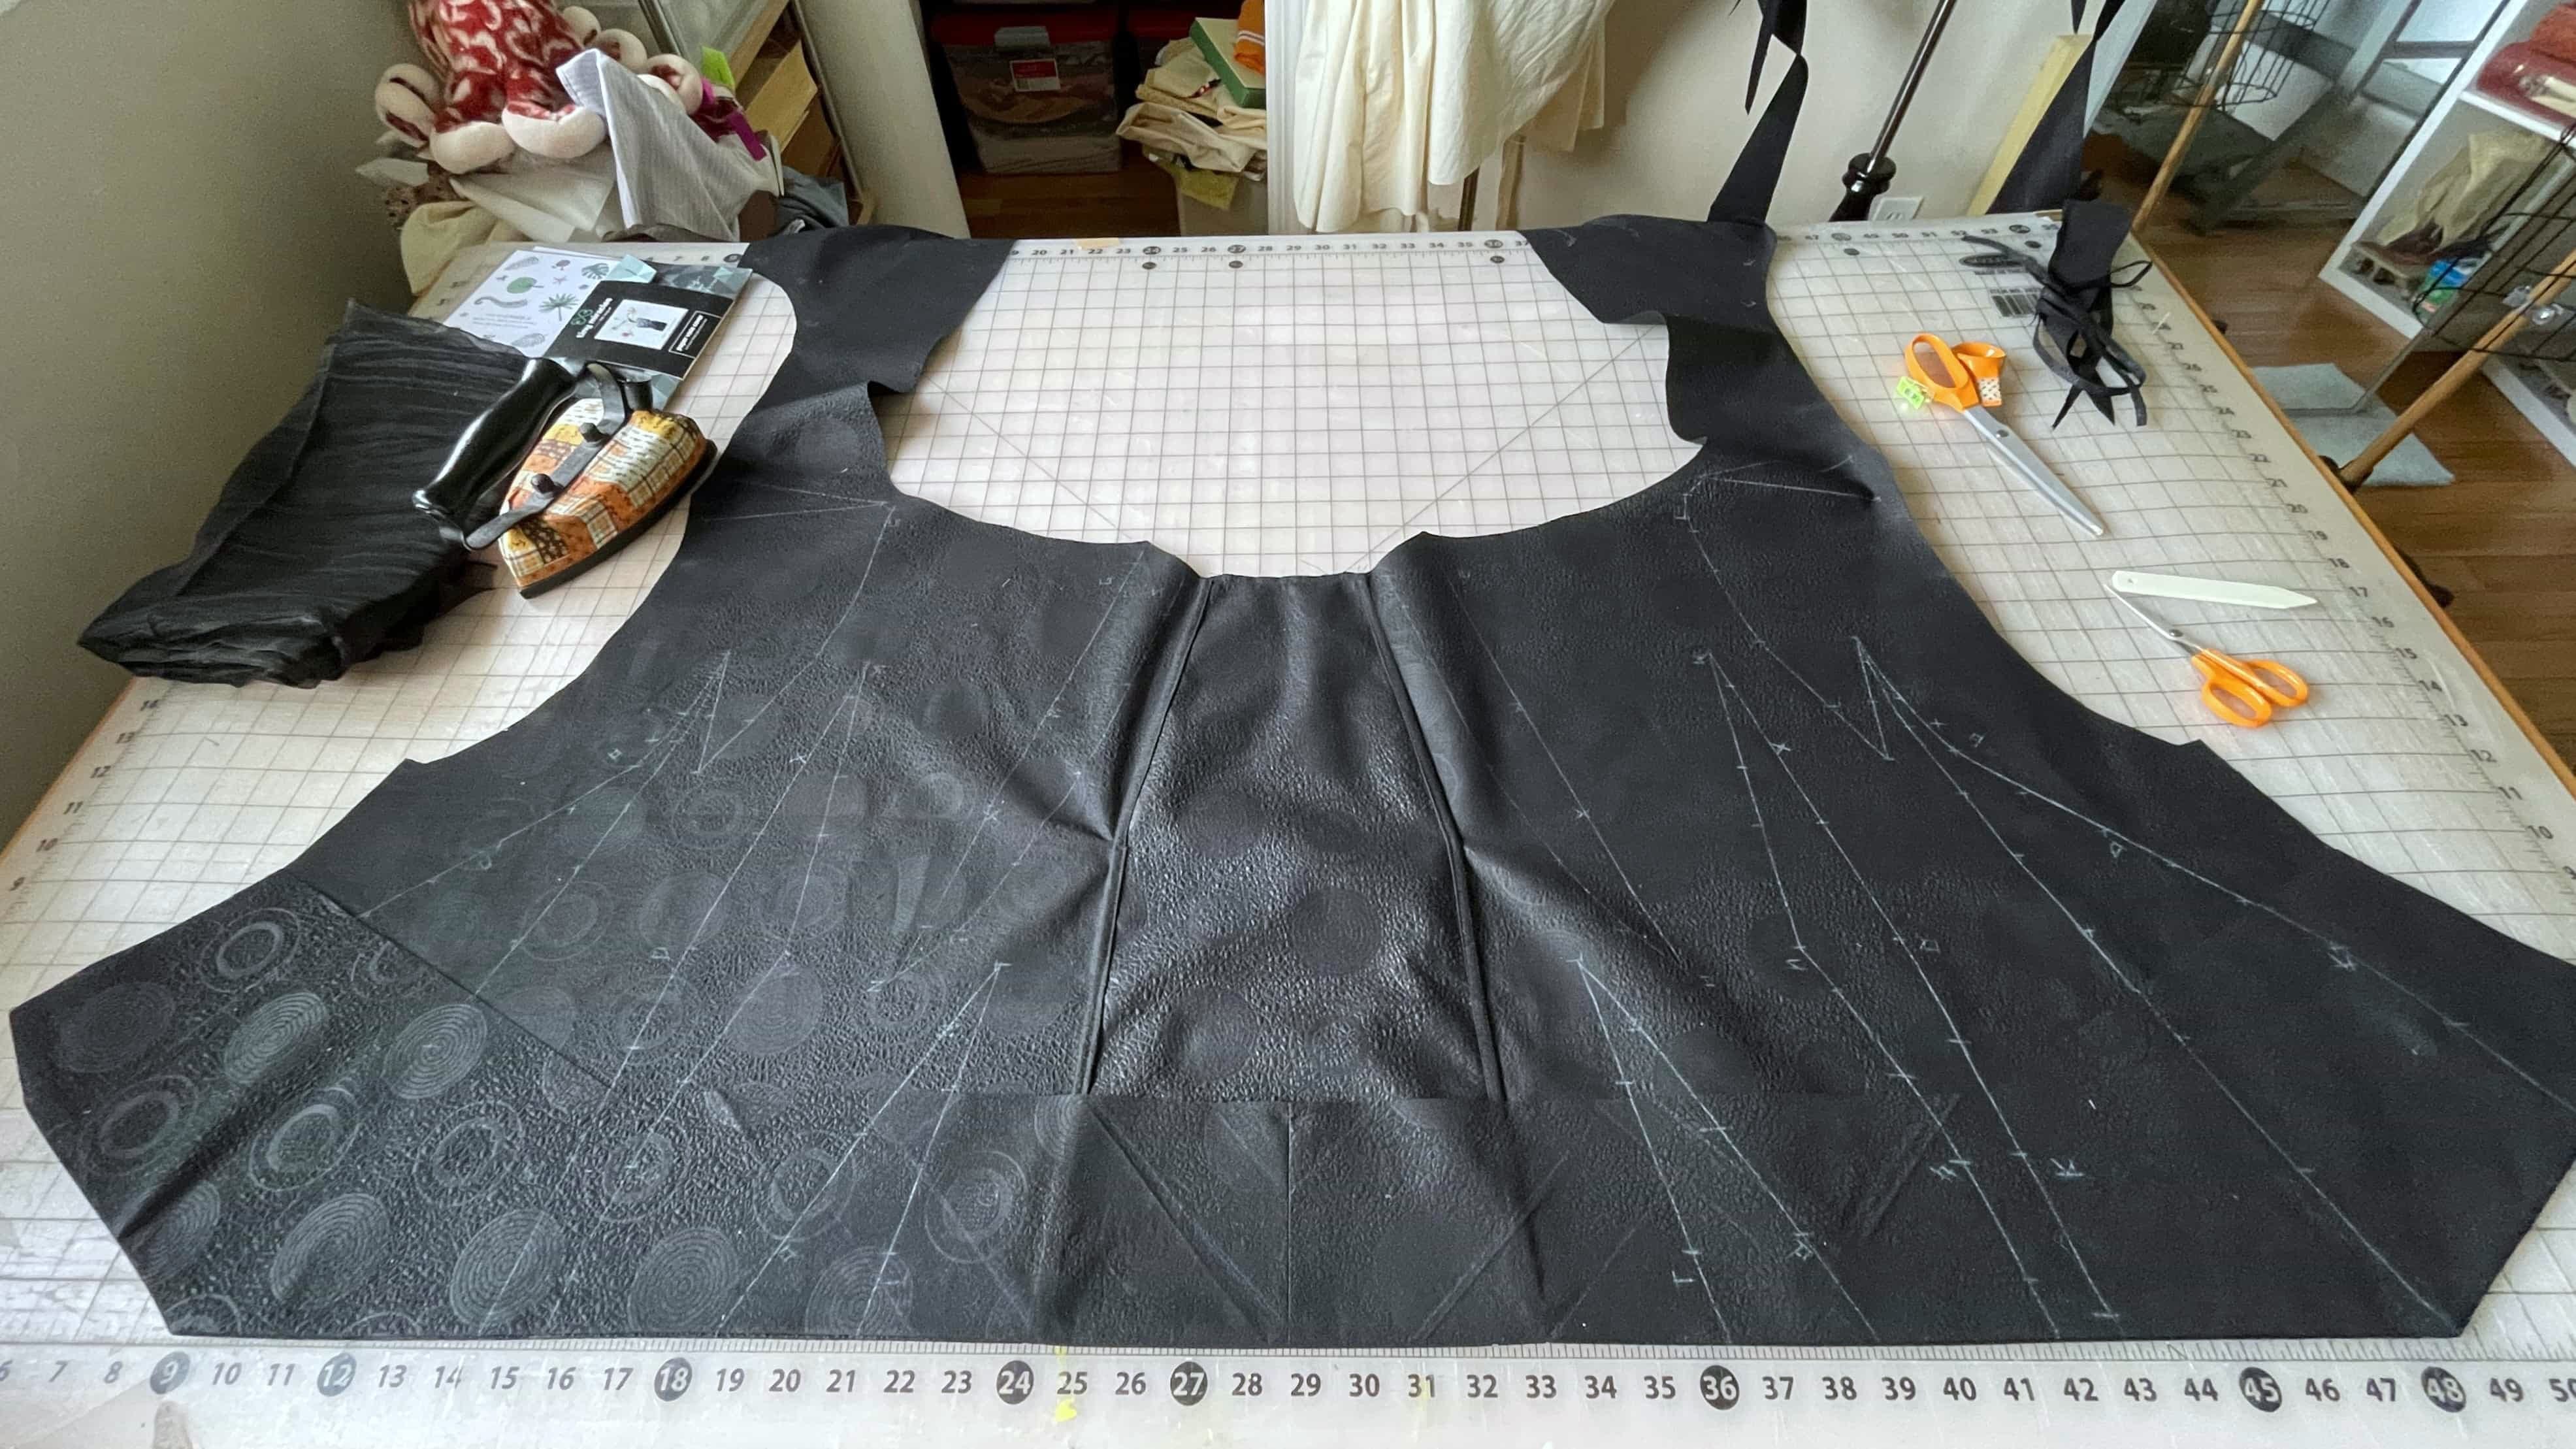
Usually, I would copy the pattern markings before cutting the fabrics, but this time I did it after cutting so it’s as clear as possible. This pattern requires precise folding and stitching, so I needed all the help I could get!
The torso pattern piece has the most complicated marks, so I made sure I copied everything.
Assembling the Pieces
To make sure the sewing machine has the appropriate tension, I did a test with a Brissi fabric scrap. Thankfully, minimal adjustments were needed.
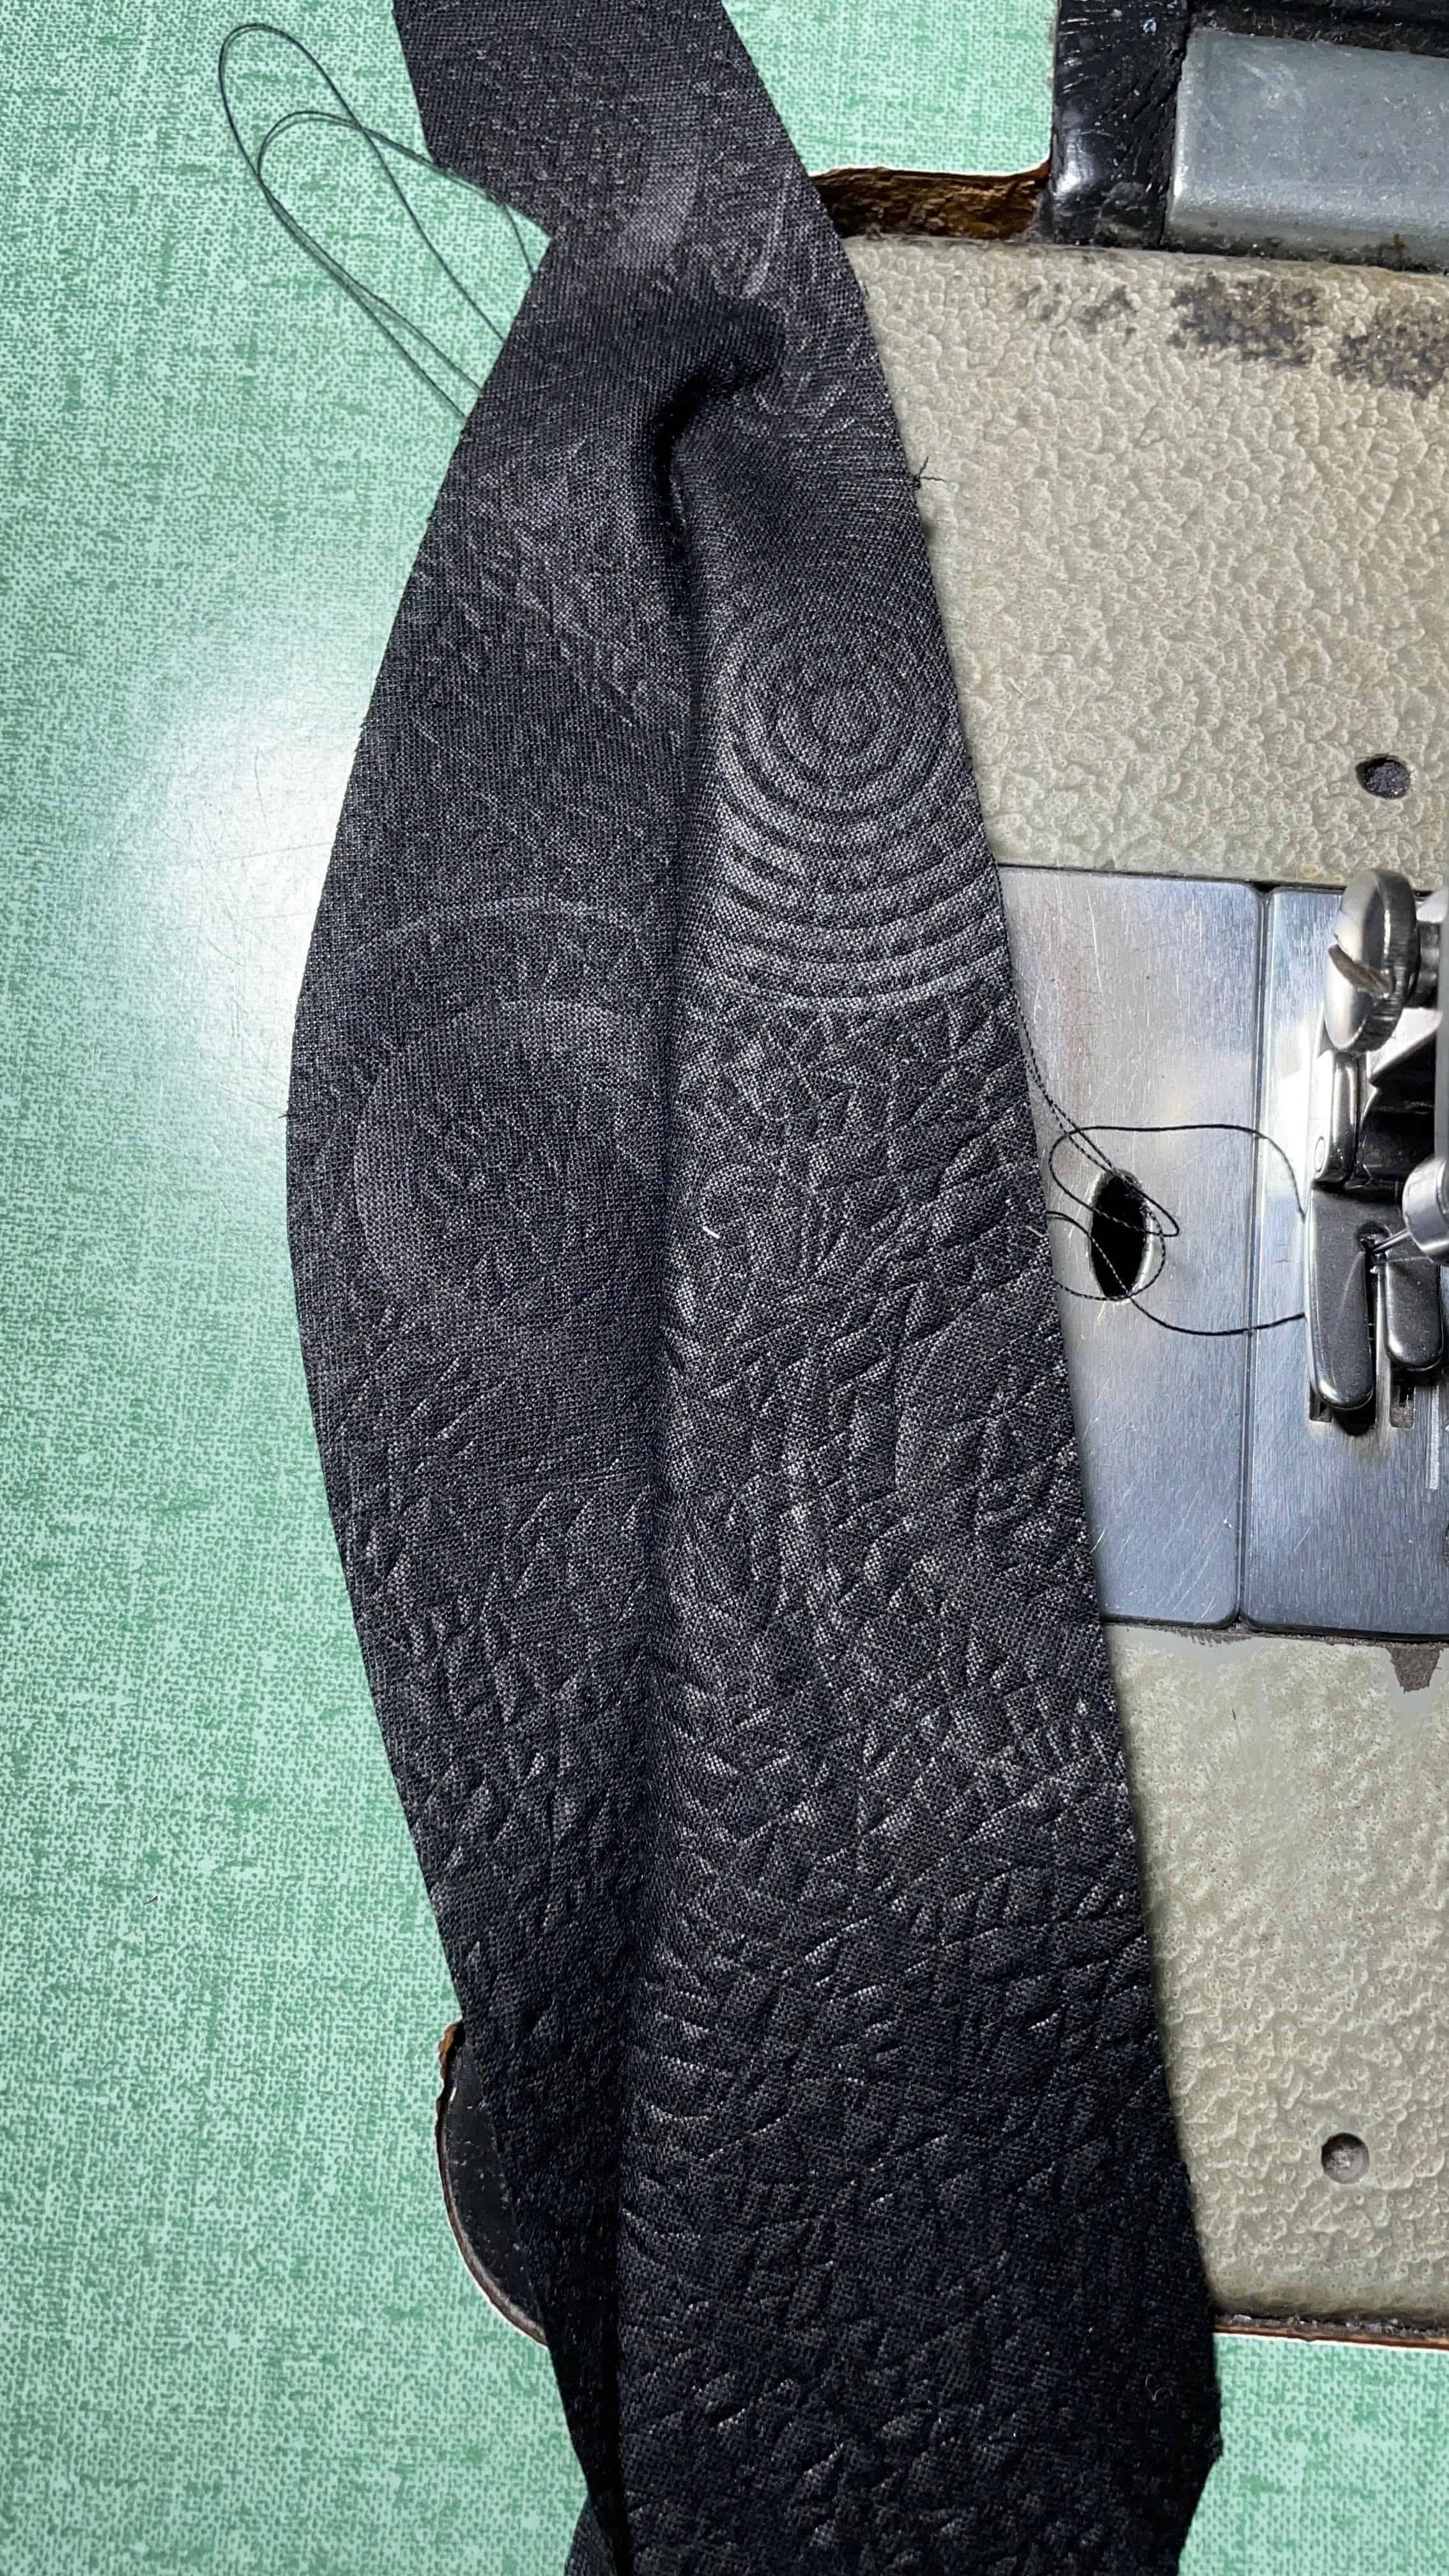
After much preparations, the sewing had FINALLY begun in earnest! 😍
As I went through the instruction steps carefully, I took extra measures to do hand basting before the more permanent machine stitching for the most precise work.
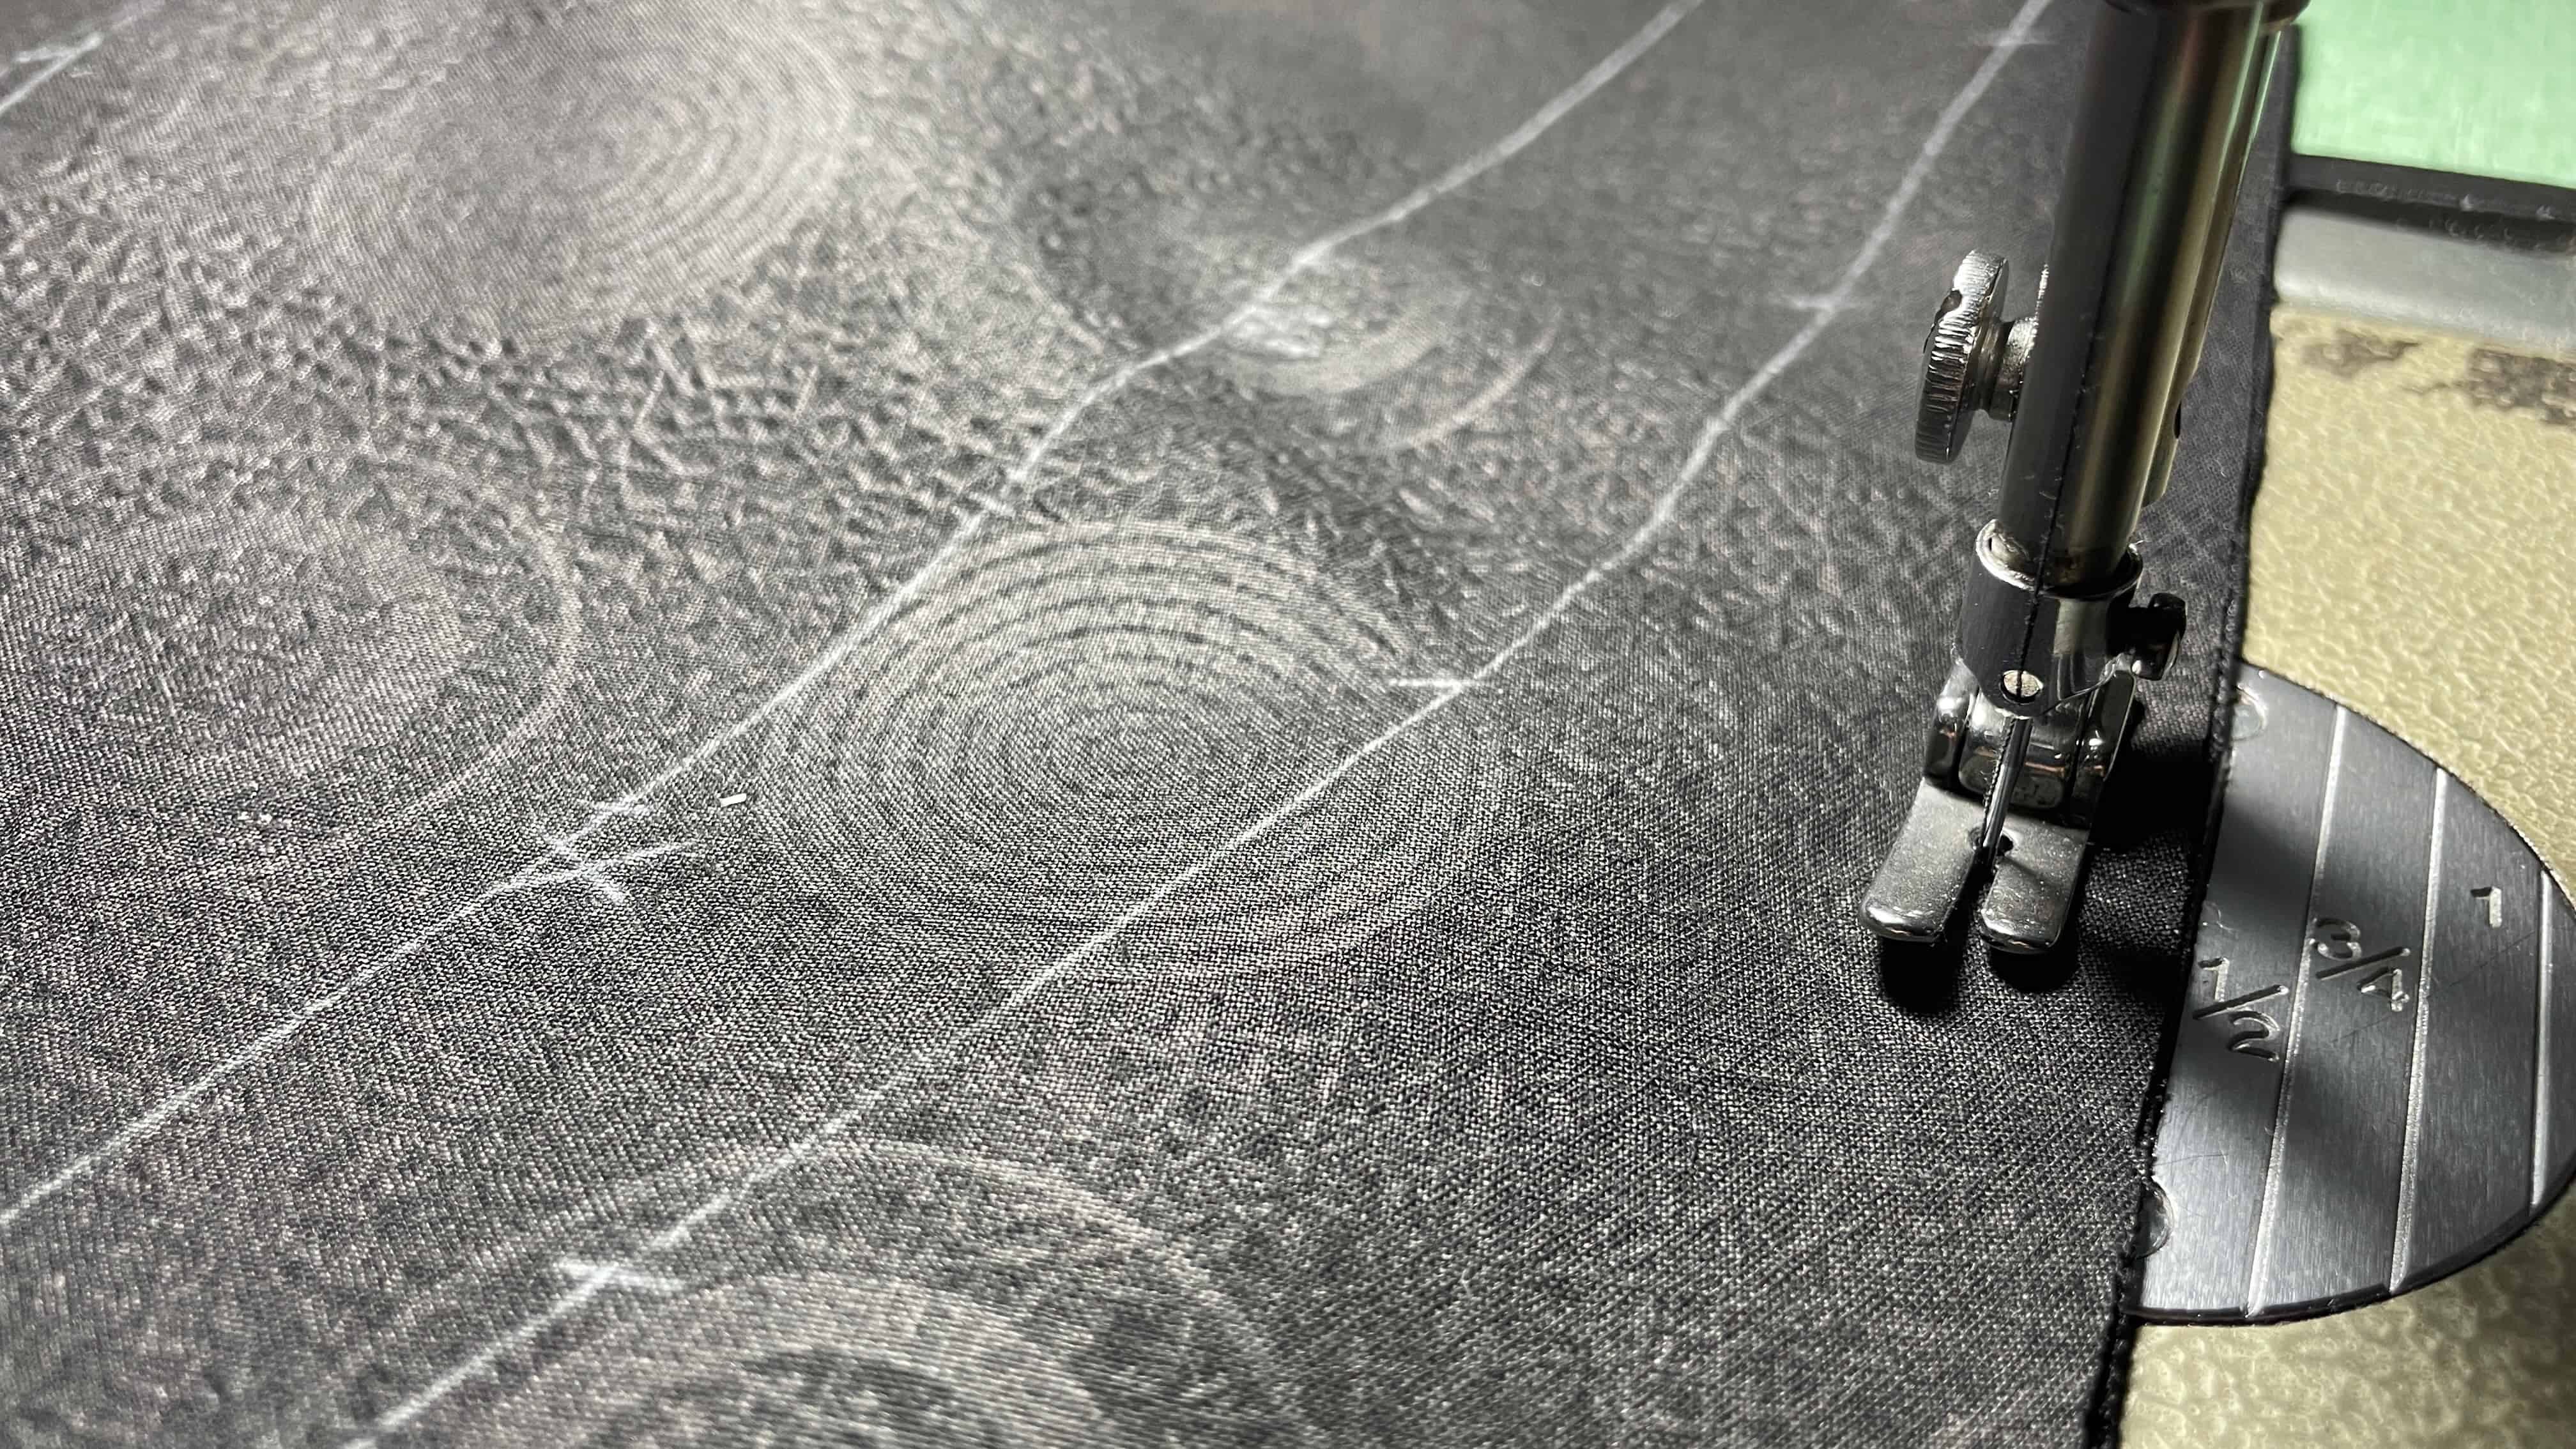
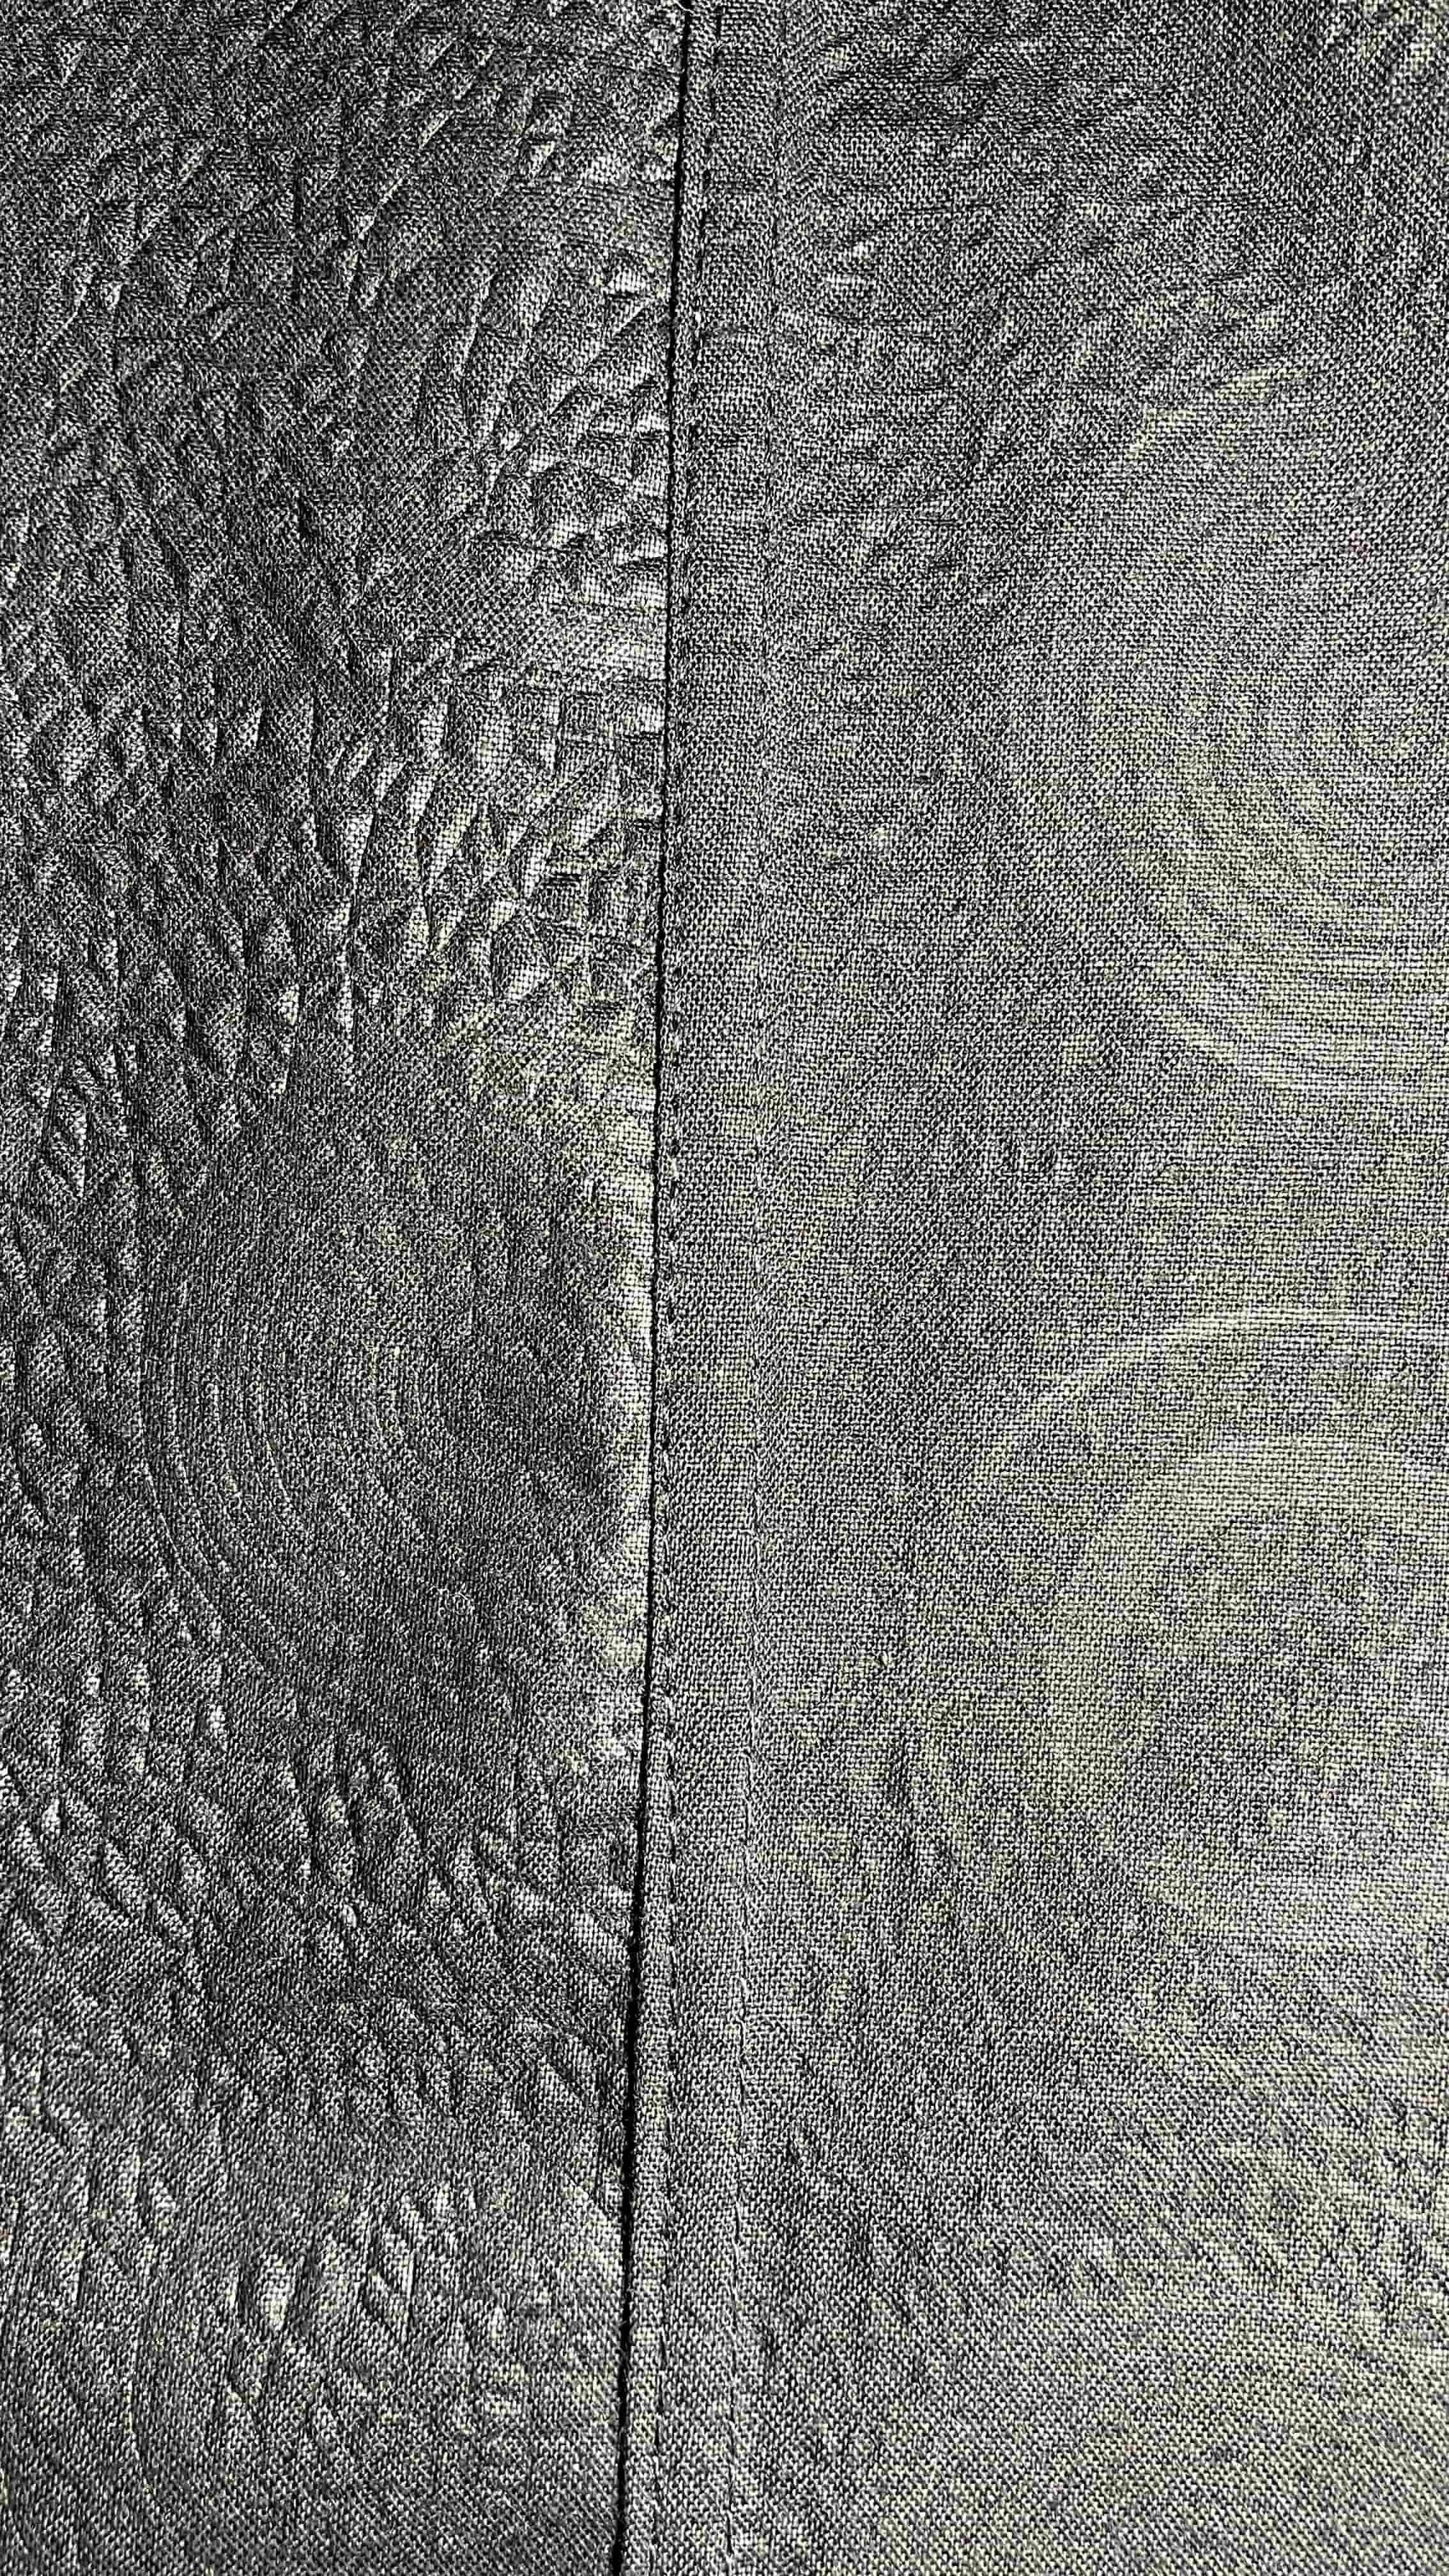
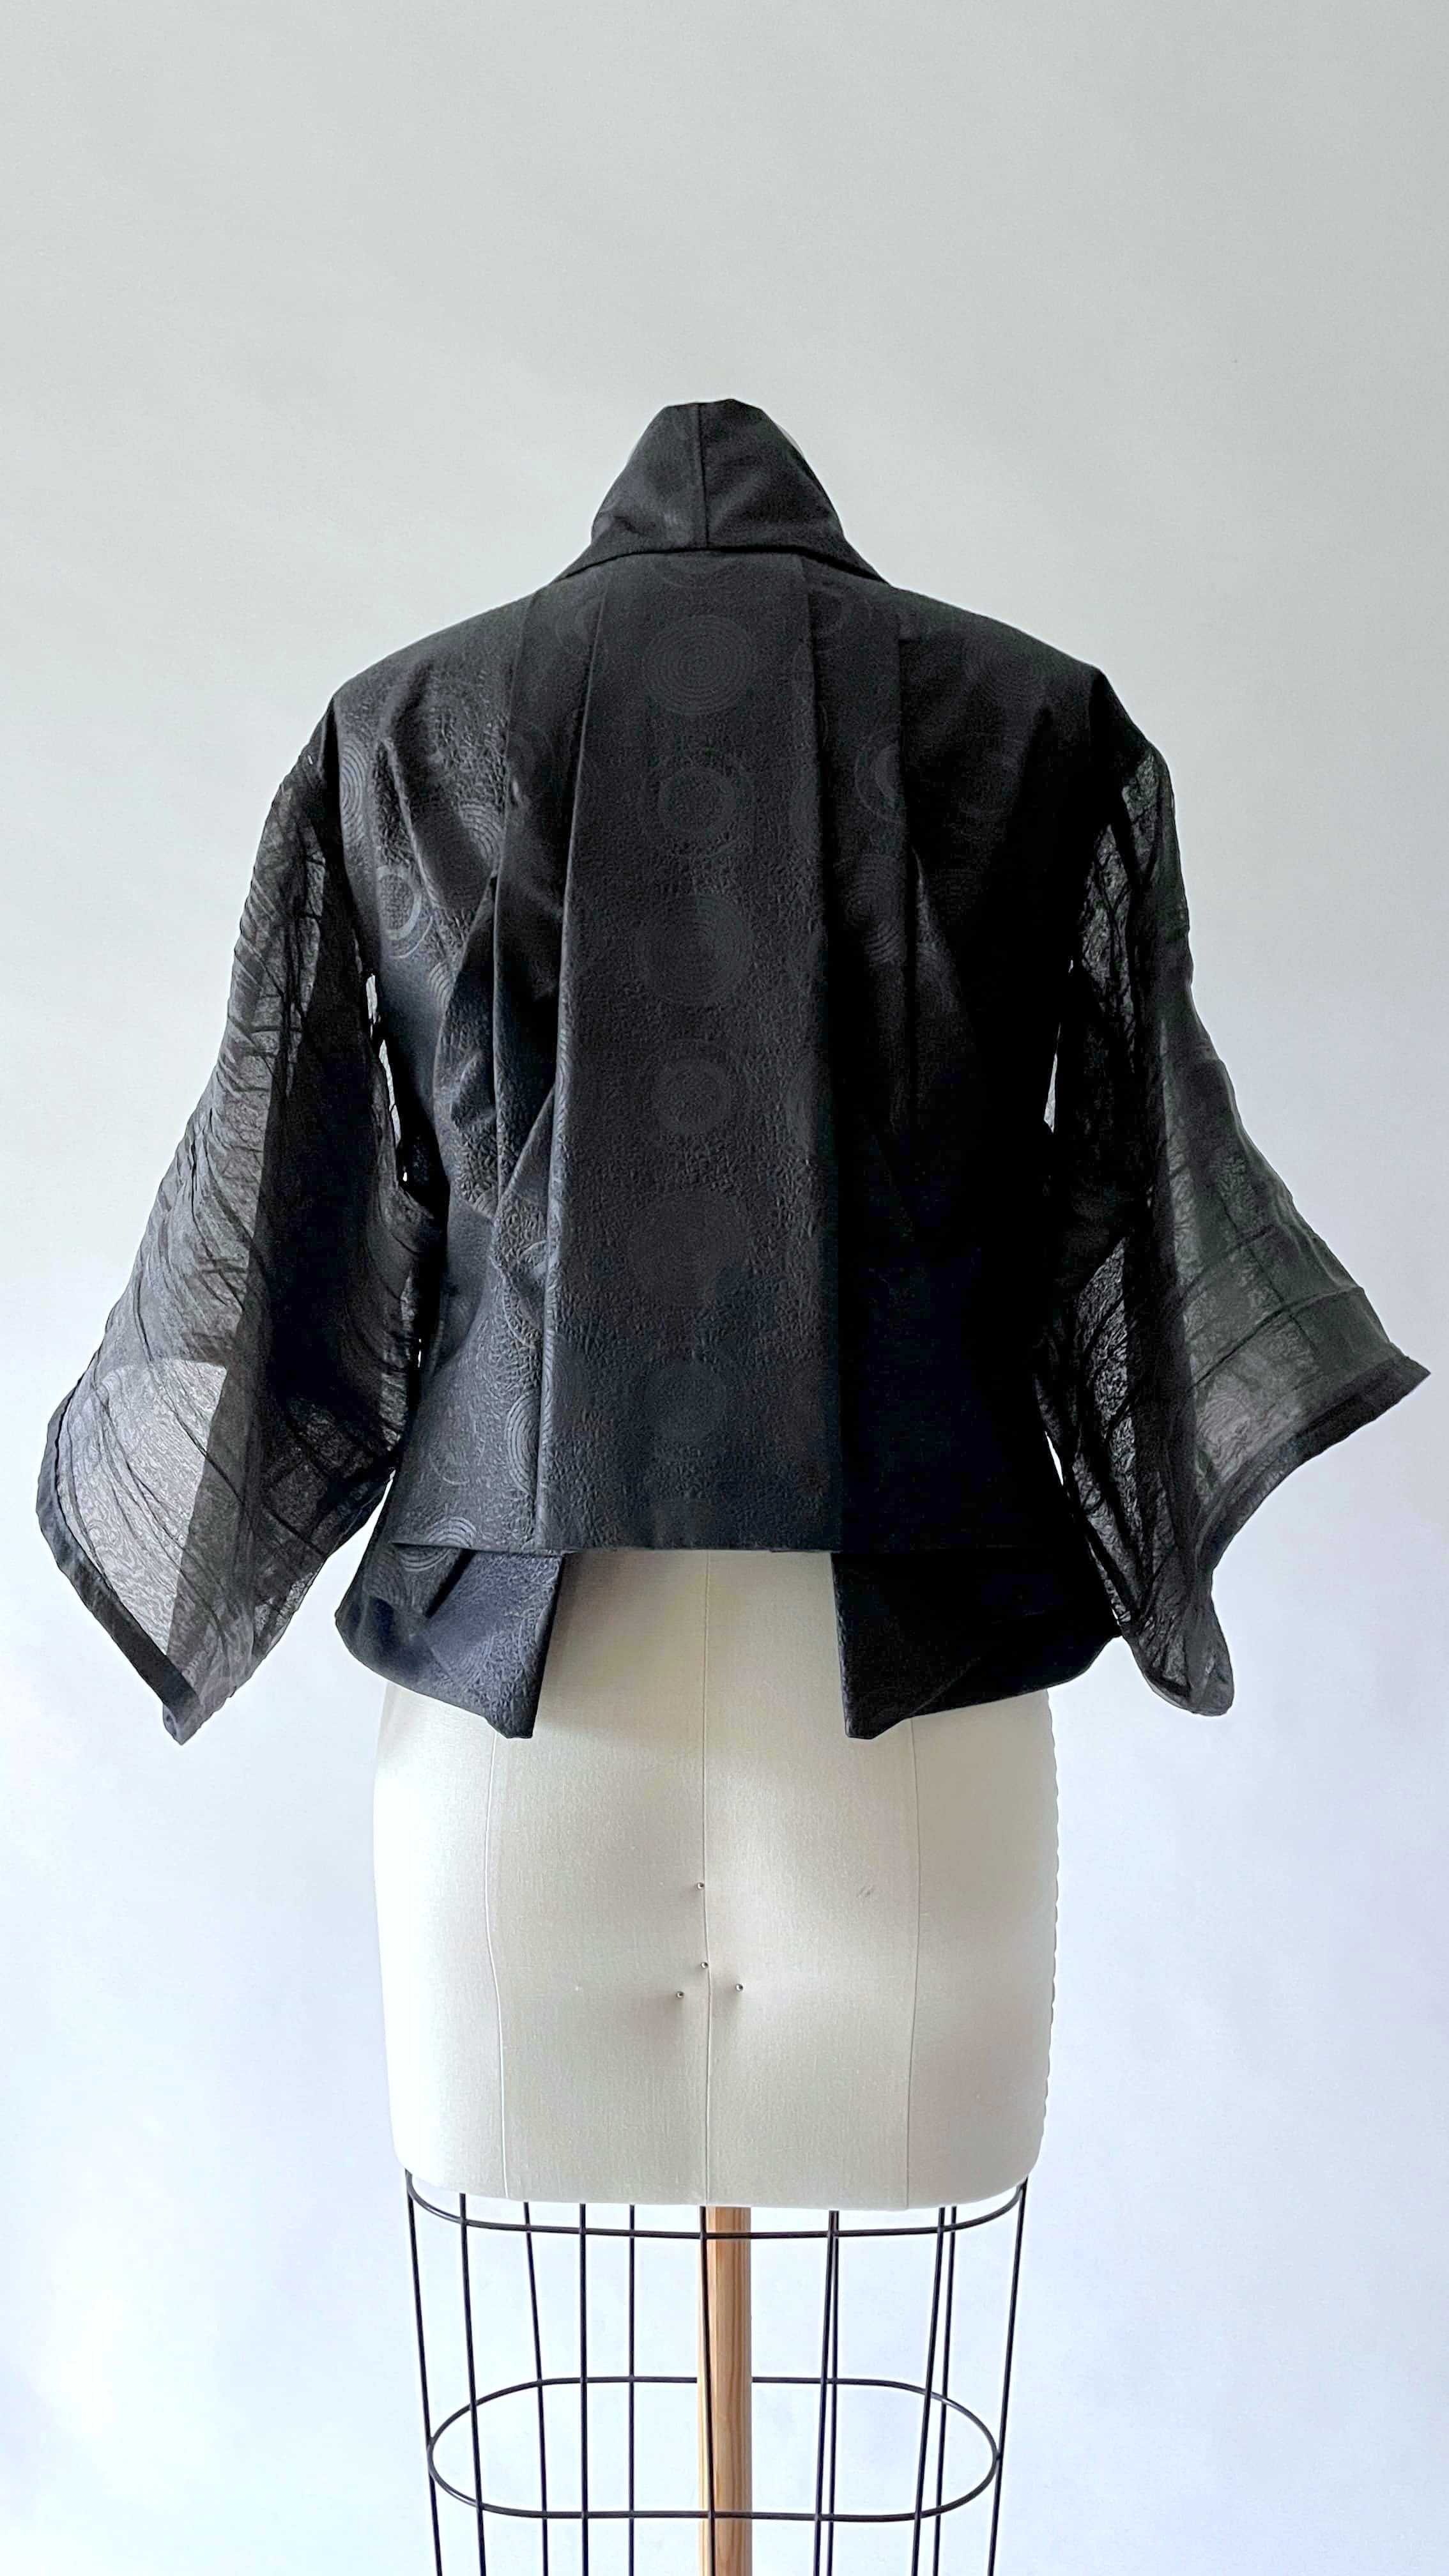
Moreover, I also finished exposed seams as I went from one step to another. First seams finished were around the center back panel, which I doubled up for more structure. I choose to do flat felled seams for the cleanest look.
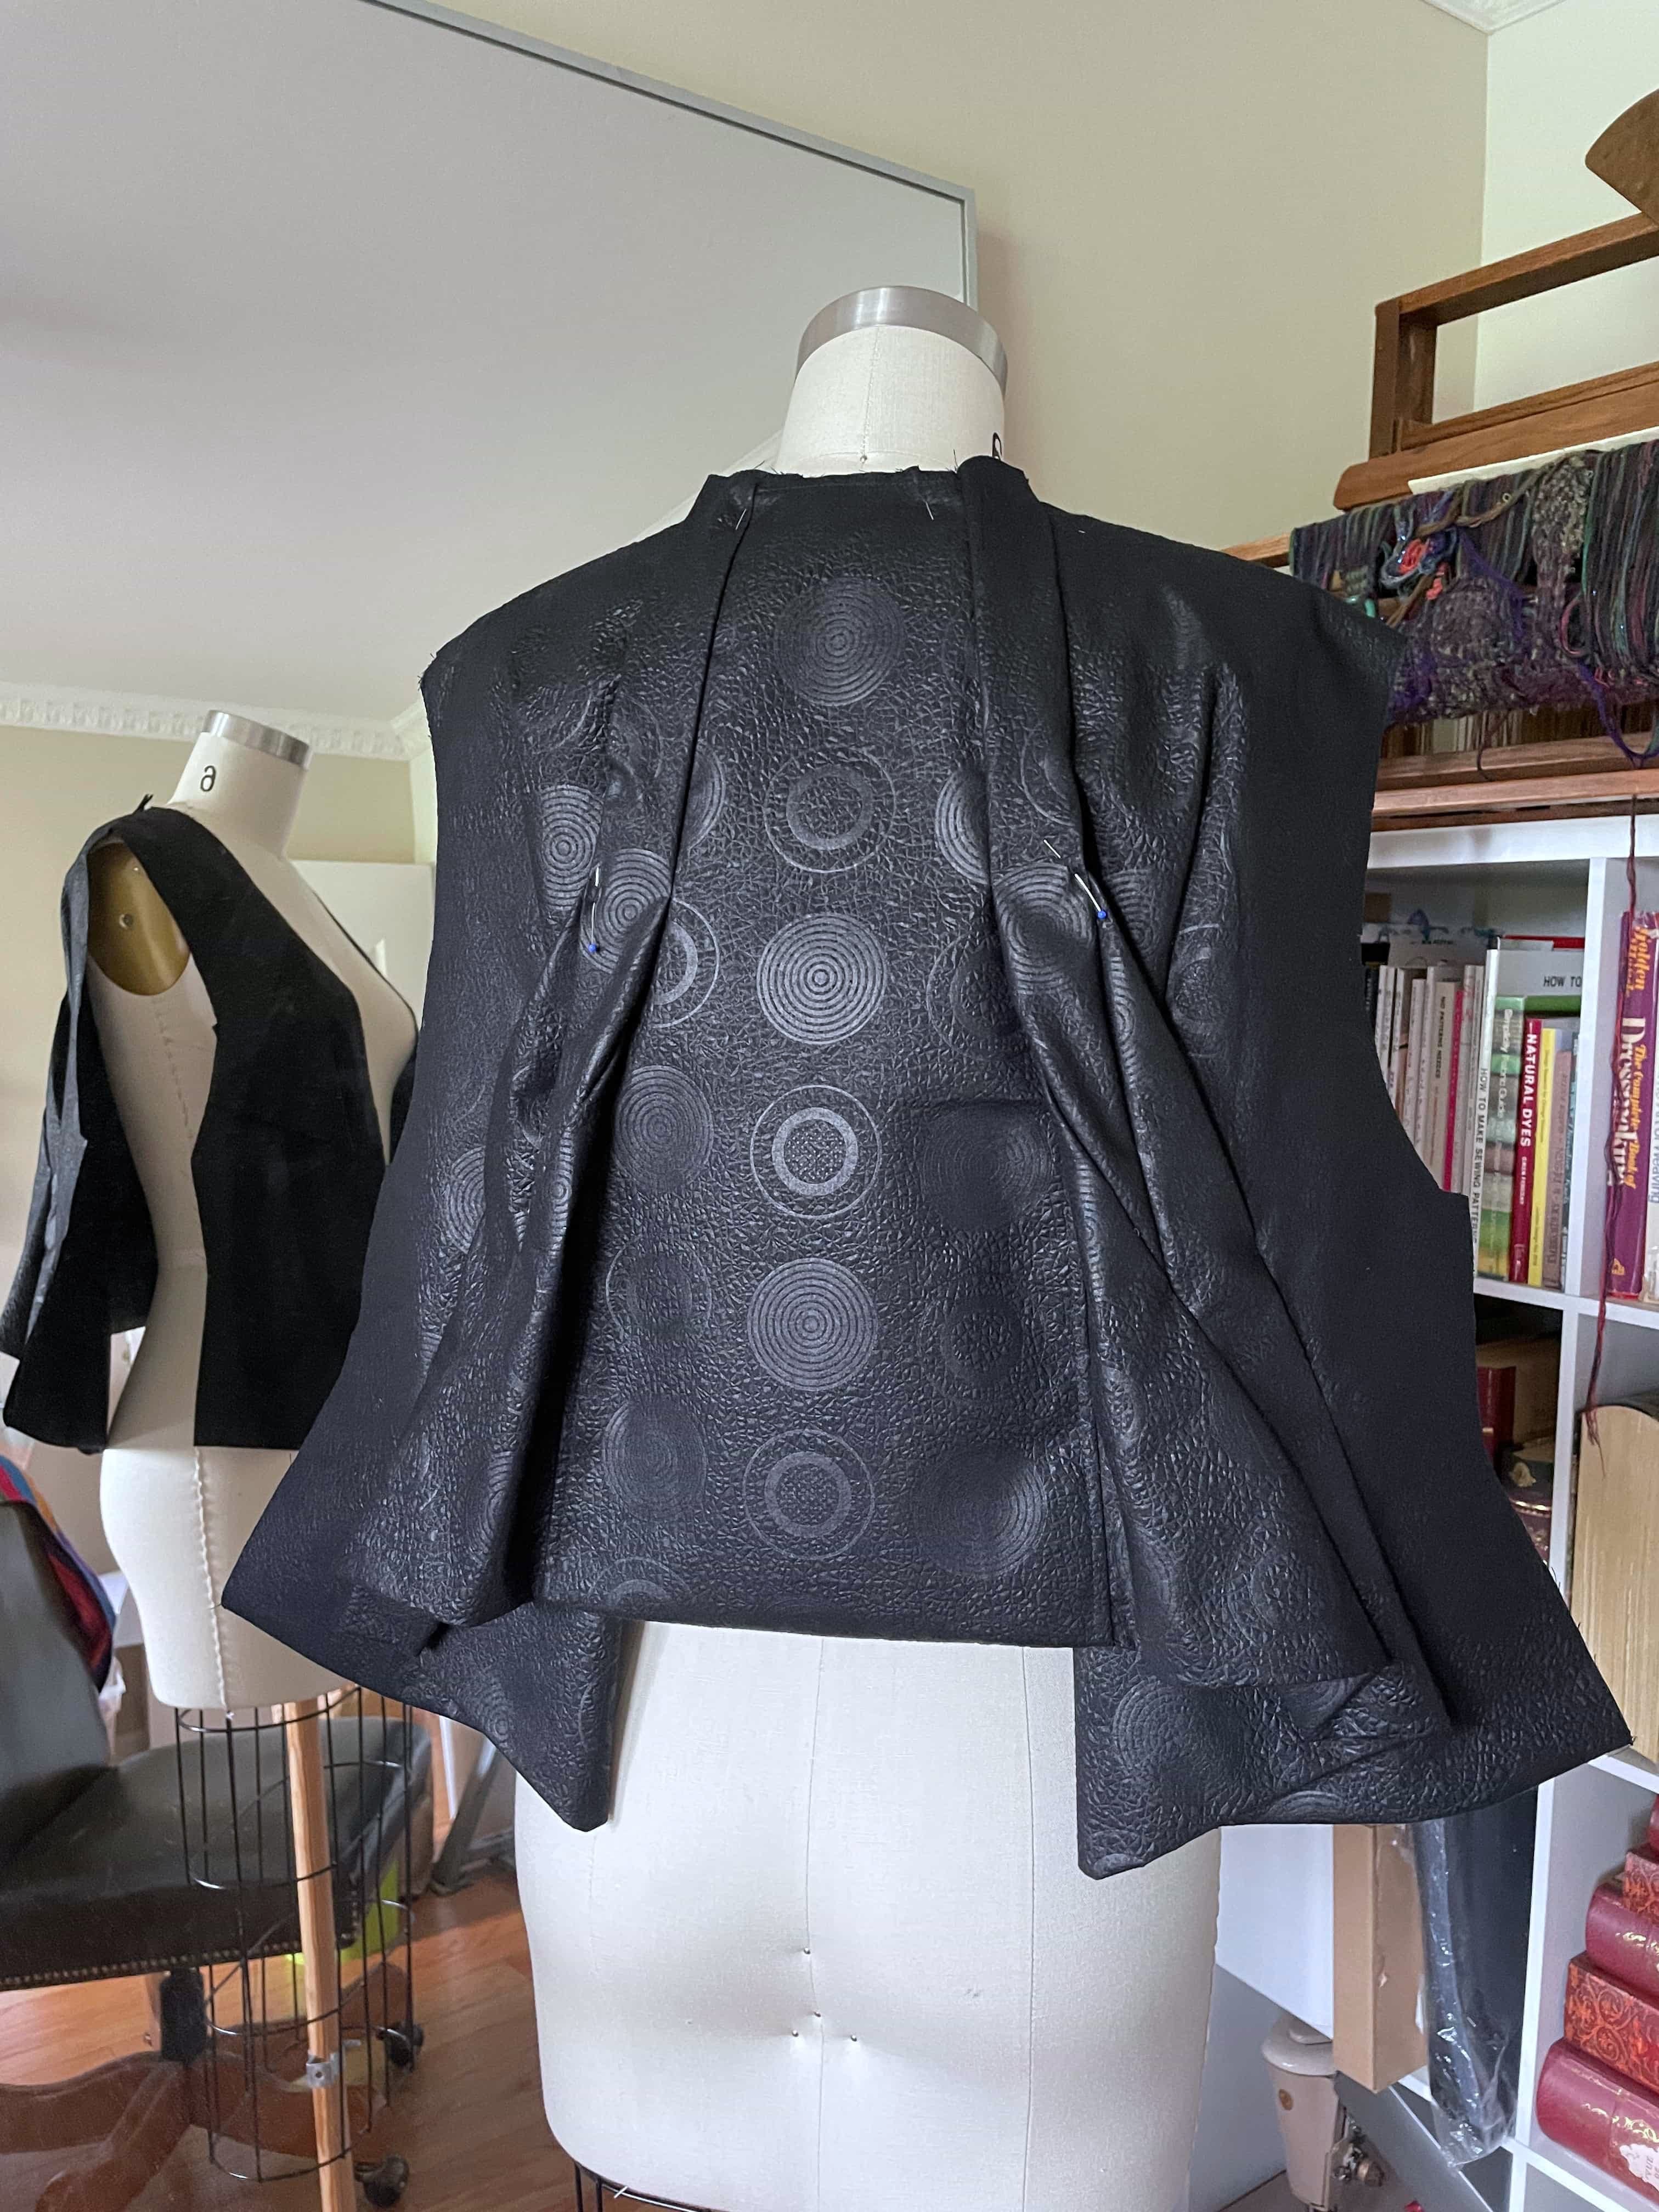
This was the interim state of the jacket when the back panel, torso panels, and hem facing were all connected. It looks like a giant flap before the rest of the marks were folded and sewn in place.
The back facing had an exposed raw edge by design. While the Brissi fabric doesn’t fray easily, I don’t want it to fray at all. So I encased it with a piece of black diaphanous ribbon I got from iconic M&J Trimmings in NYC (sad note: they have unfortunately closed its retail doors.)

It was quite fun folding sections and making darts on the bust area. The front part was shaping up nicely.
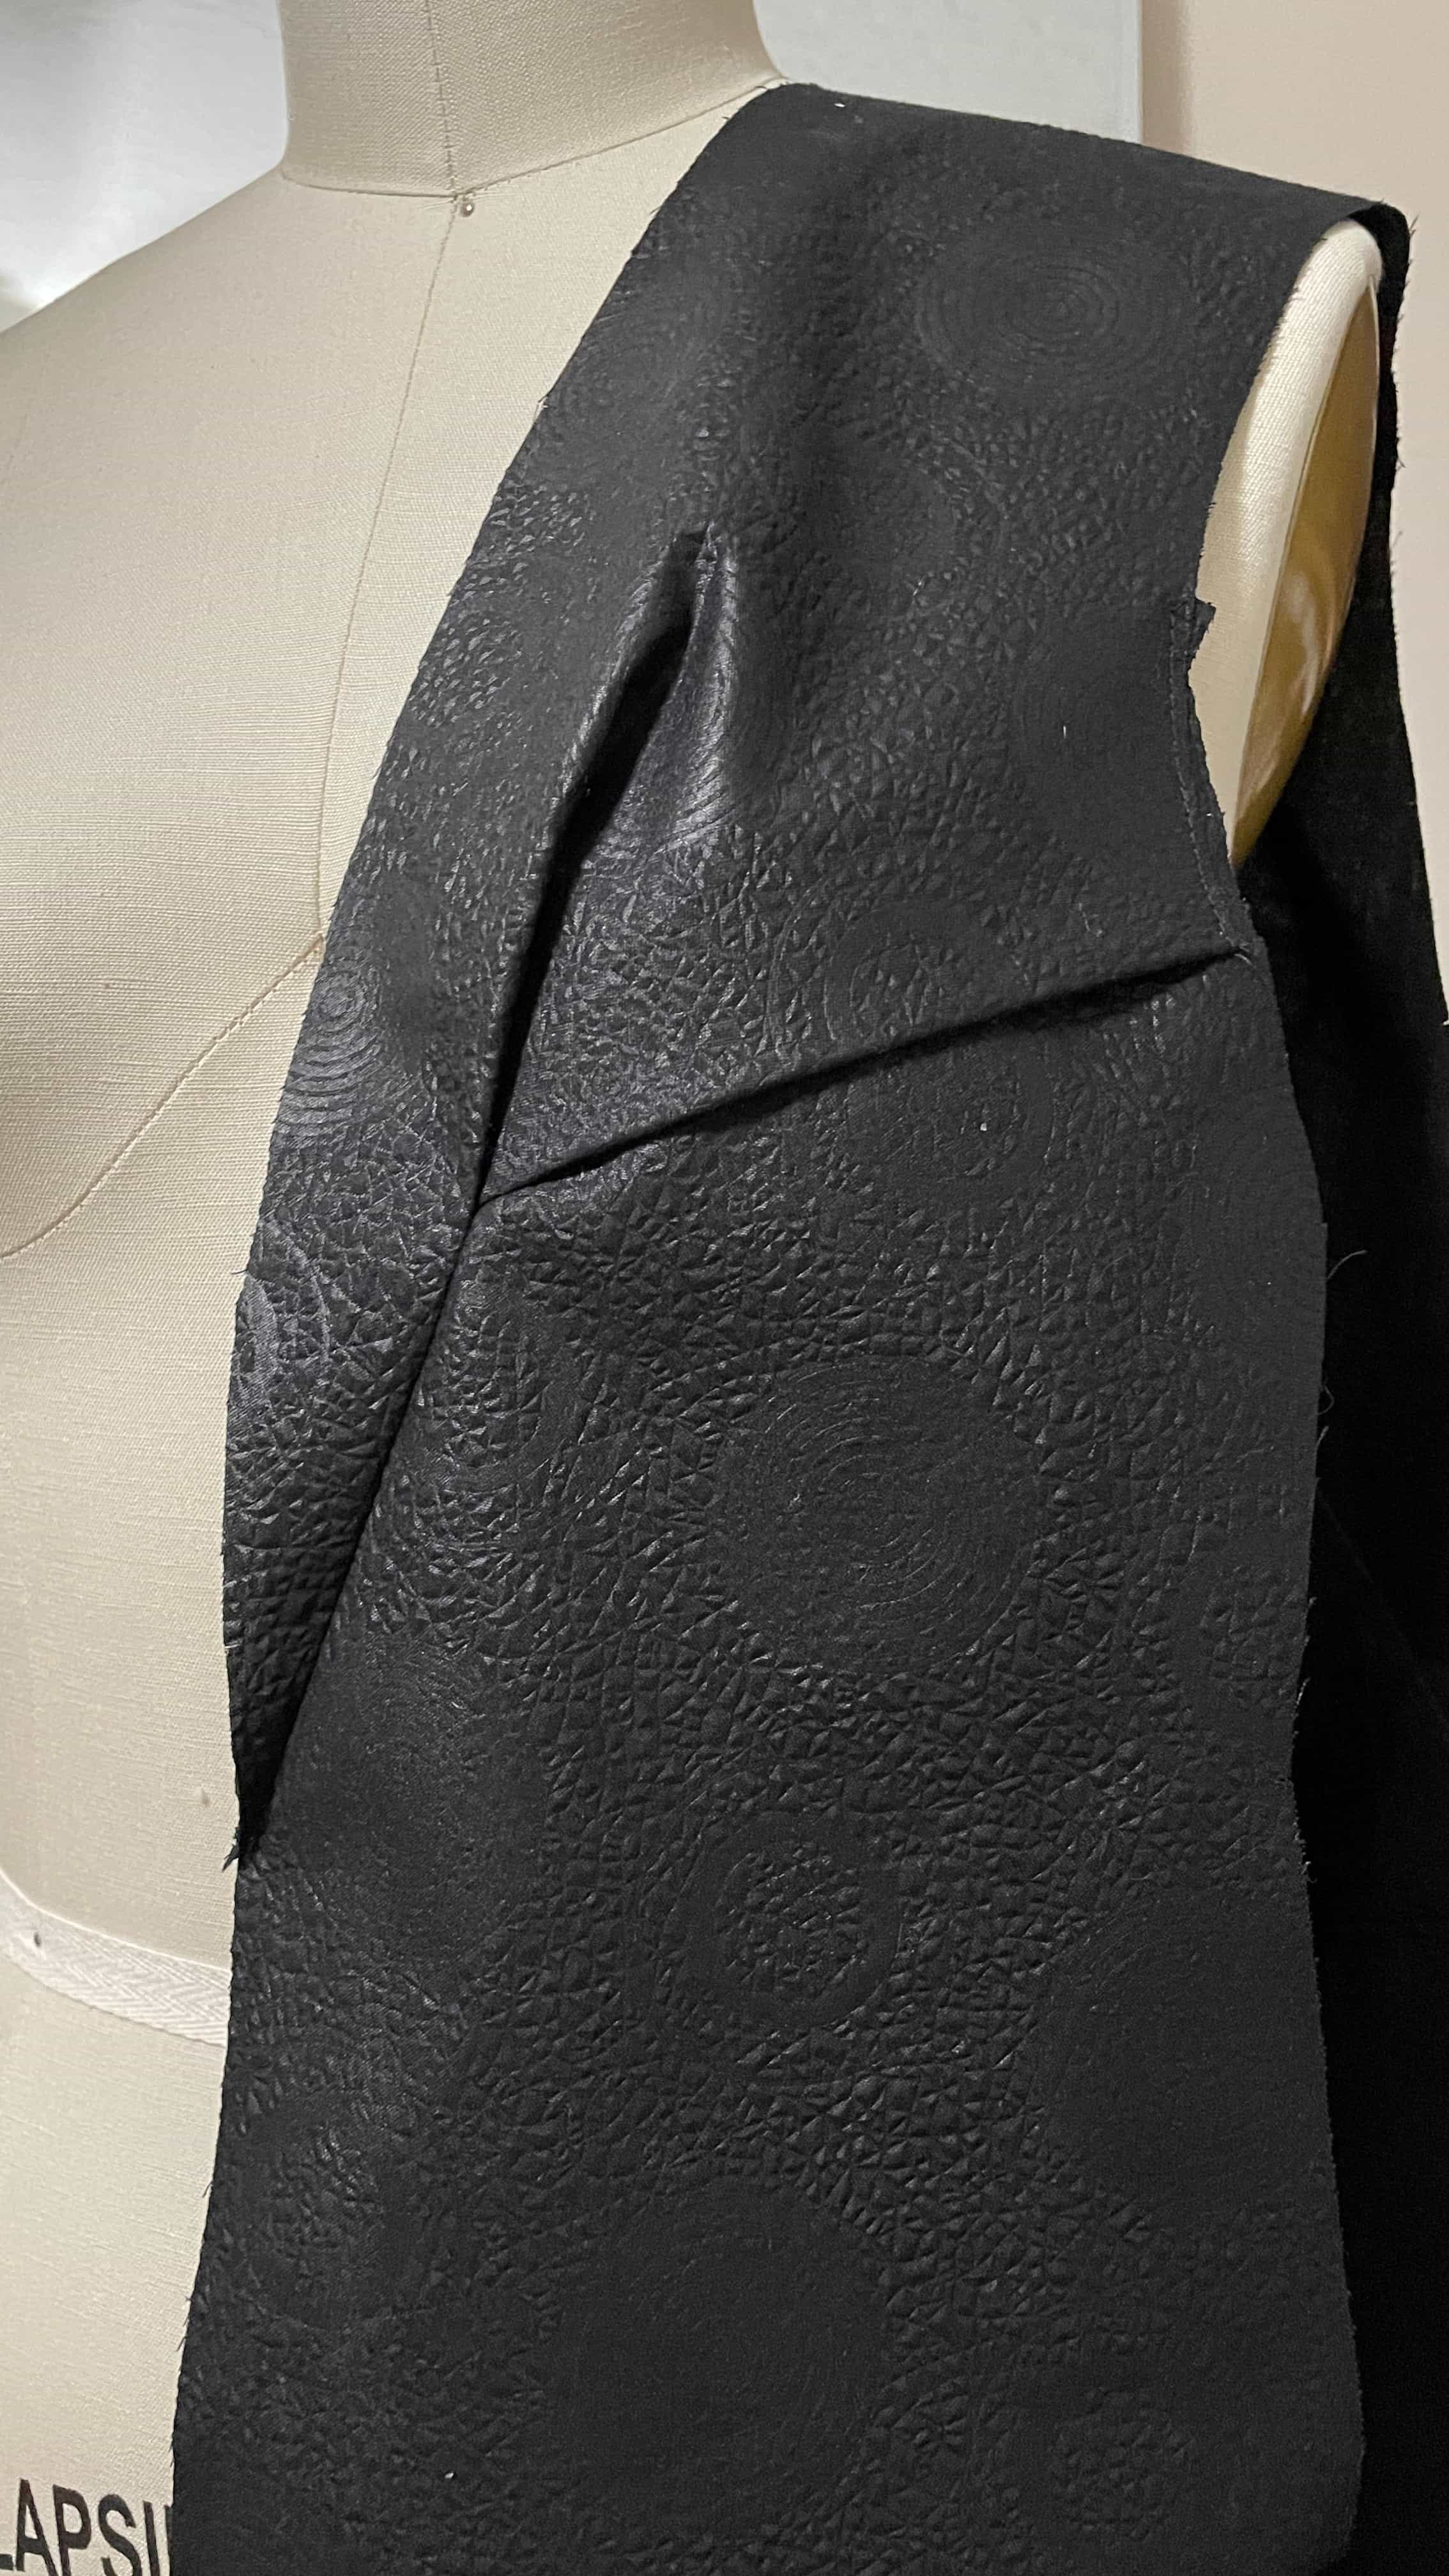
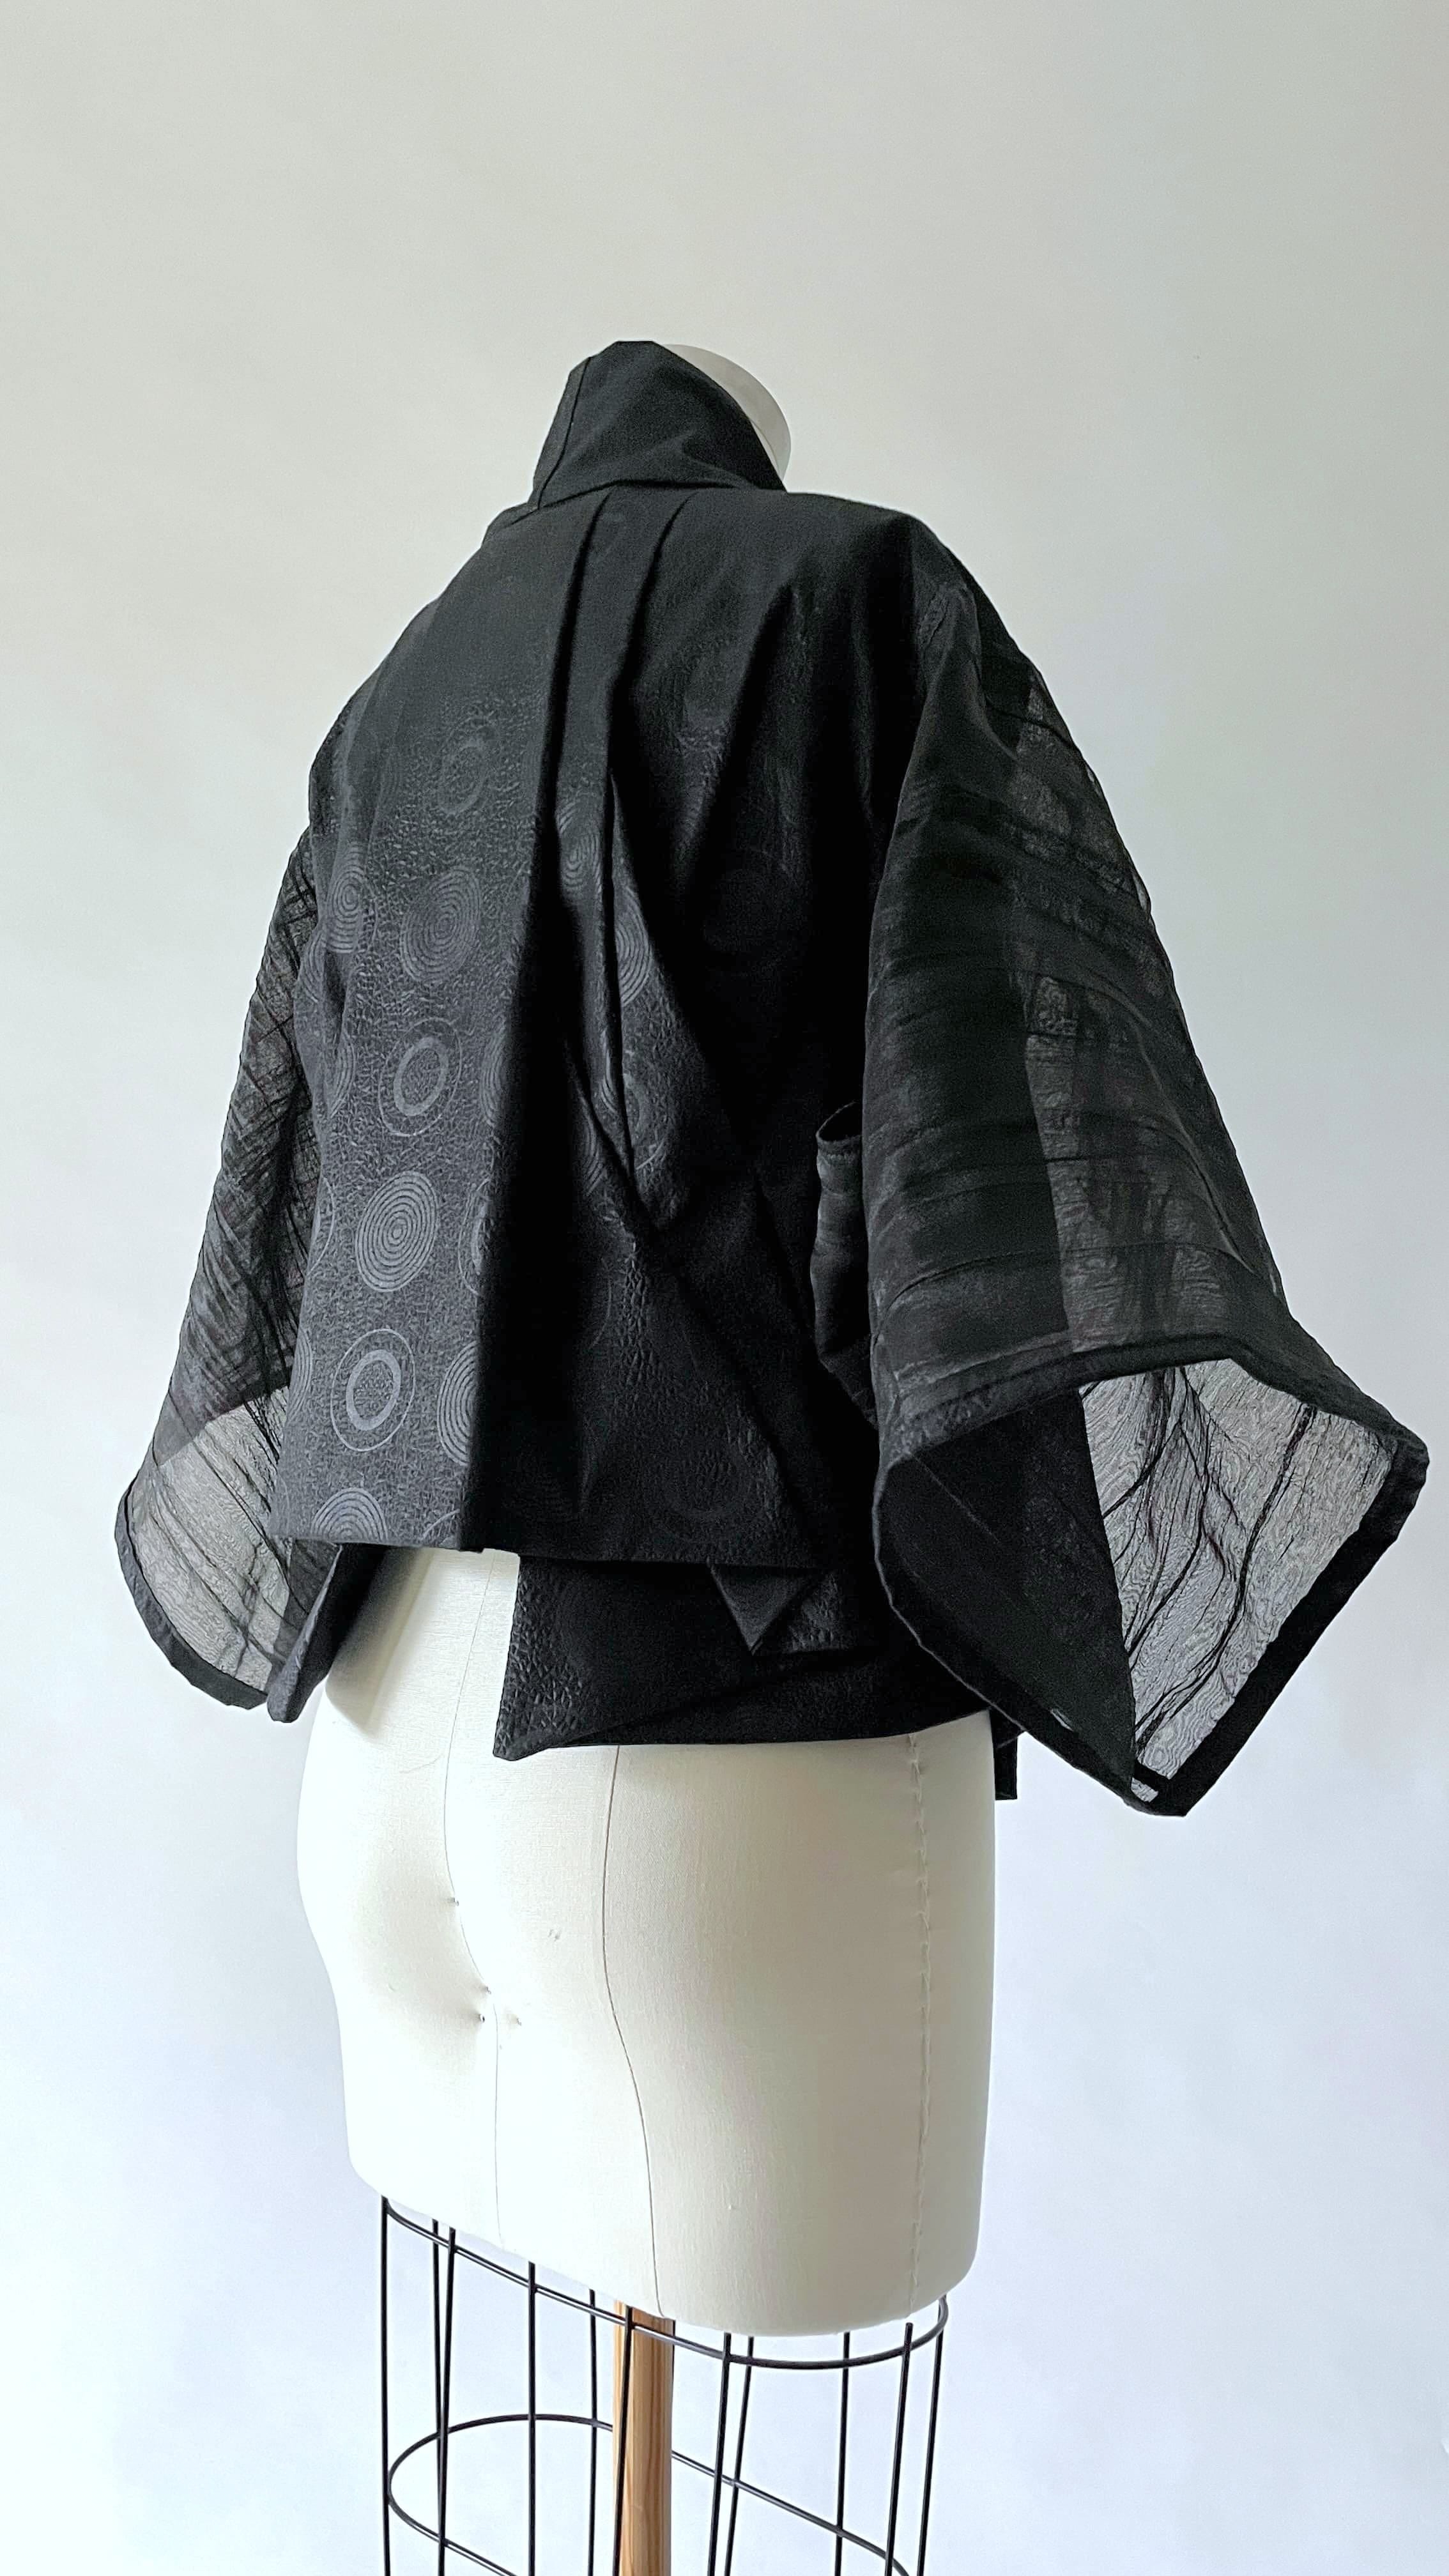
The back side, however, would involve a lot of mark matching and folding. Because there were various curving lines, I did both hand and machine stitching to create darts and folds.
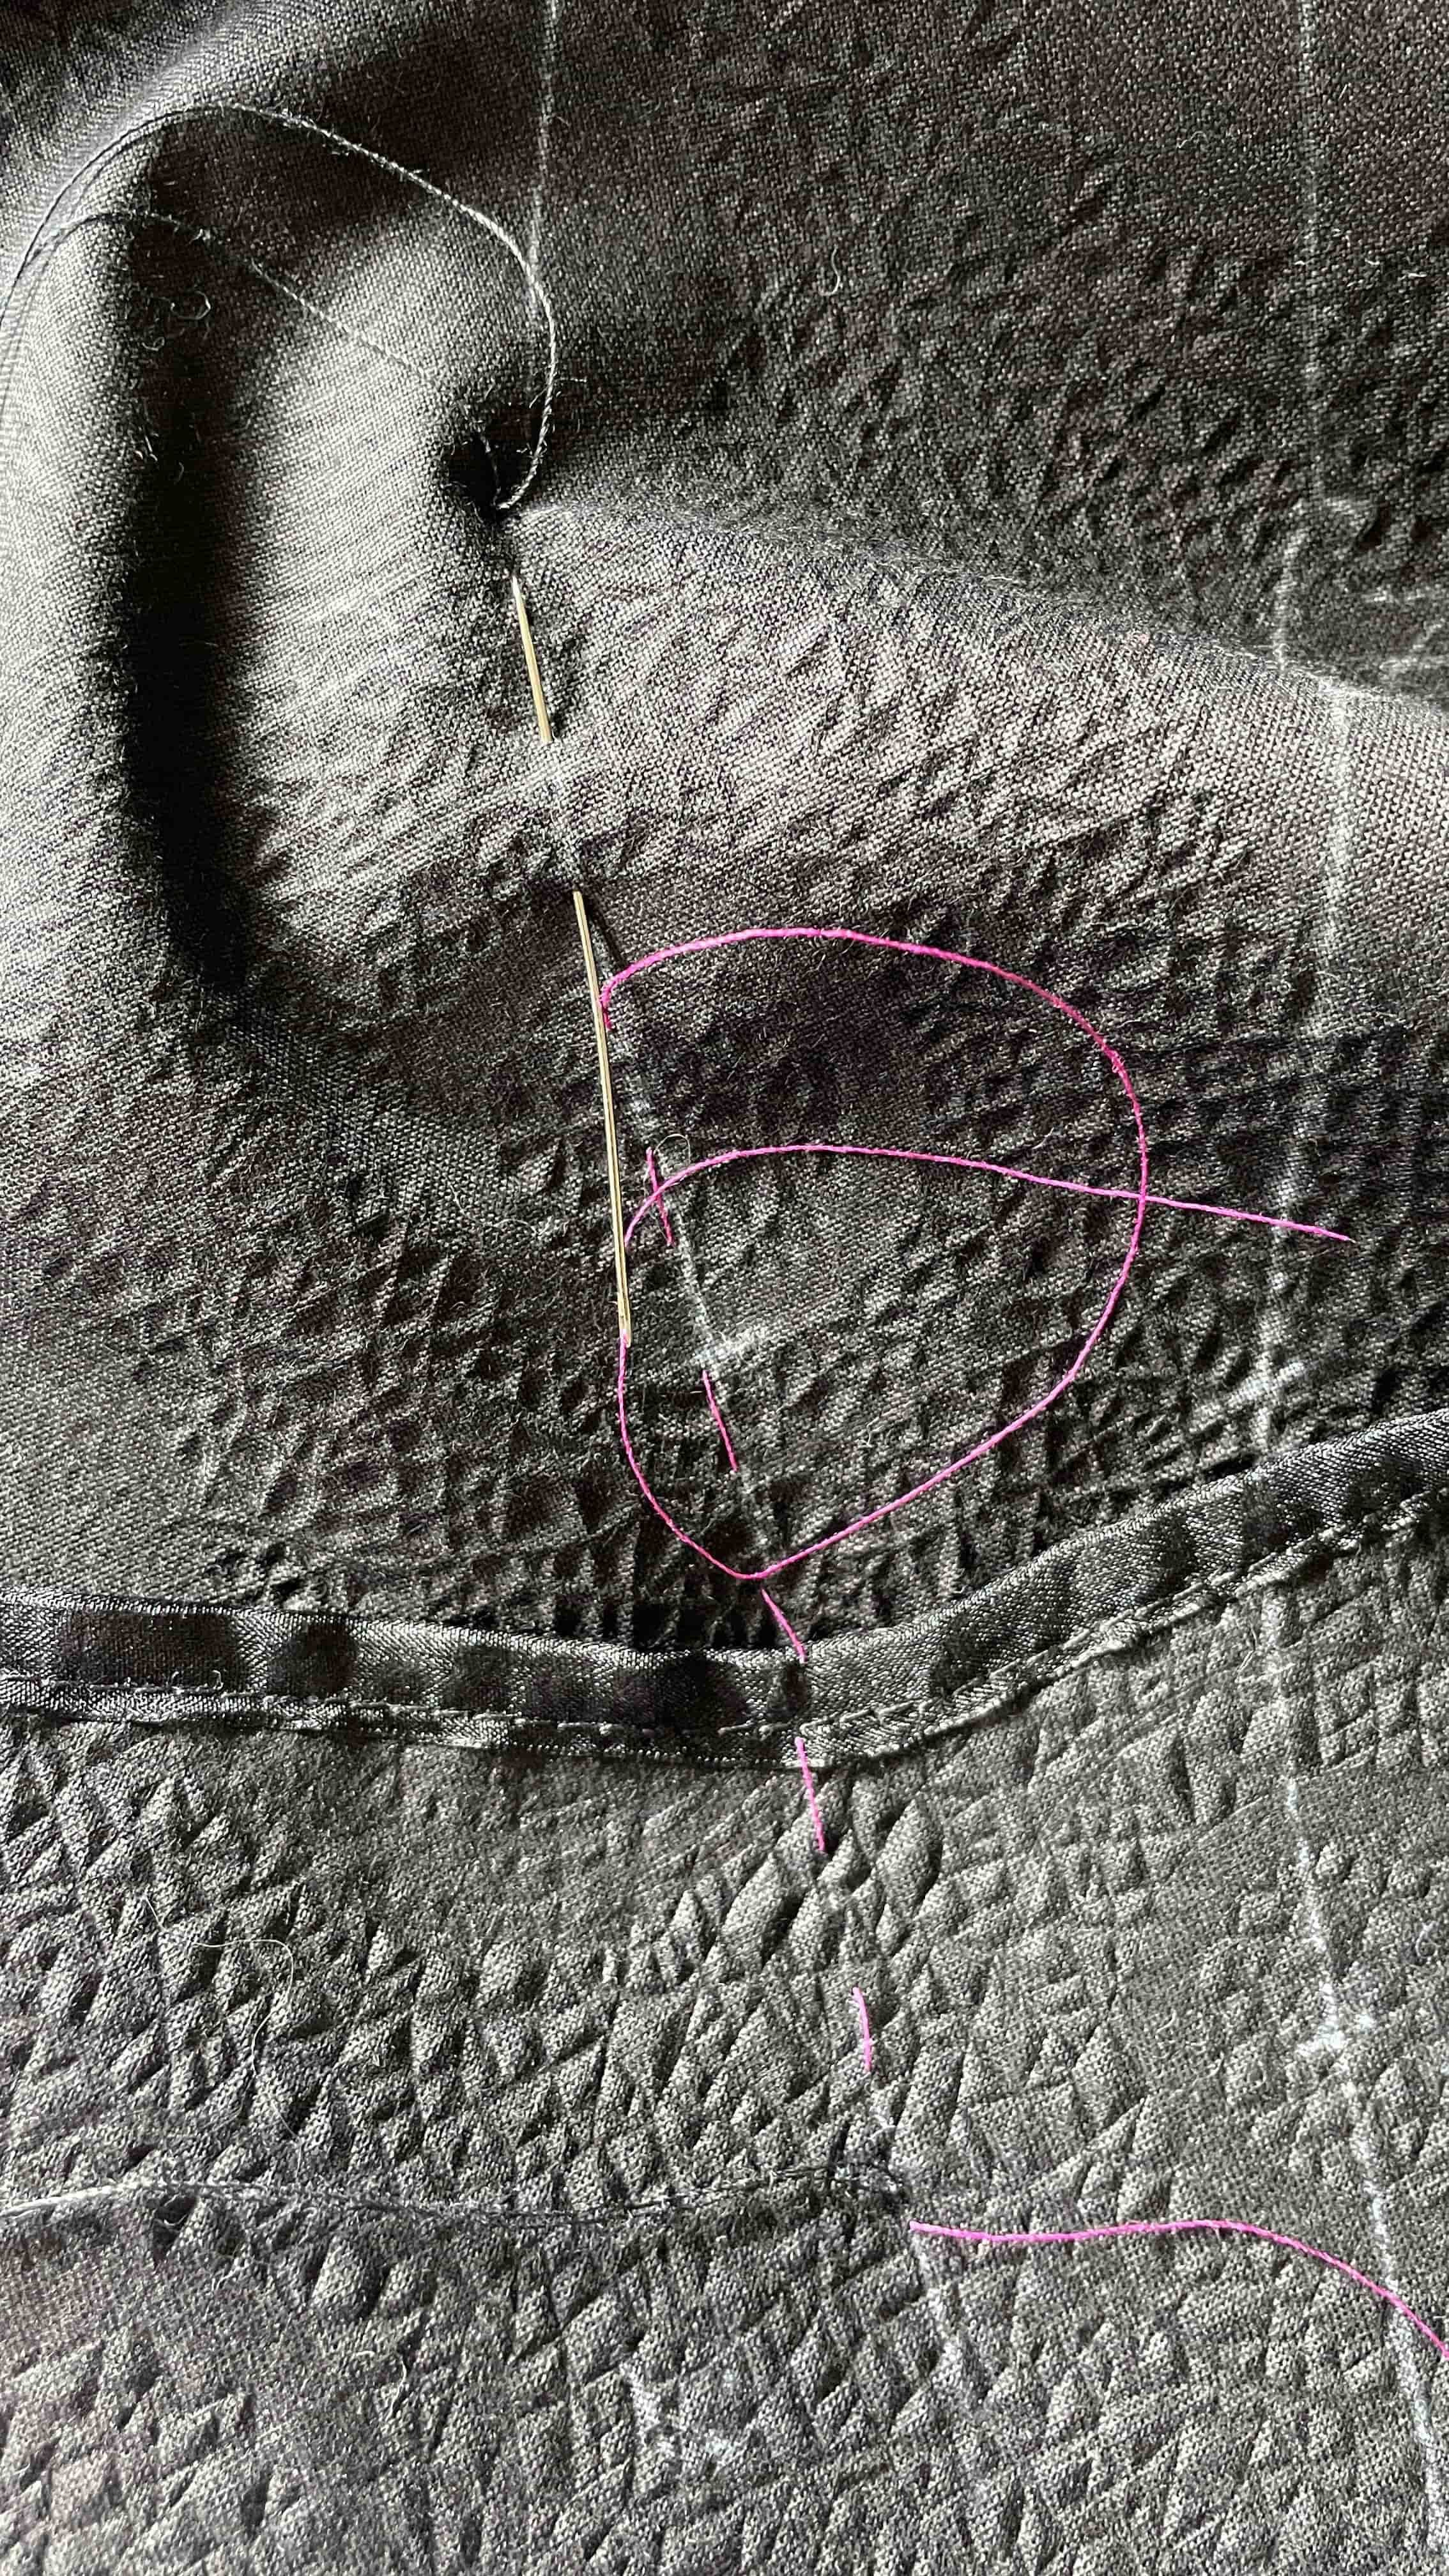
There were quite a few “make it work” moments to shape up the back of the jacket – a lot of anchoring and basting before permanent stitching, either with machine or by hand. For these temporary purposes, I used threads from previous project leftovers. Only new threads were used for the permanent stitches.
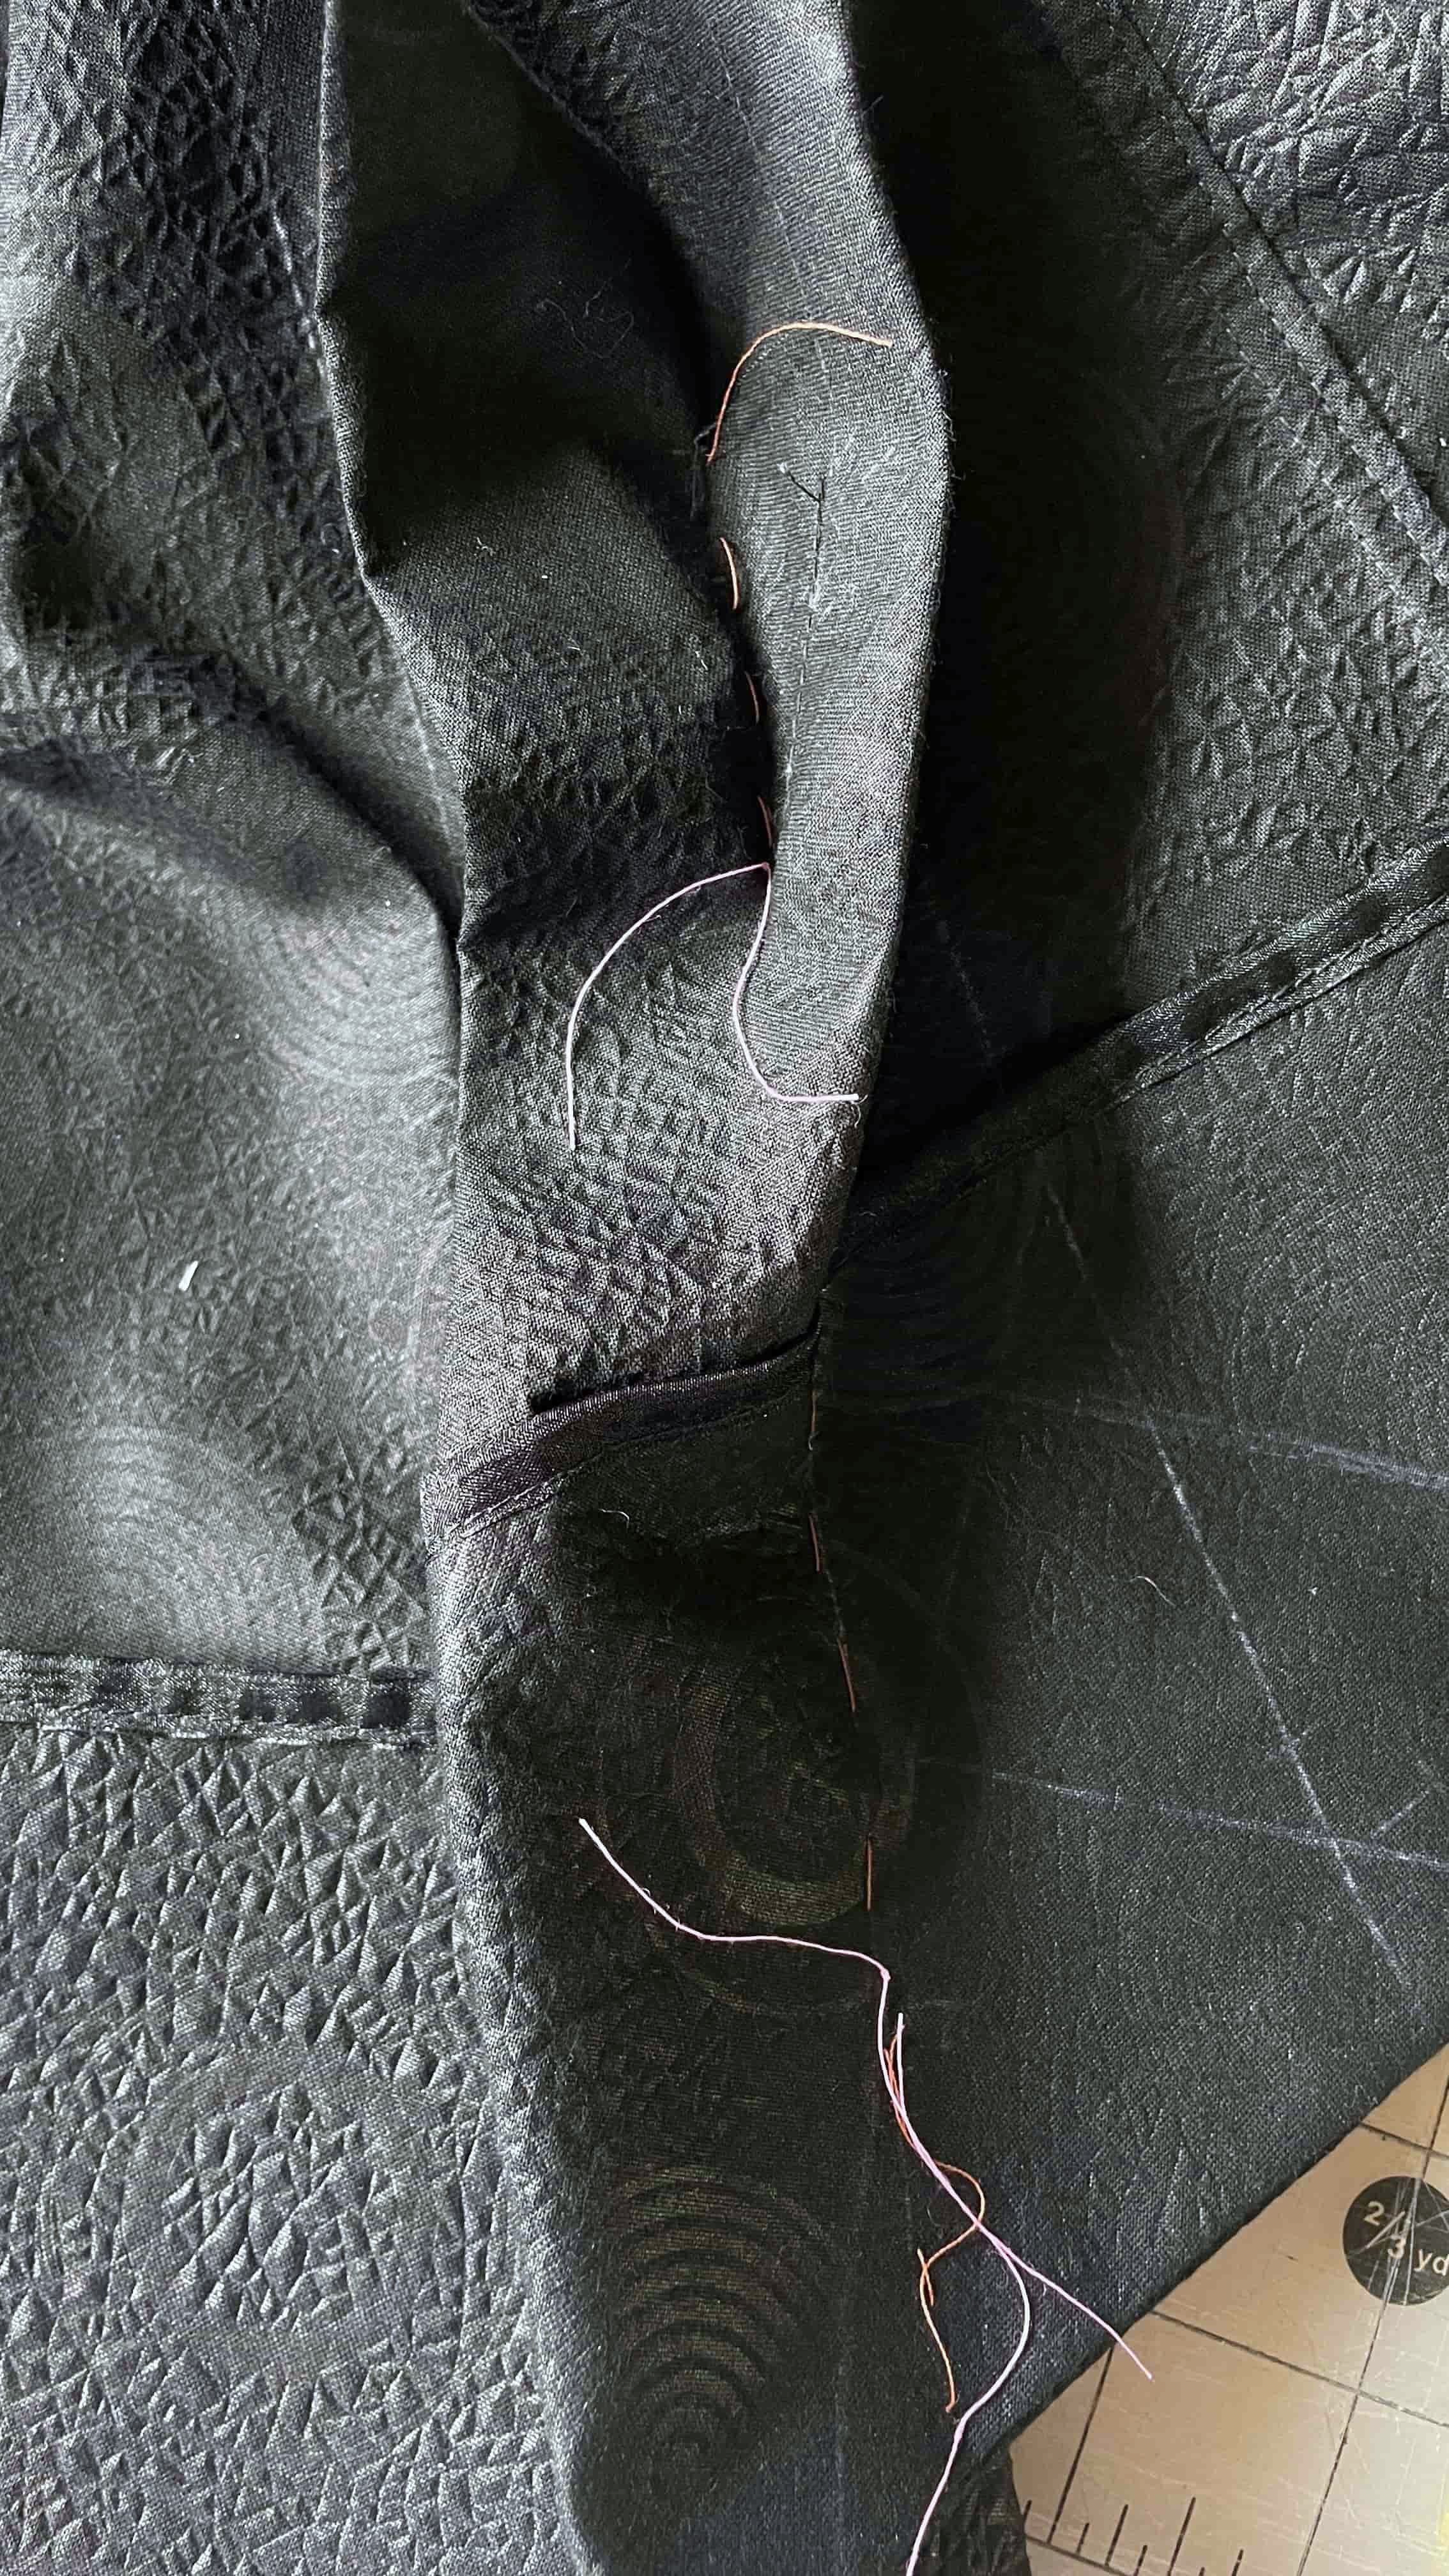
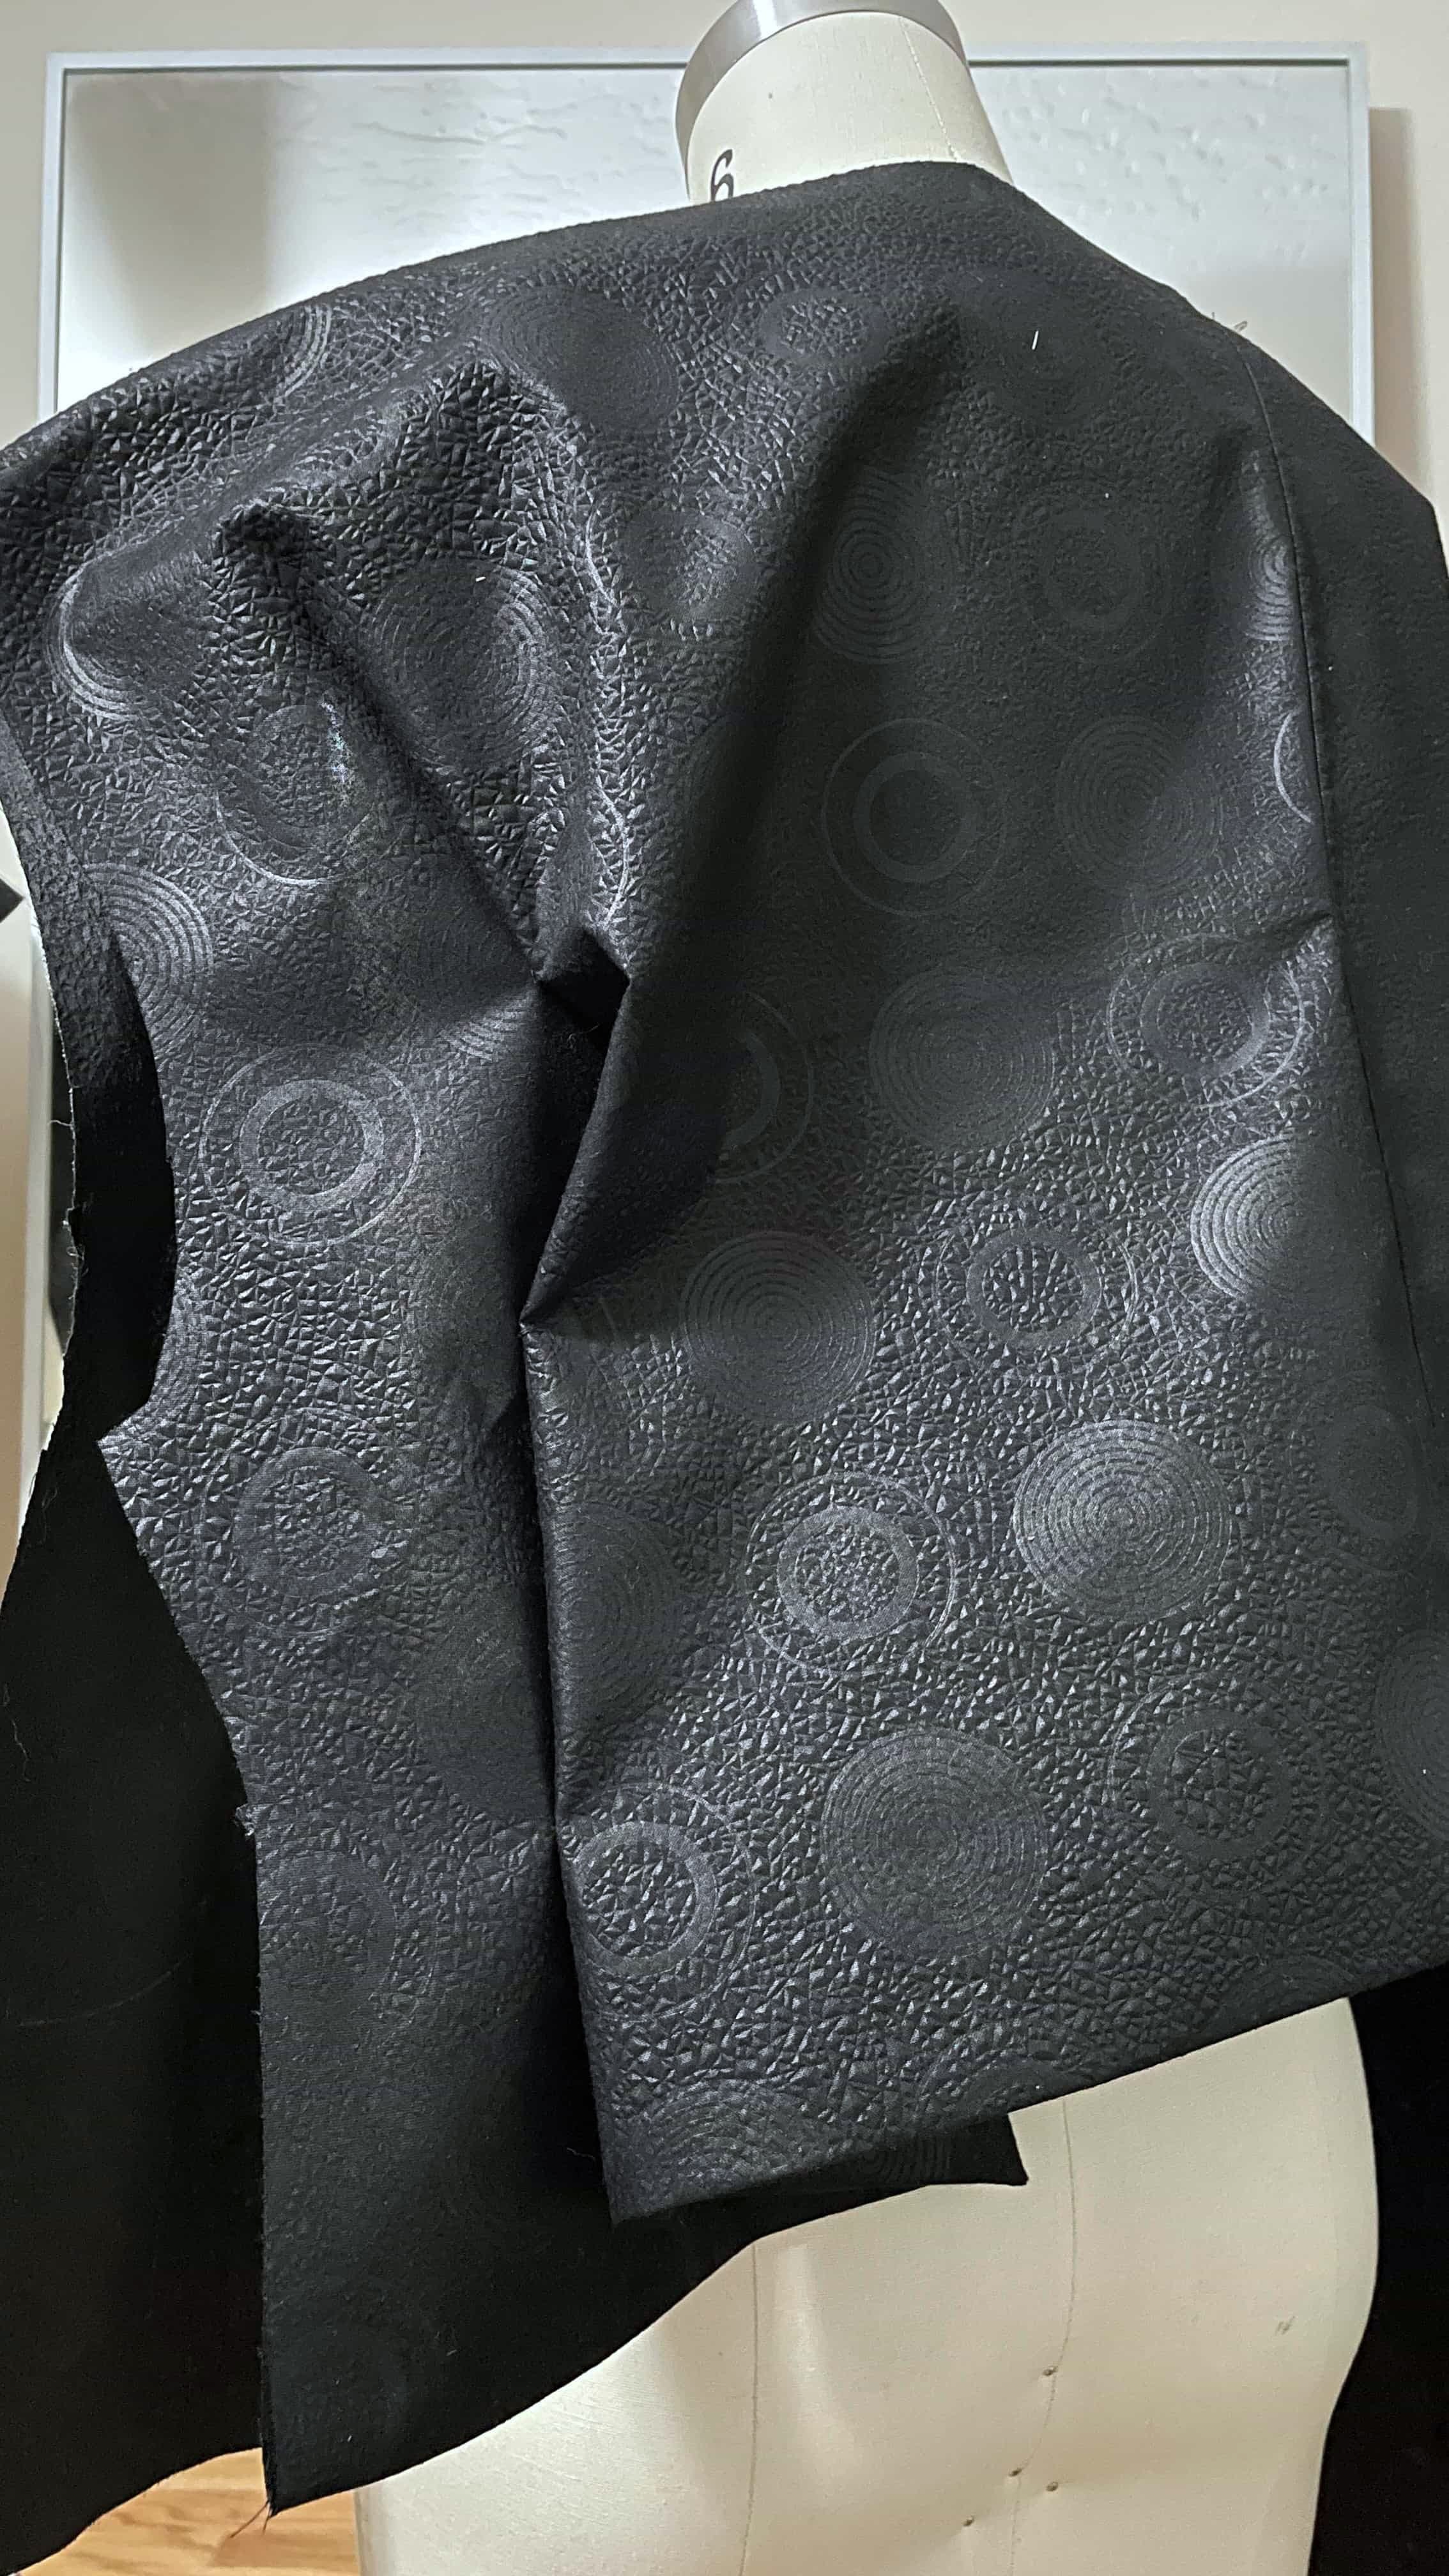
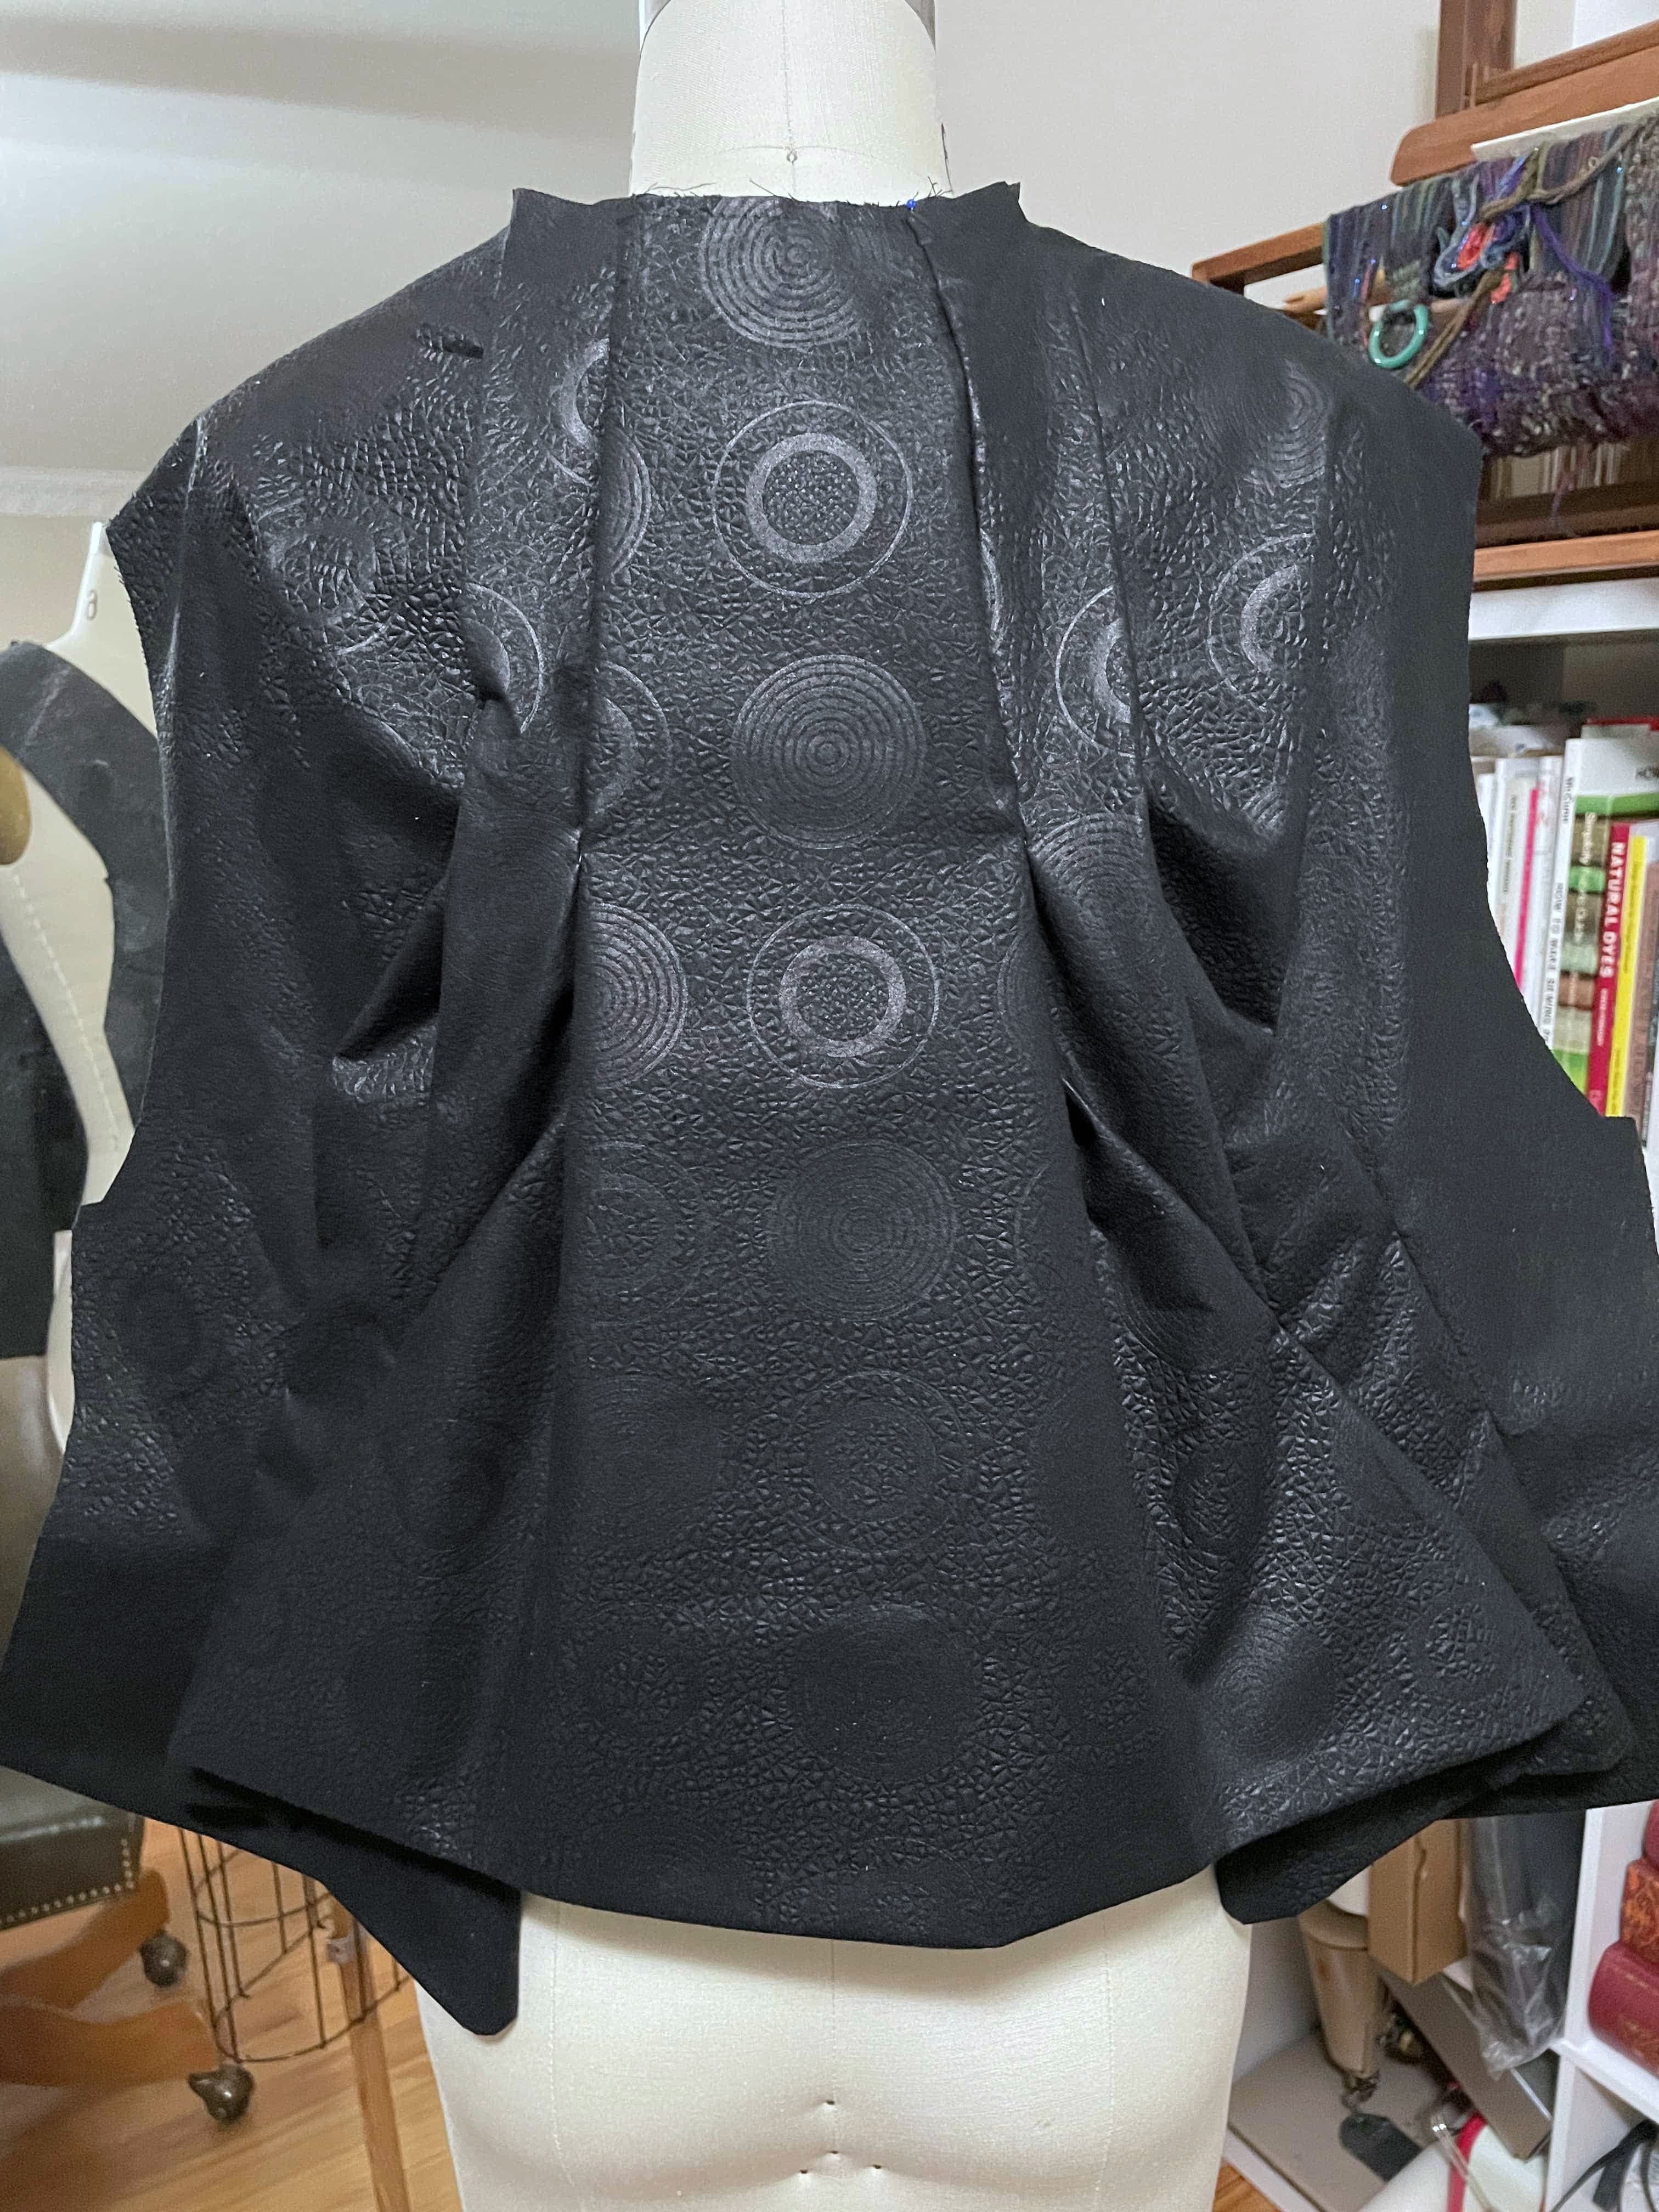
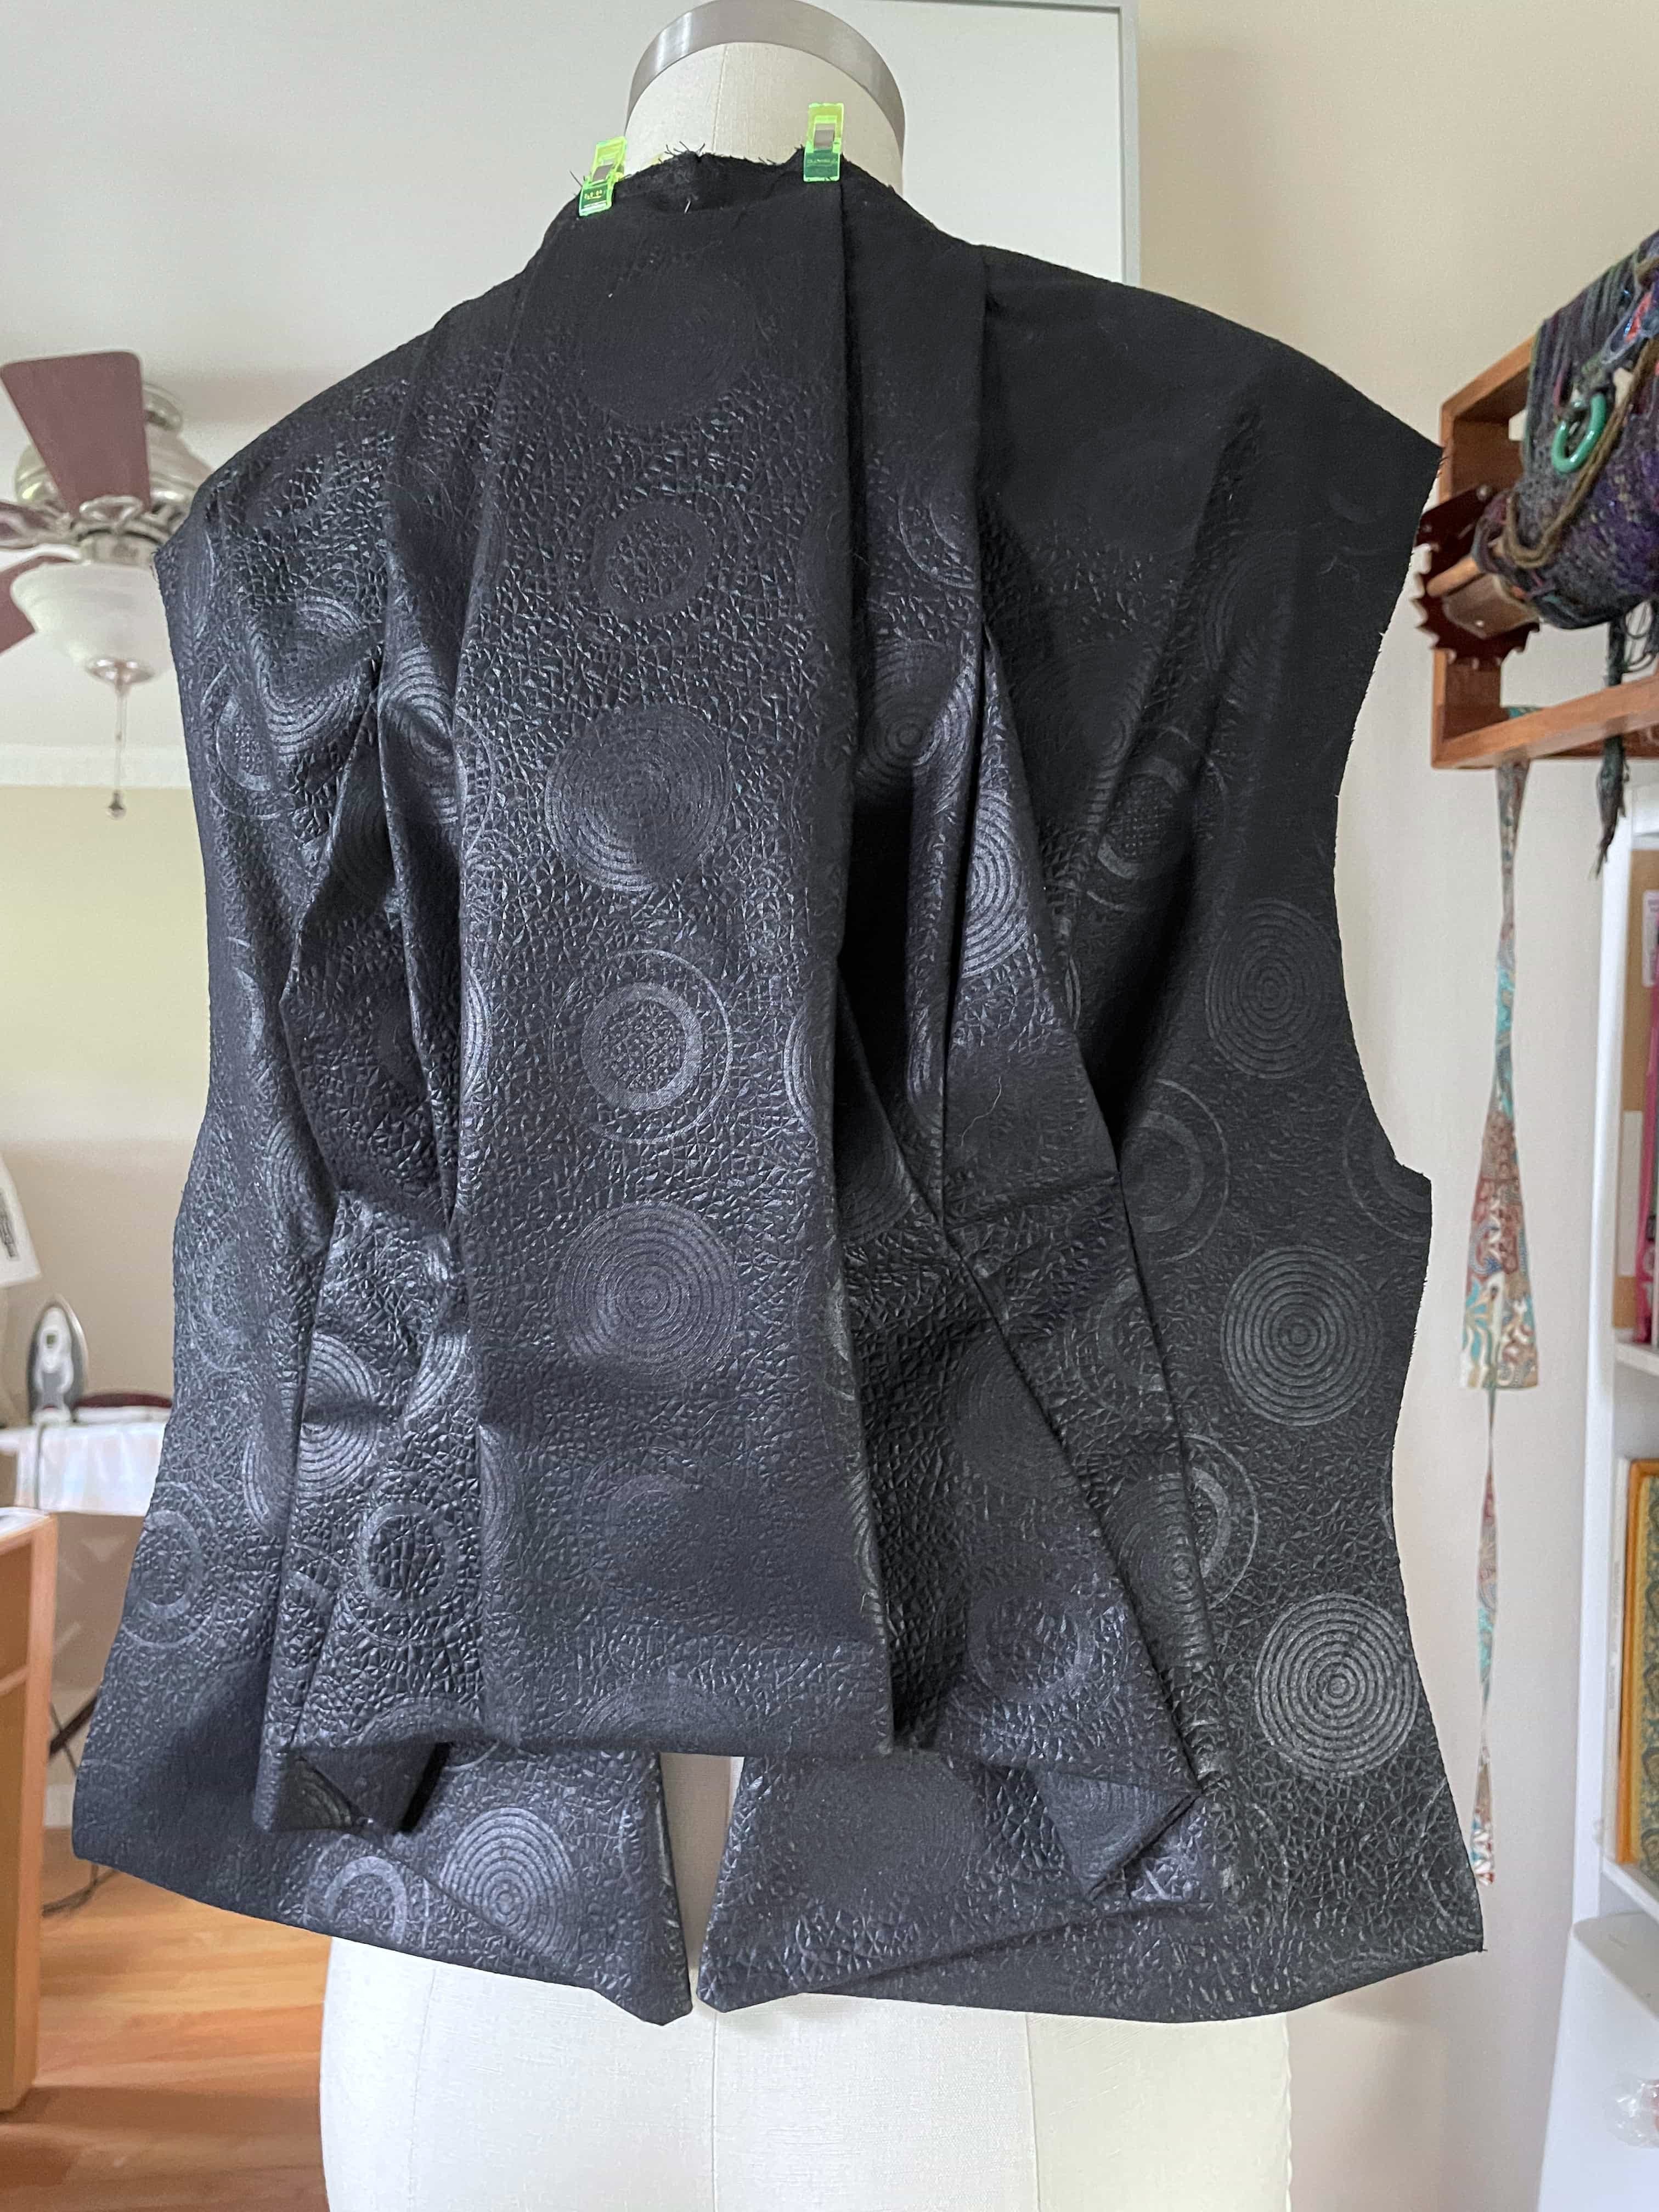
After the marks matching, folding, and stitchings were done, the back side is looking better!
However, the off-centered design of the center back panel was killing me. It was a calculated risk due to the limited amount of Brissi fabric, as well as the existing warping, but this didn’t look great as a center back piece.
A Slight Detour
Efforts to convince myself to leave the center back panel alone proved futile. *sigh*
So it’s time to make a new center back panel! Luckily, I had enough remnant to create a new panel. I went to stabilize this slightly off-grain piece by doubling the layer with the old one.

Deconstructing the current back panel out meant a job for my trusted seam ripper.
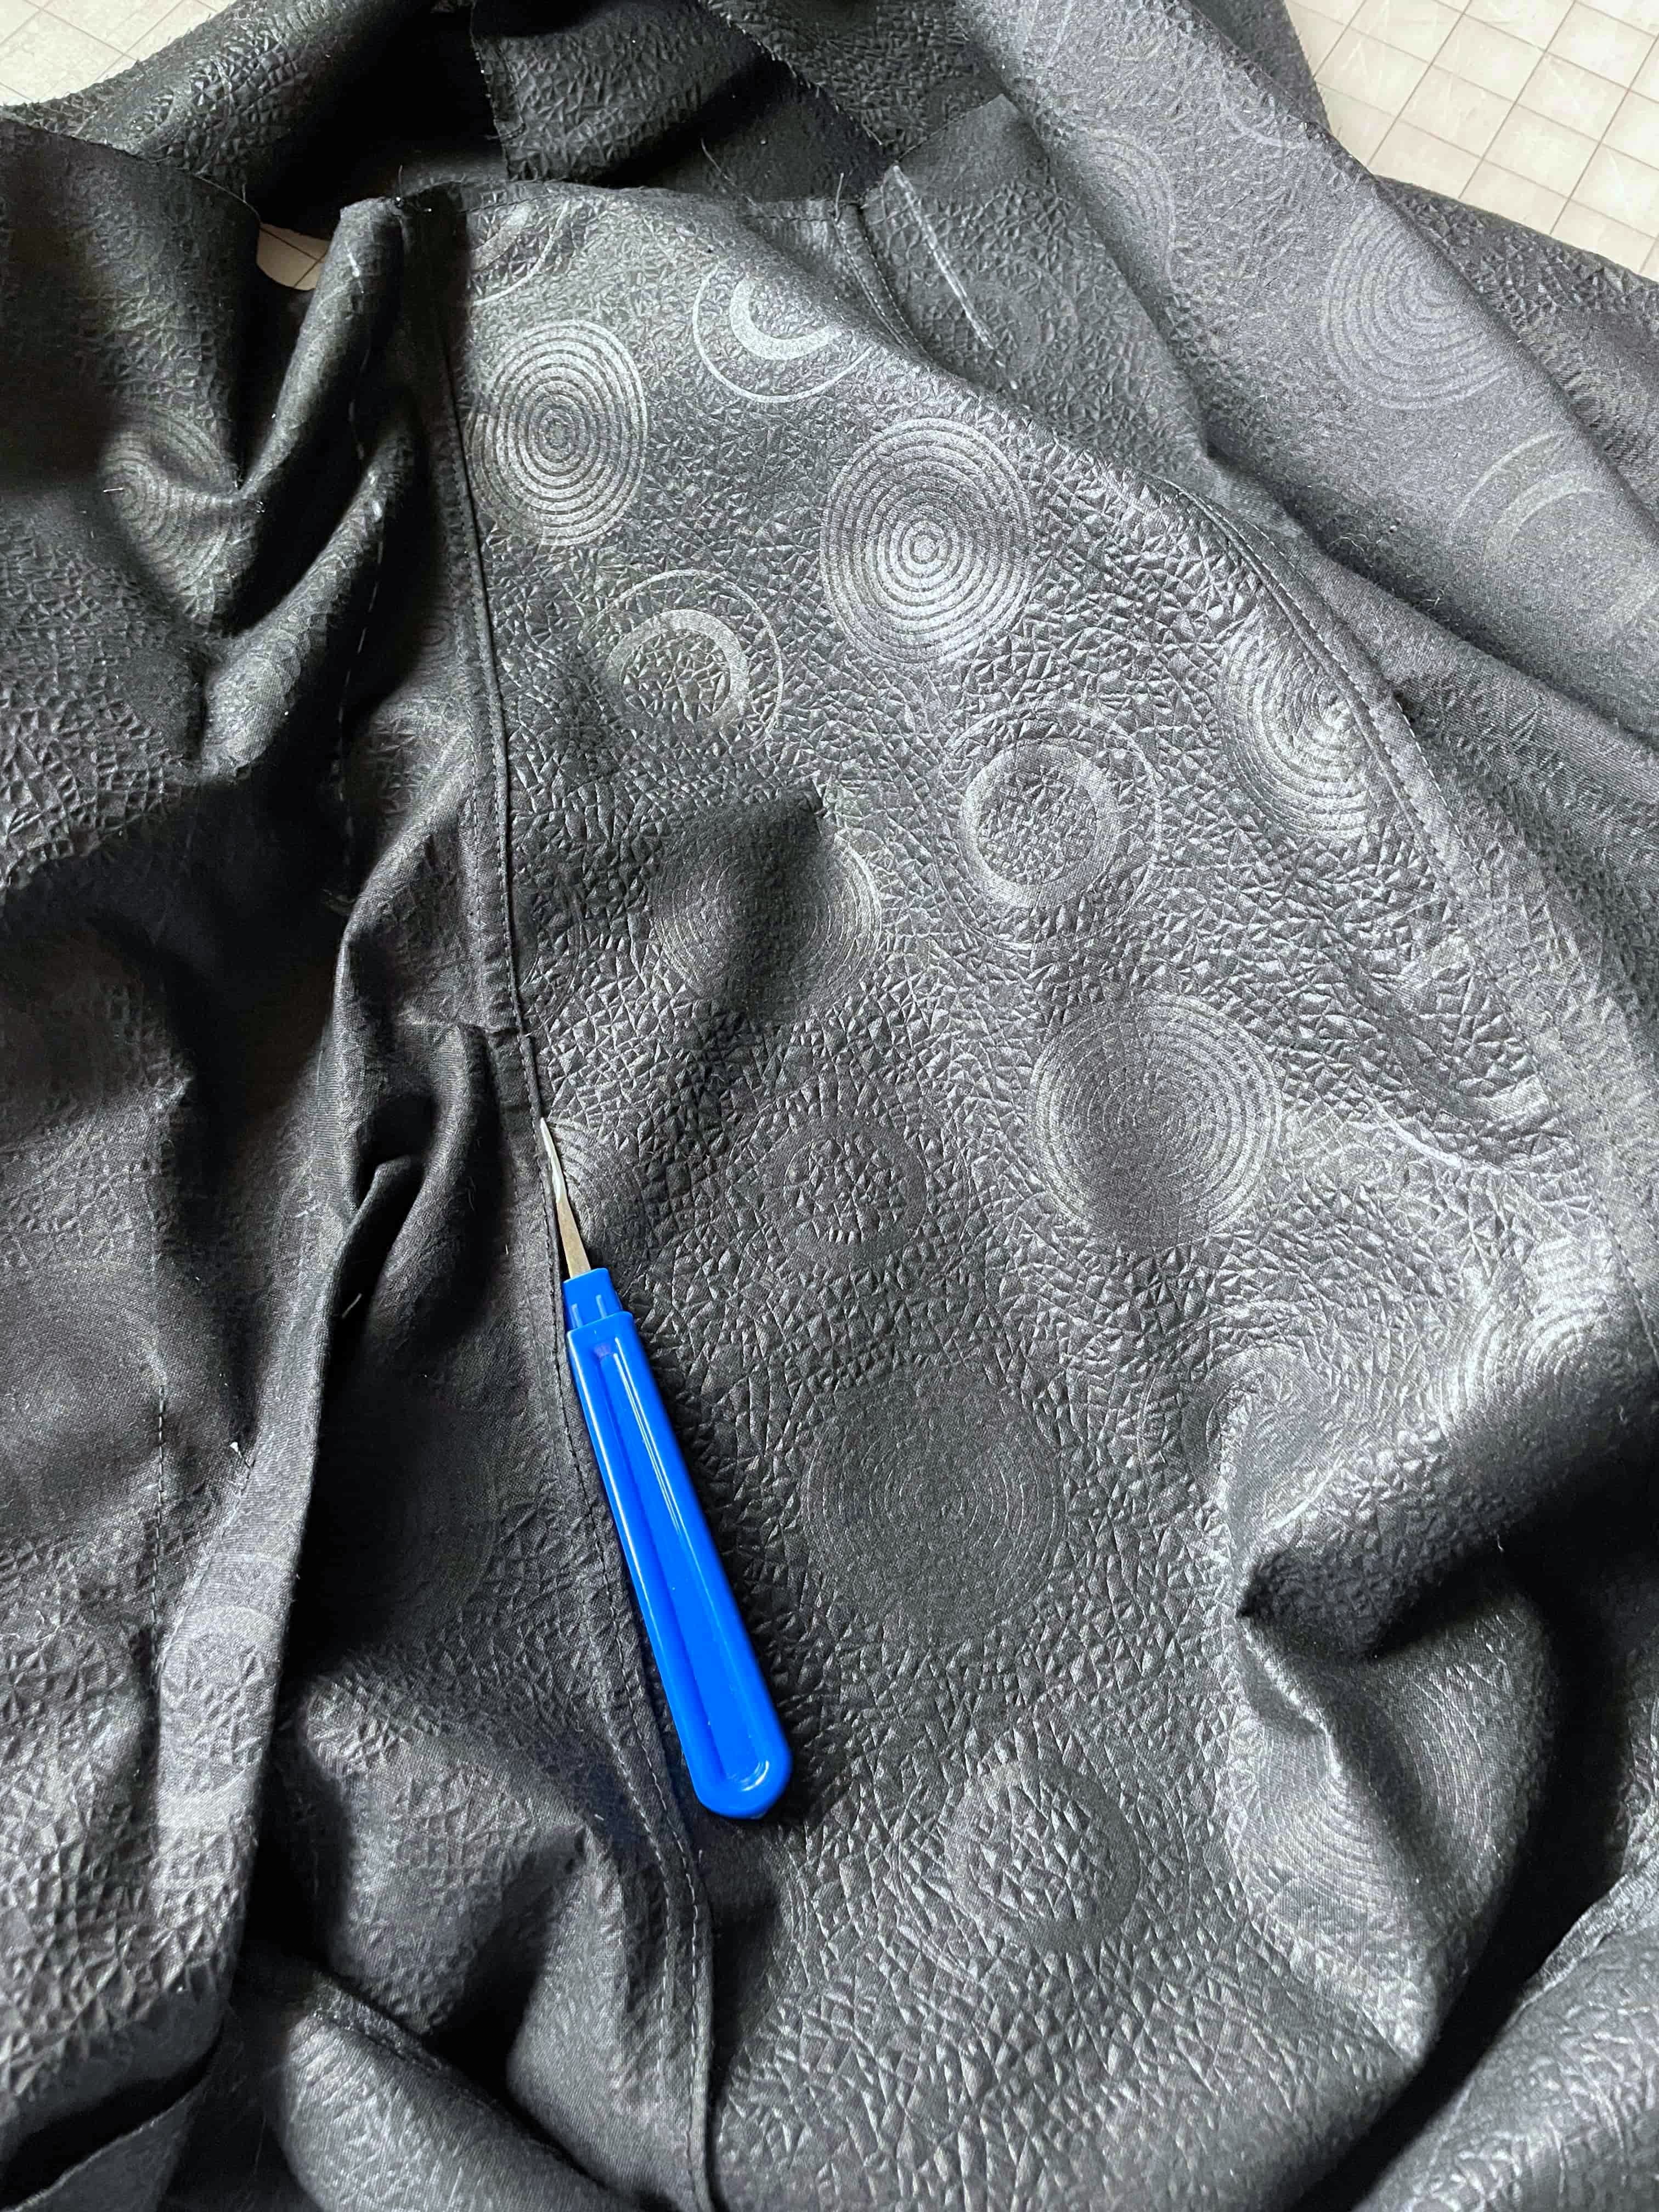
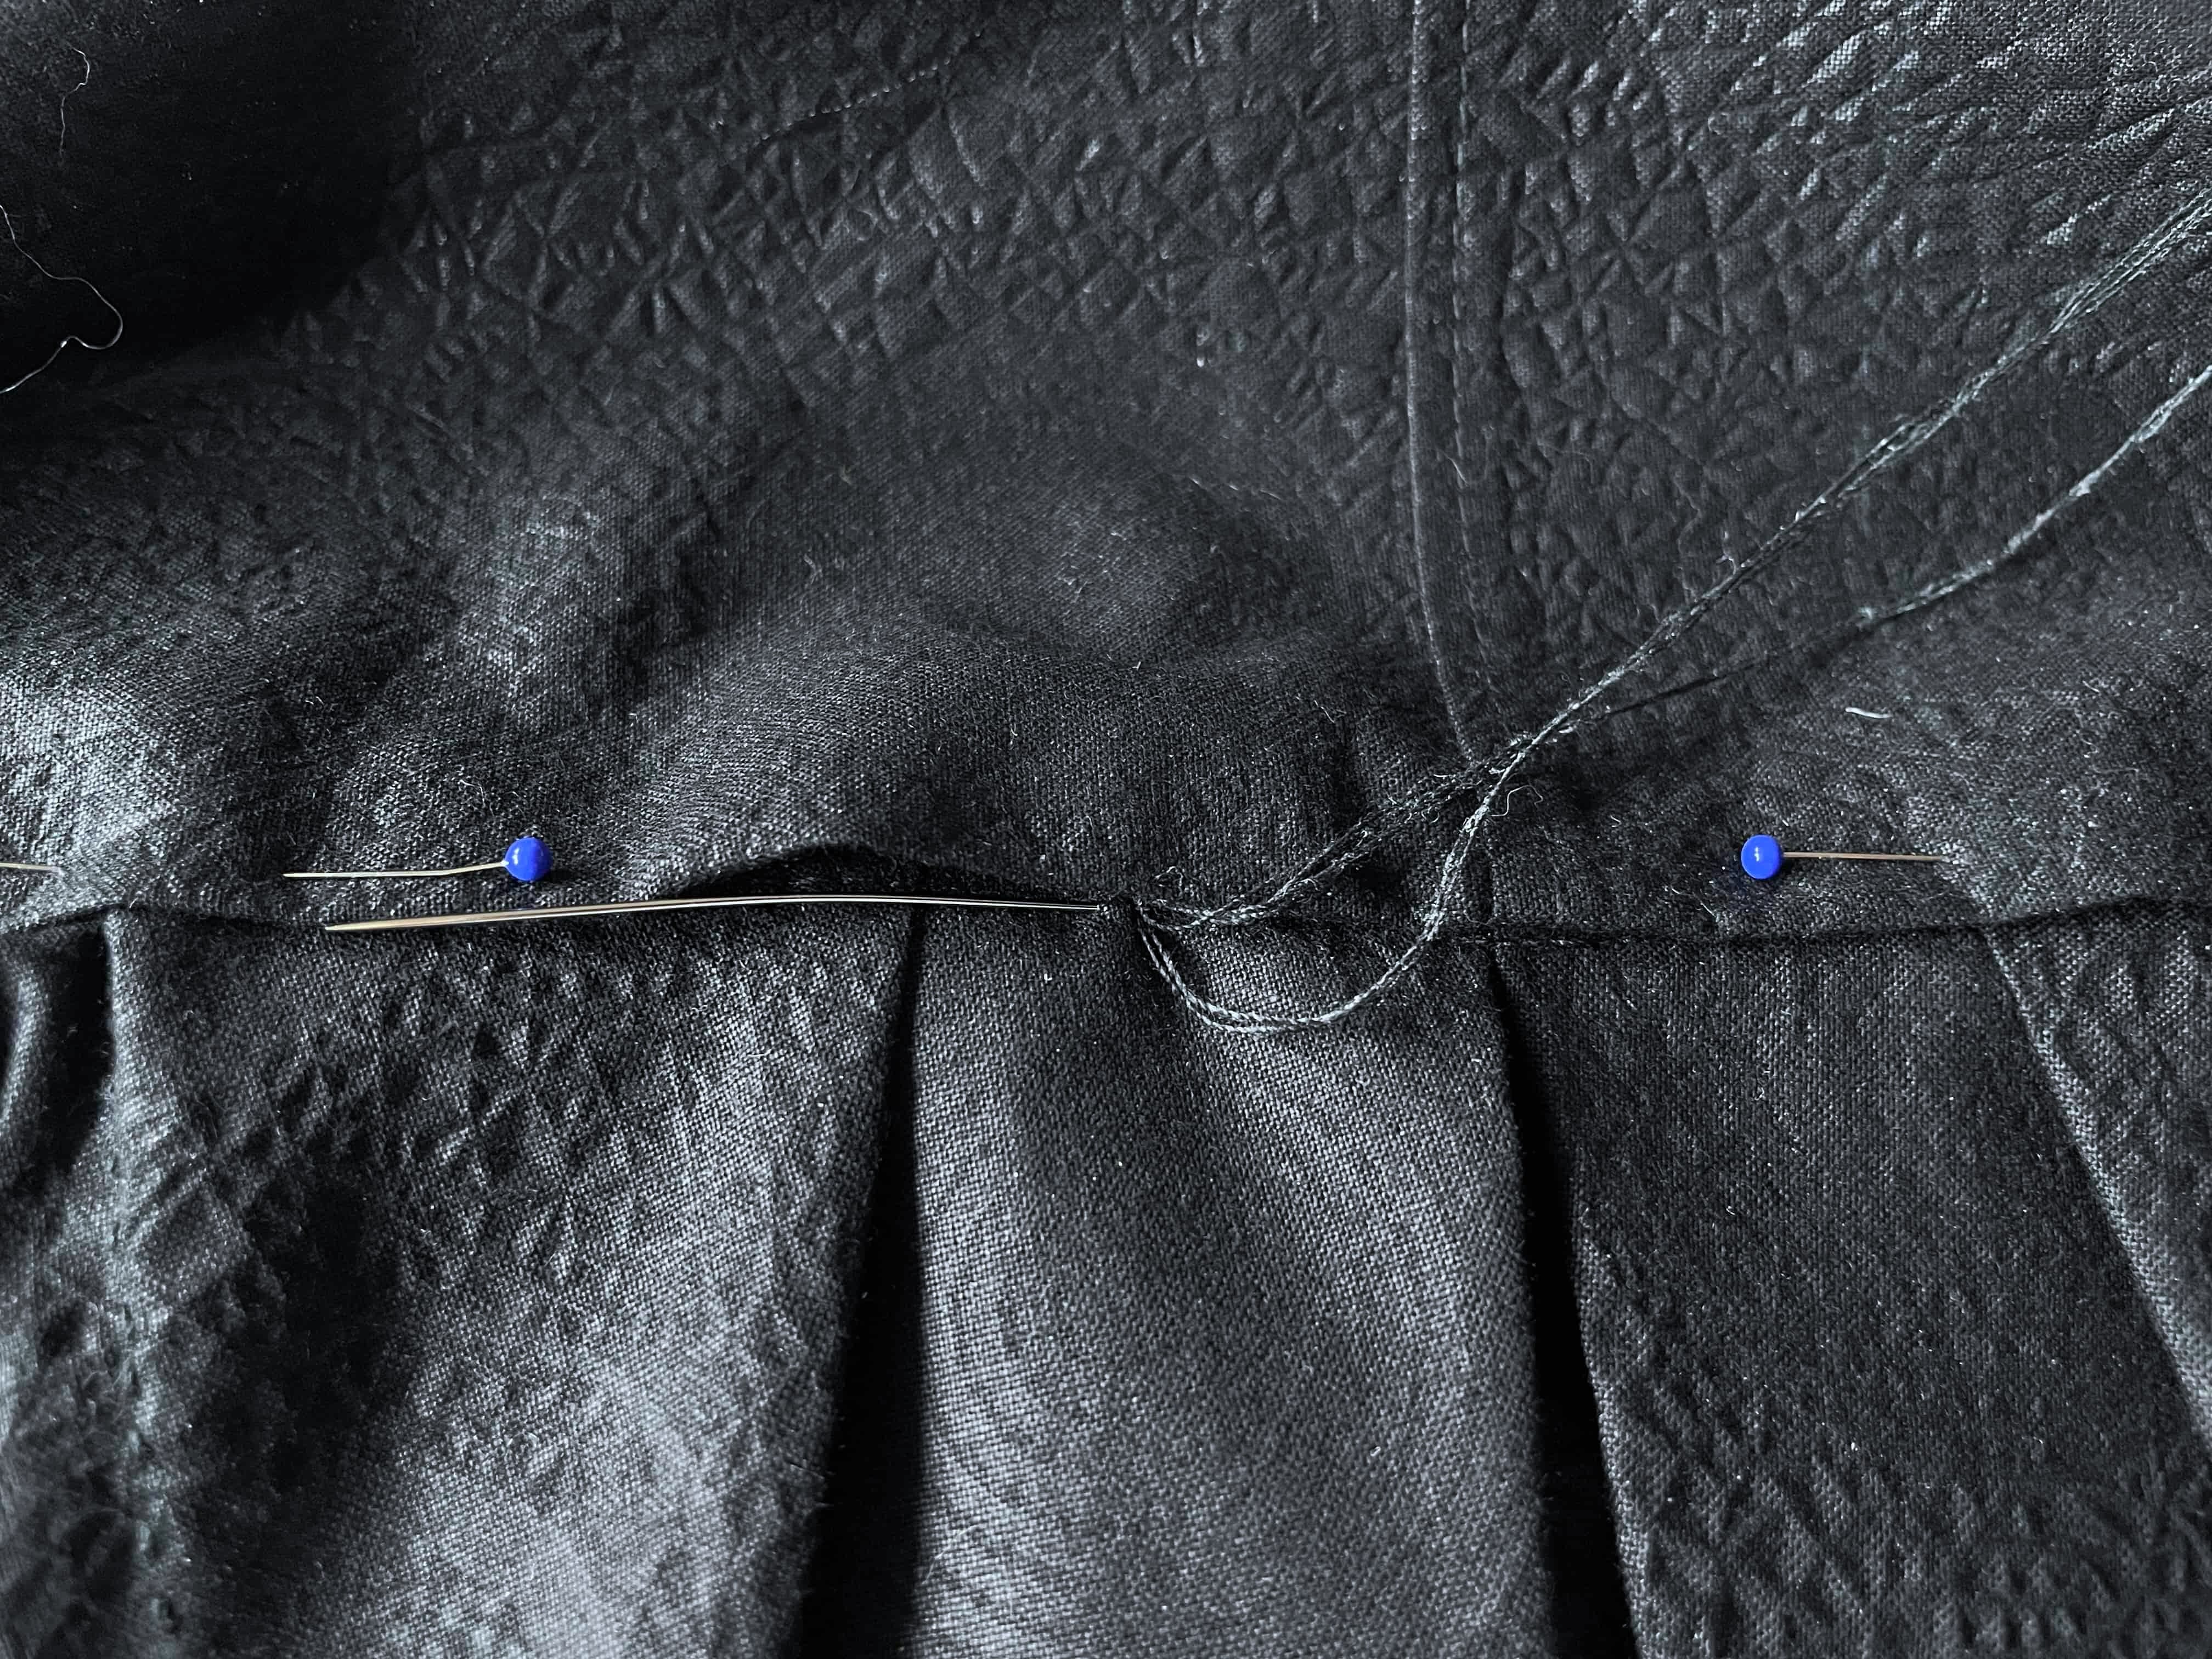
After about two hours of deconstructing and reconstructing - making a new back panel, replacing said panel, and securing all seams, plus pinning some sectiona to mark tiny invisible anchor points to stabilize the back folds, I felt so much better.
While many people have downloaded this pattern from SHOW Studio, not many have made them. One even said, “Burda Style patterns seem user-friendly compared to this one.” 😆
Resuming to Finish the Garment Assembly
After the detour, I focused on double / triple checking the back folds before hand stitching invisible anchoring tucks. I realized that I may have to undo and adjust some points after the garment is finished depending on how it fits me. At the time, it helped to do so to have the garment under control and not flopping around as much.
The front part also got some action, as more panels were added around the center front.

And now that the torso parts were shaping up well, I also started working on the sleeves. The sleeve seams were finished with topstitched French seams, while the collar pieces were finished with flat felled seam finish.
The collar stitching came next, and the expected problem of fabric warping came just as expected. The perfectly symmetrical collar piece looked off in places, so I was really taking my time with it. On the other hand, the kimono-inspired jacket was 85% finished at this point - so exciting!

Before attaching the sleeves, I had to finish the sleeves’ raw edges. I cut some long straps of Brissi fabric scraps to bind finish the sleeve edges.
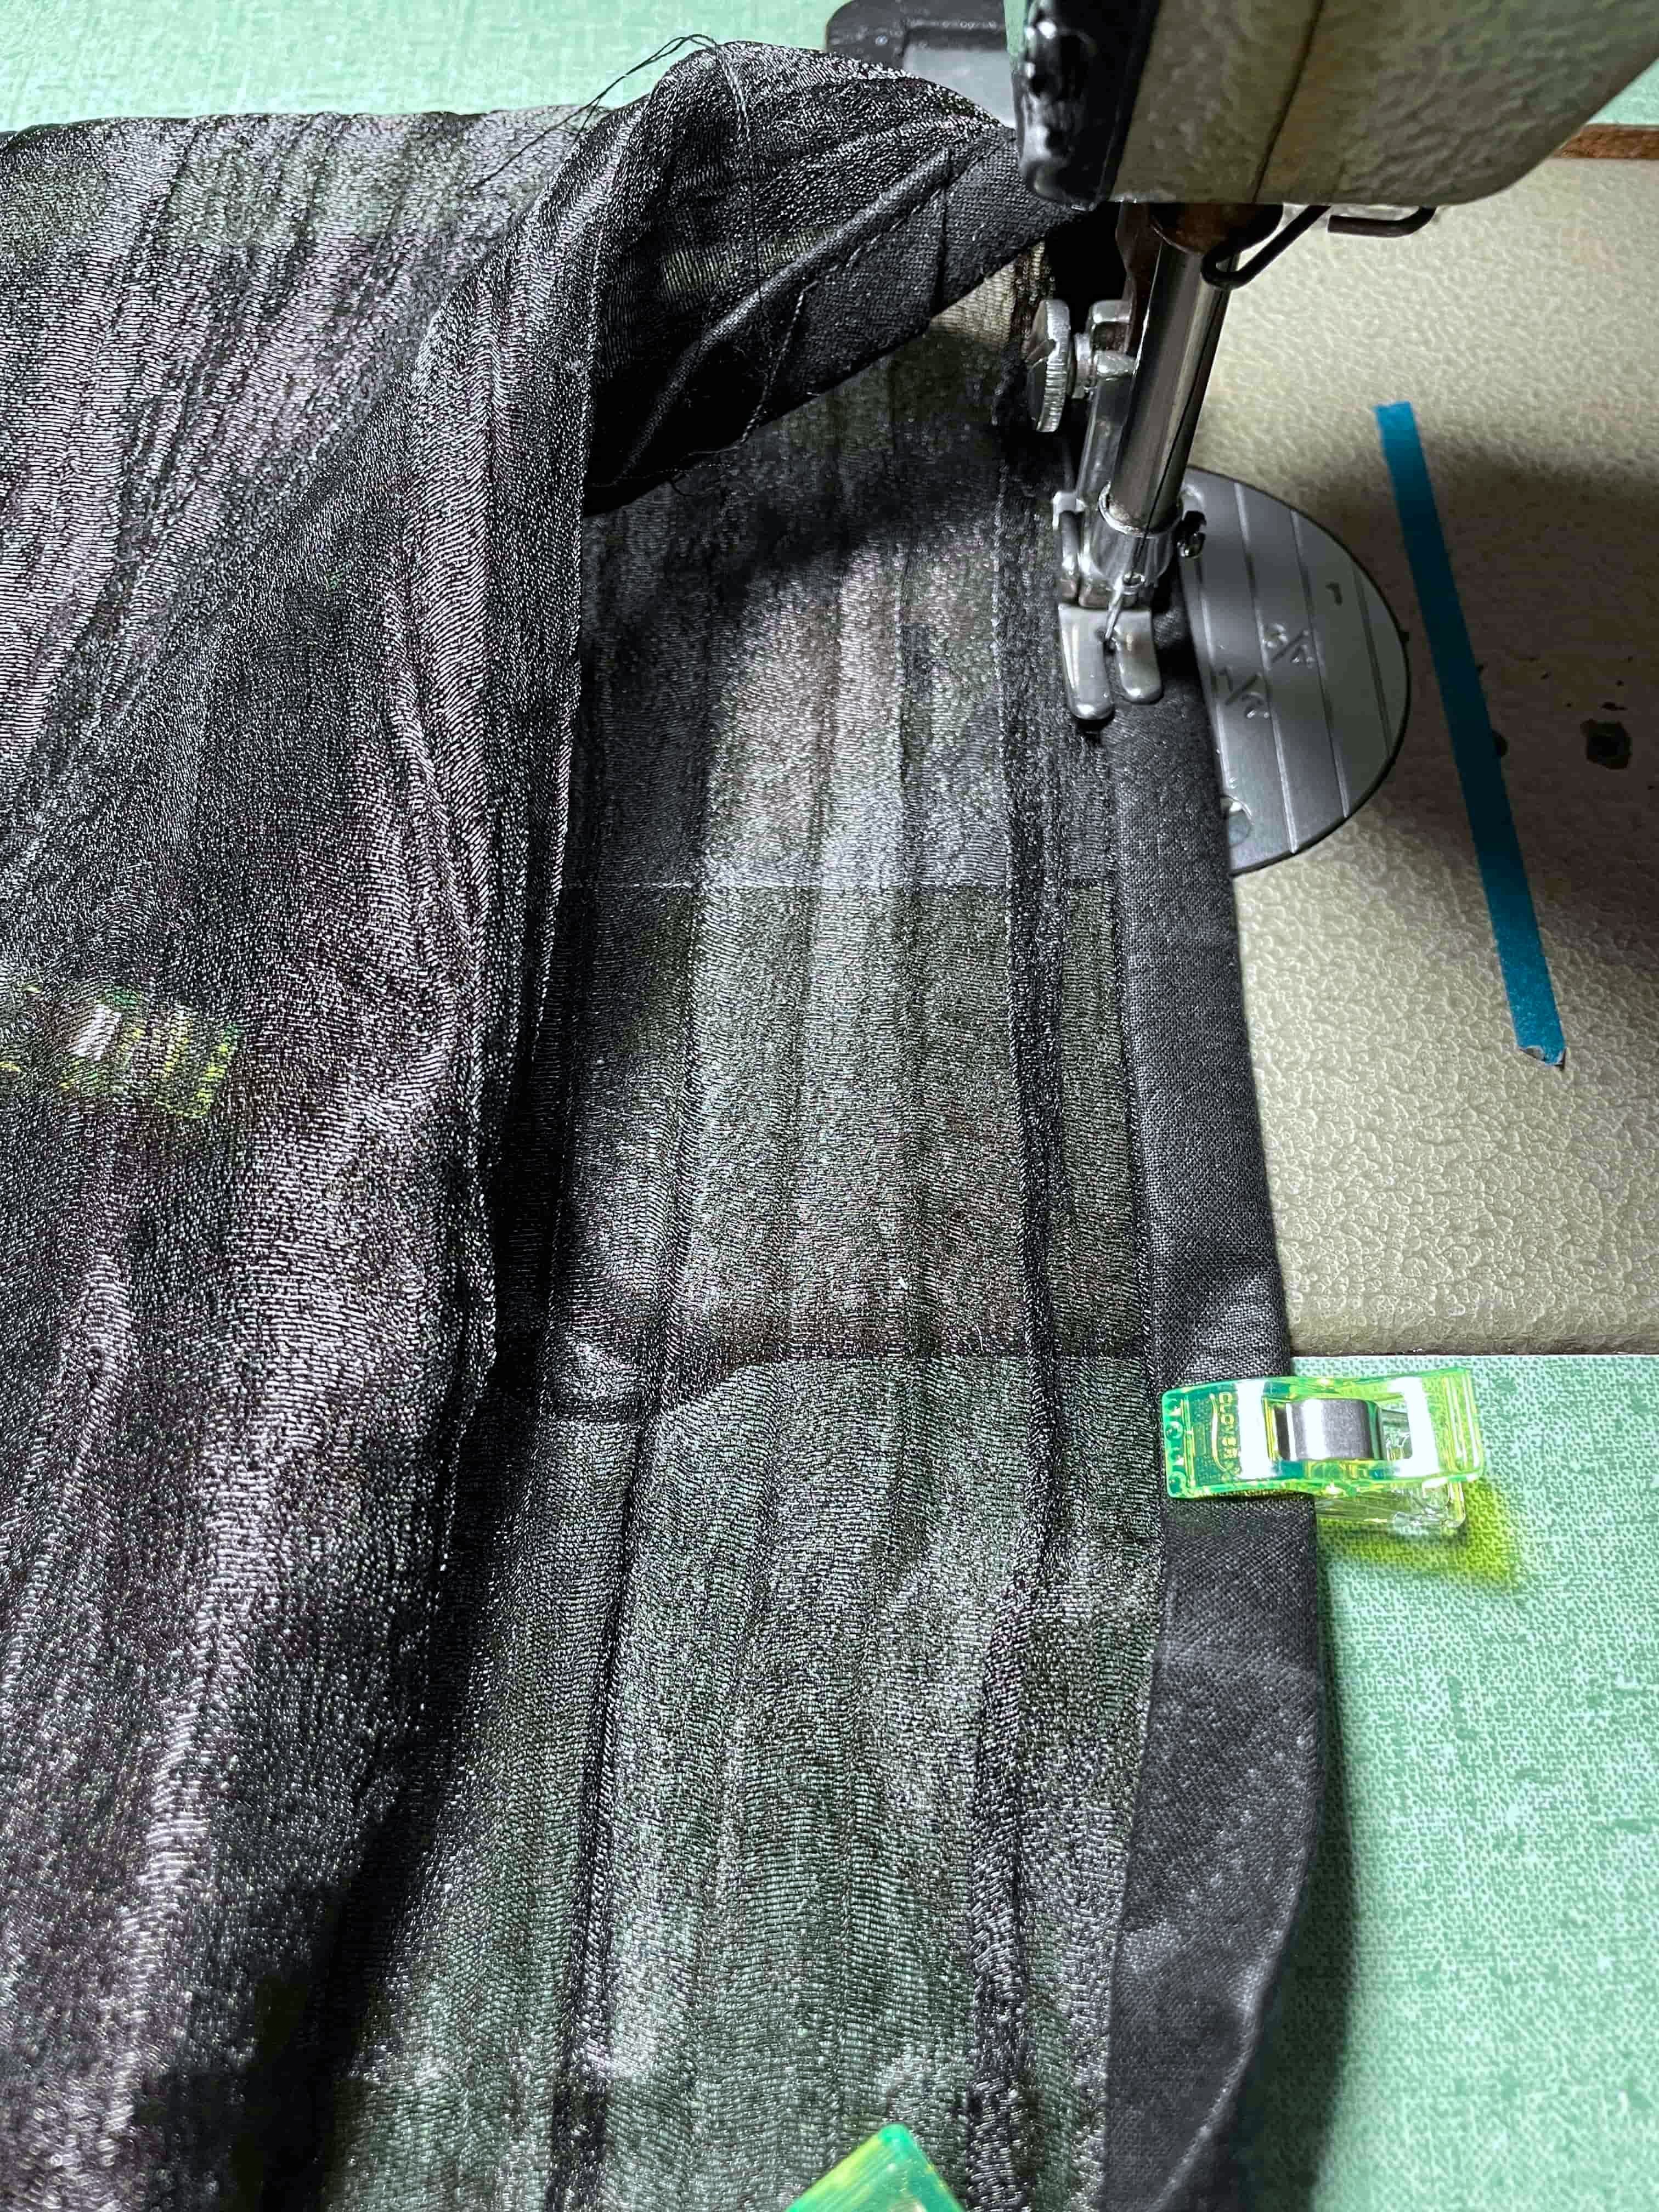
Stitching two different fabrics means I had to be extra vigilant about the thread tension, so I took my time in attaching the sleeves.

Here’s what the jacket looked like after the sleeves were attached. Not bad, right? The arm hole and inner sleeve edges were finished by topstitching. It took a while and I had to redo some portions of the crinkled organza sleeves, but it’s all part of a good day’s work.
What’s left was hand stitching the neckline on the inside for a nice, clean finish, and adding an inside tie for front closure that would be invisible front the outside).
Word of the wise: when a project is almost done, it’s so important to focus even more.
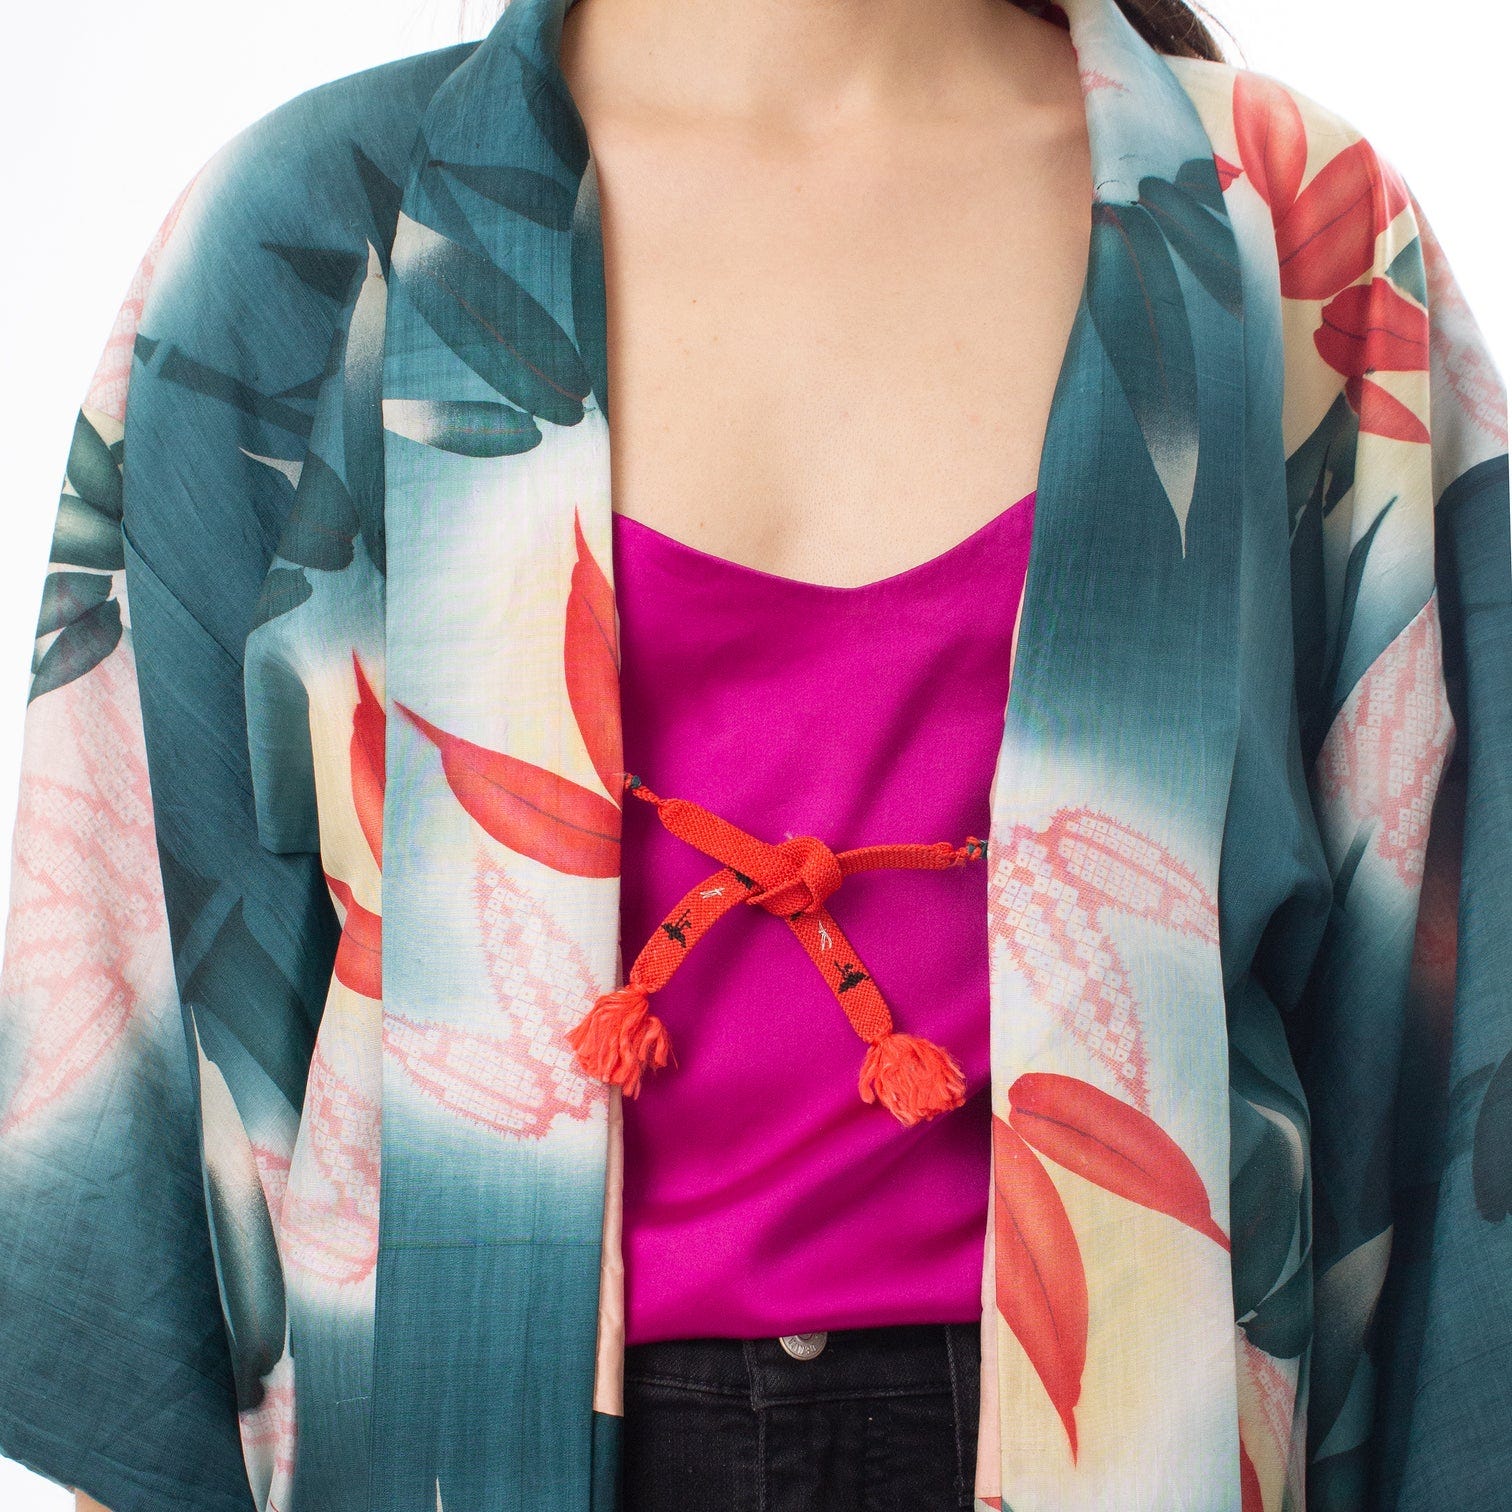
What’s left to do is deciding the front closure. The original McQueen pattern leaves the jacket open, however I’d like to have front closure options when I need it. Since this garment’s concept resembles that of a haori jacket that’s usually worn on top of a kimono, I chose to do cording ties that’s commonly used with it.
I tried taking good pictures for the cording style closure I chose to do for this jacket, but it’s challenging when everything is black. So here’s a picture of what haori himo (e.g. cording ties for haori) look like.
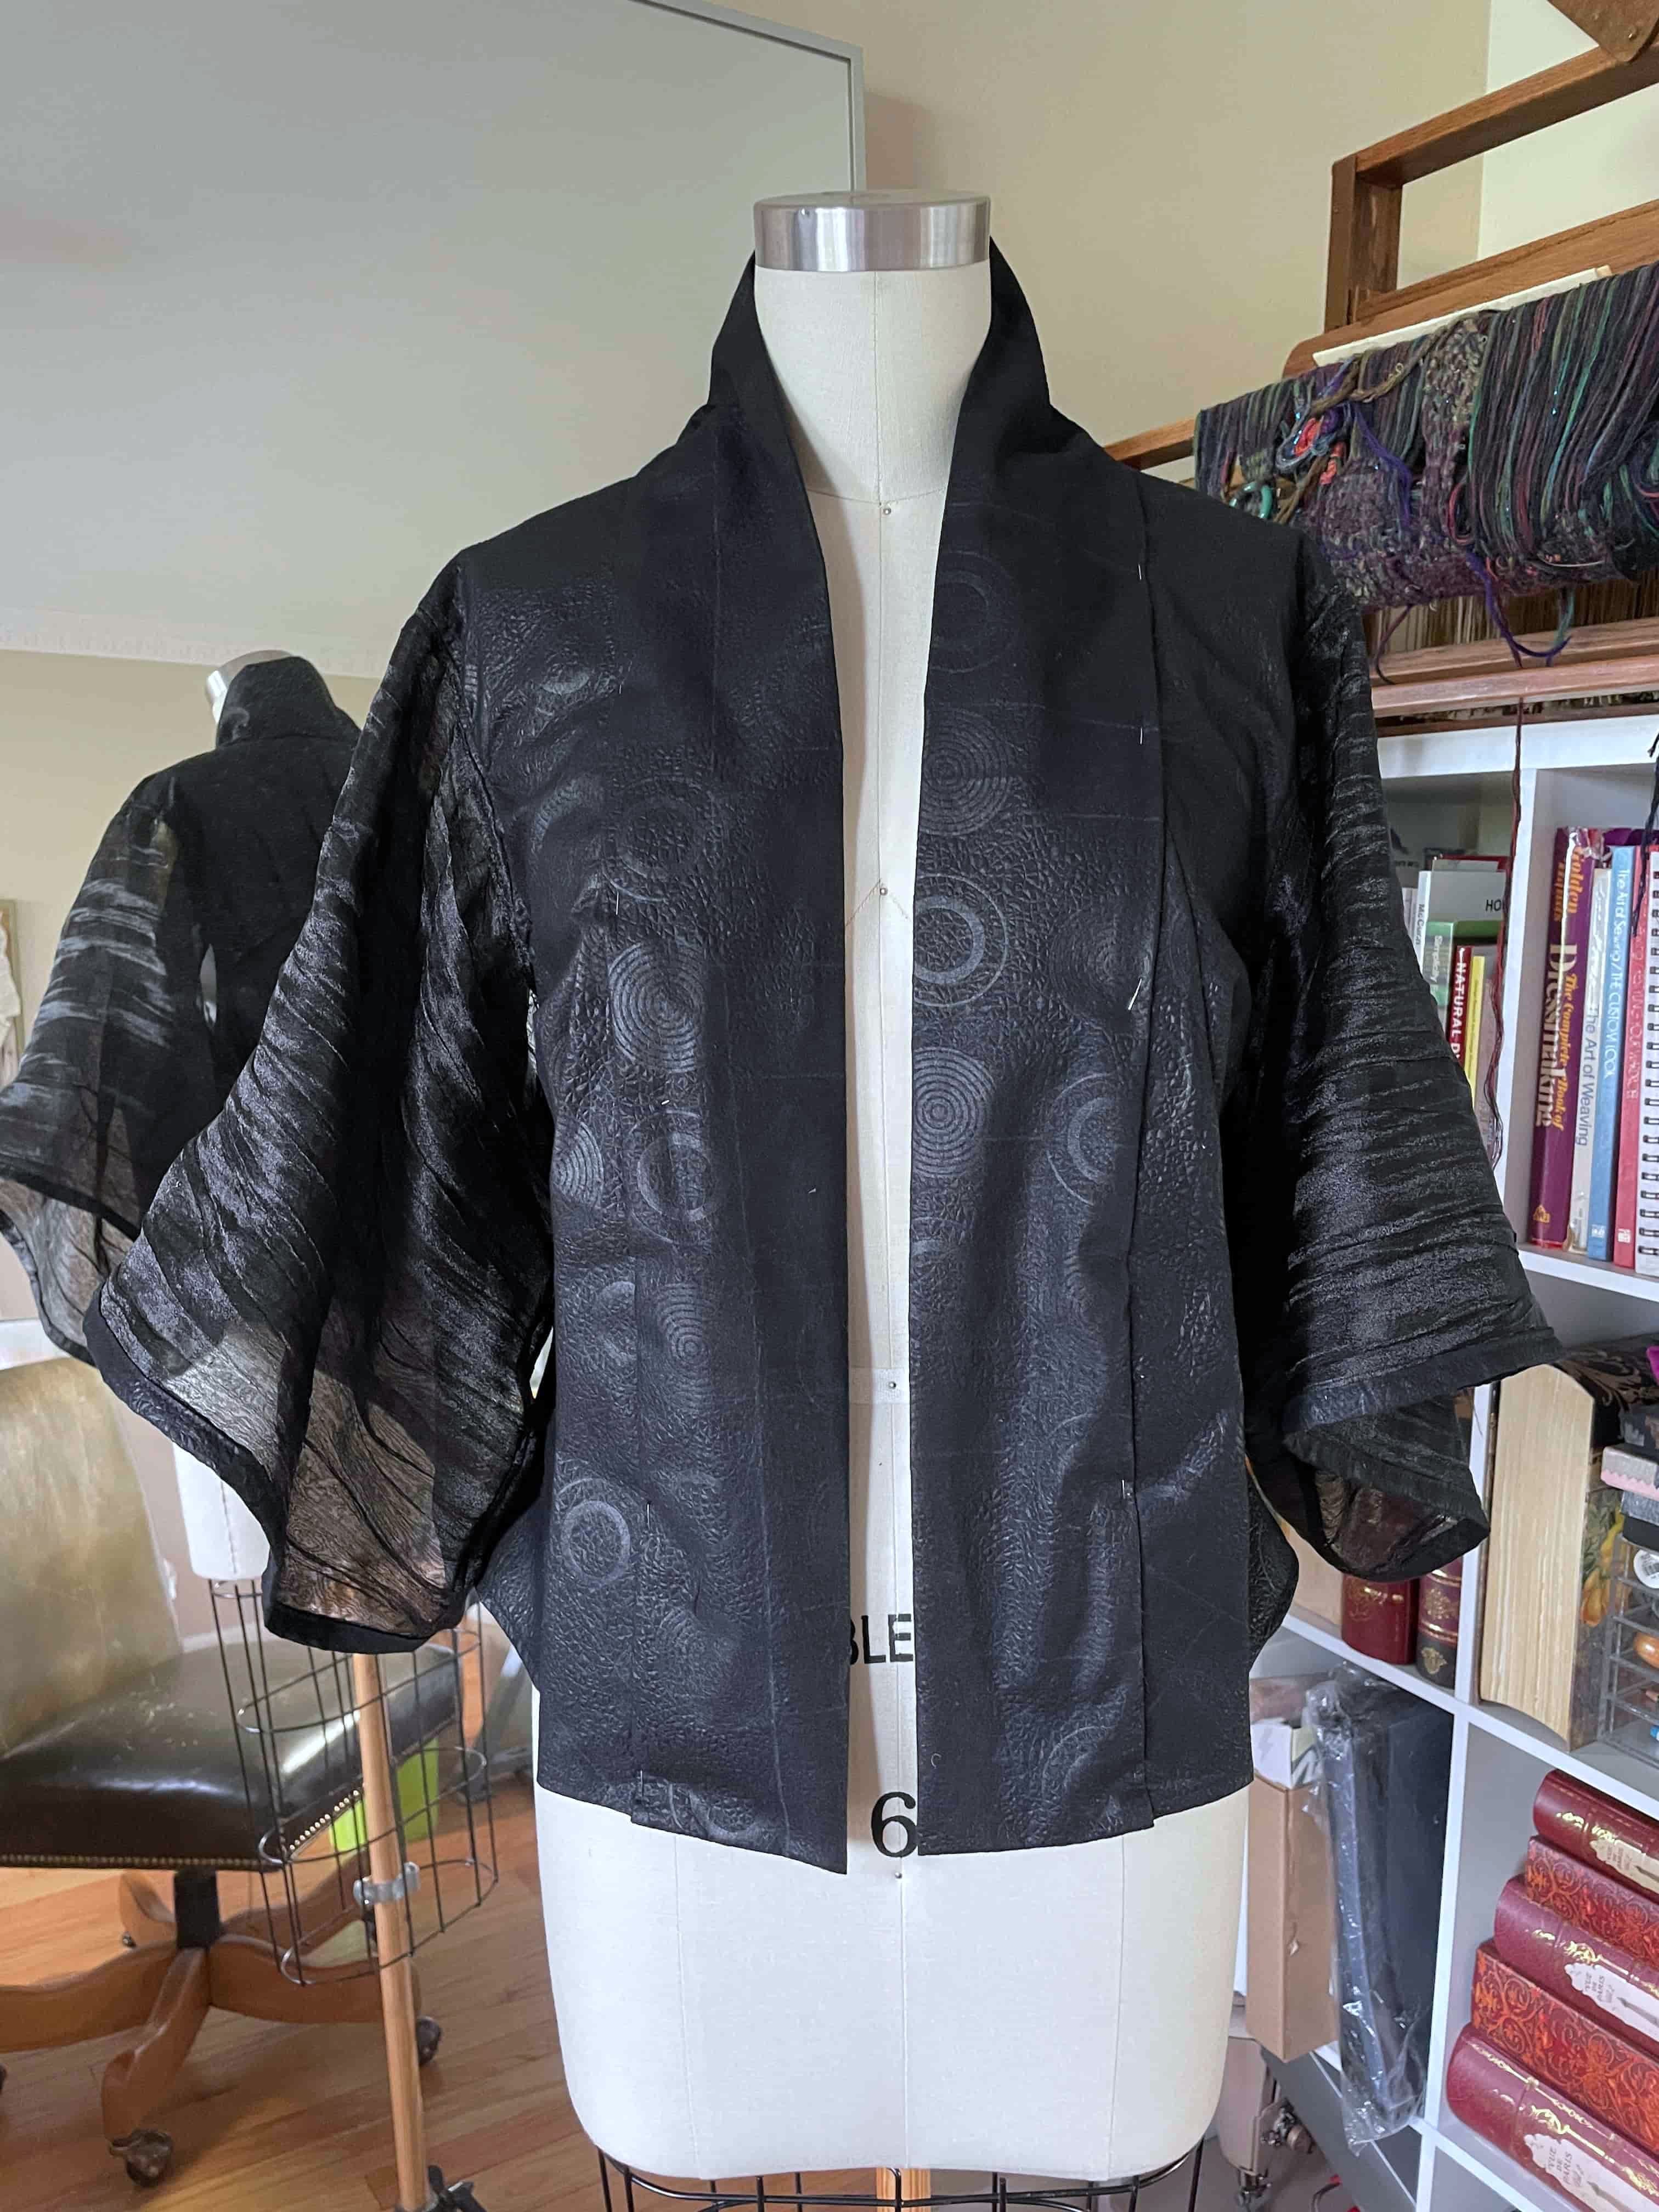
The Finished McQueen Jacket
When I reached the finish line, I just had to reflect.
Yes, I did finish hand stitching the second half of the collar.
Yes, I did iron the jacket lightly afterwards.
Yes, I went back and redo 2-3 tucks after trying it on.
Yes, it has invisible front tie closure that took more work than I thought it would.
Was it worth it, though? Oh yes, without a doubt.
Wearing the McQueen Jacket
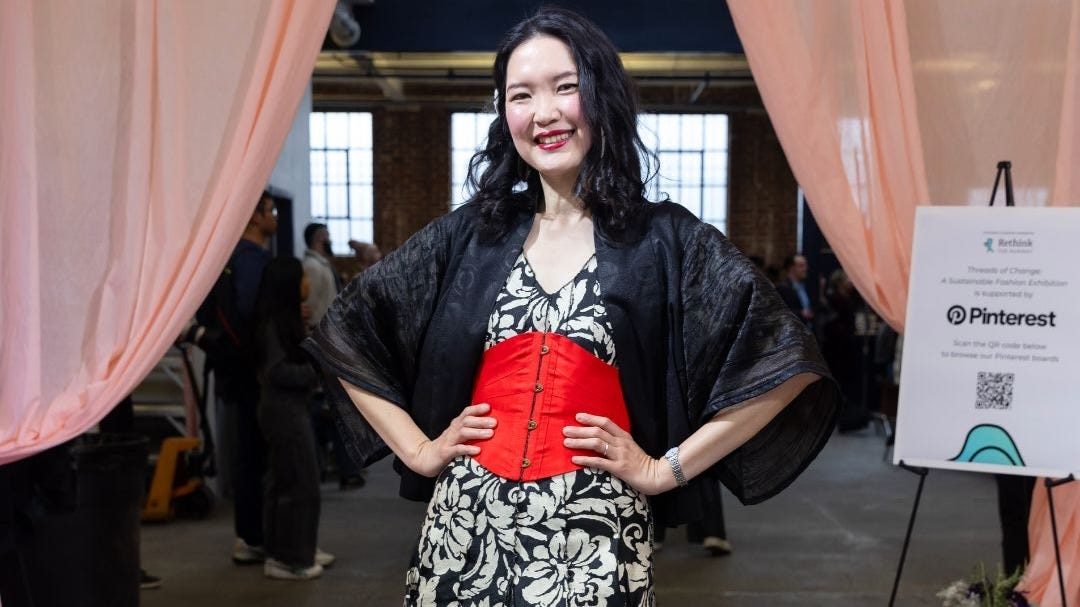
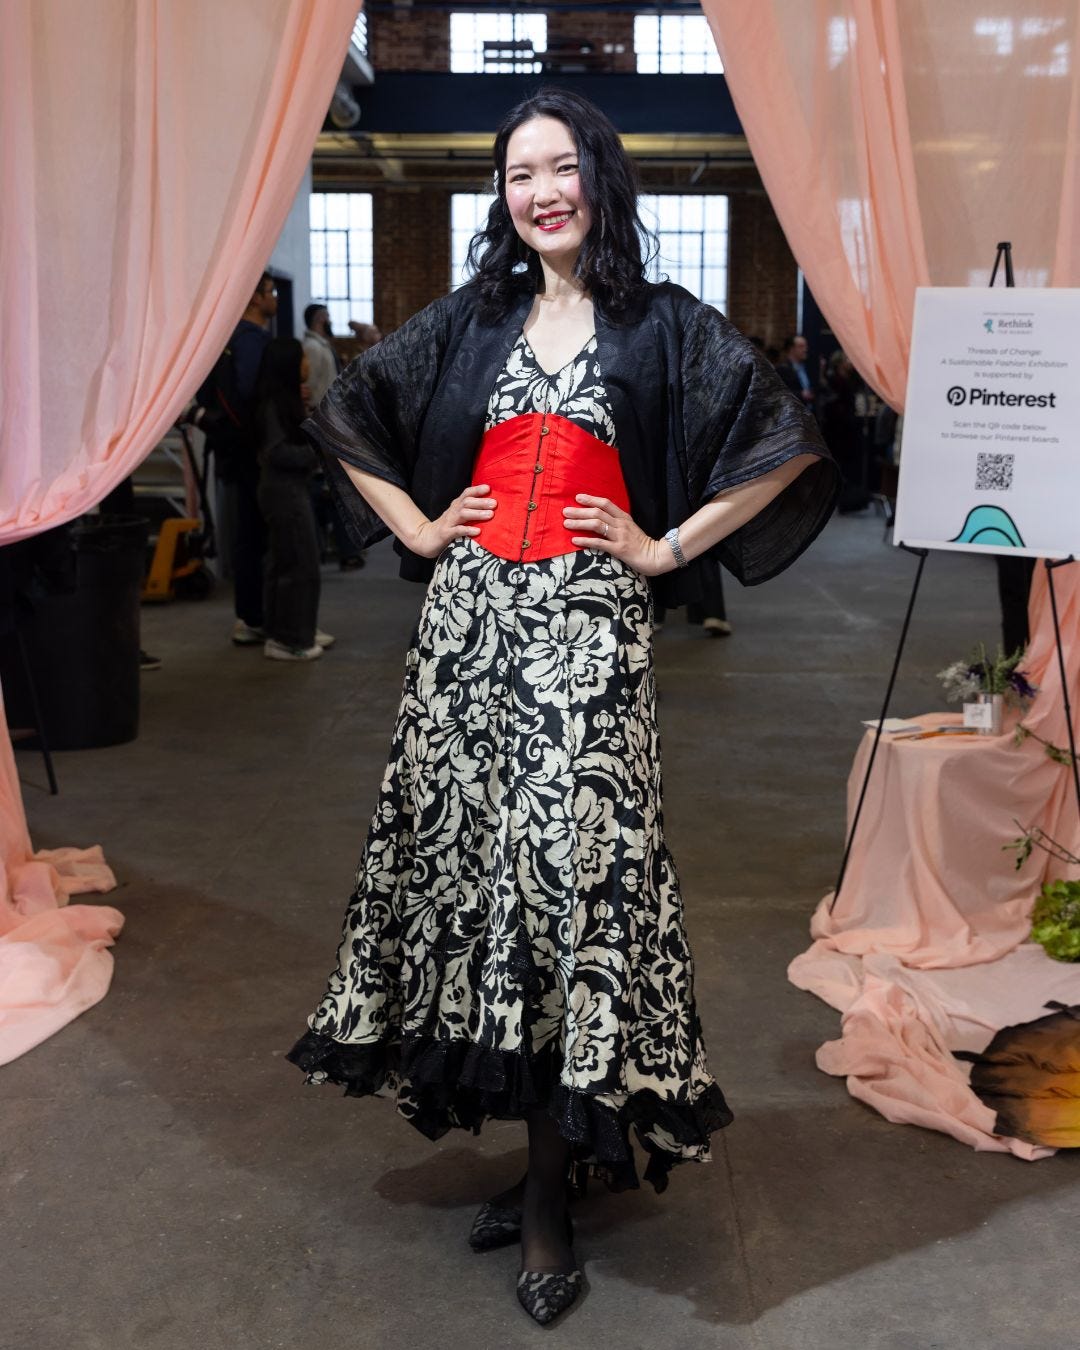
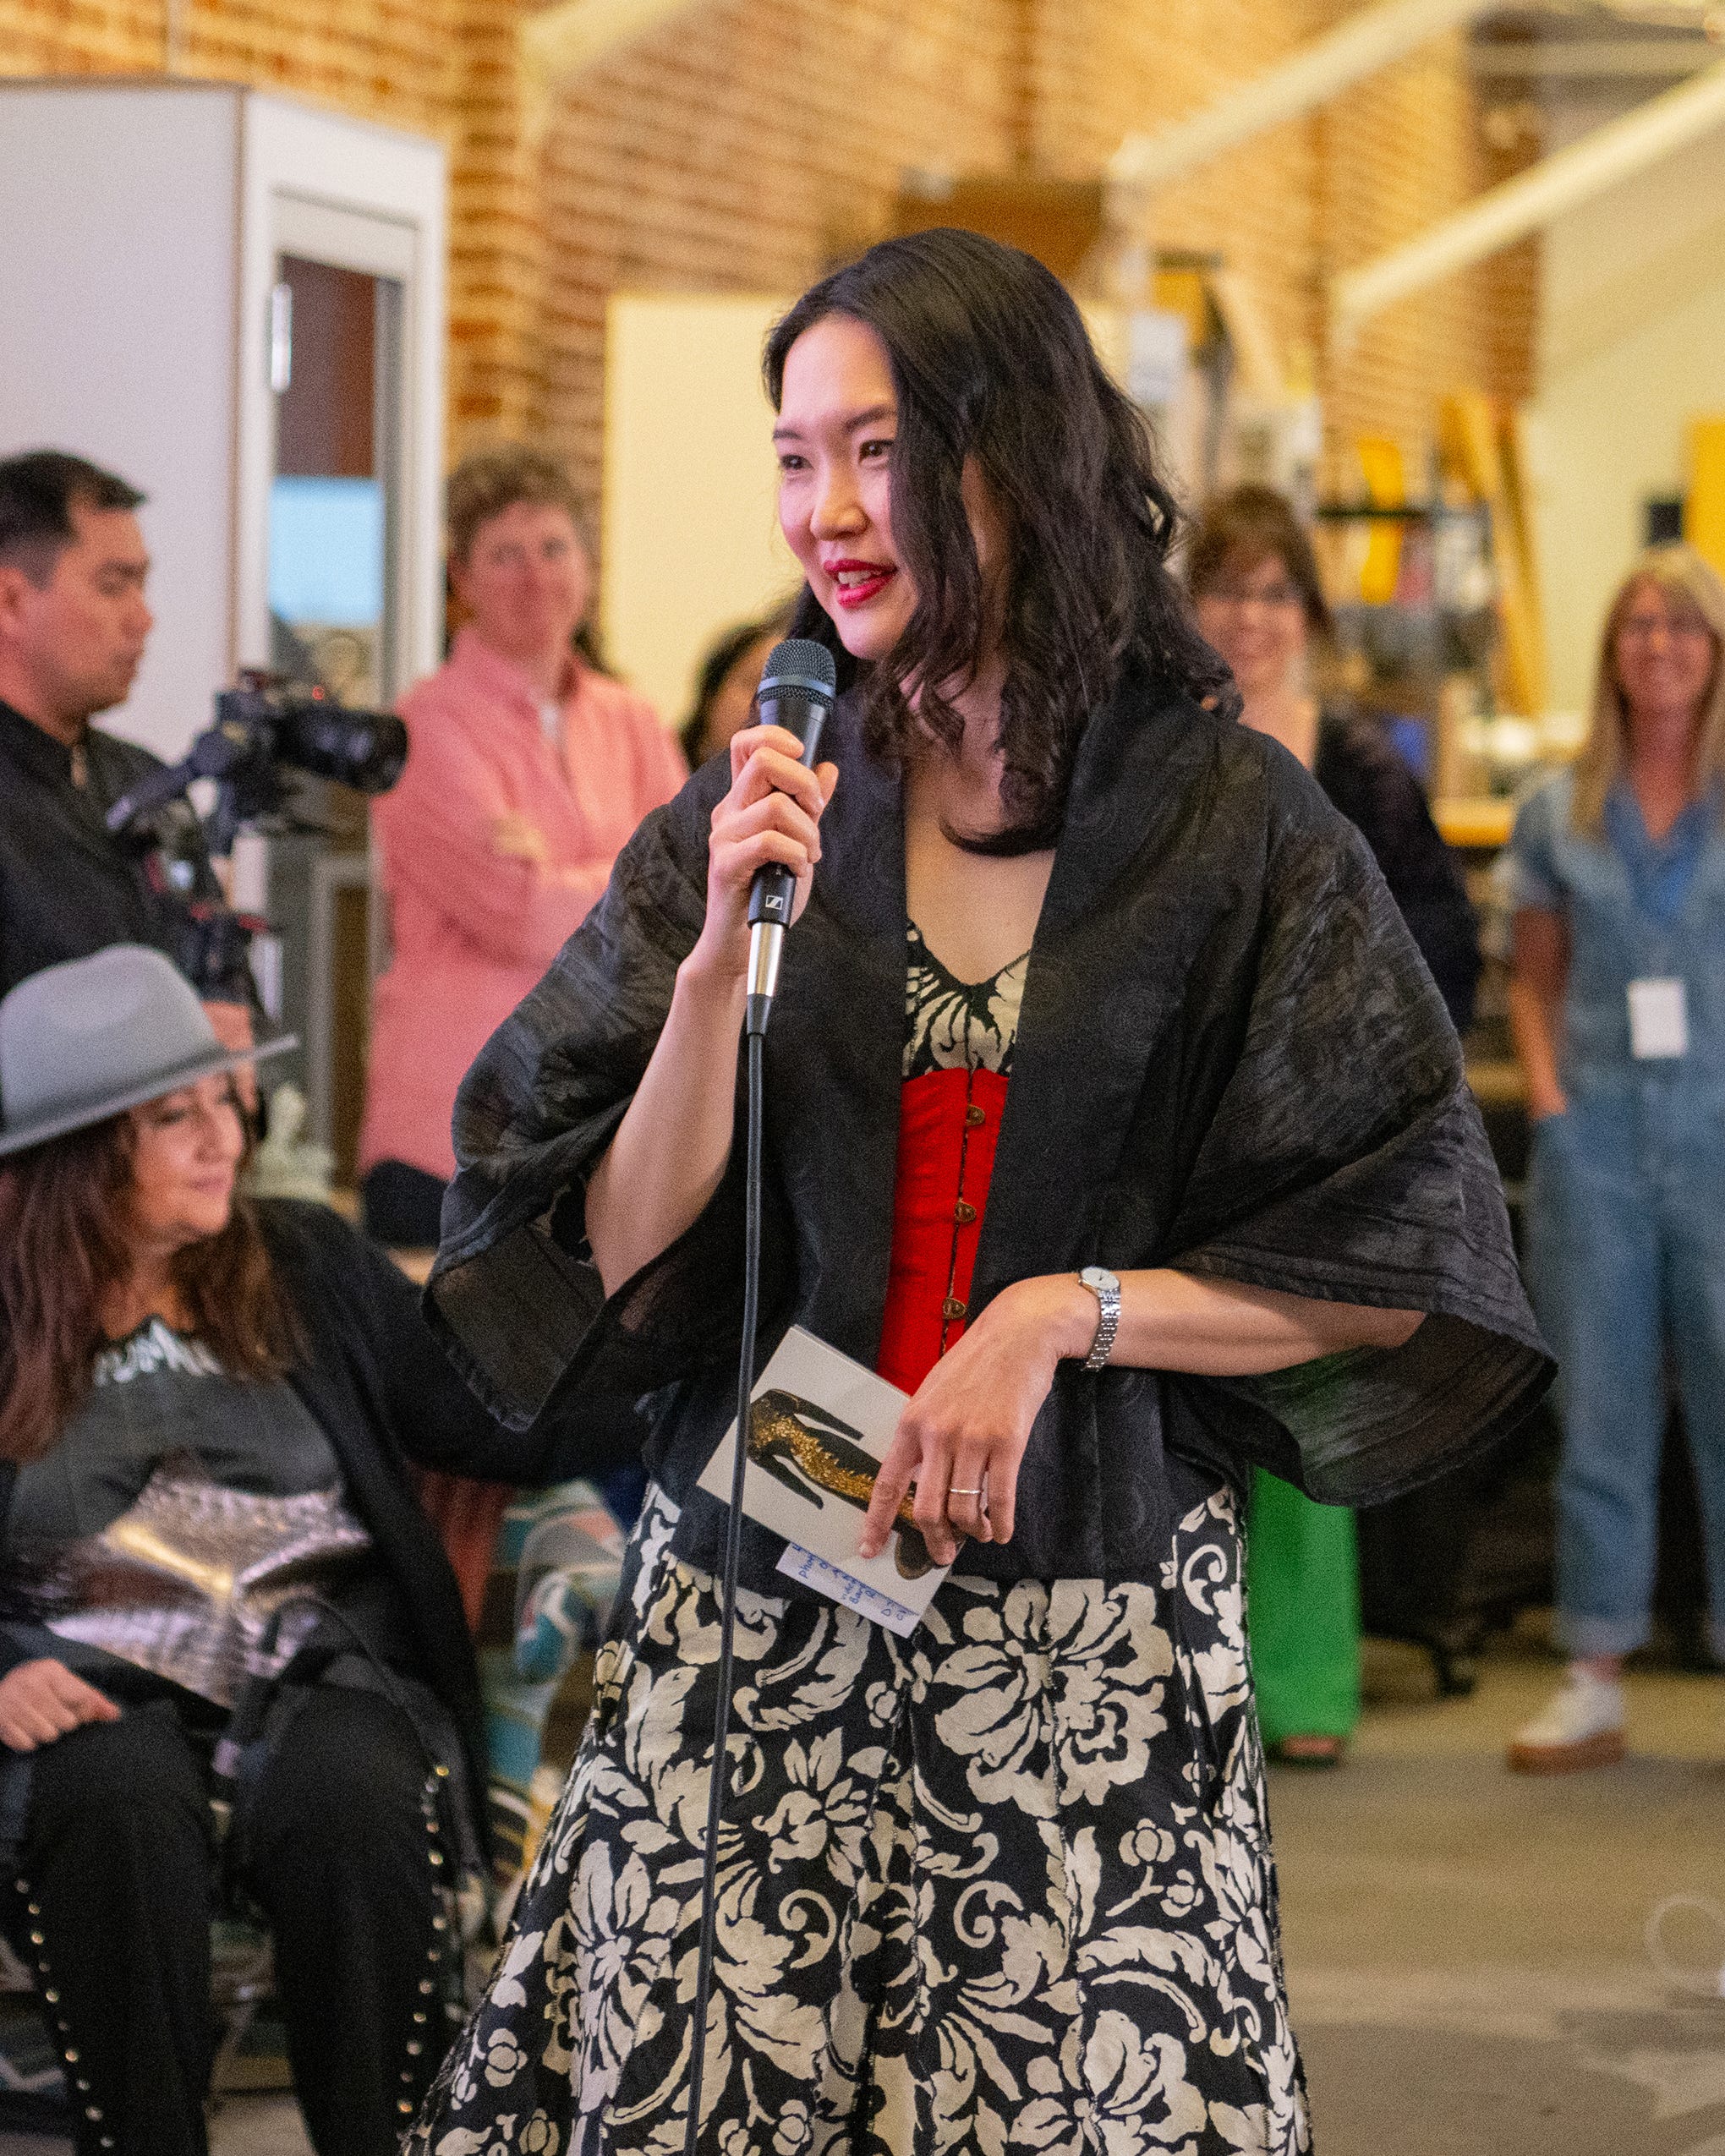
I finished this jacket in early 2023. Now, let’s fast forward to April 24th, 2025, when Rethink the Runway held Threads of Change Reception at Humanmade during SF Climate Week.
That week, Rethink the Runway had 7 events happening. Being the leader of the initiative, I was involved in all of them. Thursday, April 24th was the 6th RTR event. I was exhausted and mentally all over the place, and I wanted to wear something that would ground me, yet still stylish and light.
I already opted to wear the same refashioned Cari Borja dress I wore last year during the Sustainable Fashion Exhibition at SF Climate Week 2024. Rewearing a special occasion garment is something I want to normalize more. Wearing the same garment exactly one year later for an event that succeeded the previous year’s event felt right.
I also have several Evgenia Lingerie ribbon corsets. They’re my secret weapons in finishing outfits. Last year, I wore the black one. This year, I wore the red one to symbolize bravery and a determined mindset, encouraging meaningful actions to build resilient communities.
And to top things off, I opted to wear this McQueen jacket. It symbolizes my grief, frustration, and hope. People in the climate space (especially in the US) has felt the growing uncertainty since last November. However, we continue to move forward. That night, the jacket symbolizes my mourning of the past and grounding of the present reality.


Looking back, I’m so glad I wore that jacket. The difference of my state of mind before I wore the complete outfit and after was immediate. Fashion choices have its magical way of grounding us, completing us in ways that we’d like to present ourselves in a certain moment.
As I was putting on each part of the outfit, I could feel myself becoming whole, and that I was ready. The fatigue forgotten, the frustration melted away. I felt strong and true to myself, and this jacket was the finishing touch I sorely needed that night.
That concludes my story for the second part of the 3-part series this month!
What do you think about this McQueen jacket, and how I wore it?
Is it an example of a cultural appreciation or appropriation?
Have you made one yourself, and how was the process?
Would you consider to make one?
Do you have any question for me about the making process?
I’m so curious about what you think, readers. As always, feel free to leave a comment or reply to the email. For now, I hope you enjoyed this article!
Thanks for reading; until next time,
Mira Musank
This is so fucking cool!!! I’m obsessed with this project!!!