Exploring Square-Based Garments
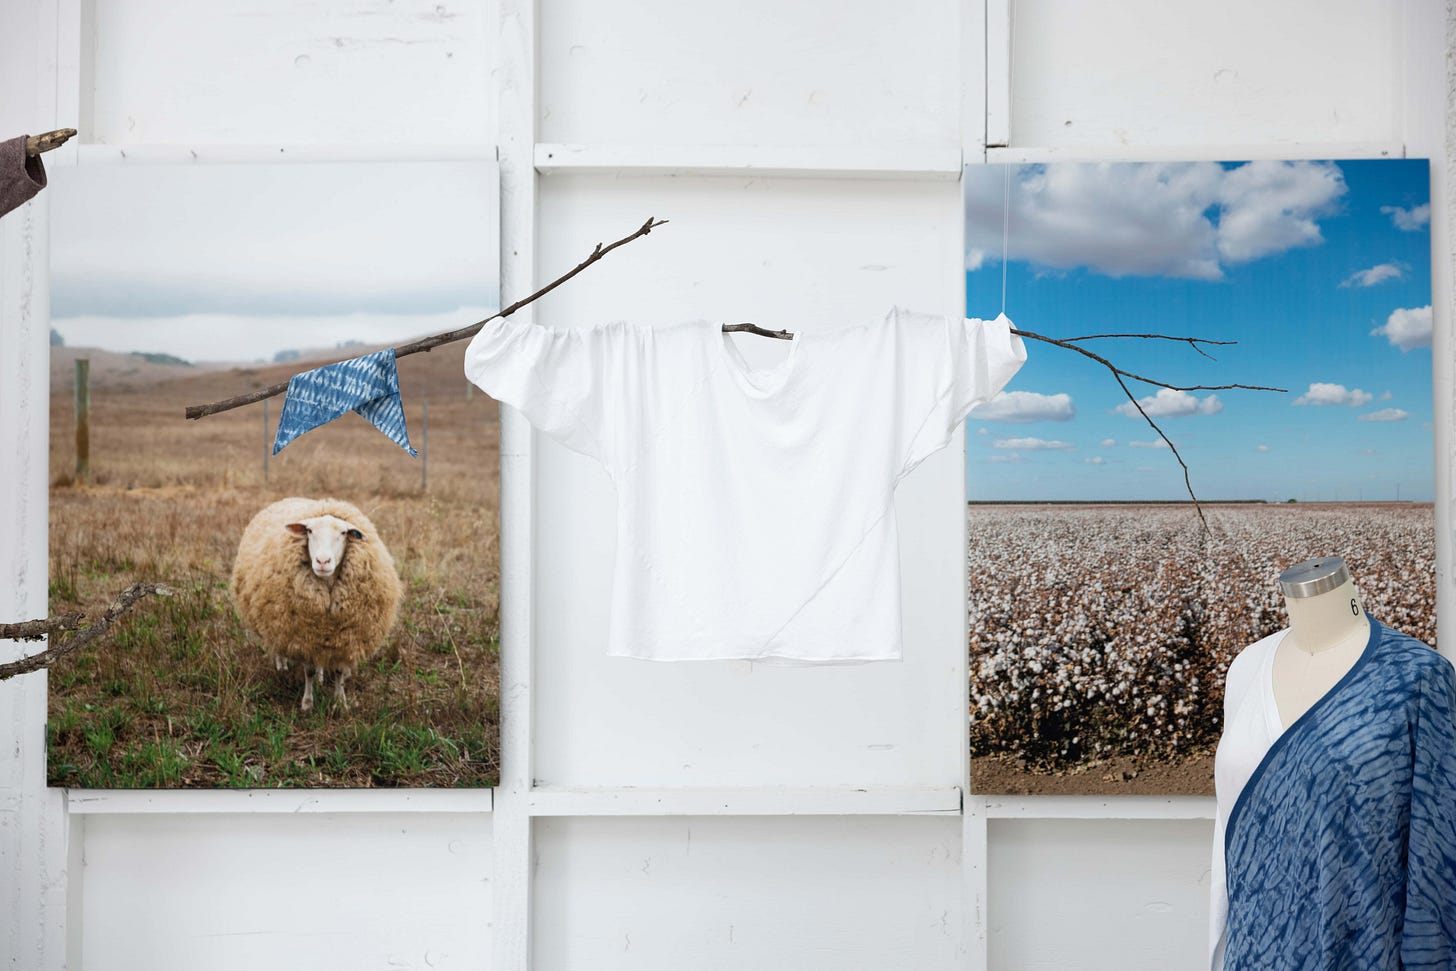
As seen at Fibershed Design Challenge final showcase
When my weaving teacher gave me a copy of the “Origami Update” article by Marina O’Connor (Handwoven, March/April 1996) several years ago, I didn’t realize how much inspiration I would continuously glean from the article. The six-square top design is so straightforward and attractive; it would become the origin point from which my latest four garment prototypes are branched out from.
Most recently, I made four garment prototypes to showcase during the final showcase of Fibershed Design Challenge. I have written quite extensively about my participation in the year-long challenge: the start > experiments with regionally sourced textiles > exploration of zero waste design > preparation for Fall 2023 showcase > introspection of Fall 2023 showcase.
This issue would be the conclusion of my Fibershed Design Challenge experience. I’m very humbled and lucky to have participated in this challenge - from the staff support, designers I get to connect with, regional fiber producers that we get to visit - it’s been a wonderful, life-enriching experience.
So to pay the gratitude forward, I’m going to go over all four garments I showcased during the final exhibition:
an elbow-sleeve top made with 6 squares (of fabric)
a wrap top made with 7 squares
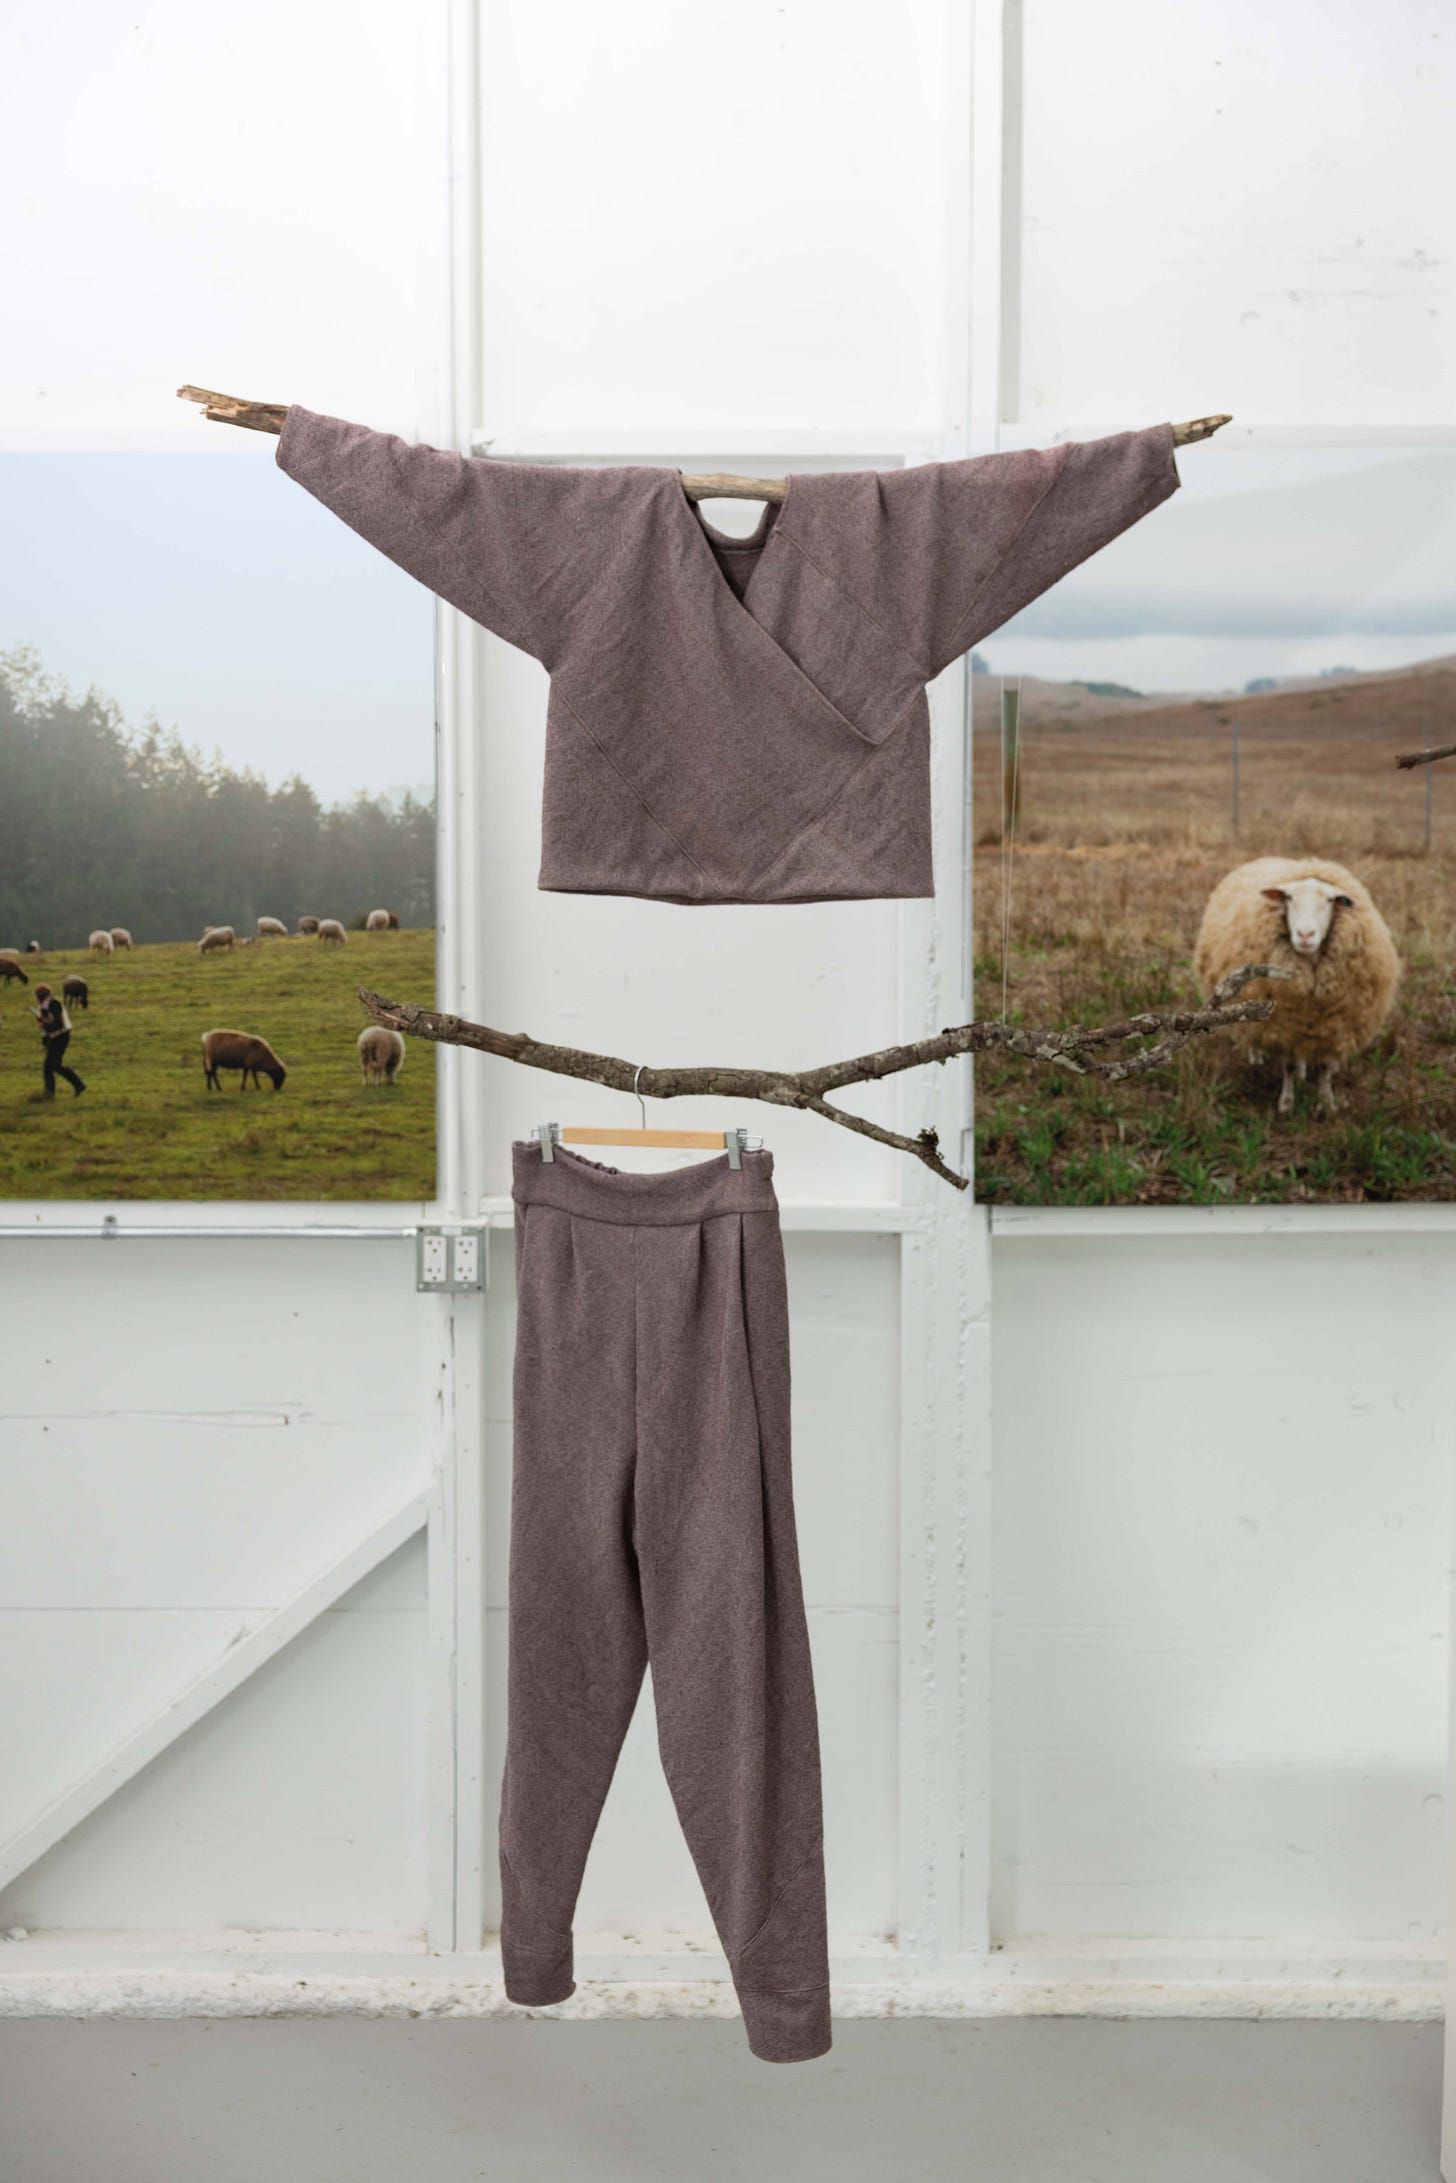
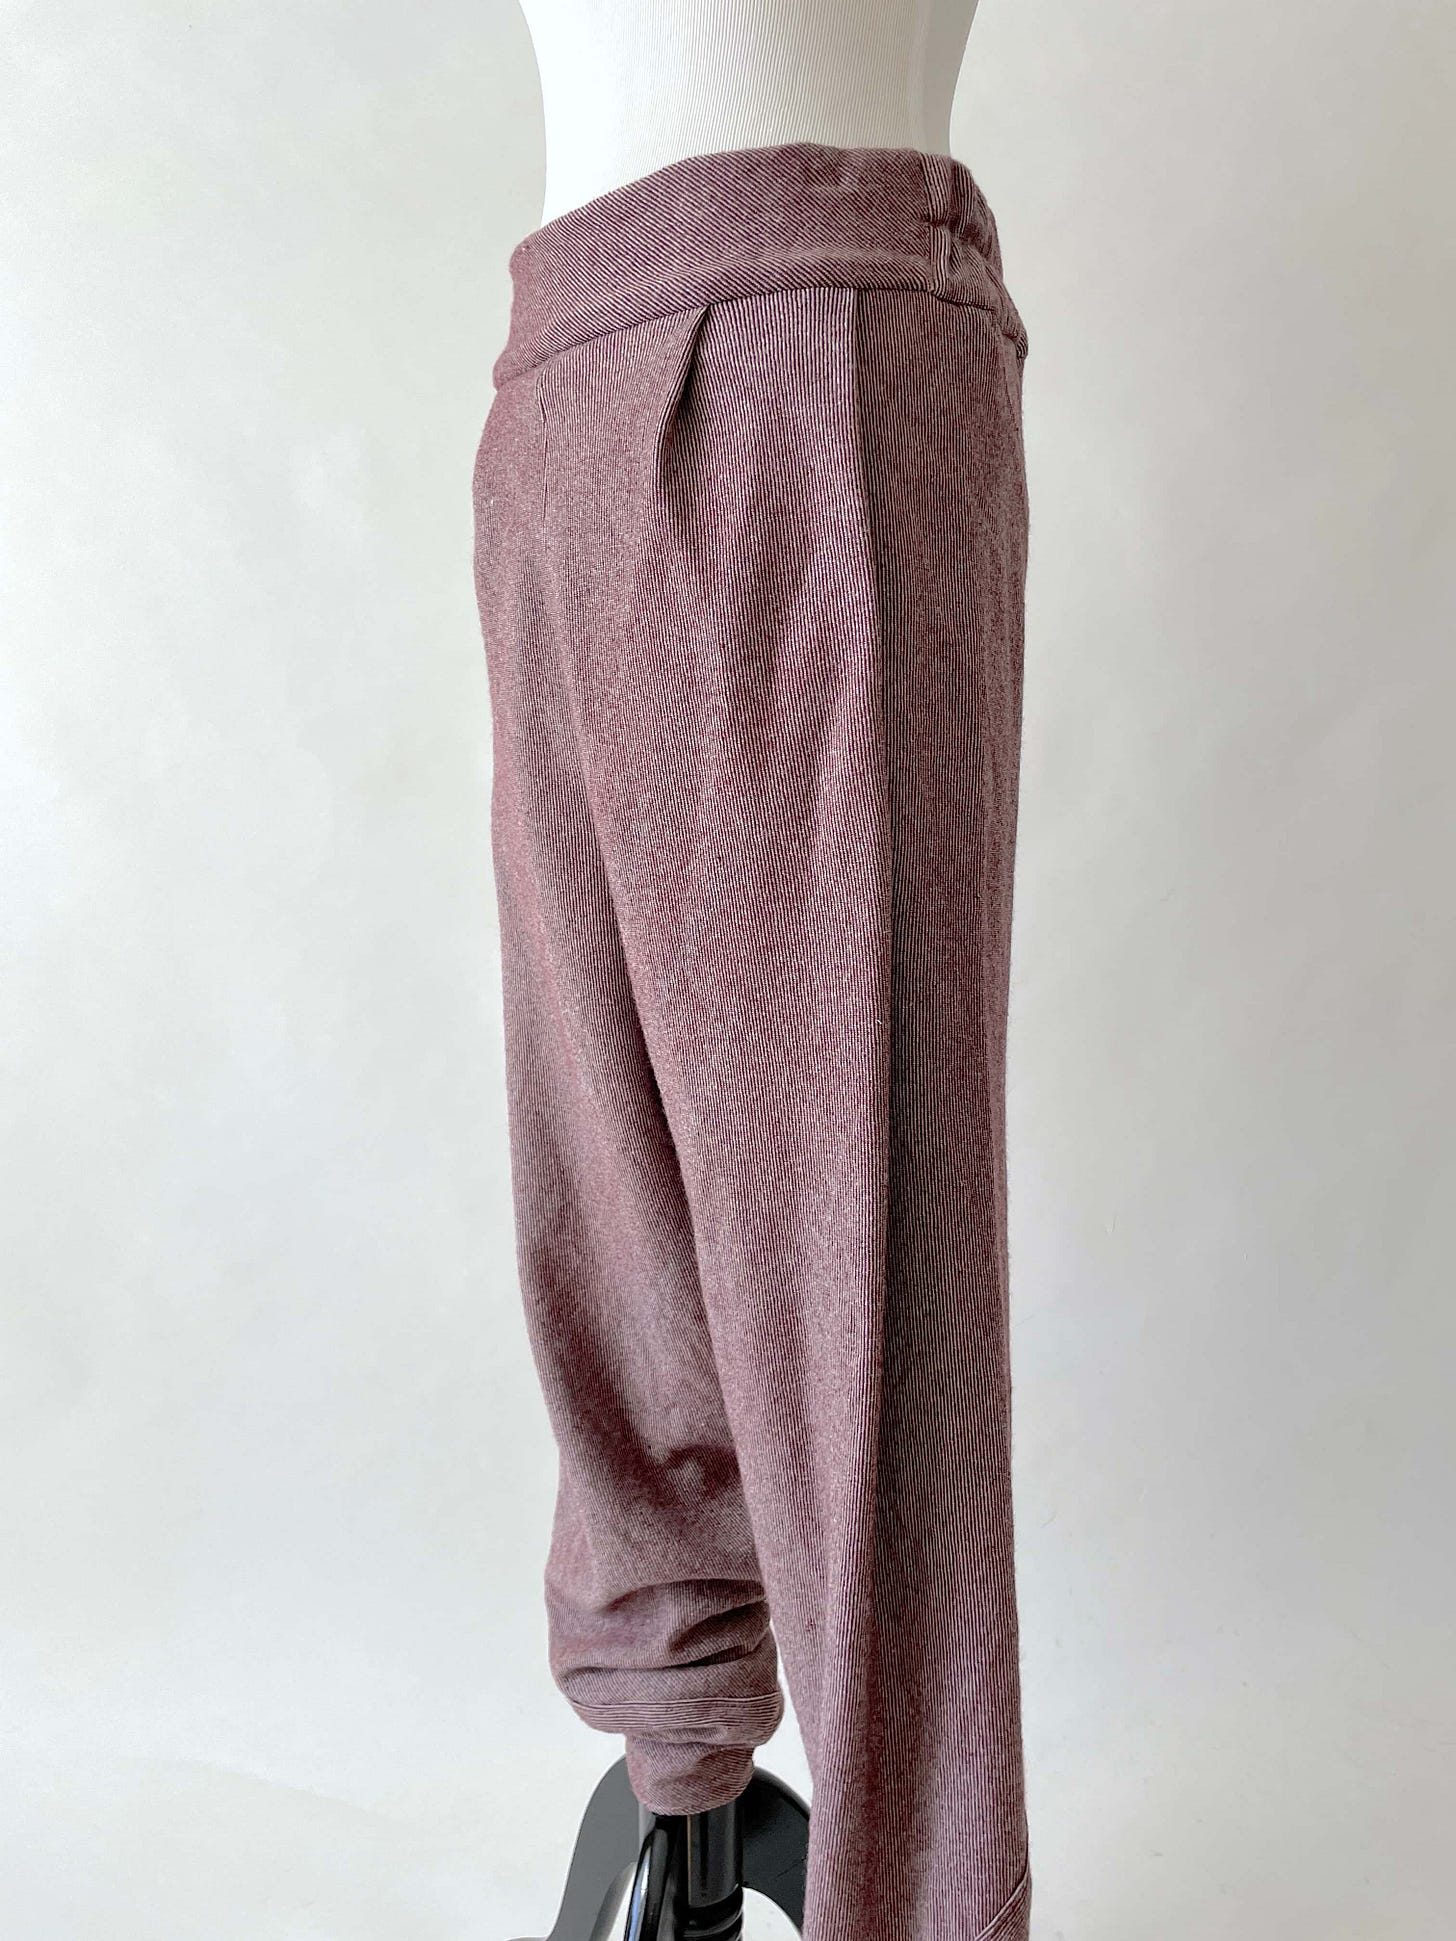
a pair of pants made with 10 squares
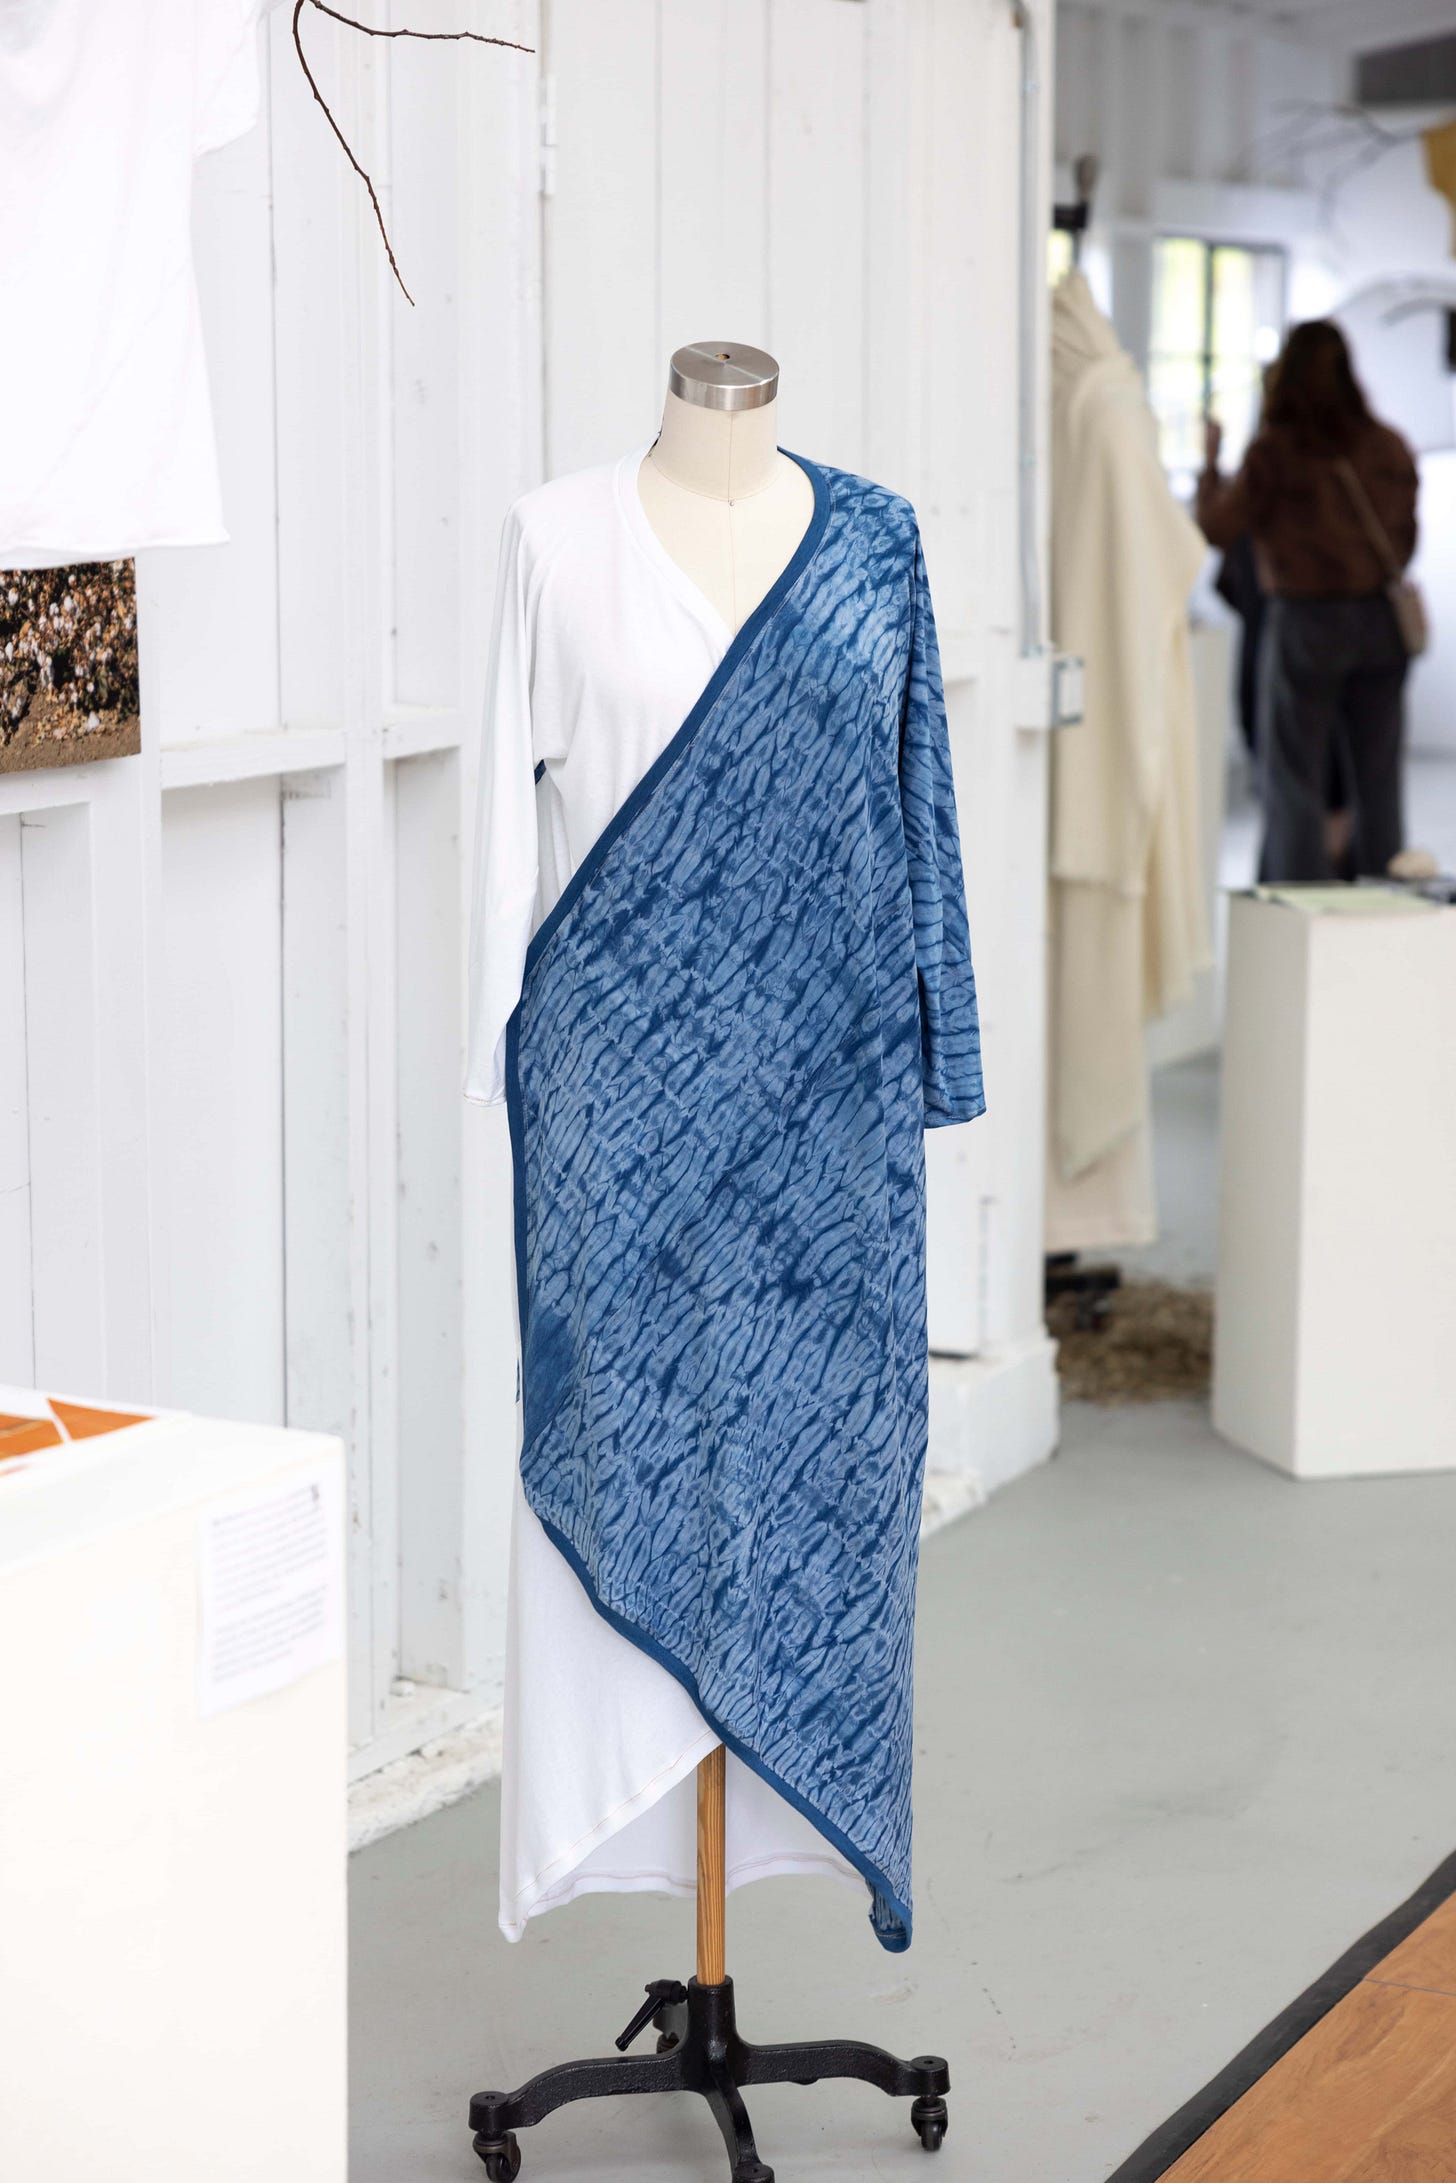
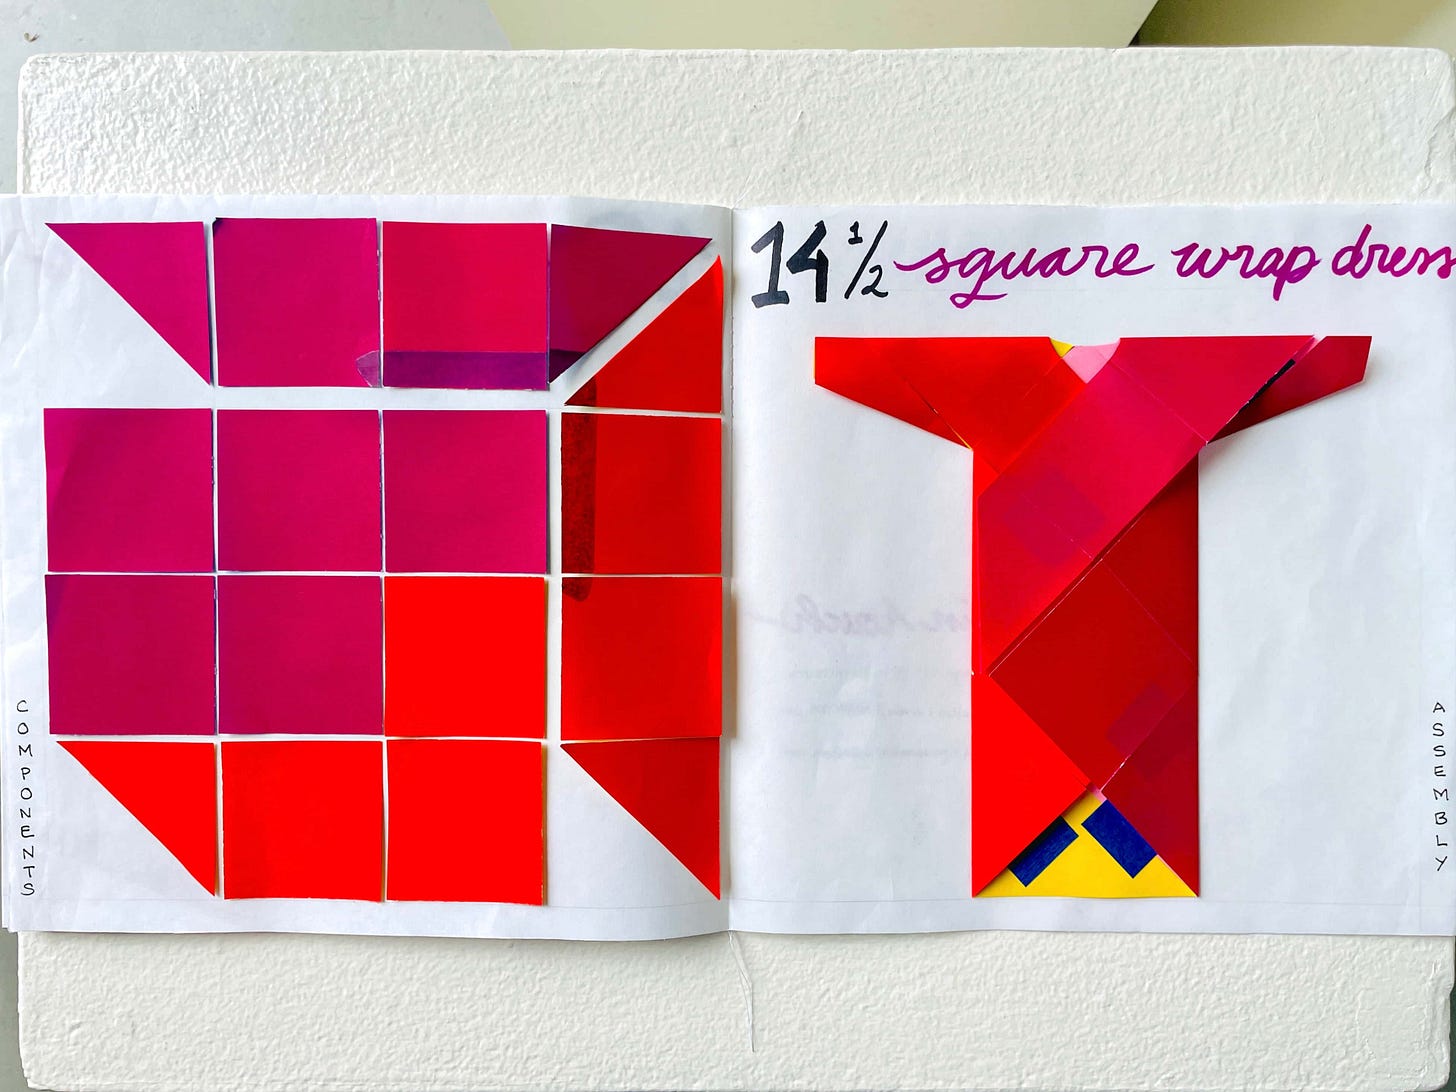
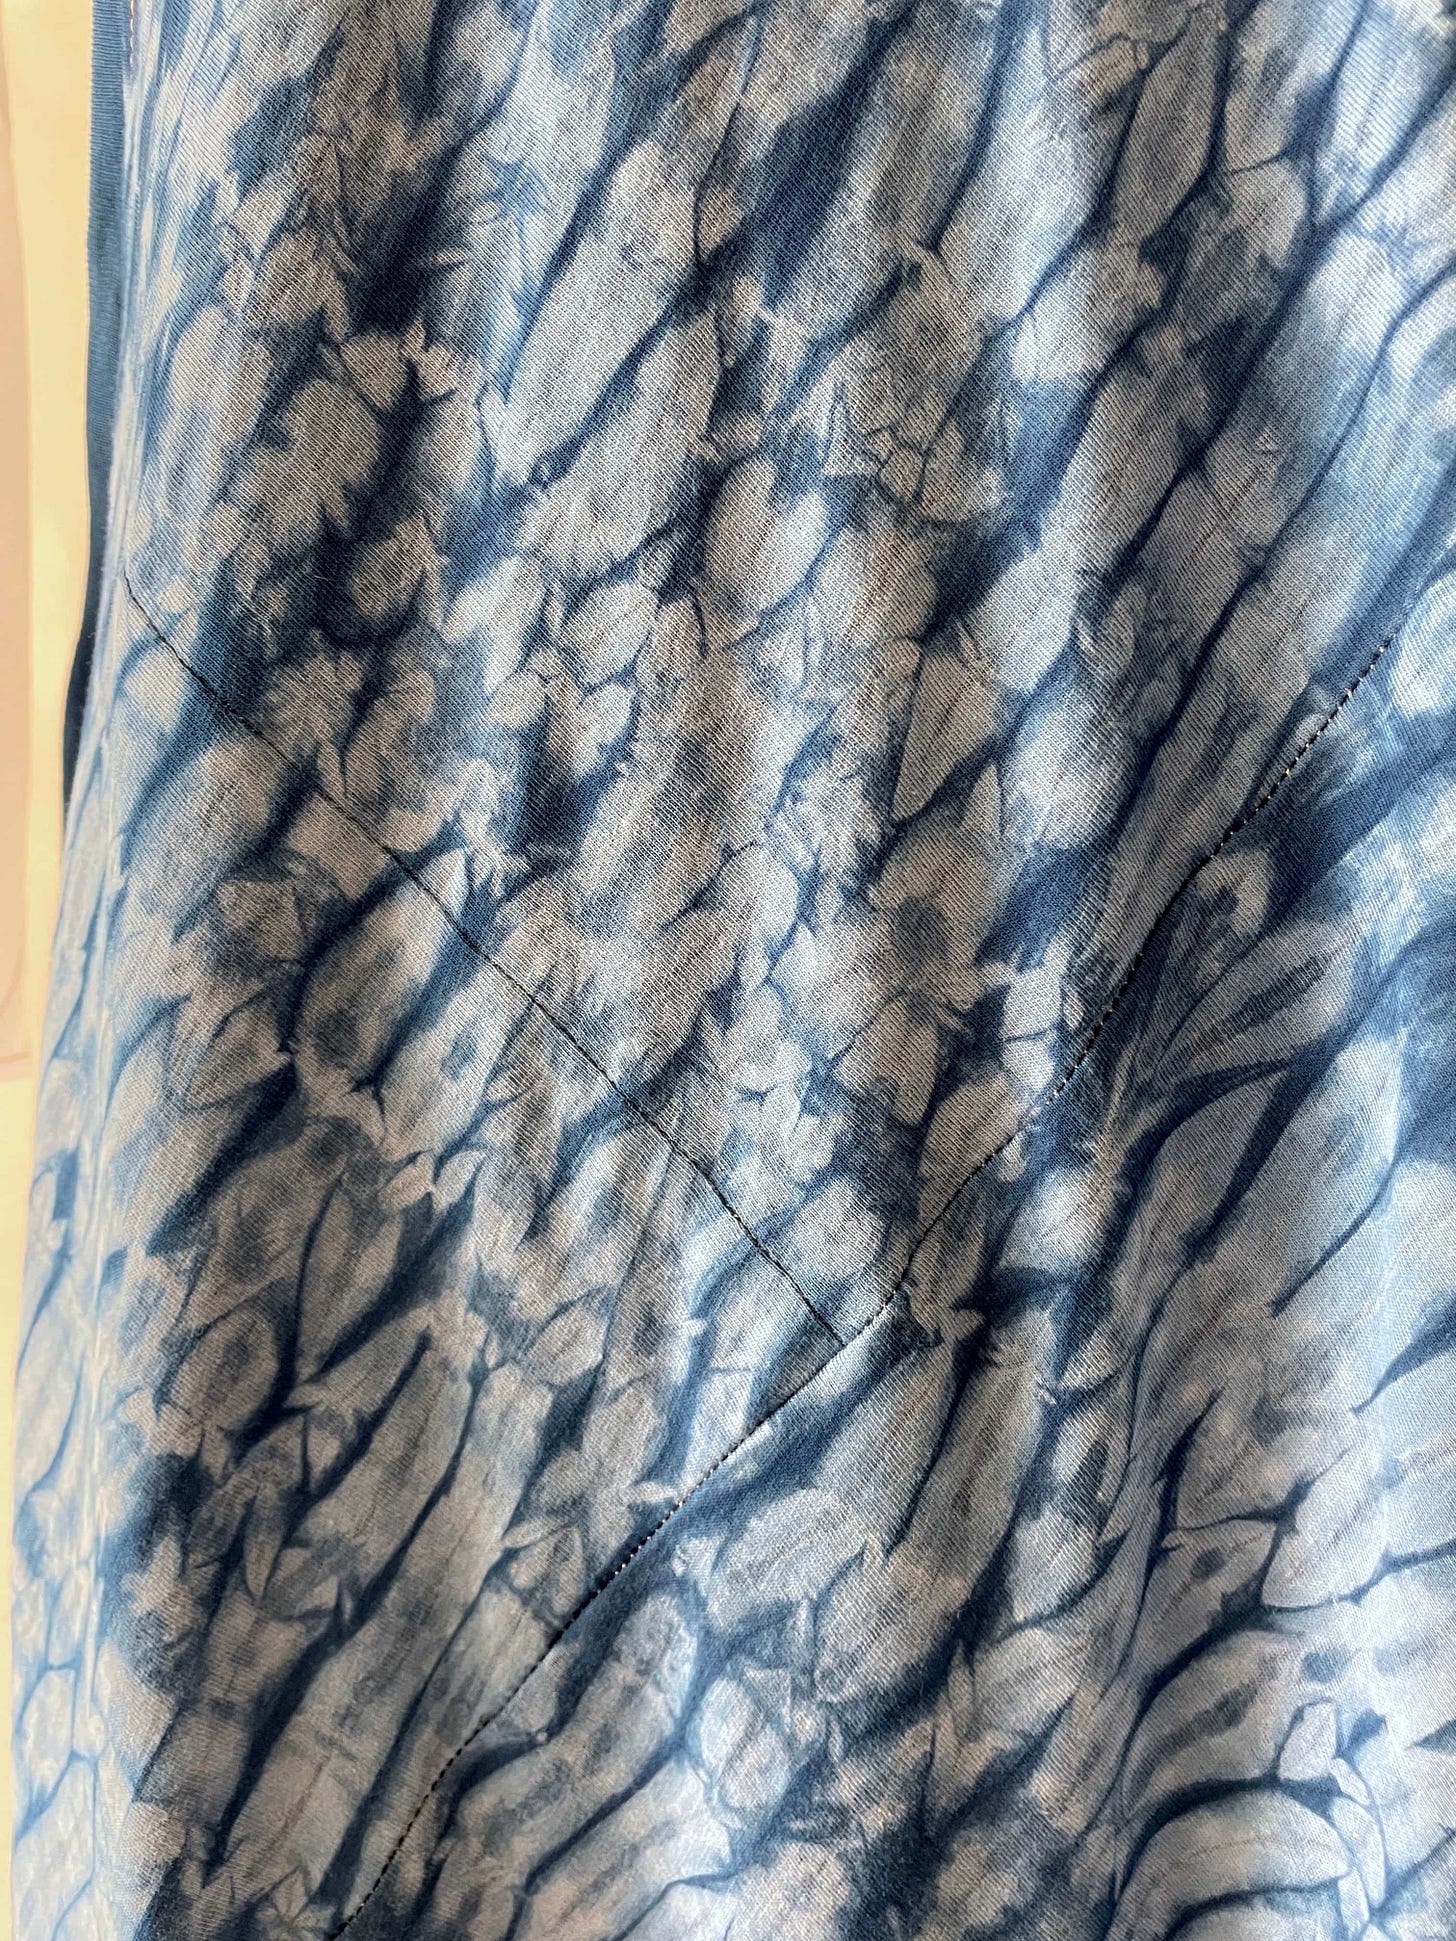
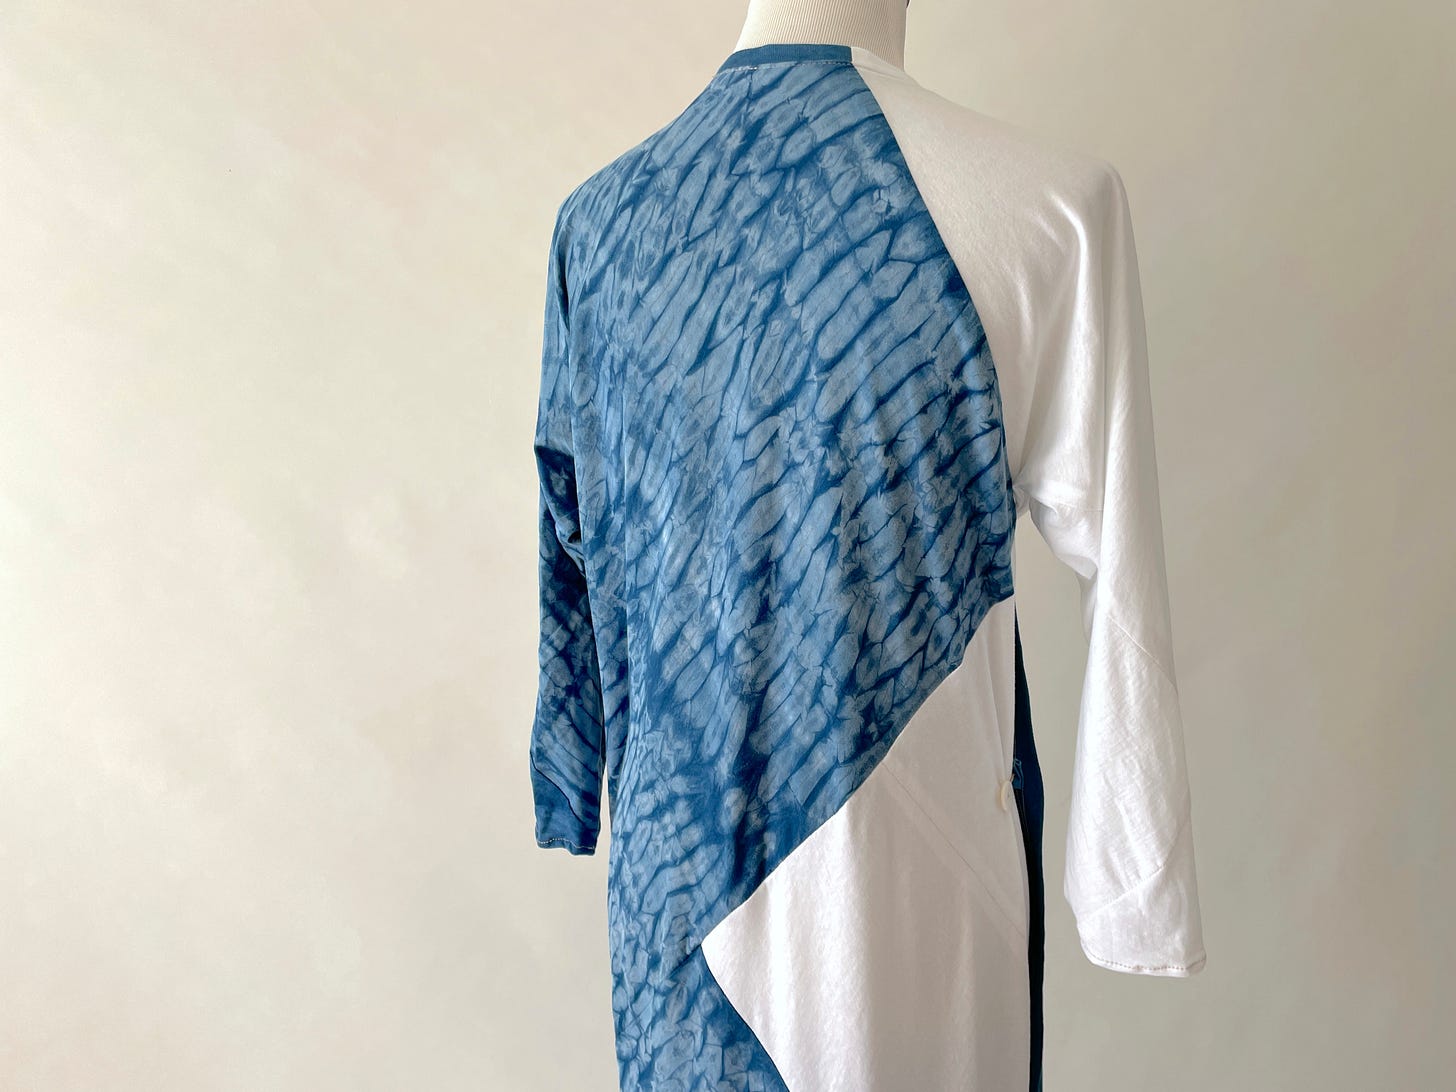
a convertible wrap dress made with 14.5 squares
First thing’s first: how about the measurements?
The makers among you will wonder how do I know how big one square needs to be? And depending on your fabric availability, you may want to combine two or more squares.
The key is to measure two things: distance from armpit to armpit (across your bust), and from your neck to your hip. Choose whichever is bigger, and divide it by square root of two (approximately 1.414).
For me, my neck-to-hip measurement is about 21.25 inches, a larger number than my armpit-to-armpit number. Dividing that number with 1.414, I get 15 inches. So that’s the number I hold on to throughout all four garment constructions.
For me, my X number is 15 inches. My seam allowance is half an inch.
So if I cut one square of fabric, it’s 16 inches by 16 inches.
To make two triangles, I cut a square in half in the diagonal.
If I decide to cut a rectangle to represent 2 squares, then I’d cut 16 inches by 31 inches.
Makes sense, right? Leave a comment if you want to make a square-based garment and need help with the measurement!
With that squared away (haha), let’s review all four garments. Have fun reading!
All four final prototypes are made with fabrics listed on Fibershed Regional Source Book and the sewing thread is from Sally Fox.
6-Square Top in white cotton jersey
Fabrics:
Climate Beneficial Cotton Jersey sourced from the California Climate & Cotton Coalition (C4), grown on Climate Beneficial cotton farms in the San Joaquin Valley, CA. This is C4’s first production run of single-ply 7.5 oz. jersey (t-shirt weight) and rib. The fabric acquisition is 100% sponsored by Fibershed.
Visualization of components & assembly:
Process overview:
I have made several of these tops in the past, and it’s well-documented in my blog. If you want to make this top, check out this 6-Square Origami Top article! Photos from the 1996 article are there, along with step-by-step instructions of garment making.
Prior to writing that article, I already made two 6-Square tops using pillow cases and scraps. So when I made that post, I experimented more with combining two colorblock triangles to make one square. The blue-and-yellow main color scheme became a political statement when the Ukraine invasion started.
For the Fibershed Design Challenge, I combined two squares to make a long rectangle to minimize fabric waste. I did this twice. So this latest prototype consists of two rectangles and four triangles.
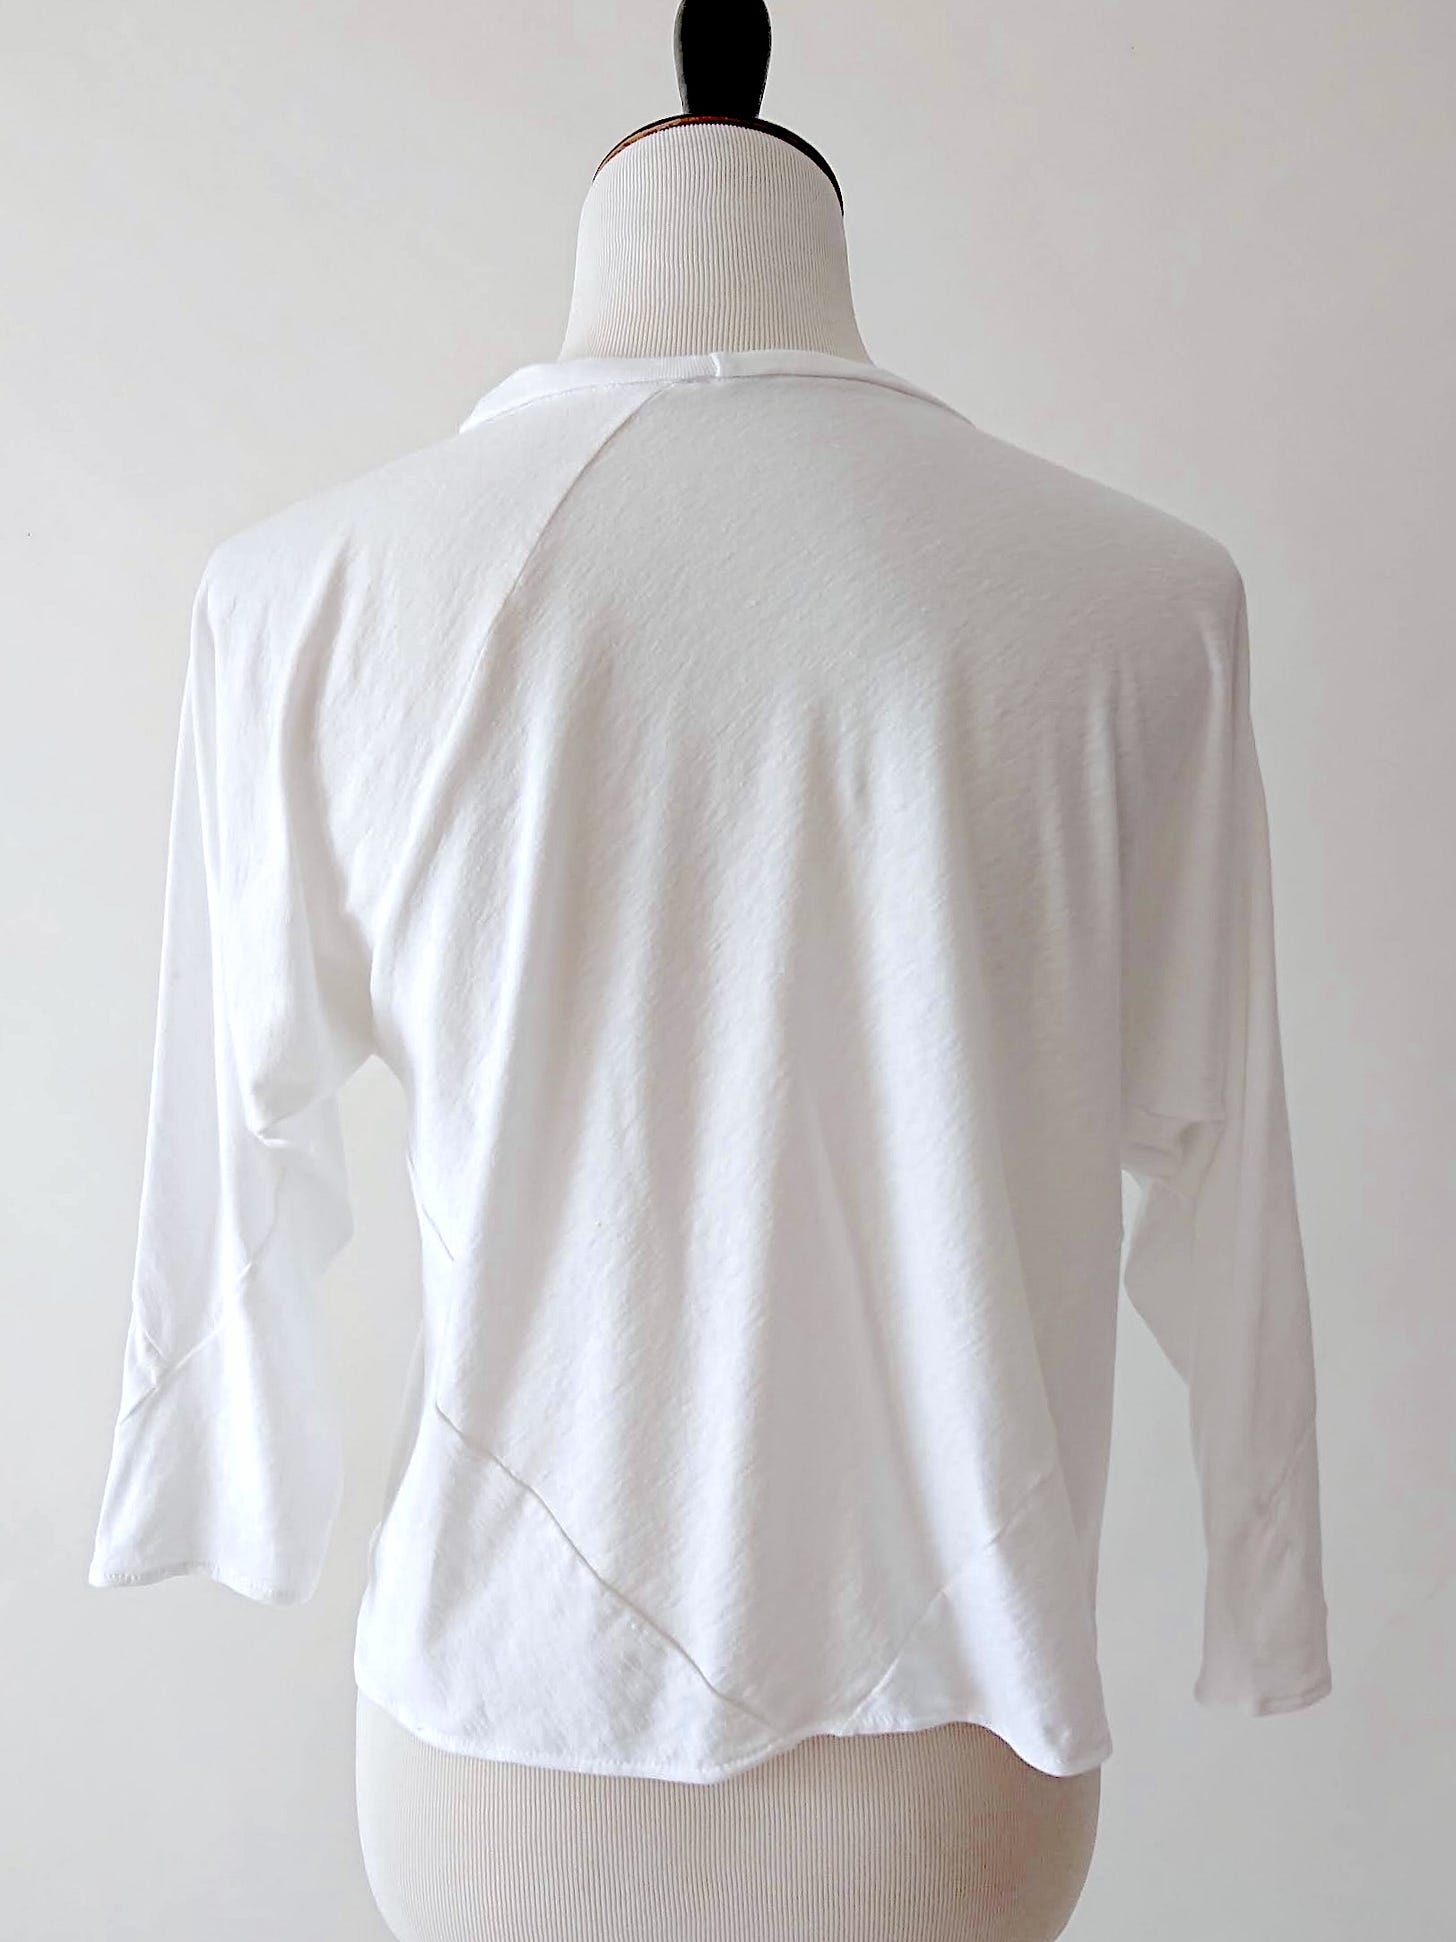
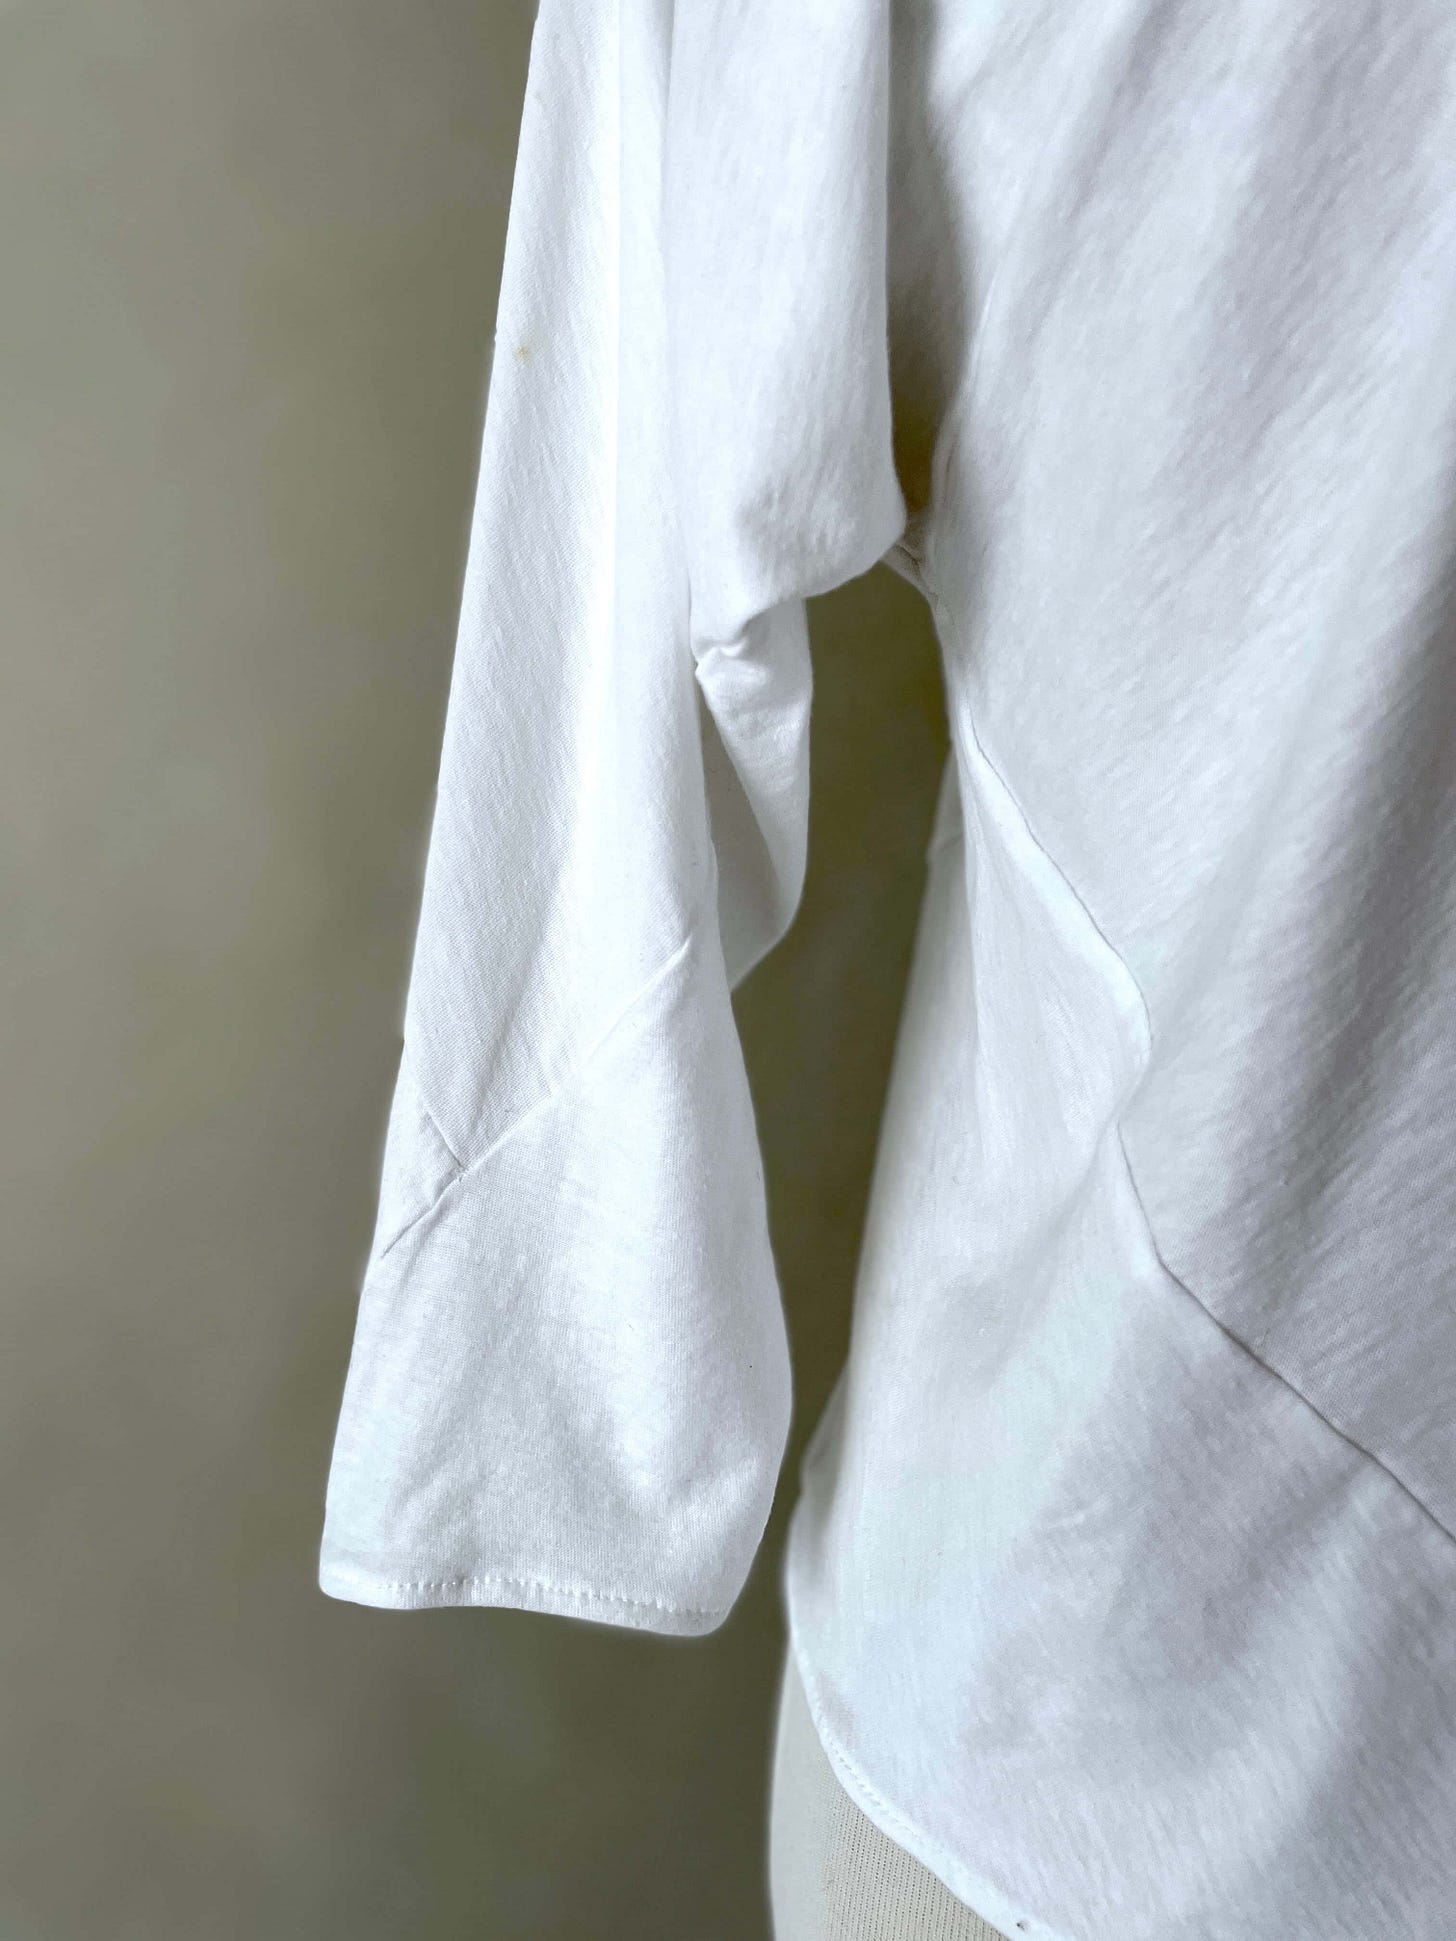
You can see that the long rectangle piece translates to fewer seams. This makes the existing seams more pronounced. Seeing the lines intersect on the sleeves and near the hips feels really calming, for some reason.
Finishing:
The square pieces are assembled with lock stitching. The raw edges are finished with overlocking / serging. The hem and sleeves are finished by folding the fabric inside twice and lock stitching. The neckline is finished with the 1-inch-wide rib folded in half lengthwise, overlocked and top stitched.
Thank you for reading this free article - if you enjoy it, please consider leaving a tip.
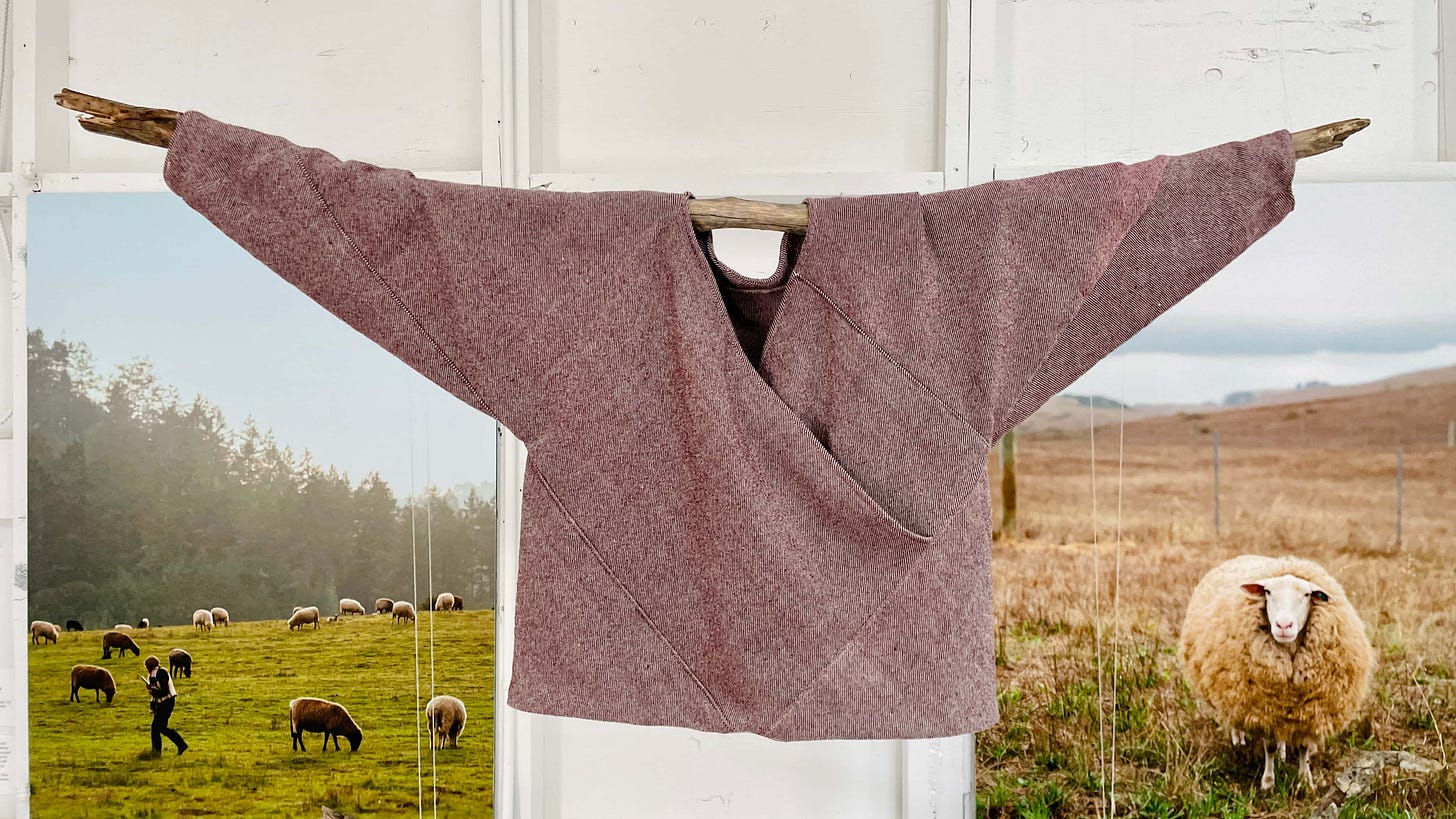
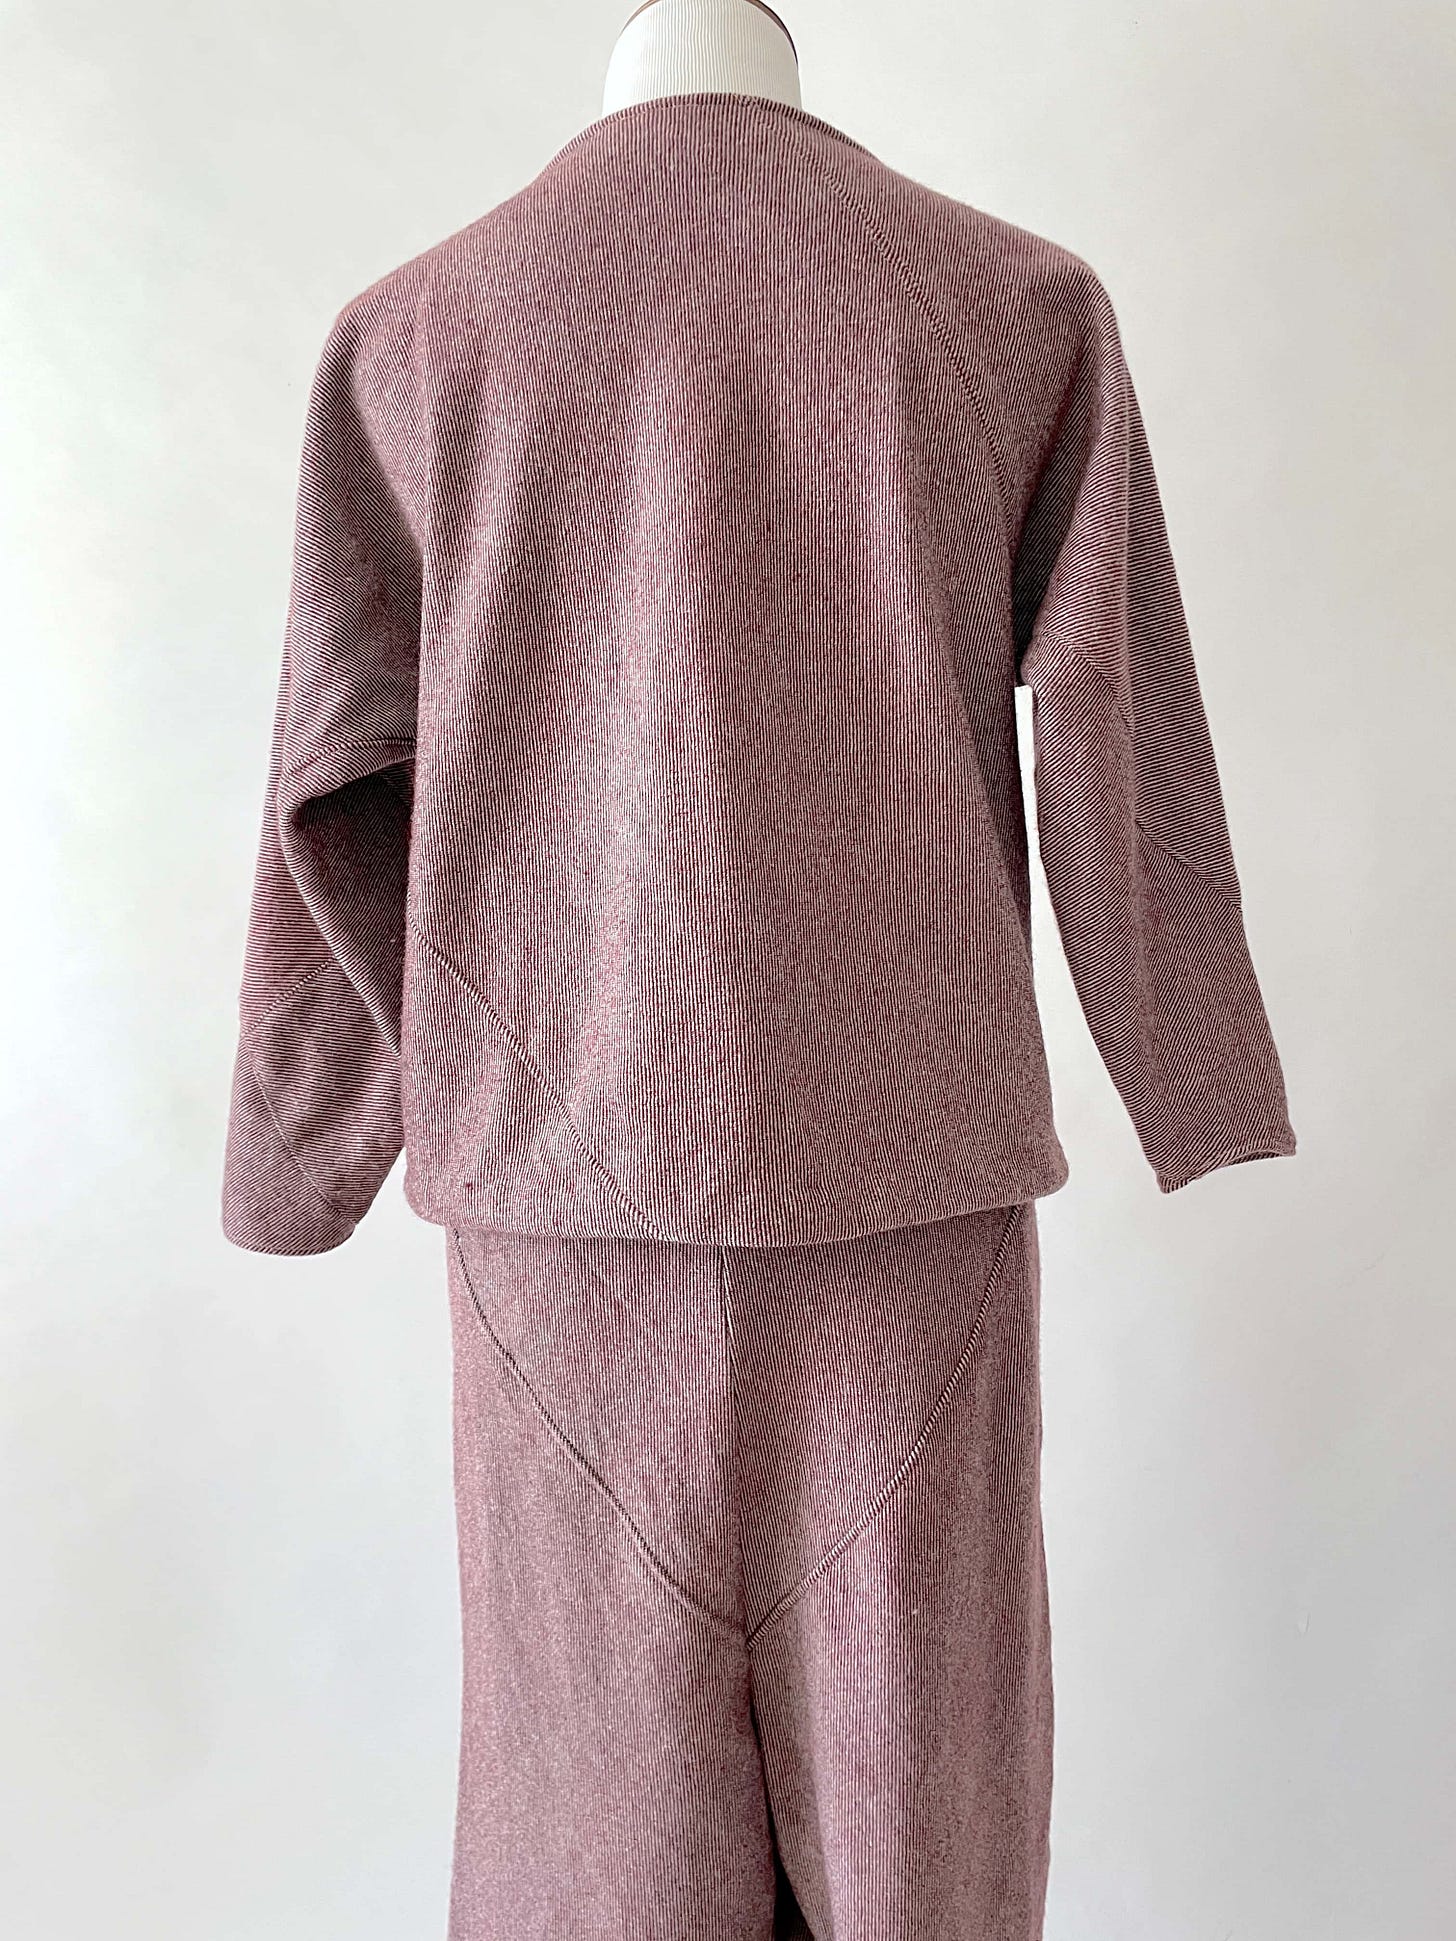
7-Square Wrap Top in wool twill
Fabric:
Lani’s Lana Balanced Twill – Climate Beneficial Wool in lava (dark gray with purple/ burgundy tones). This color is a result of natural dyeing with indigo and cochineal.
During the publication time, this particular fabric is out of stock. But please check out her Rambouillet Wool fabric offerings!
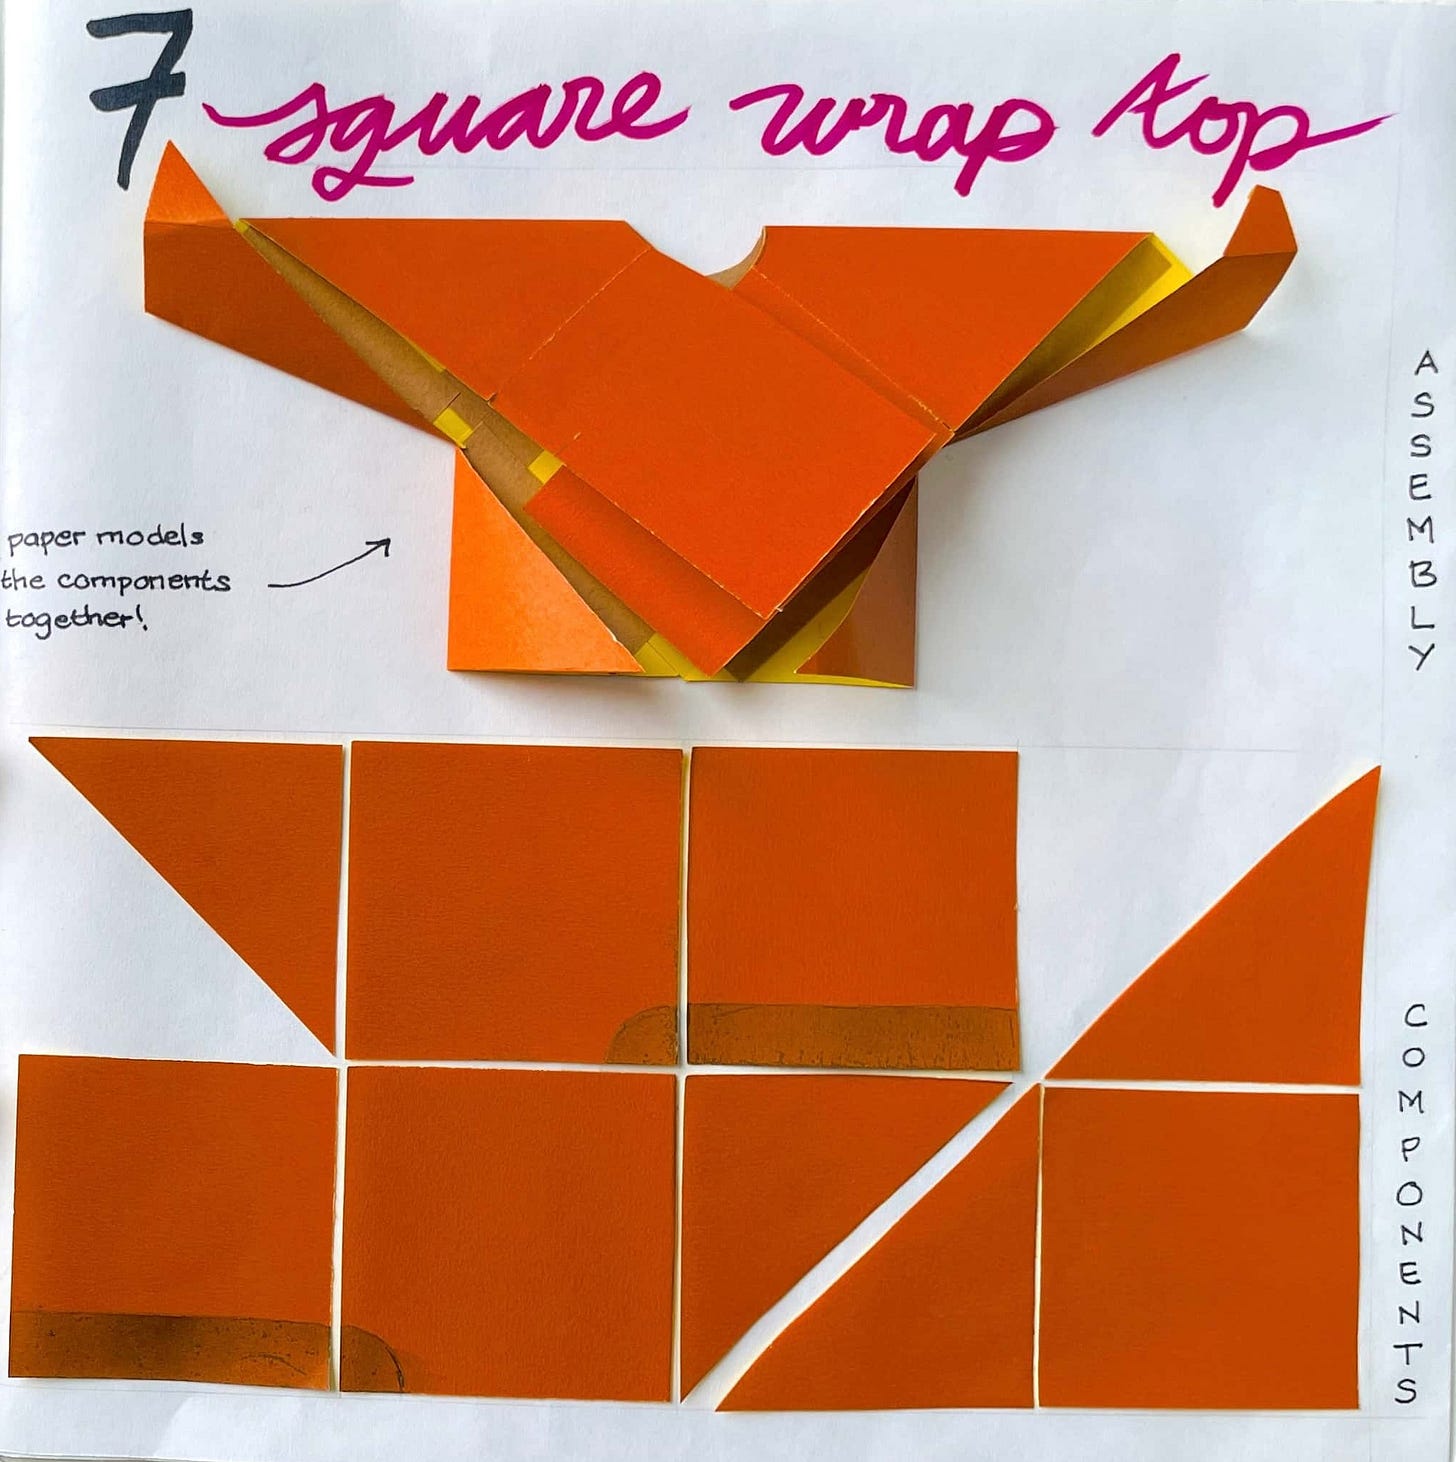
Visualization of components & assembly:
Process overview:
This is my second time making the 7-Square wrap top. The first one was showcased during the Fall 2023 Fibershed Design Challenge exhibition. It’s the top part of the jumpsuit prototype I made using a teal woven cotton bedsheet.
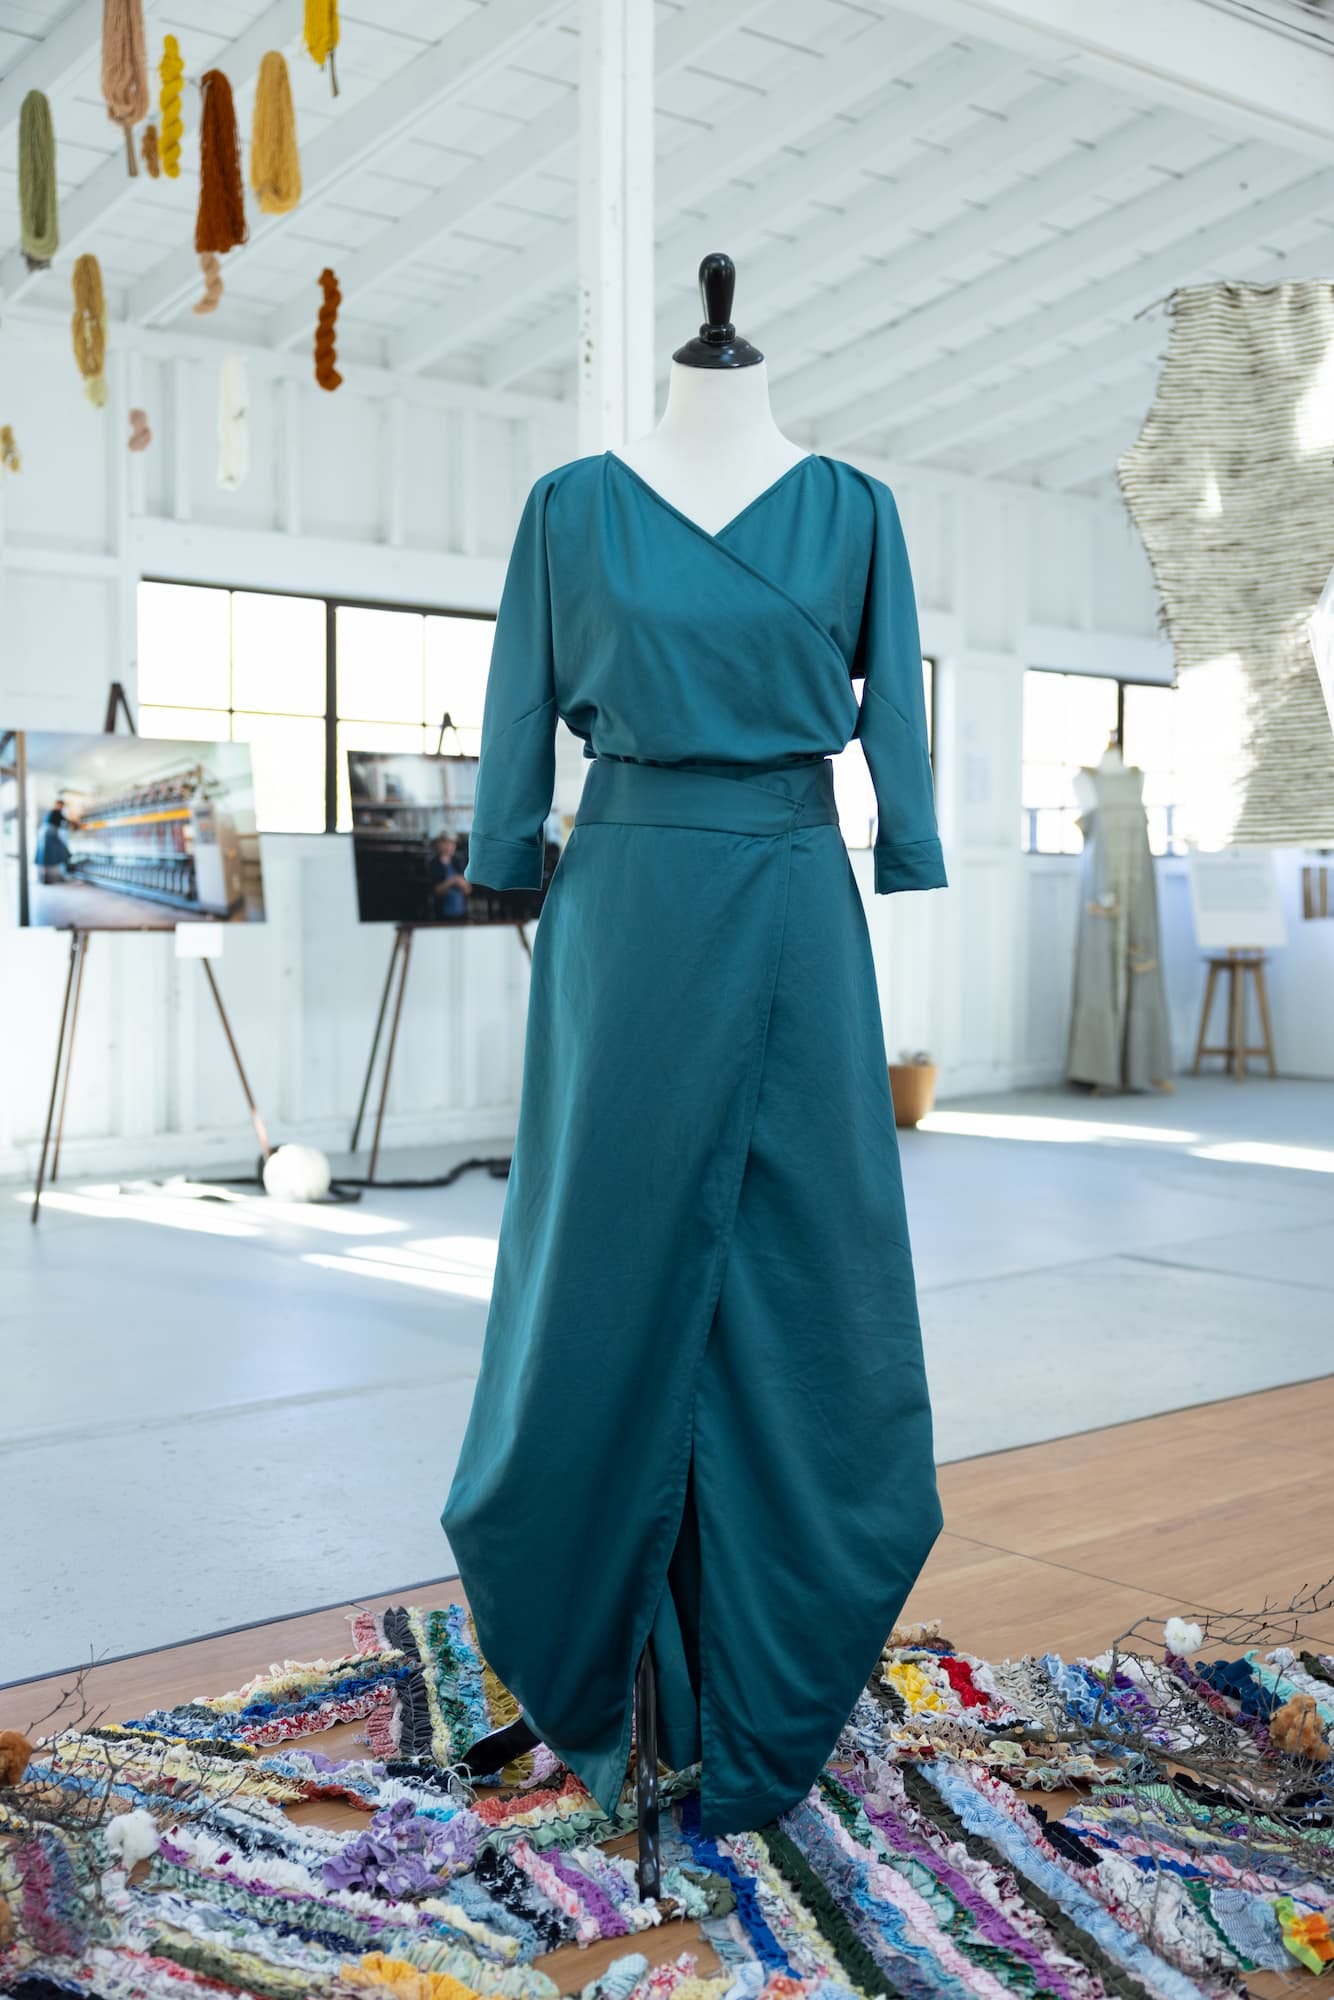
The wrap top is a result of asking “What if I layer the squares?” The making process is very similar to 6-Square Top, however the front squares are placed on top of each other and basted before being connected to the side triangles.
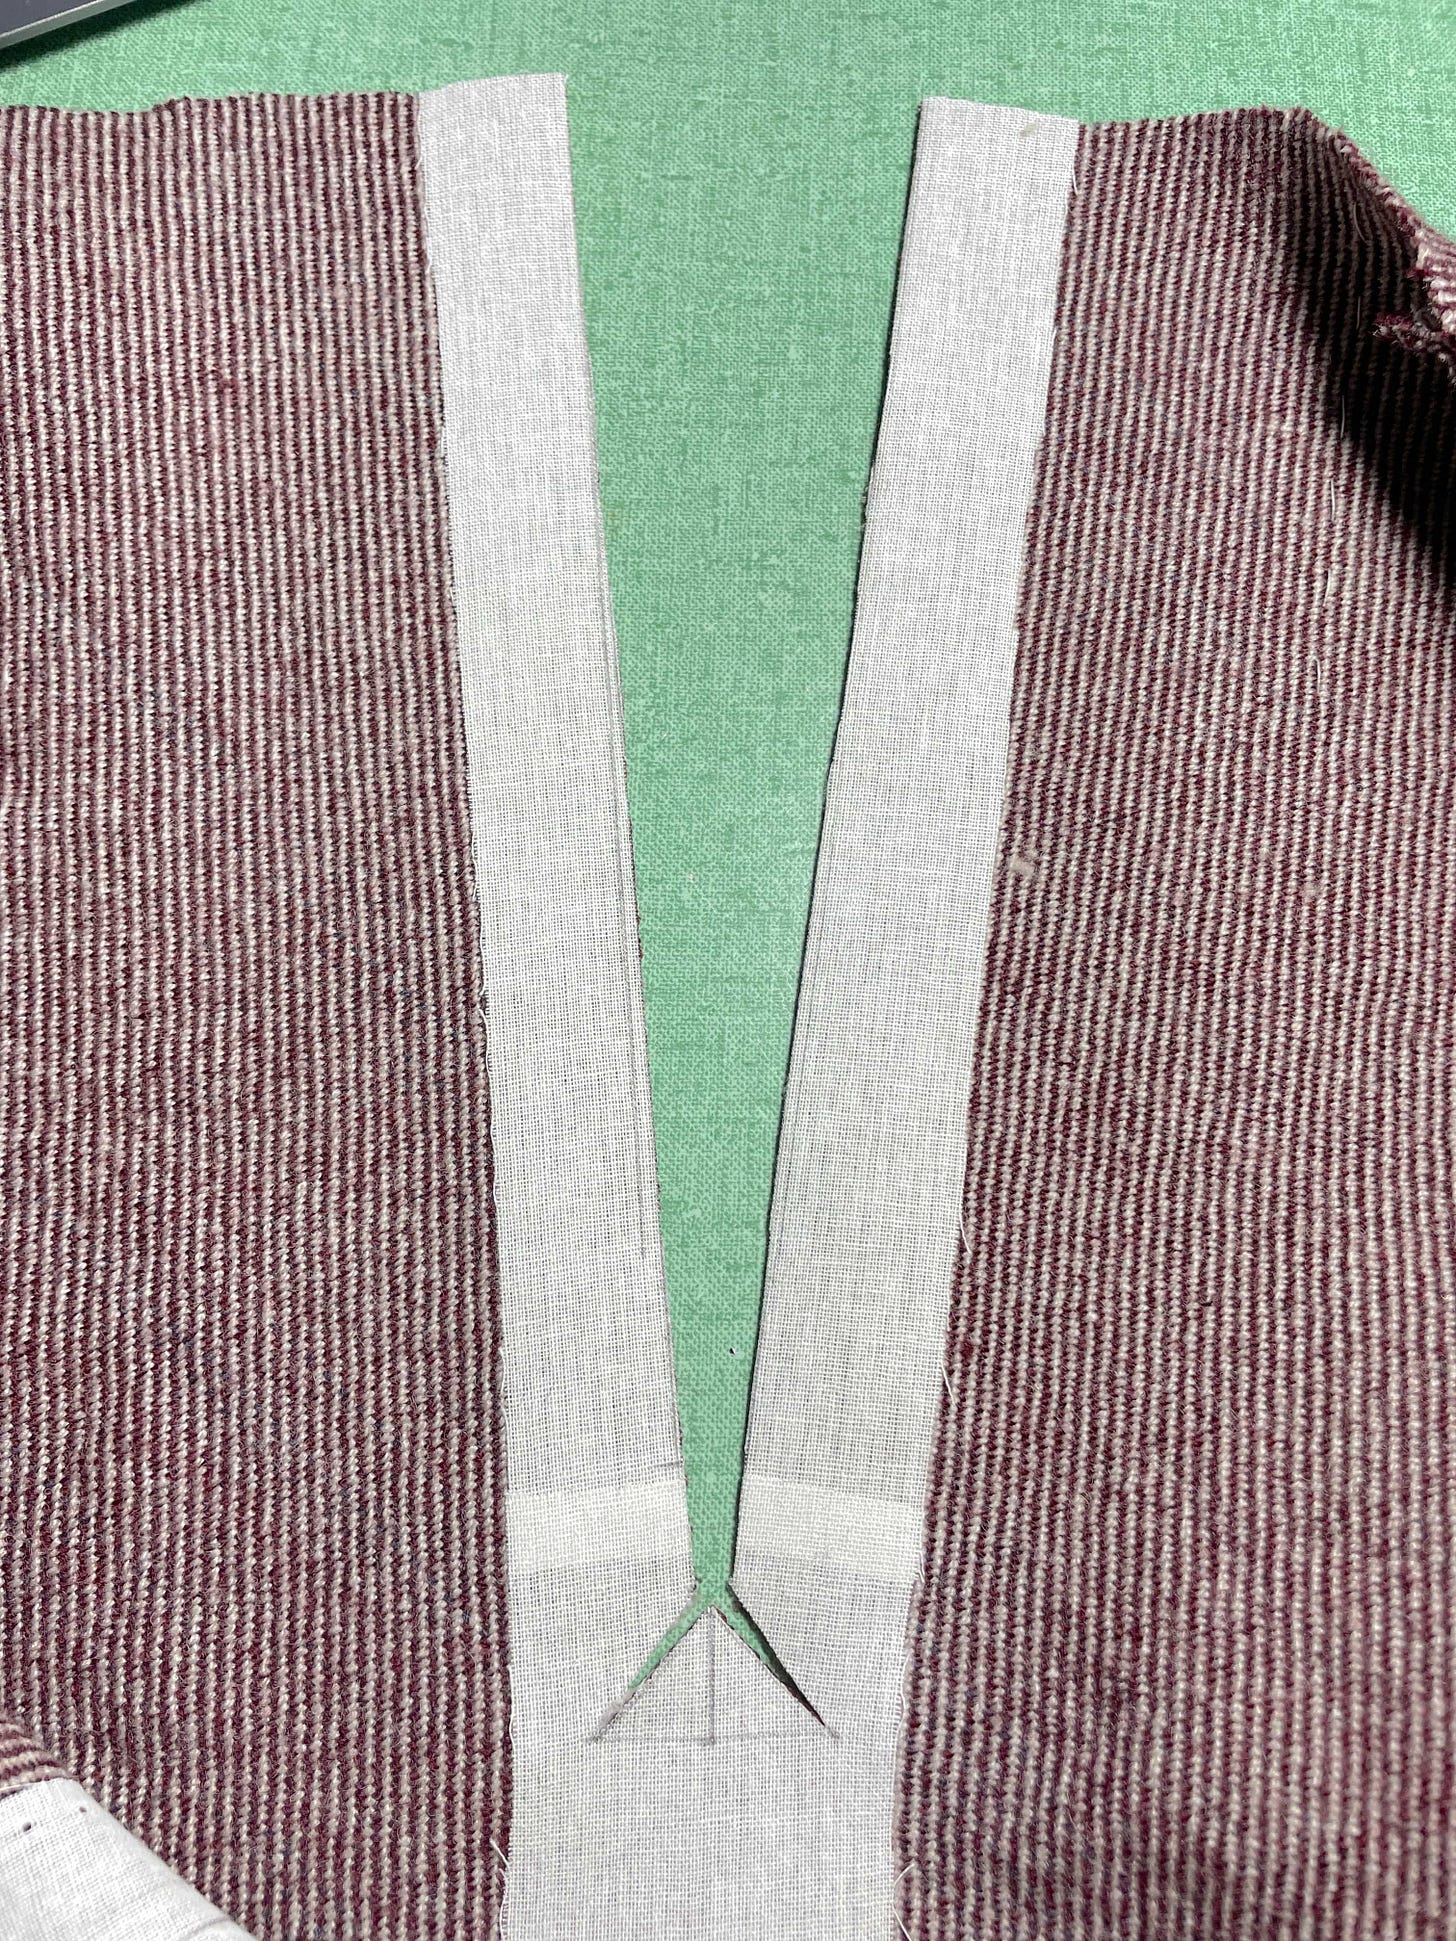
The cut section around the neckline is used to create neckline facings. As a stand-alone top, this top feels really cozy, drapes well, and very versatile to wear during the colder days.
Just like the 6-Square top, the geometric lines of this top look crisp, especially when paired with the 10-Square pants.
Finishing:
The pieces are assembled with lock stitching and top stitching. The raw edges are finished with overlocking / serging. The sleeves are finished by folding the fabric inside twice and lock stitching. The neckline and hem are finished with facing pieces made out of the neckline cutoffs, under stitched and top stitched. I finished the hem by hand, using herringbone stitches.
10-Square Pants
Fabrics:
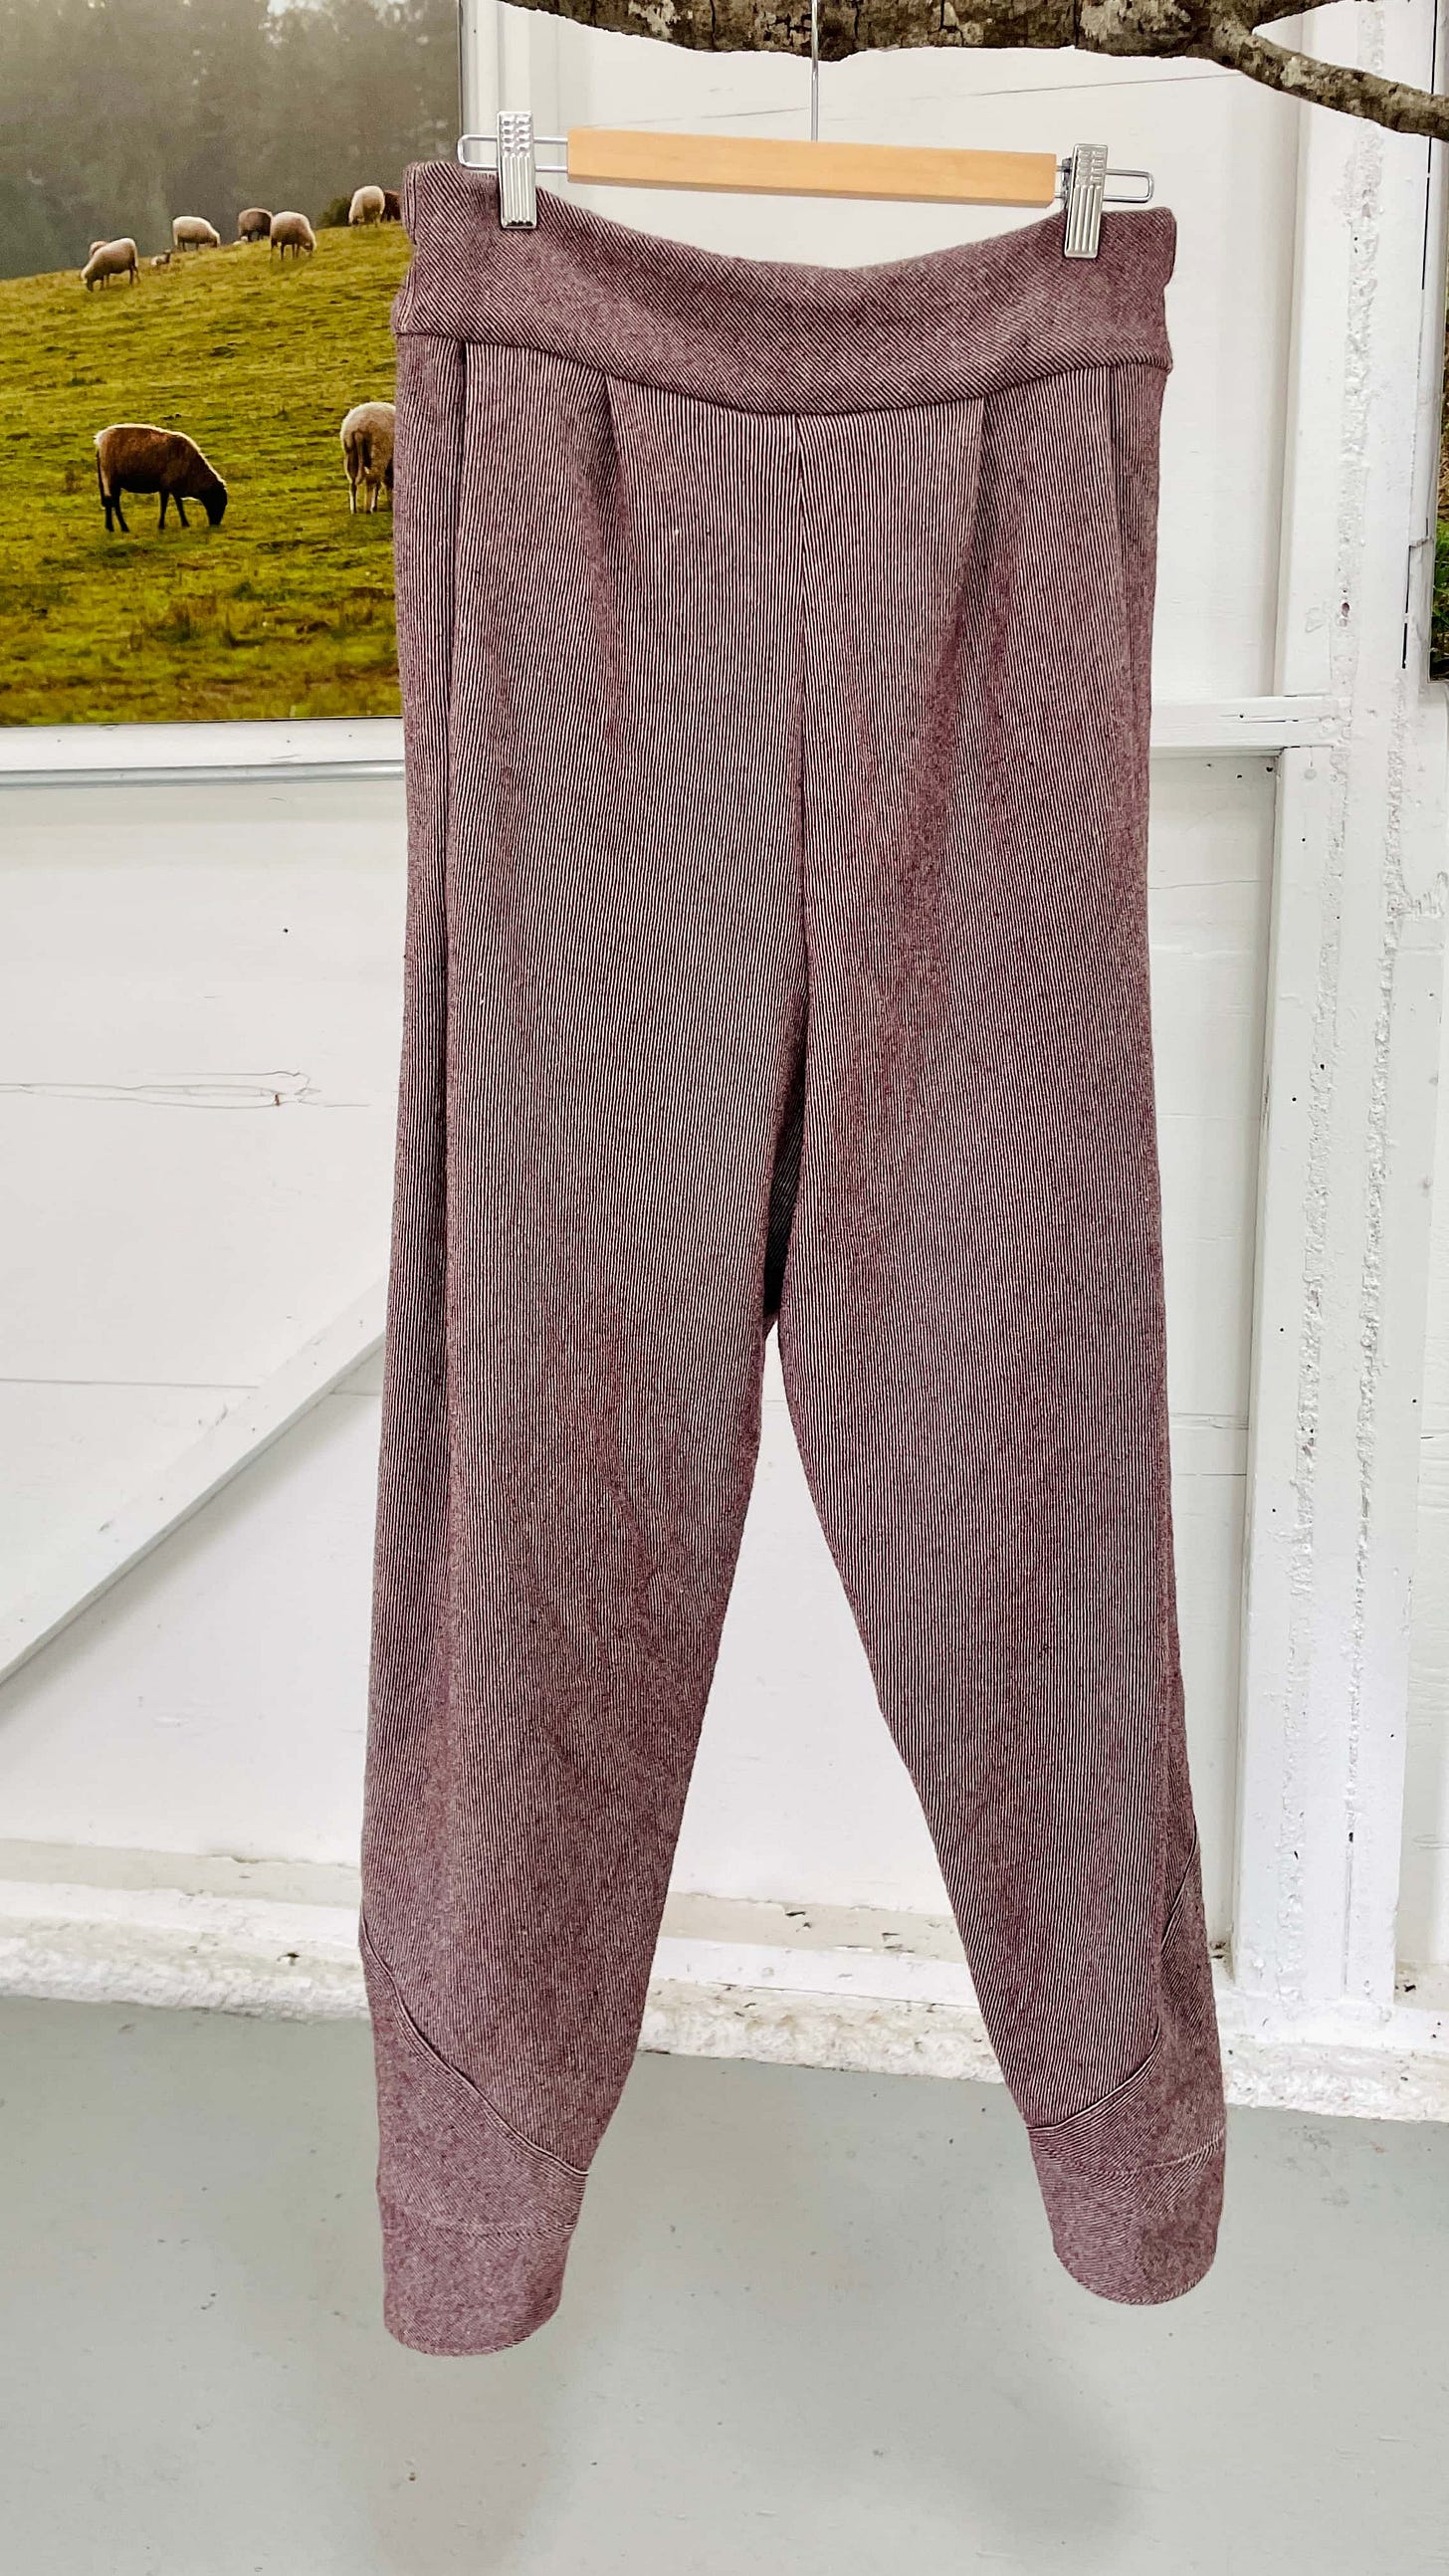
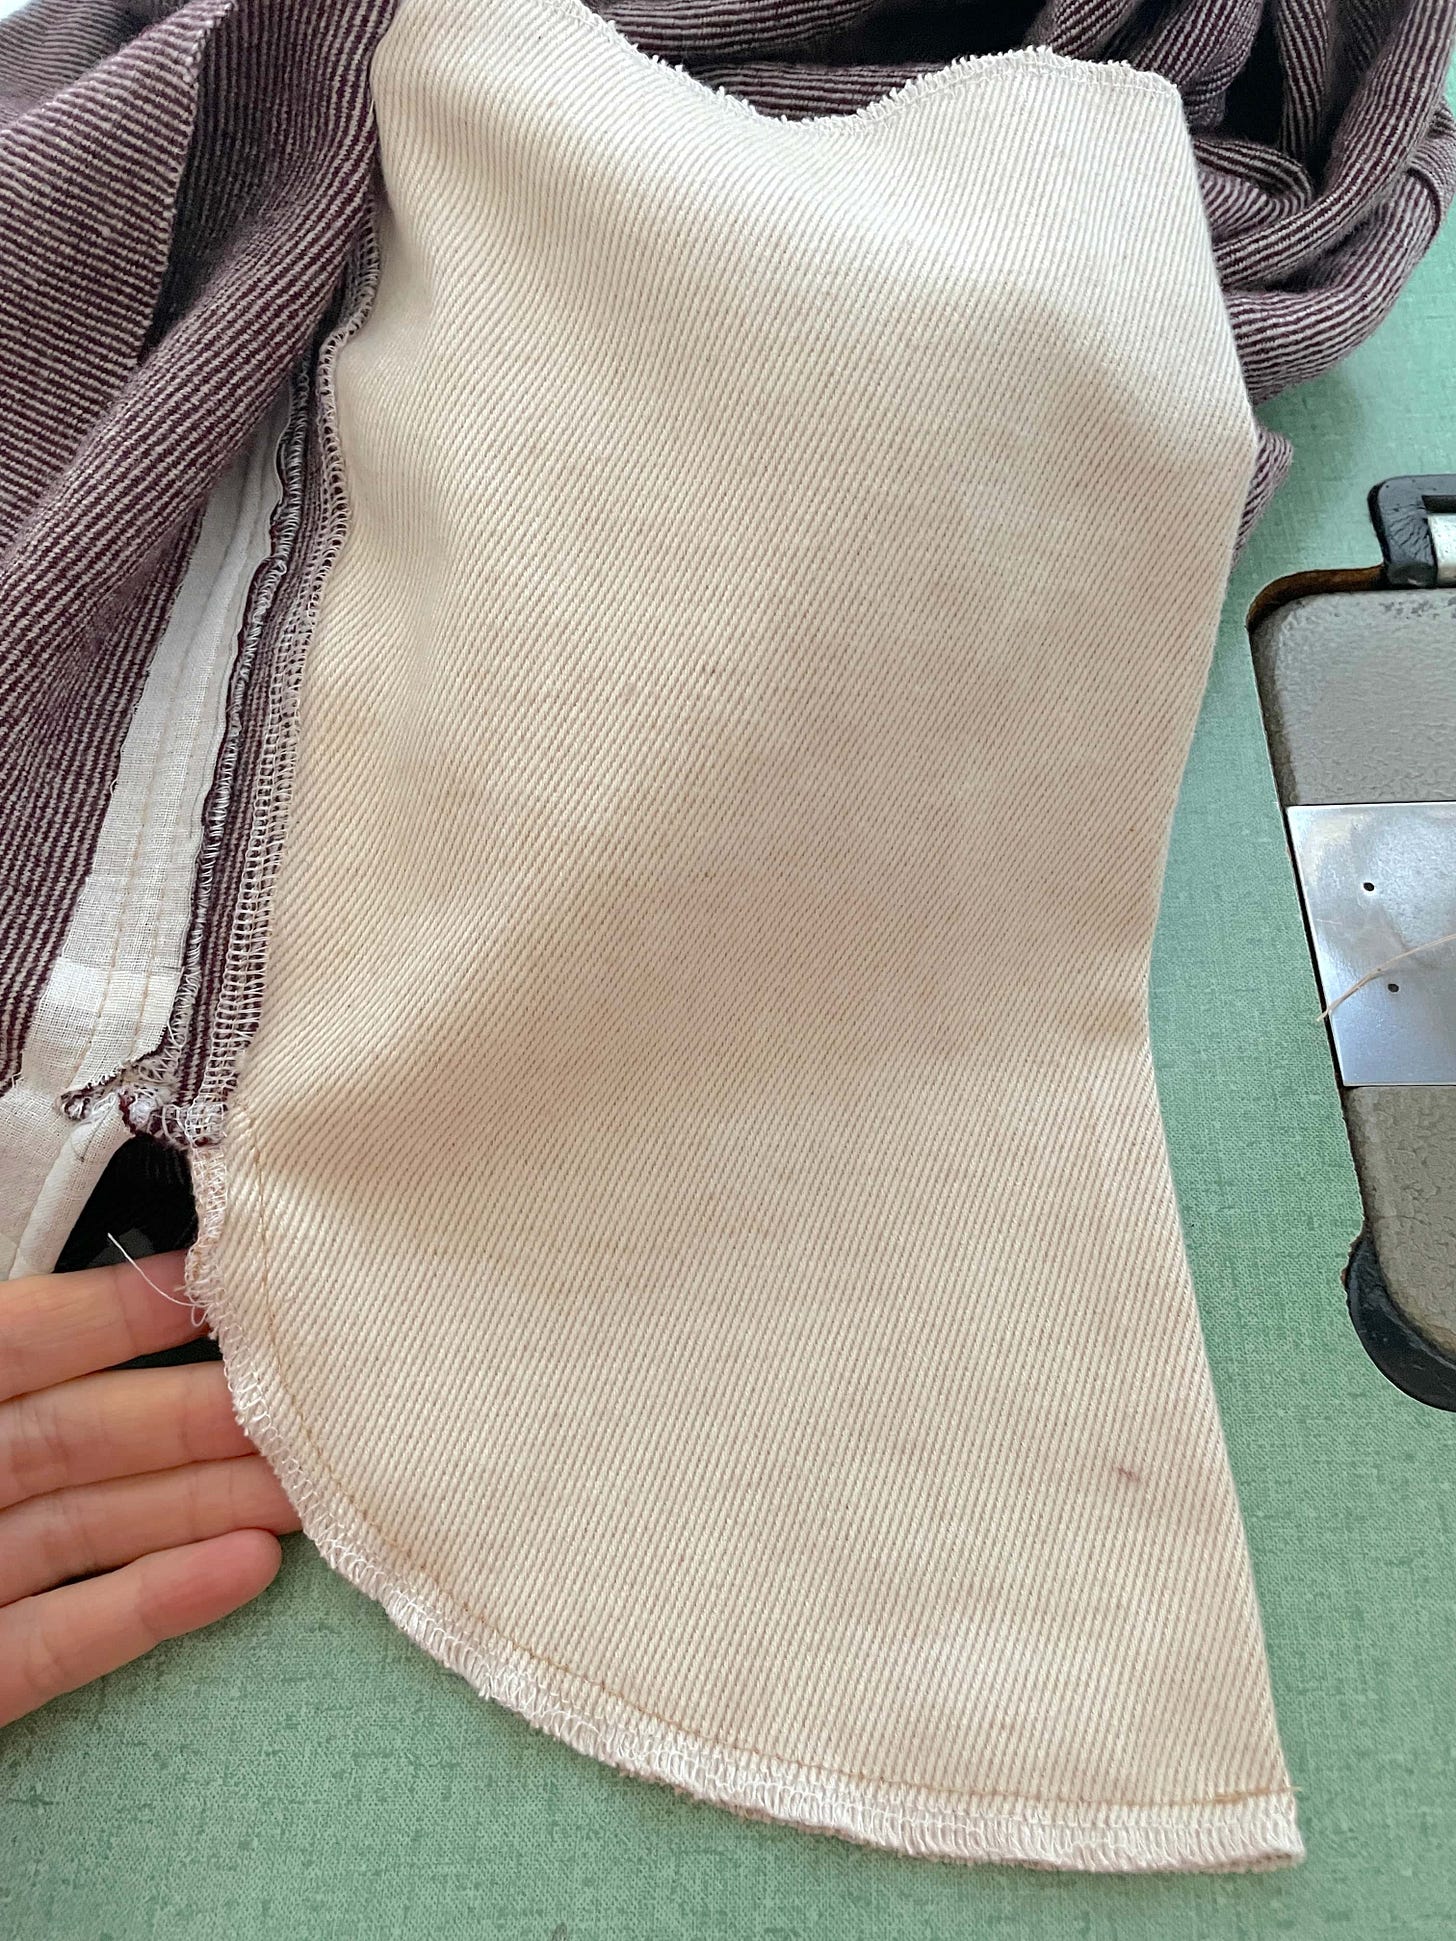
The main fabric is the same as the 7-Square Wrap Top. The pockets are made using scraps of 8 oz. medium brown woven twill Foxfibre® Colorganic® from Sally Fox.
Visualization of components & assembly:
*Check out these thoughtful resources that my friend Kimberly Kuniko of Lacelit has put together with fellow artists!
Process overview:
I came into the final showcase with every intention of making a jumpsuit prototype using Lani’s Lana wool. However, after cutting 2 pieces of 46” x 46” fabric, I feel it’s too wasteful. So I played around with one piece and managed to figure out how it can generate 2 pant legs. After validating the idea with some paper models, I went on to create the two pant legs.
The J-curve is copied from Mood’s Piper Shorts free pattern. I use this pattern a great deal, so I’m confident that the curves work great for executing a pair of baggy style pants that fit me.
As you can see from the paper model, I have to combine 9 squares into one big square and then cut it in the diagonal to form two pant legs. I’m 5’10”, so I need one more square to create a pant leg extension. One triangle is required for each leg, and the extension is stitched like making a top sleeve.
For this prototype, I pieced together some leftover fabrics from the 7-Square Wrap Top and pant extensions to create the waistband. HOWEVER, if I’m doing this again, I don’t think it’s necessary. The top part is enough to be folded into the waistband. Two rows of 1” elastics are inserted to the back half of the waistband.
The most exciting part of these pants is the POCKETS. The pocket openings are disguised as a pleat and placed next to a small pleat. The pockets are finished like a large dart.
When they are finished, the pocket seams are invisible. You can see a deep pleat fold from the side, but the pockets are practically invisible.
Finishing:
The pieces are assembled with lock stitching and top stitching. The raw edges are finished with overlocking / serging. The hems are finished by folding the fabric inside twice and lock stitching.
The waistband is finished with hand back stitching. From the front, the stitches are “in the ditch” and invisible.
The pocket slits are stabilized with a cotton interfacing. The raw edges are overlocked; the pockets are pieced together with lock stitching, under stitched and top stitched.
14.5-square wrap dress
Fabrics, Dye, and Buttons:
Climate Beneficial Cotton Jersey and rib sourced from the California Climate & Cotton Coalition, grown on Climate Beneficial cotton farms in the San Joaquin Valley, CA. Same as the 6-Square Top prototype.
Roughly one half of the garment is dyed with indigo from Botanical Colors. The shibori (dye resist) pattern is called mokume (wood grain).
I got the shell buttons from Amazon, however if I am to do this again, I would get them from Wawak.com instead.
Visualization of components & assembly:
Process overview:
I relied on the paper model a great deal to dictate my making process. I pieced together two halves of the garment first. One half got a shibori dyeing treatment. I follow Botanical Colors’ Fructose VAT instruction using 100 grams of indigo to create a medium-dark shade. I also dyed a 2-inch-wide cotton rib strip in this indigo VAT.
Once the dyed half was dry, I ironed out both halves before stitching them together. I made frequent checks to make sure the composition of squares exactly matched the paper model.
Afterwards, the knit rib is added to encircle the whole garment opening. I’m particularly proud of the matching color breaks. It gives the garment a more consistent character!

Last but not least, the buttons and loopholes are stitched by hand. The loopholes are simply a series of blanket stitches, using the same cotton thread I’ve used all along.
Finishing this wrap dress is a great achievement for me.
It’s 100% compostable and it employs zero waste design. Moreover, it has versatility in wearing options. A visitor told me the dress can be worn backwards if they want to showcase a back tattoo! And the wrapping can alternate, too. If the wearer wants to show the white half more, then the dress can be wrapped the opposite way. Four wears in one dress, isn’t that grand?
Finishing:
The pieces are assembled with lock stitching. The raw edges are finished with overlocking / serging. The sleeves are finished by folding the fabric inside twice and lock stitching. The entire garment opening is finished with 2-inch-wide rib folded in half lengthwise, overlocked and top stitched.
NEXT ISSUE (March 23, 2024):
How I made Patrick Kelly’s one-seam coat using Climate Beneficial Collaborative Cloth.
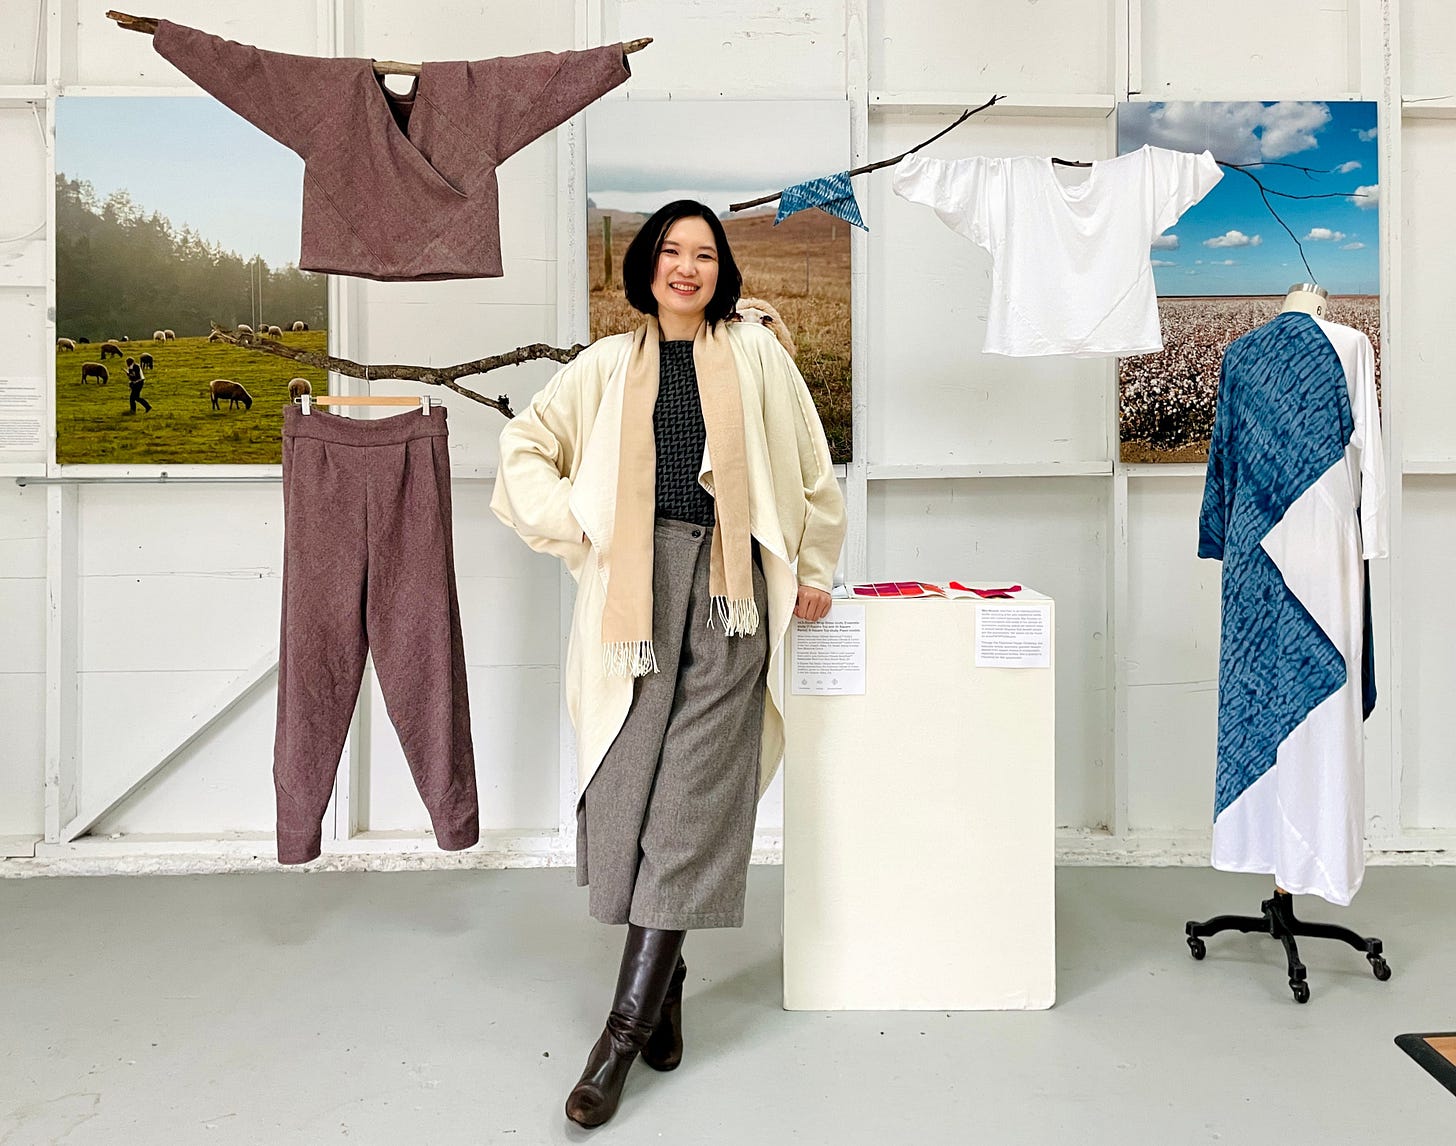
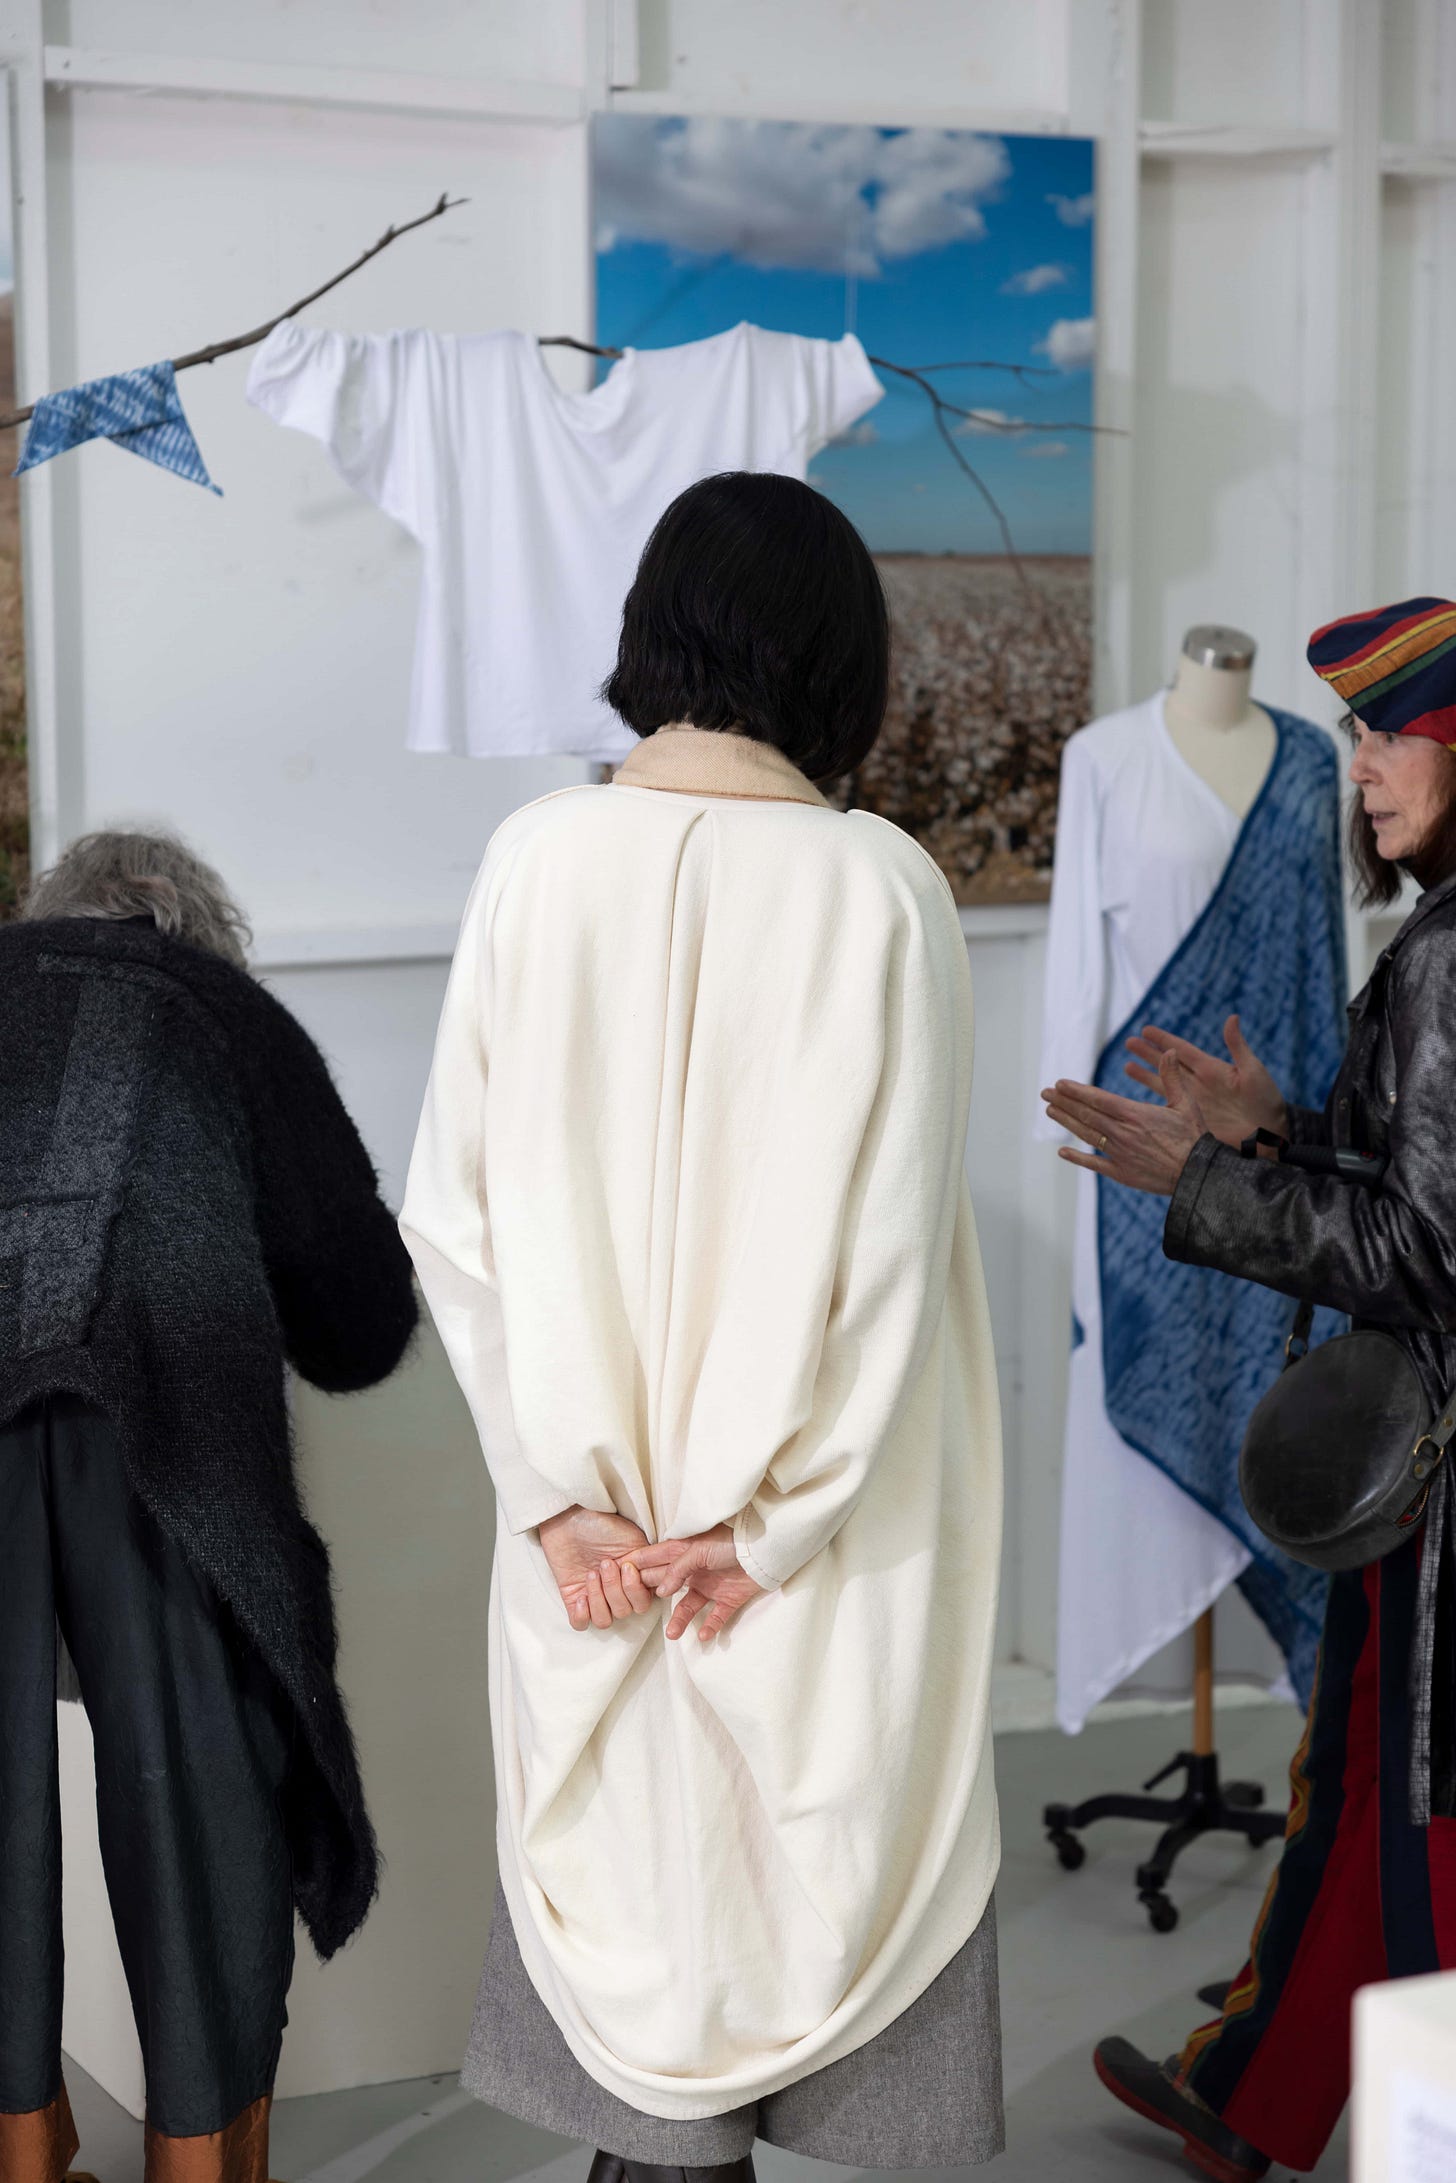
Remember the cover picture above? I was wearing a not-finished cocoon coat inspired by Patrick Kelly’s one-seam coat. Those who came to the Saturday reception of the final showcase undoubtedly saw it, and I spent more than 6 hours showing how great it looks on both sides.
Yes, it’s convertible. Yes, the Climate Beneficial Collaborative Cloth is perfect for executing this brilliant design. No, it wasn’t finished that day. That’s why there were excess threads dangling about and the center back box pleat was not closed!
On Saturday, March 23rd, I will tell you how I made my version, and make it closer to becoming a truly zero waste design. And you can make it, too! If you’re intrigued, please consider upgrading your subscription and enjoy two Fafafoom Studio Newsletter issues per month.
Thank you for reading; until next time,
Mira Musank











I am a beginner at this so please excuse a question about something that might seem obvious.
When measuring from "neck" to "hip", just where on the neck to where on the hip? From the side of the neck by the shoulder or the center line of body (front or back?) on a diagonal to the side of one hip? Or are you drawing a line around the body at the widest point of the hip and then measuring straight downward from base of neck to the hip circumference line? See why I am uncertain? Please clarify this.
Hi Mira. I love your 7 square top but can’t figure out how to assemble it so I’m glad to hear you’re planning on a “how to” post. Can’t wait!